An Easy DIY Hack: From Fabric Lampshade to Accent Table
Get creative and crafty with this fun DIY hack! Learn how to turn a fabric lampshade into a unique decorative accent table.
Instead of buying a brand-new accent table, why not try making one yourself? With some lampshades and a little creative vision, this super easy DIY project will have your home guests thinking twice about how it looks – in the best way possible!
This blog contains affiliate links. This means a small commission is earned if you make a purchase by using this link. The price you pay will be the same whether you use the affiliate link or go directly to the vendor’s website using a non-affiliate link.
While I am not a major follower of design rules, I do like the rule that states: “Every seat in a room should have a table surface nearby.”
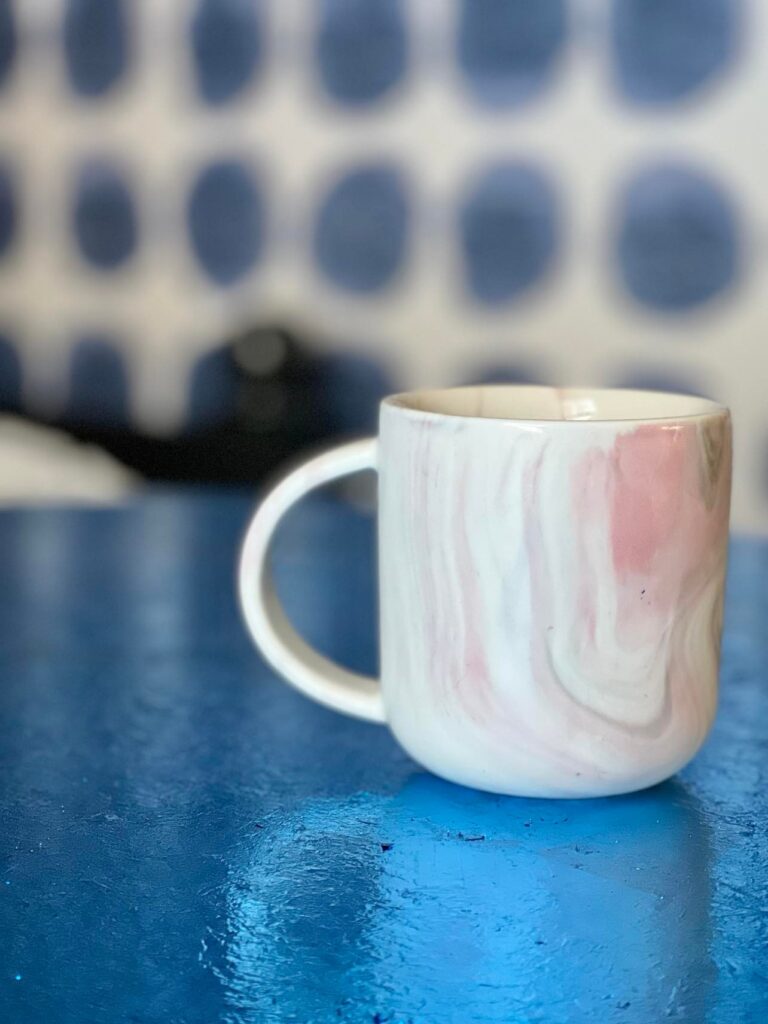
As an all-day-long coffee drinker, I can appreciate this! I love having a coffee table, end table, or accent table available for my coffee cups.
Of course, the family joke is that there is a coffee cup half full of coffee in every room in the house! Oops!
I am always on the lookout for small and unique accent tables that are easily moved throughout the house.
Then I was at my local ReStore and saw an old lampshade. And then I saw its identical twin lampshade! Somehow the shapes, texture, and size of a twin set of lampshades got me thinking…
About making a table!
This is an easy hack. You just need a little bit of time…10 minutes! (Ok, 30 minutes if you get fancy with the top.)
Check it out!
Supplies Needed for this DIY Fabric Lampshade Table Hack
- Two Empire-style lampshades (narrow at the top and broad at the bottom) – look at thrift stores and yard sales!
- Clear glue or hot glue
- Jute twine
- Belt with a buckle
- A round piece of thin wood that is slightly wider in diameter than the bottom of a lampshade.
- Peel and stick wallpaper
- Paint (optional)
How to Make a DIY Accent Table Using Fabric Lampshades
With any hack, it is often the shape of something that is most important. This is true for this table. But more importantly, your two lampshades need to be twins…as in a matching pair. You will run into issues if your lampshades are of different sizes.
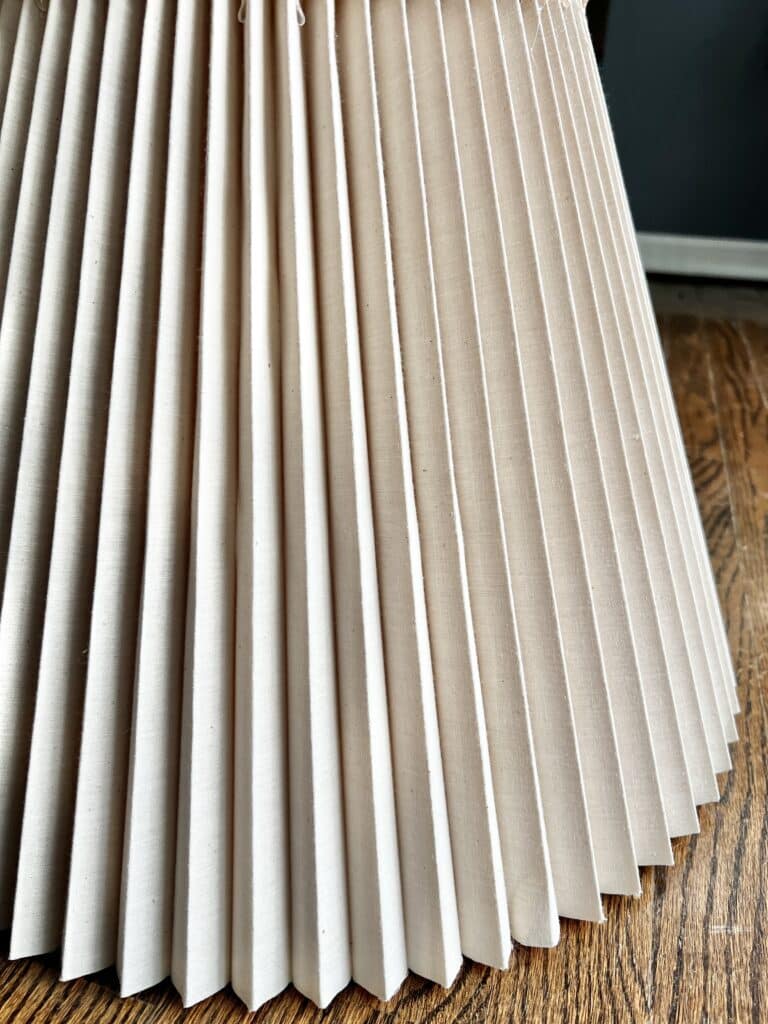
The size of your shade is important. Larger shades work a little better than small and a tapered lampshade will work better than a drum shade or square shape.
If the overall length of the two shades combined is a couple of inches shorter than your chair or sofa, then you have the right size shades for this project.
My lampshades are pleated fabric empire shades that I found at Habitat for Humanity’s ReStore. They were in great condition and had a large, dramatic shape. And if you can’t find old shades, this project works just as well with new shades!
Create the Table Base
To create the table base, grab one fabric shade and set the bottom of the shade on a flat surface.
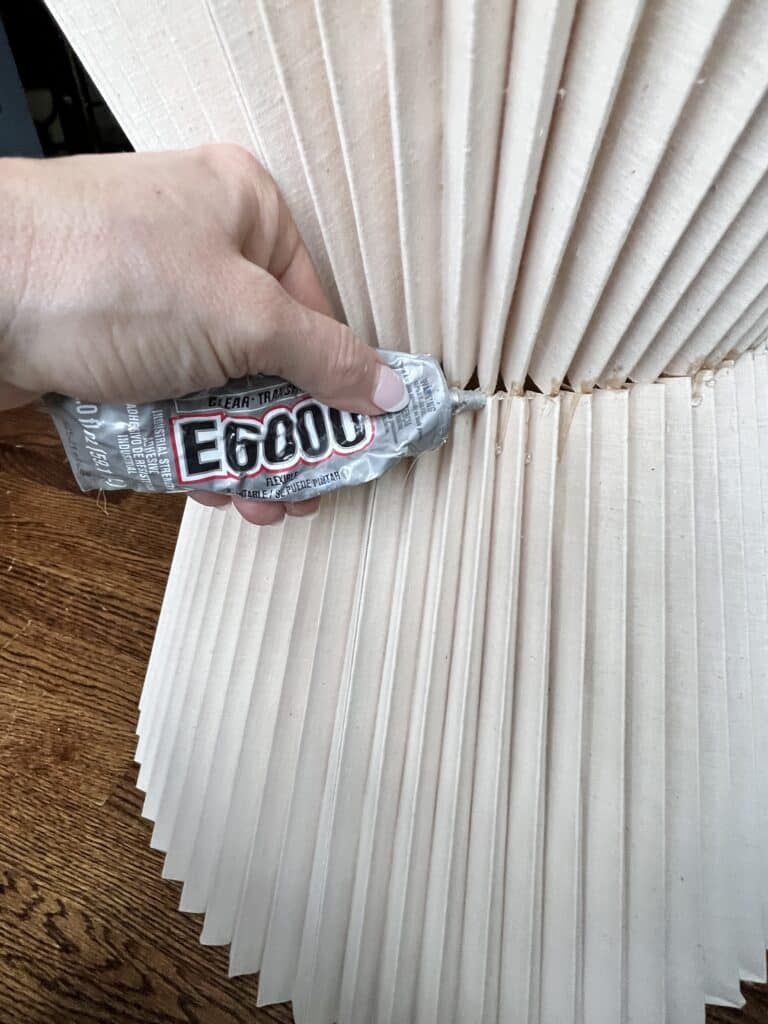
With strong, clear fabric glue or a hot glue gun, squeeze a bead of glue or run a line of hot glue around the top rim of the lampshade.
Now, the magic…take the second lampshade, turn the top of the shade upside down, and press the small narrow part of the shade down upon the bead of glue on the first shade.
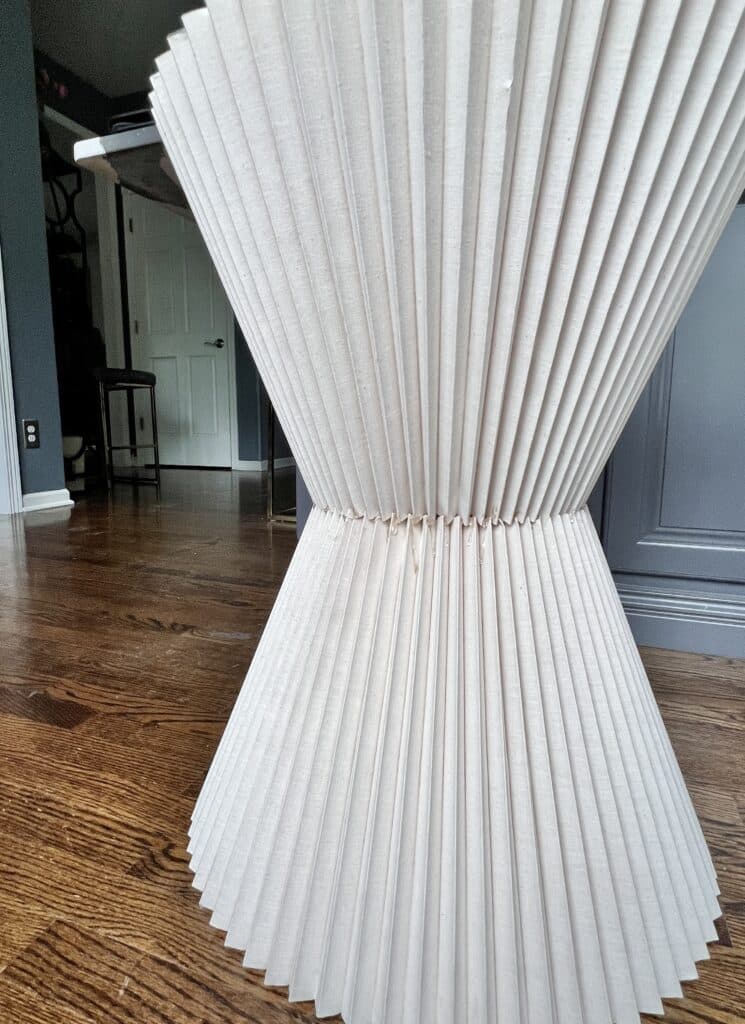
Basically, you are inverting one entire shade on top of the other and gluing them together!
Add a dot of clear or hot glue here and there along the shade connection points to help reinforce the seam.
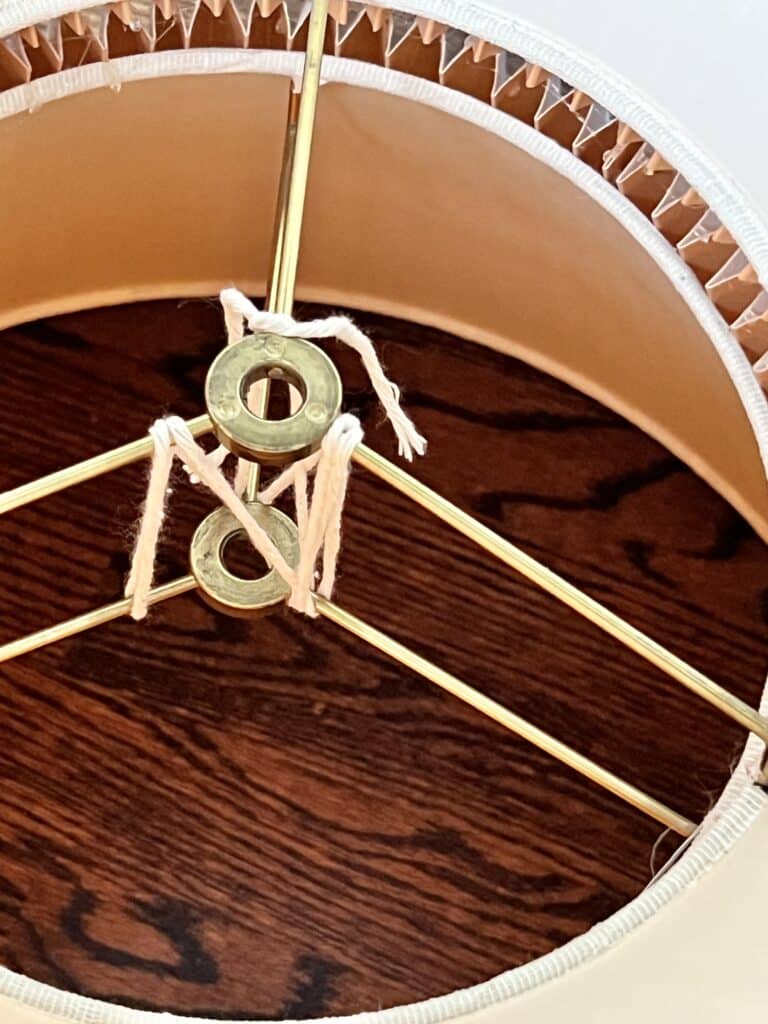
Take reinforcement a step further by tying some jute rope around the metal inside of the shade. Just loop and wind the jute over and around the metal pieces of the shade and tie it off in a knot.
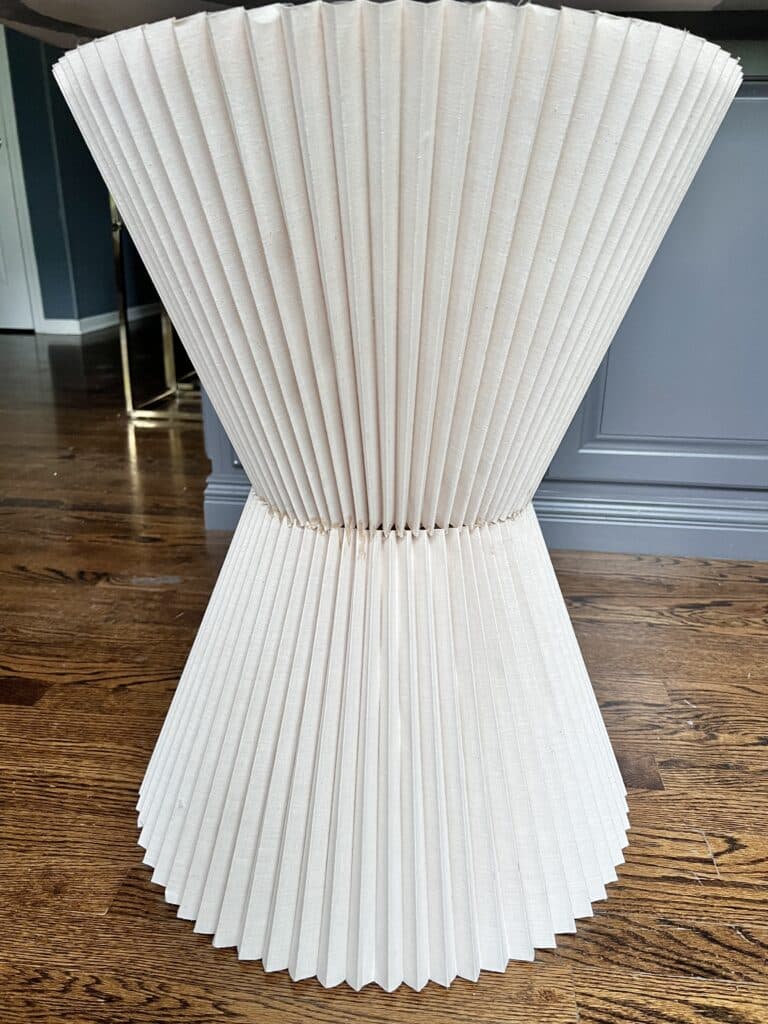
Let the glue set for about an hour and then give your table base a little shake to make sure it is connected and solid.
Hiding the Seam
No one likes to look at dried beads of glue. Especially if, in this case, the pleats don’t line up exactly. There are several ways you could cover this seam…
- Jute rope
- Scarf
- A length of sheer fabric
- Faux greenery
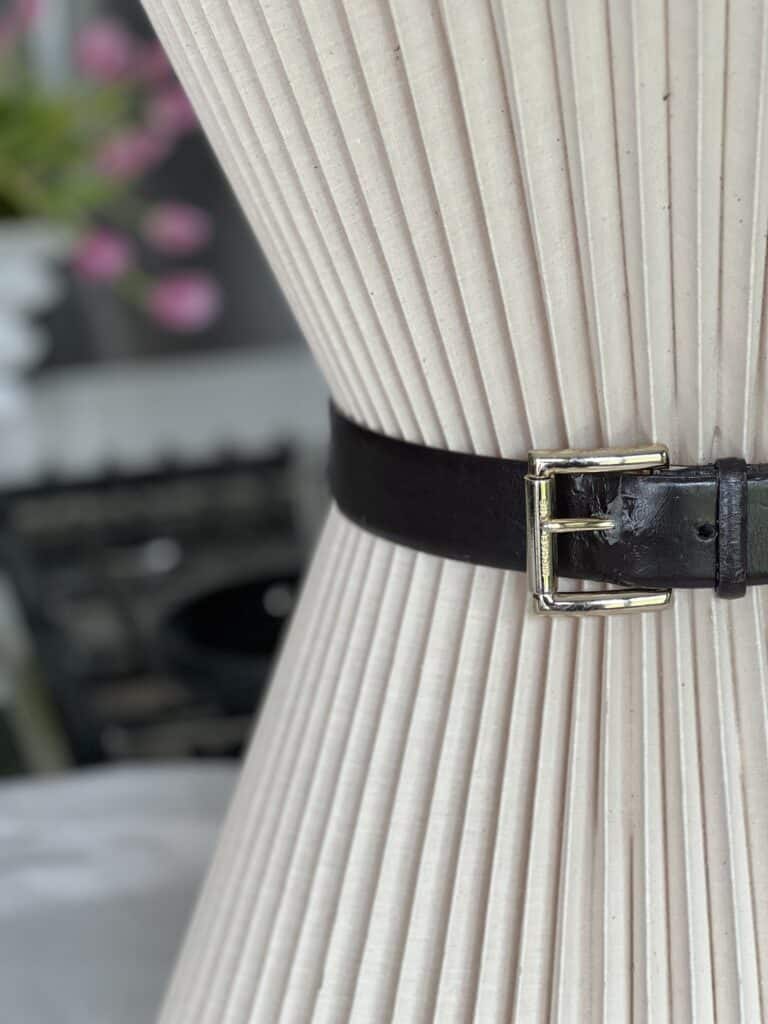
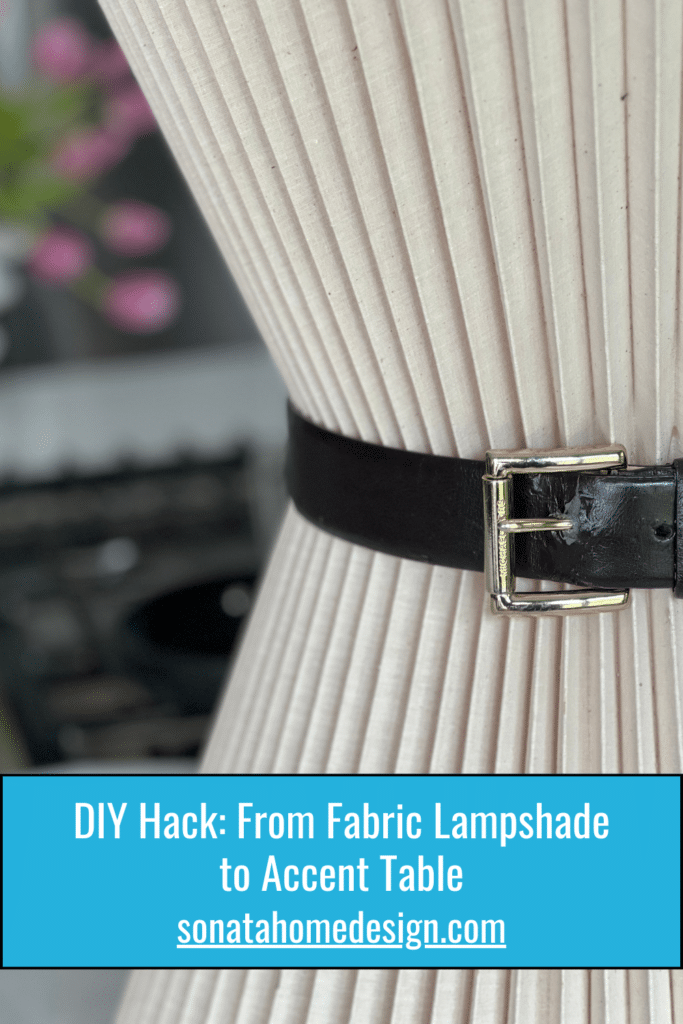
My solution…a gently used belt that I found at the thrift store!
I wrapped and buckled the belt around the middle of the lampshade table but discovered that there were not enough holes in the belt.
So, I made my own!
A small screwdriver was all I needed to drive a hold through the belt and create a new hole.
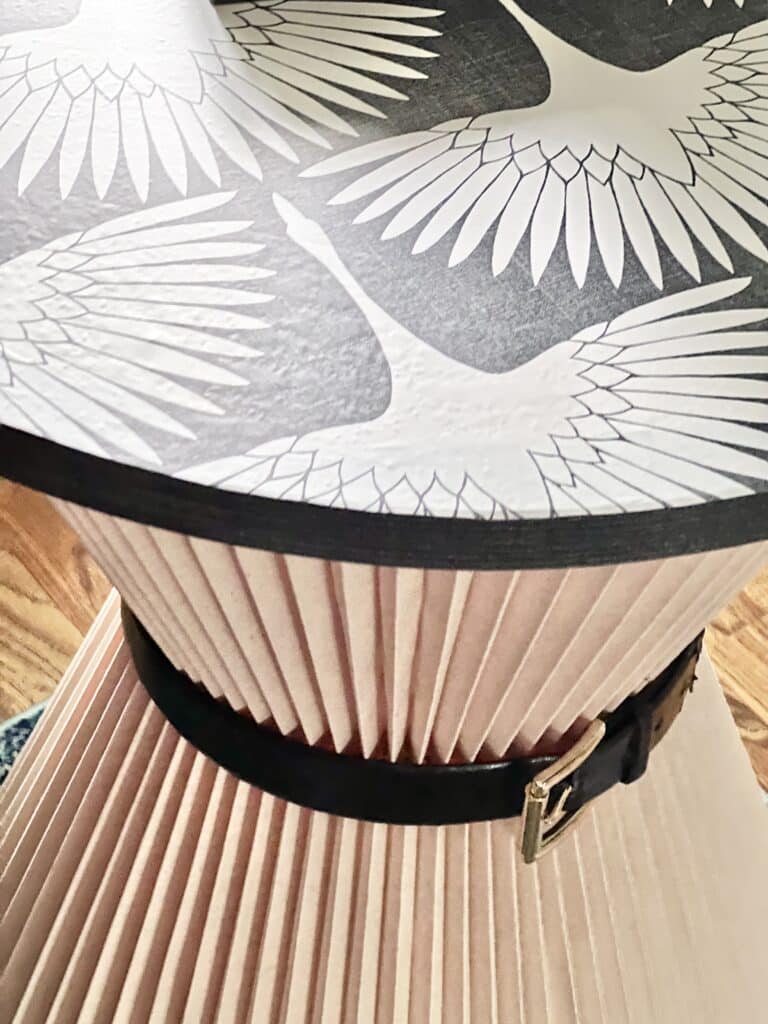
Once wrapped and buckled with the new belt hole, it fits perfectly.
The gold belt buckle was a bonus! I love how it looks!
The Tabletop
Next, this table needed a top!
Fortunately, I found the perfect-sized round wood piece at a local craft store. And it even has a lip!
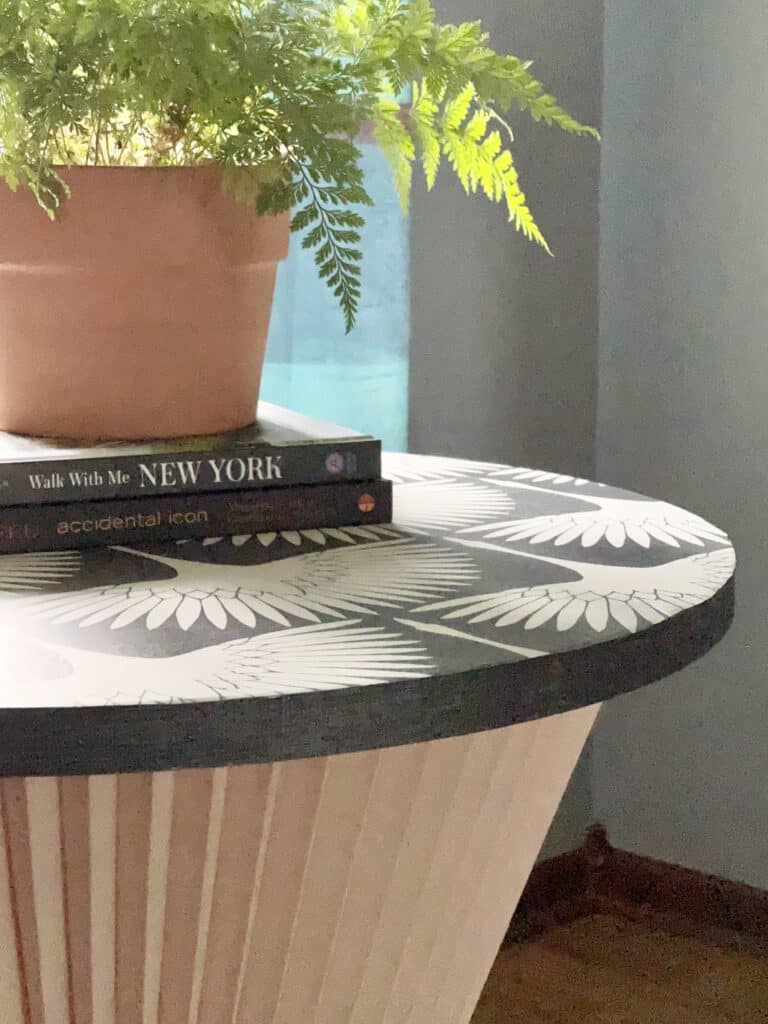
Perfect size and shape…now to add a little spice…peel-and-stick wallpaper!
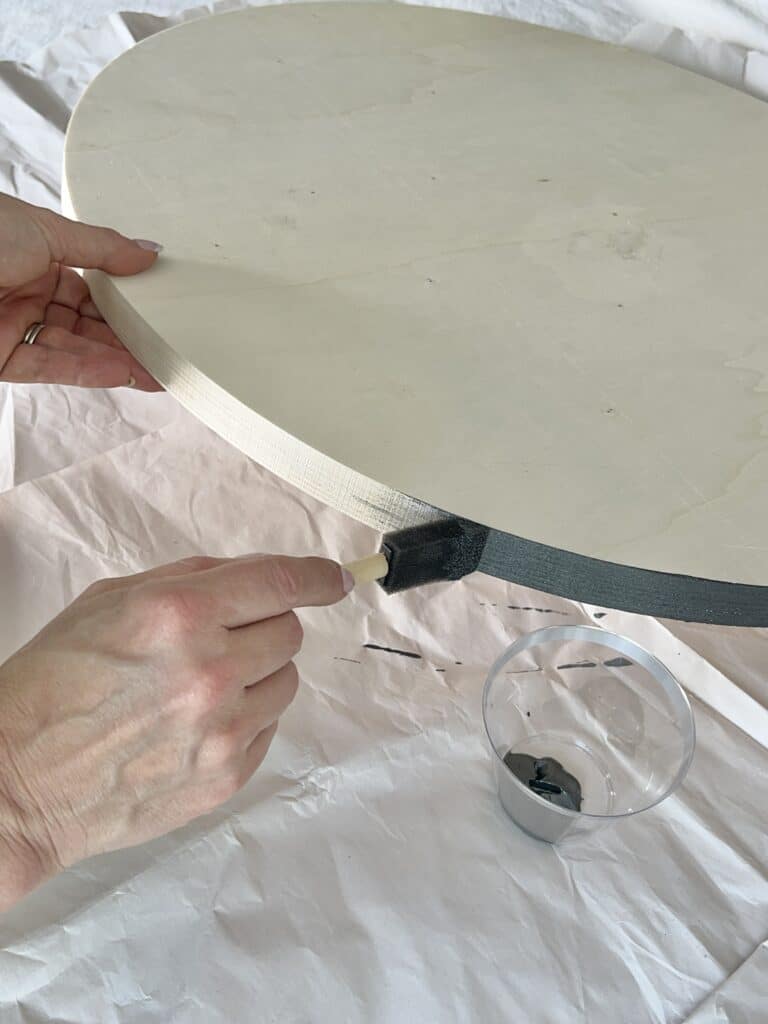
However, before actually applying the wallpaper, I painted the outer rim a coordinating black to work with the wallpaper.
This fabulous flying crane pattern is one that is in my sister’s powder room. I love the pattern and I think it coordinates really well with the fabric lampshades.
Peel and stick is a beautiful thing when it comes to wallpaper. Particularly for small DIY projects like this.
Measuring is important! First measure the diameter of the circle and then cut a piece of wallpaper that will fit. I added a couple of inches just to make sure the widest part of the circle was covered.
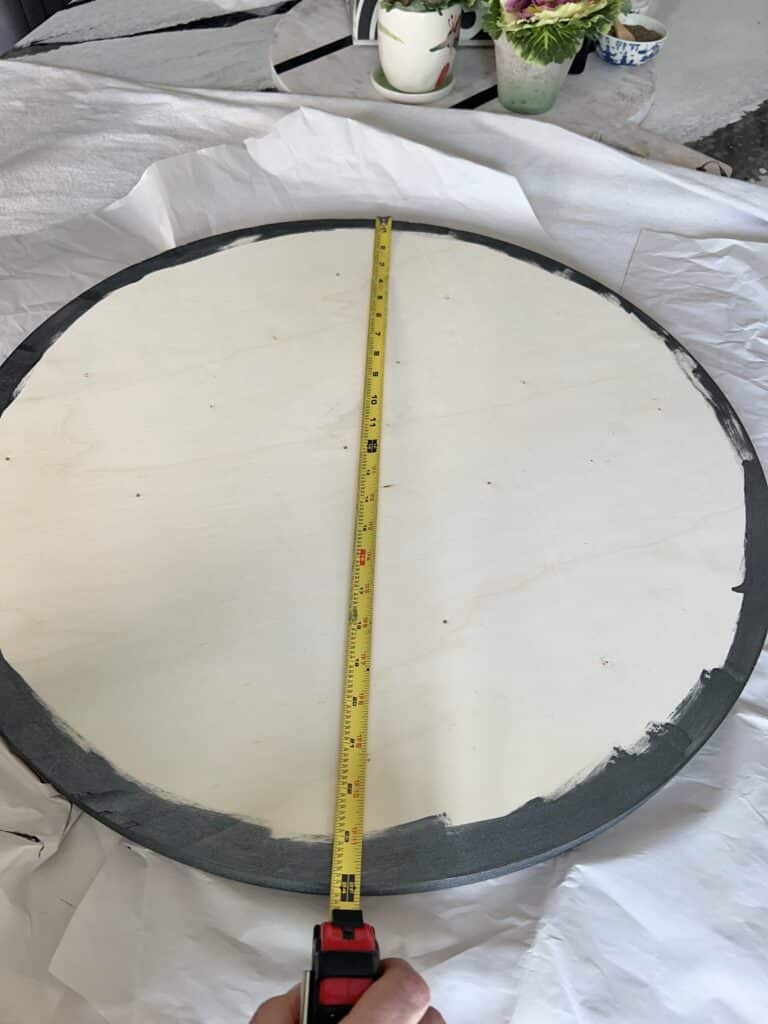
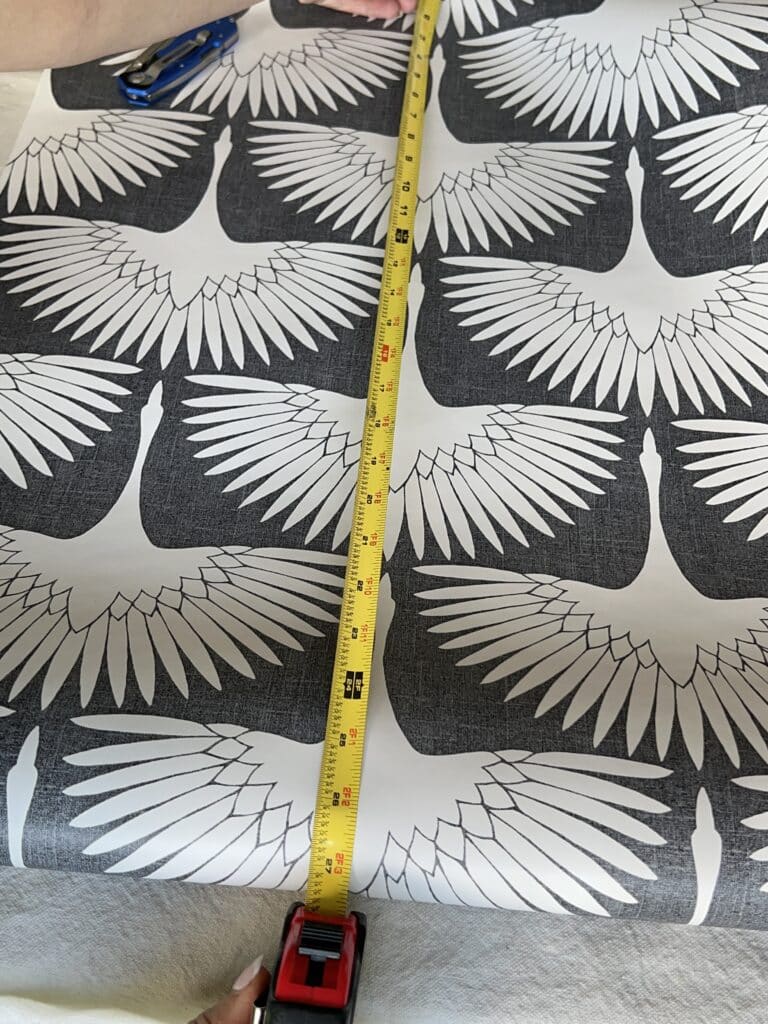
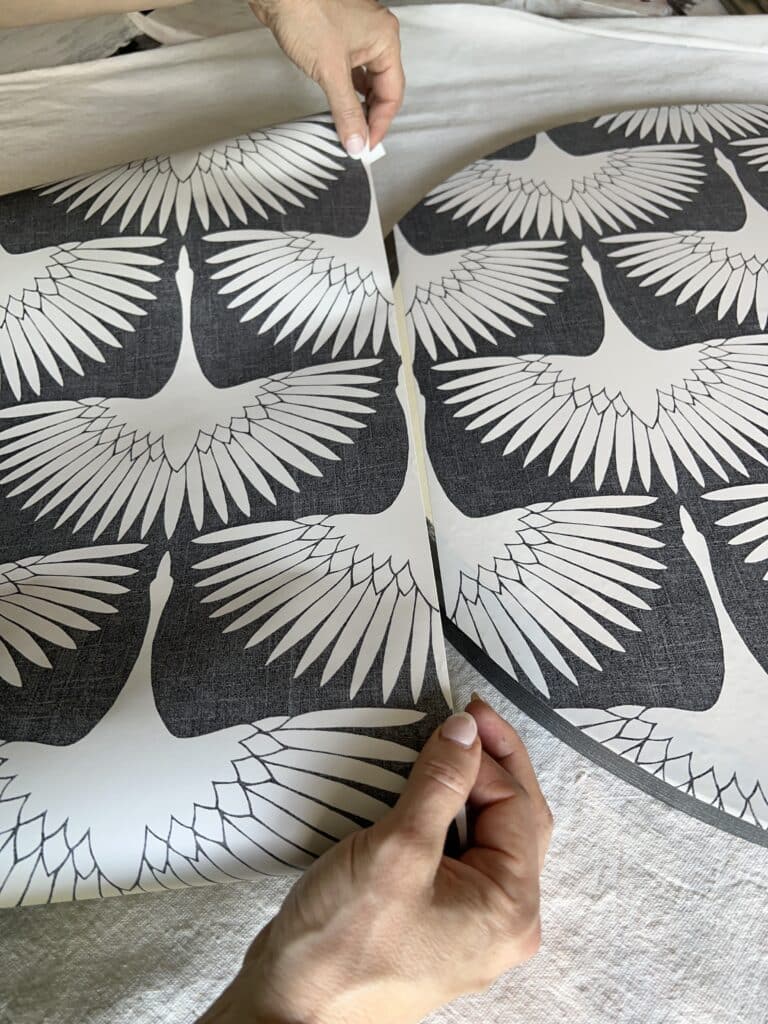
Because the tabletop wood is round, a good starting point to apply the first piece is directly in the center of the circle. Then, it was easy to match the pattern on either side of the middle piece. Use scissors to easily cut off the excess wallpaper for a clean edge.
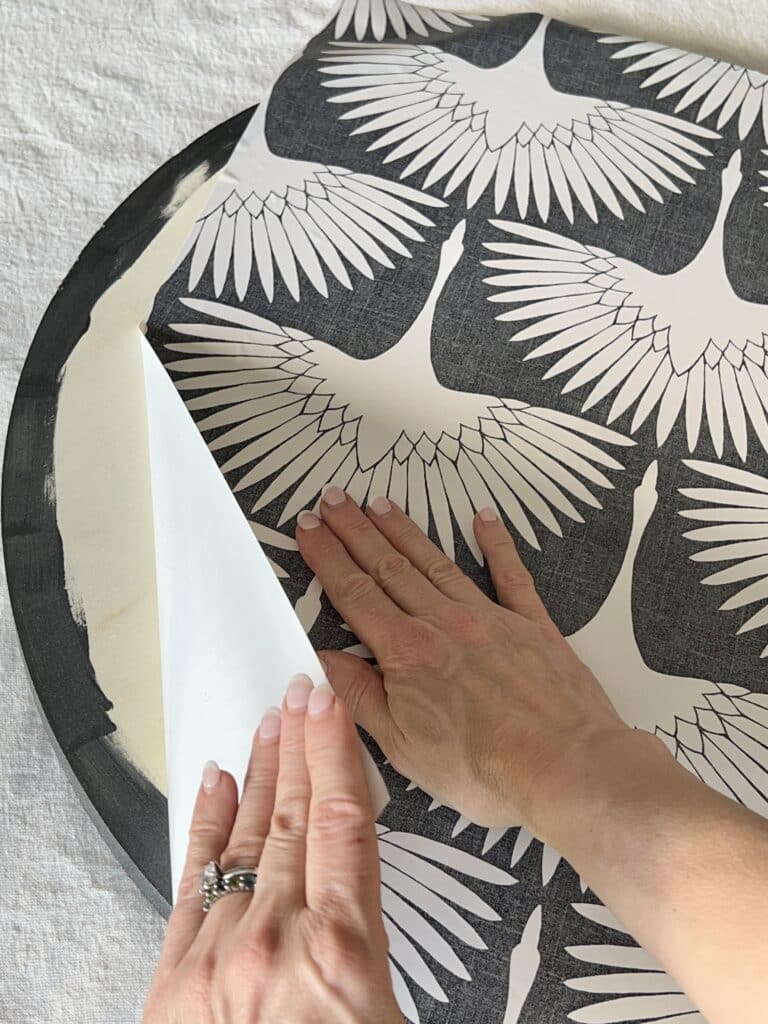
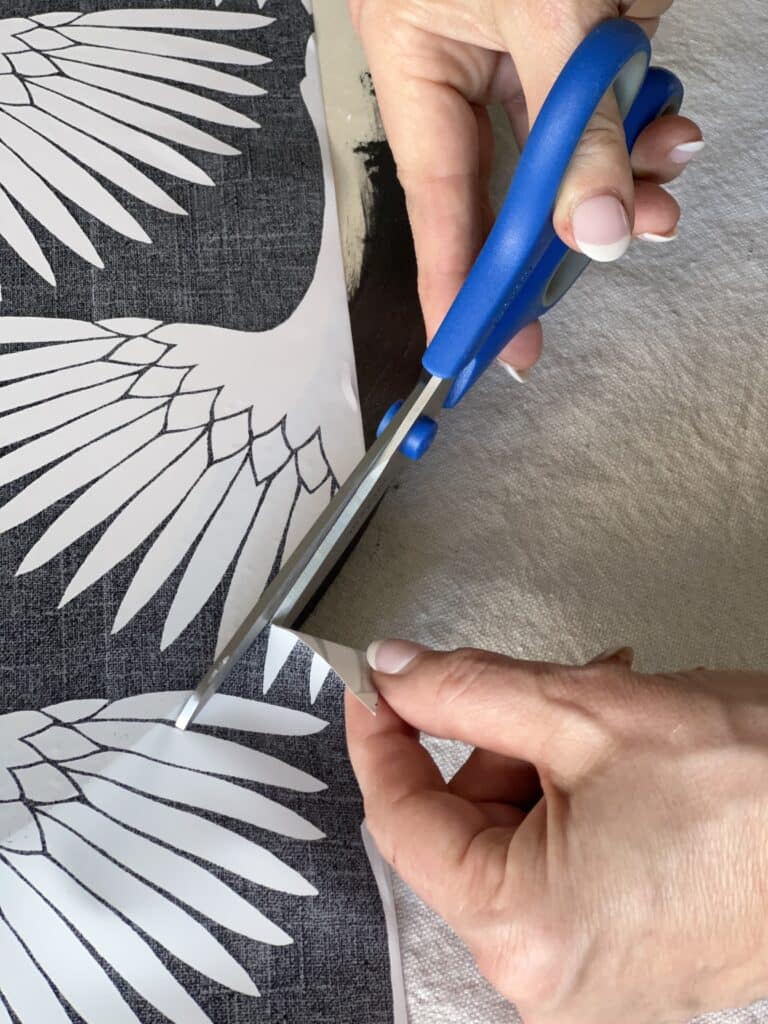
I had two bare spaces on either side of the applied wallpaper. By simply lining up the pattern, I was able to splice in the two sides from one piece of wallpaper. There was a little bit of wallpaper waste but I can use that to cover a decorative book!
This tabletop is sturdy enough that I probably could just set it on top of the lampshades.
However, I don’t want one of my infamous half-full coffee mugs to fall the first time I set it on this new table!
So, I placed the wood piece on top of the lampshade table base and applied dots of glue at connecting points of the tabletop.
How to Style an Accent Table
My coffee cup would get lonely if there were no other decor on the table! Here are some of the first things you should consider in styling your table.
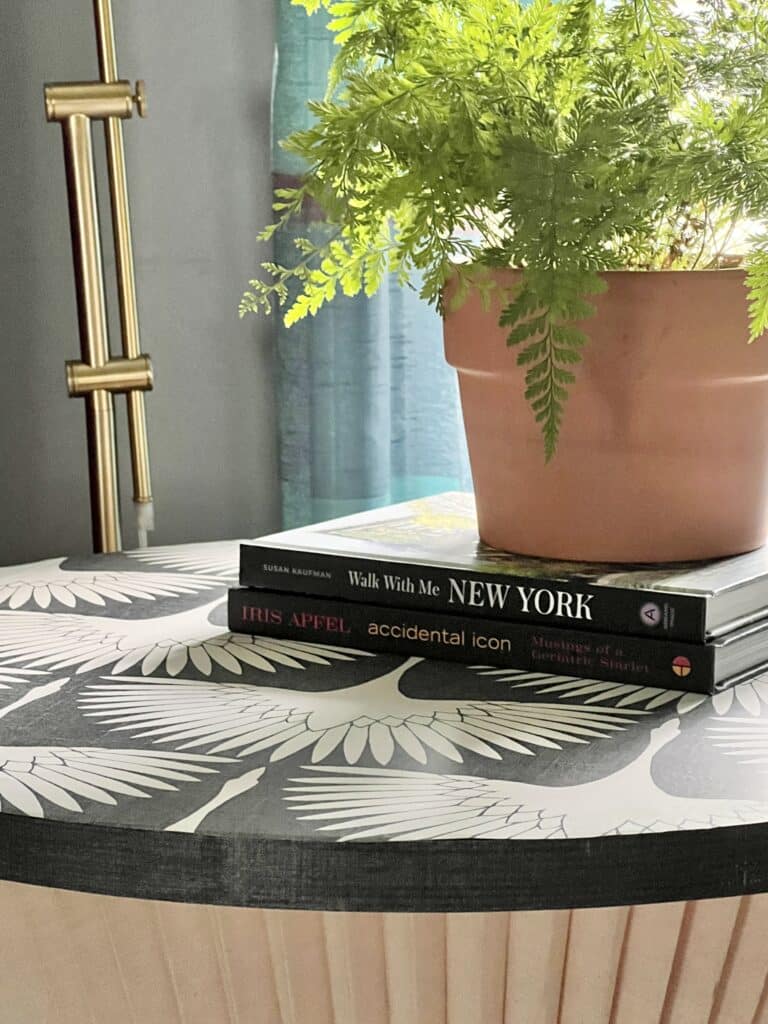
- A vase of fresh flowers is always a nice touch for an accent table. You can either buy a bouquet from a florist or pick some flowers from your garden.
2. A candle can add a touch of romance or sophistication to your accent table. Choose a scent that you enjoy and that will complement the other items on the table.
3. A small dish filled with candy or other treats is a great way to add a bit of sweetness to your decor. (This one doesn’t work for me…I eat the candy too fast!)
4. A framed photo or picture is a personal way to accessorize your space. Choose a photo that means something to you or that you simply enjoy looking at.
5. A book can be both decorative and functional on an accent table. Choose a book that you love and that will look good with the other items on the table.
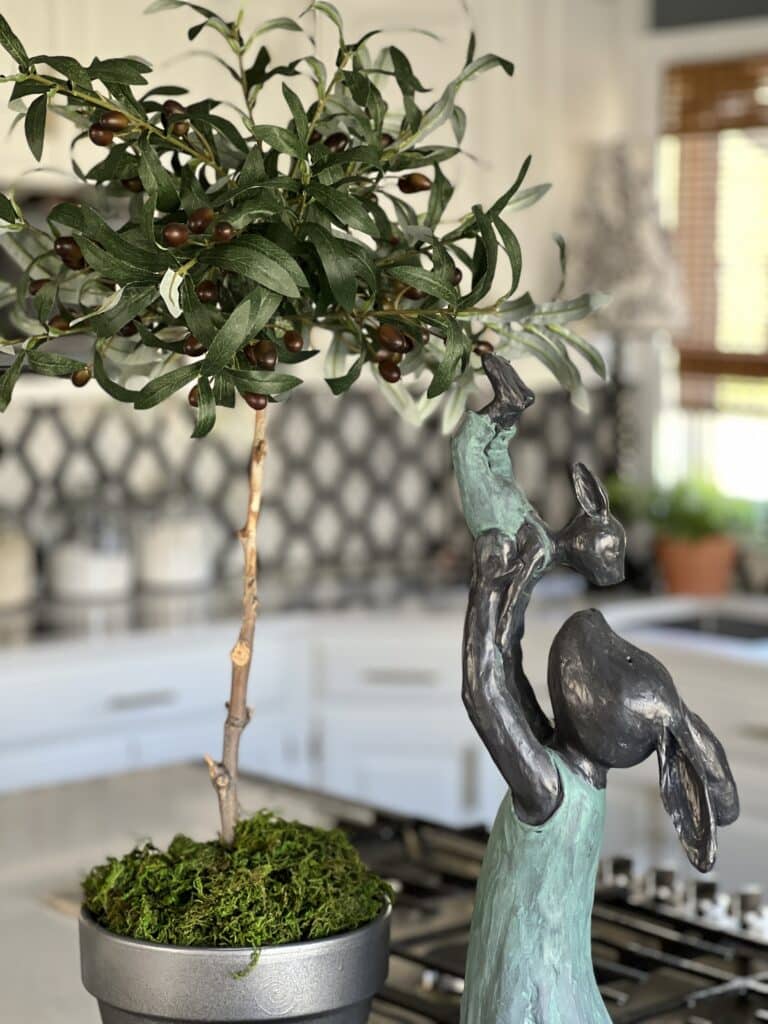
6. A plant is a great way to add life to your accent table. Choose a plant that is easy to care for and that will thrive in the environment you have created for it. Add a faux plant like an olive tree topiary for some height.
7. An interesting object that you have collected from your travels is a unique way to personalize your space. Choose an object that has meaning and takes you down memory lane.
8. Finally, don’t forget the basics! Make sure your accent table has a nearby lamp for light, and a surface for placing drinks and snacks, and be sure to keep it clean and free of clutter
Will the Lampshade Table Collapse Under Weight?
I have gotten the question as to whether the lampshade table can actually hold anything without callapsing.
The answer…Yes! It actually holds quite a bit of weight!
I experimented with a series of items that I put on the table. Starting with a 5 lb. stack of books and ending with a 20 lb. potted plant…the table stands tall and proud without so much as a shudder! (I weighed everything carefully!)
Perhaps the key to success is that the lampshades themselves are thick, pleated shades that have a very strong structure. Lighter lampshades may not hold as much.
I would suggest that once you have your table constructed, do a little experimenting of your own to see how much your table can hold.
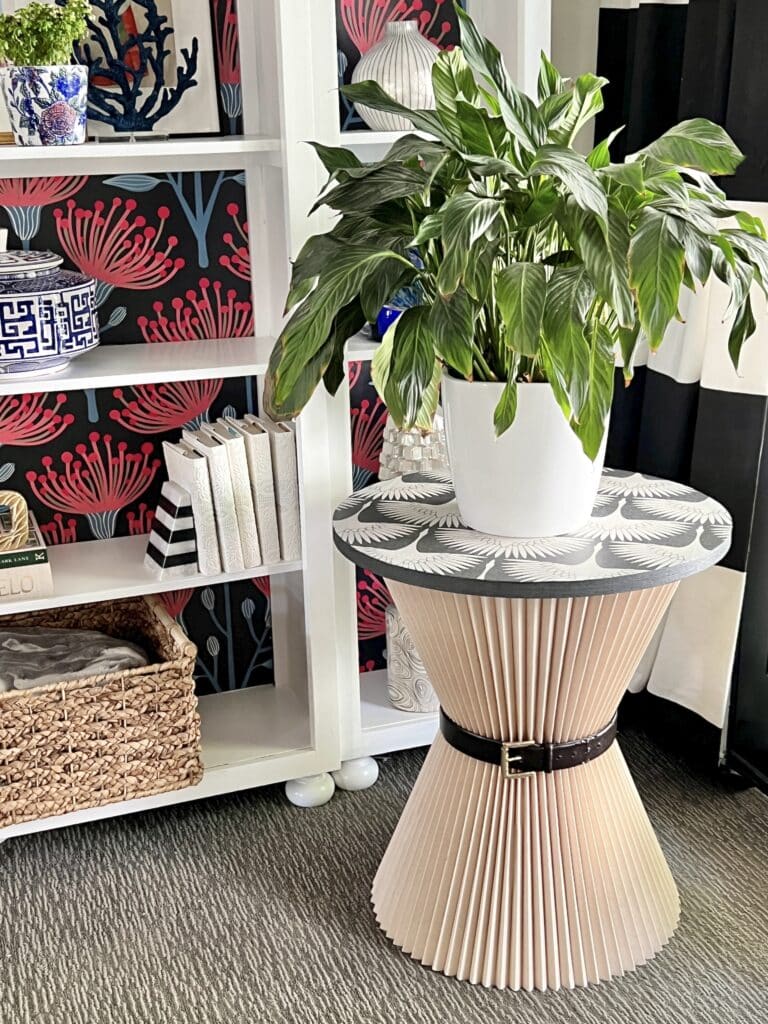
A Successful DIY Fabric Lampshade Hack
I love the end result! This is a great project that uses recycled material in the form of lampshades that could end up in landfill.
Now I just need to decide whether I will place it in the living room or the family room. I need a favorite place for one of my favorite DIY projects!
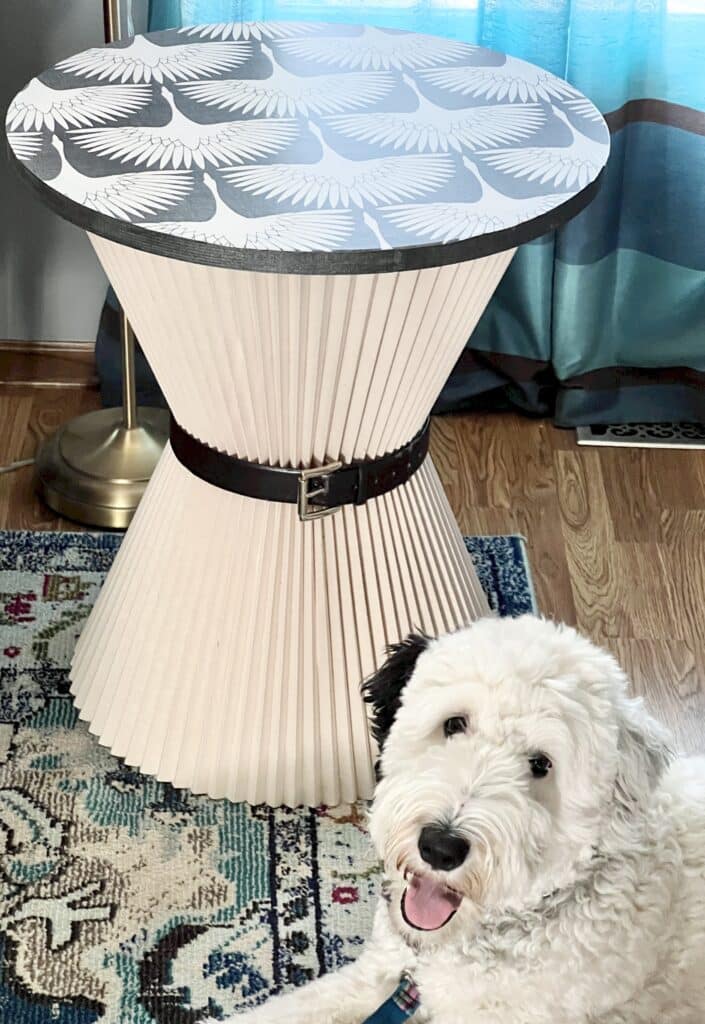
Behold – what was once two mundane lampshades has now been transformed into something entirely new! Who knew that with a few simple supplies, you could make something that had so much impact in your home?
The best thing is that it is like a new piece of furniture for your home!
Make your own DIY fabric lampshade table today and create something unique that will turn heads!
Cheers!

I love decorating my home with DIY projects and colorful decor. If you like budget-friendly decorating, I hope you subscribe to my blog as well as follow me on Youtube, Instagram, Pinterest, and Facebook so that you never miss one of my adventures!
Don’t Forget to Pin It!
Pin the image below to your boards on Pinterest (just click the Pin button in the top left corner). You can also follow along with me on Pinterest!
In Case You Missed It
The Best Table Runner Ideas for a Round Dining Table



Missy,
This is FABULOUS! Love how it turned out!
Thank you so much, Libbie! I’m so glad you like it! Thank you for reading and leaving such a sweet message!
You are so creative! way to think outside of the box.
Thanks, Wendy! I saw the lampshades at the ReStore and something clicked in my head. Why not a table? Thanks for stopping by1
How cute!
Thank you, Leslie!
This is so stinkin’ clever! You are amazing my friend!
I love that you love it! Thank you, Susan!
Perfect accent table Missy! I fell in love with the cranes in flight wallpaper and had wanted it in our home, but my hubby said no more wallpaper! Of course, in small doses like you have here, I am sure I could get away with it. 😉 Love your table, the texture is perfection!
LOL! I have some cranes in flight wallpaper that I was thinking of using for another lampshade! Great minds think alike!
This turned out so unique! The belt makes it.
Thanks so much, Patty! The belt was a fun touch!
You are brilliant, Missy. Gosh I don’t know how you come up with these things!!
Those shades were the perfect find to use for a table with how large they are. I love the use of the thrifted belt, as well. Thanks so much for sharing at Home Imagined this week!! Pinned!
Thank you, Rachel! I couldn’t believe how easy it was to put it together. And how strong it is! I’m so glad you like the project!
Hi Missy – This is such a clever idea! It’s so practical for so many reasons. Thank you for sharing this post on the Home Imagined Link party.
Thank you so much, Anna! I love your link party!