The Best Hack For An Amazing DIY Ikea Bar Cart
Elevate your entertaining space with this step-by-step guide on creating a stylish DIY Ikea bar cart. Discover how to transform a classic Ikea utility cart into a chic and functional bar cart that will impress your guests!
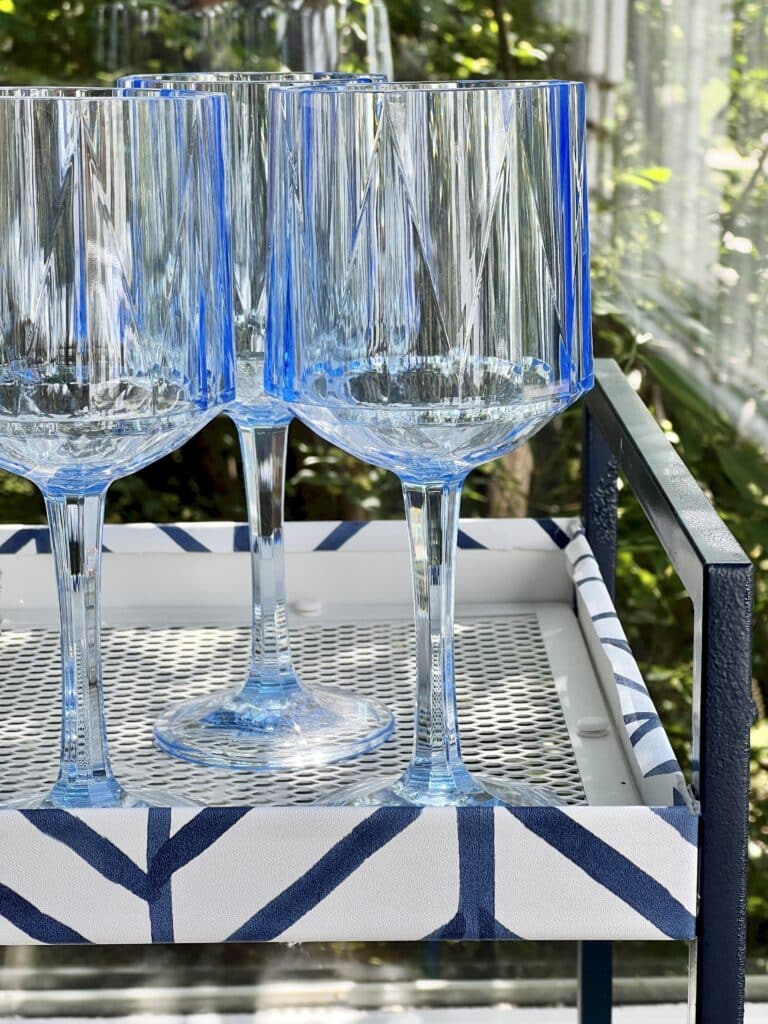
Whether you’re hosting friends for an evening soiree or wanting to give your living room an extra touch of glamour, nothing elevates the experience quite like a spectacular bar cart. This fun and easy Ikea hack will help you transform a basic cart into one worthy of being featured at your next party!
This blog contains affiliate links. This means a small commission is earned if you make a purchase by using this link. The price you pay will be the same whether you use the affiliate link or go directly to the vendor’s website using a non-affiliate link.
Living in Nebraska is really pretty awesome!
Friendly people, four beautiful seasons, wide open spaces, small towns but also urban living, and we’re centrally located for ease of travel.
The downside…
Some might say the unpredictable weather, potential for tornadoes, and a pretty boring interstate drive.
A downside for me…”There is no Ikea!”
Ok, this is a pretty shallow, superficial downside. (I won’t whine too much because they will ship anything I want.)
This is not a tragedy but let’s face it…a good deal is a good deal!
Don’t You Love an Ikea Hack?
I love a good bargain and I love a good Ikea hack!
Ikea furniture is a great place to start with home decor…simple lines and classic shapes lend themselves to fun Ikea hacks.
A Nilsdorf utility cart is an inexpensive Ikea piece that is great for storage and is a perfect piece if you have a small space.
And, they make amazing bar carts!
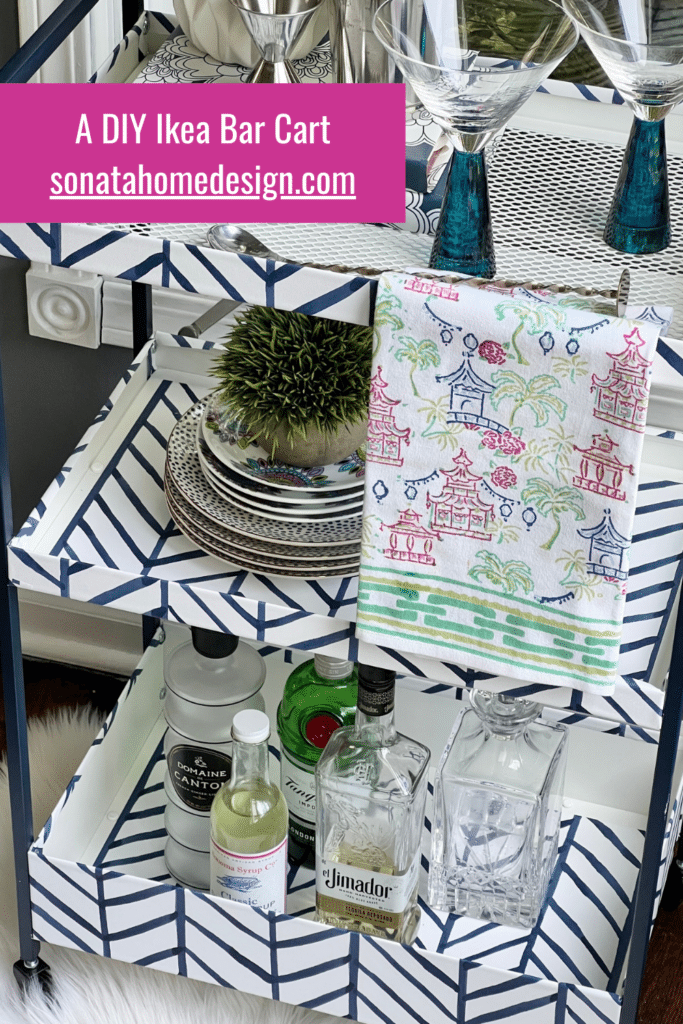
So I gave this classic gem a fabulous makeover with a little bit of wallpaper!
DIY Ikea Bar Cart Supply List
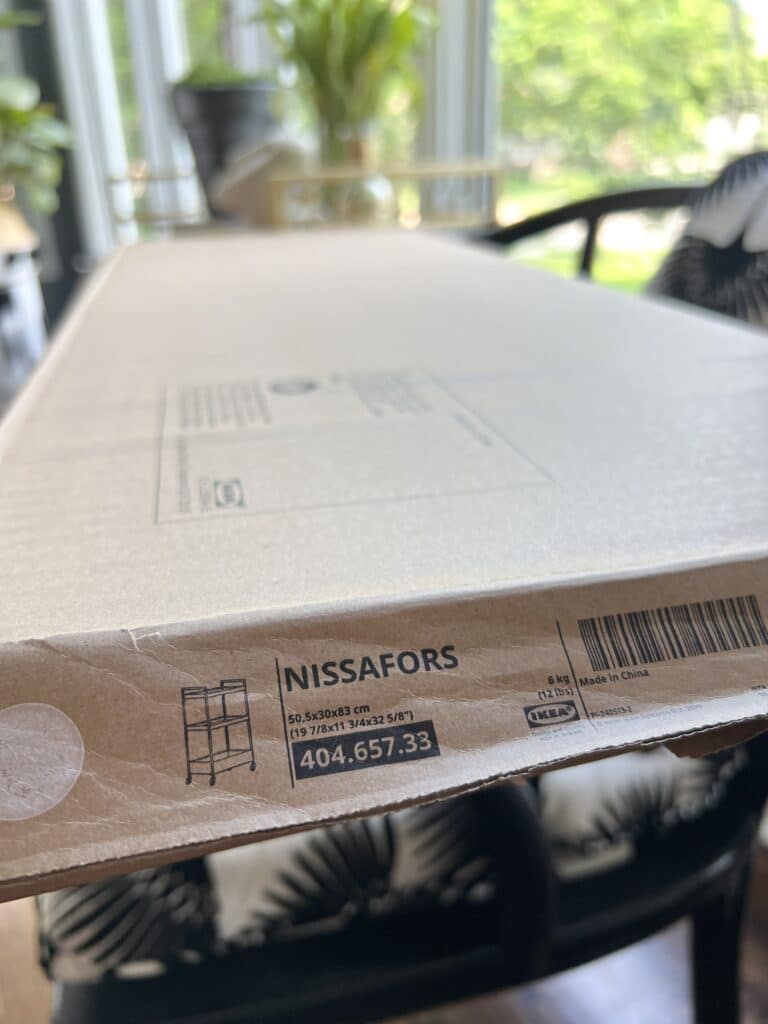
- Ikea Nissafors cart
- 1 roll of peel-and-stick wallpaper
- Measuring tape
- Scissors
- Spray paint
Once you open the box, lay out all of the pieces and group like-sized pieces together. It can be a little overwhelming at first…lots of pieces and a bag with lots of screws!
Have your favorite peel-and-stick wallpaper on standby. While I am a huge fan of large-scale wallpaper patterns, this project works best with small-scale or geometric patterns.
I have wanted to use this blue and white wallpaper for the longest time!
The best part? It was only $4.99 a roll! That is an incredible price for peel-and-stick wallpaper!
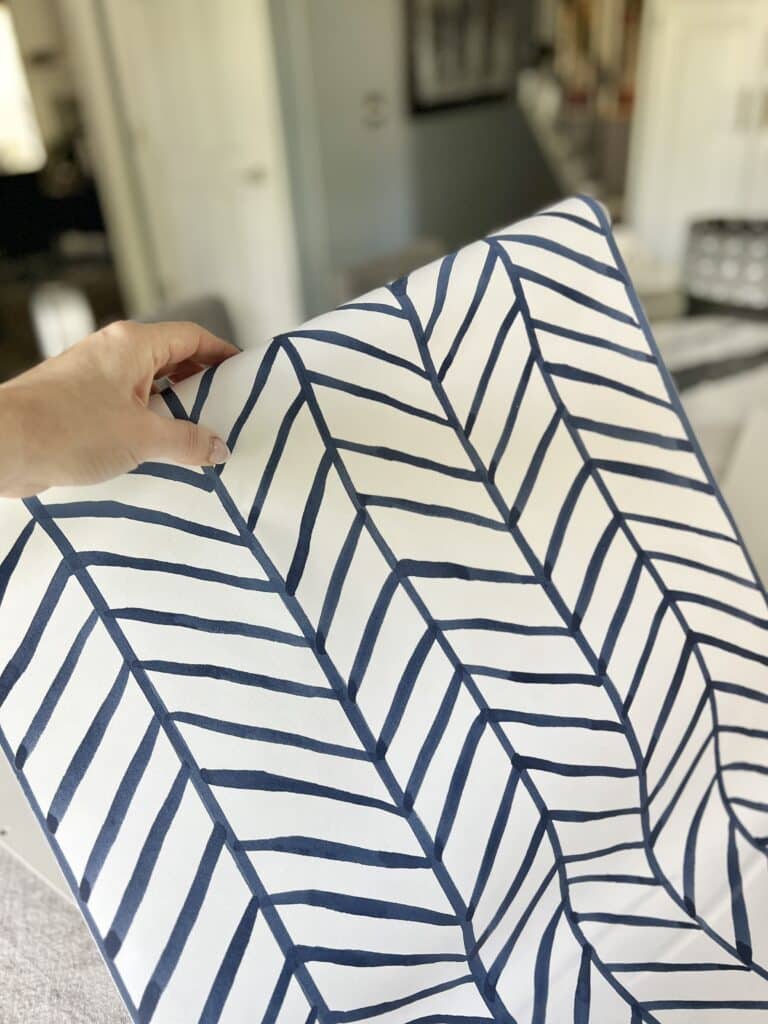
If you do choose a larger-sized pattern, the overall look will be more abstract. Which could be pretty cool!
A DIY Ikea Bar Cart Using Wallpaper
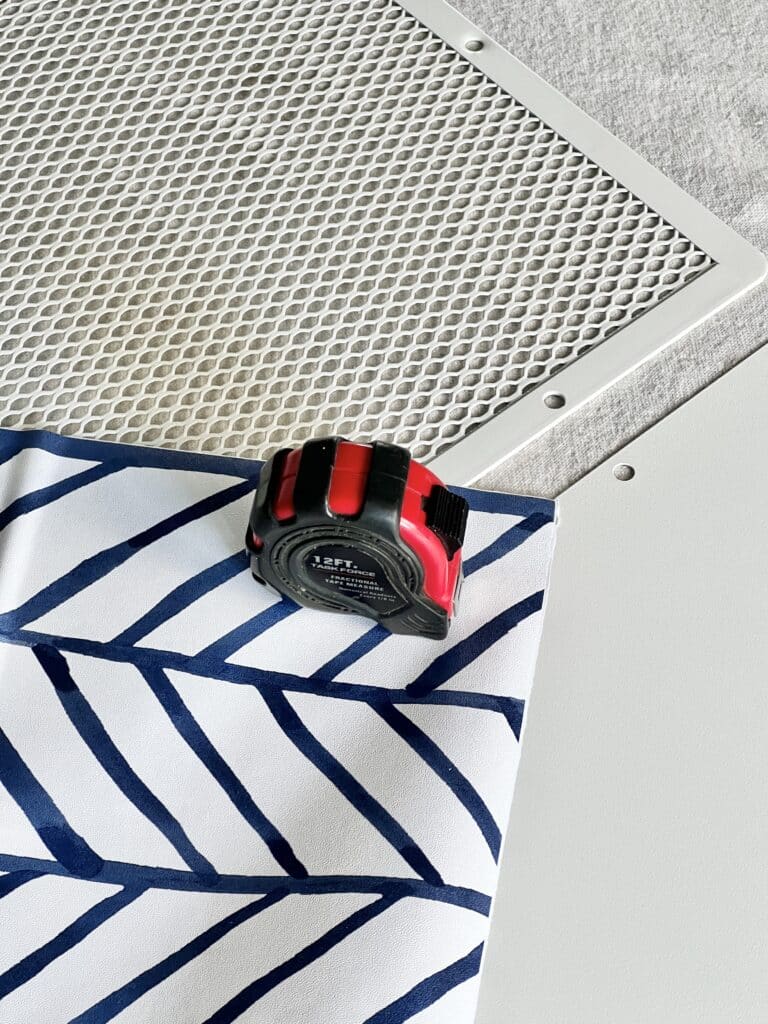
The first step is to cover the larger shelf pieces with wallpaper. The top tier of the Ikea cart has an open mesh middle so I just left that alone. I love the look of the mesh shelf and used it as the footprint for the wallpaper pieces on the other shelves.
Measure and cut a piece of wallpaper that is the same size as the mesh. You’ll want to cut out two matching pieces of wallpaper since there are two other shelves.
I pretty much eye-balled this but you can be as specific as you want with a measuring tape.
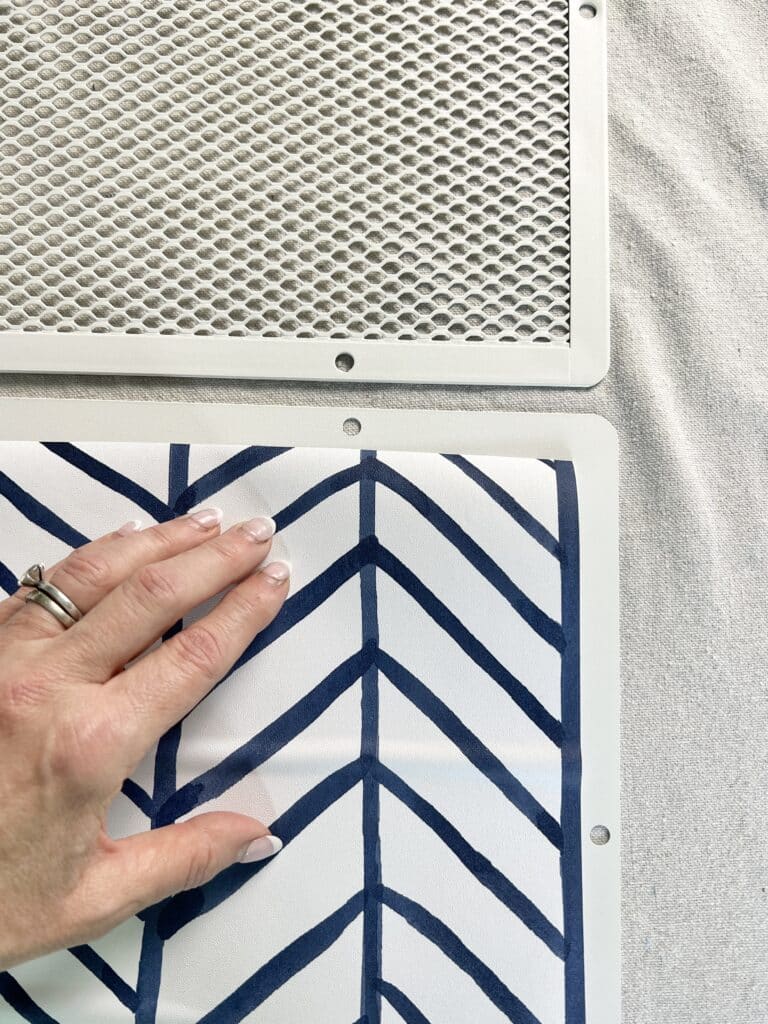
Peel back the corner of your measured wallpaper and the rest of the backing will peel off easily. Apply to the center of the two cart shelves leaving a white border around the paper. This will mimic the border of the mesh shelf.
The best way to smooth wrinkles is to use a debit card or gift card by pressing the top edge of the card against the wallpaper. Sometimes you need to lift the wallpaper back up in order to get the layout and a smooth finish…but this is the beauty of working with peel-and-stick wallpaper.
Wallpapering the Cart Side Panels
Now take the side panels, measure and cut wallpaper to fit around the panels and apply. Miter the corners just like you would for a gift package or sewing project.
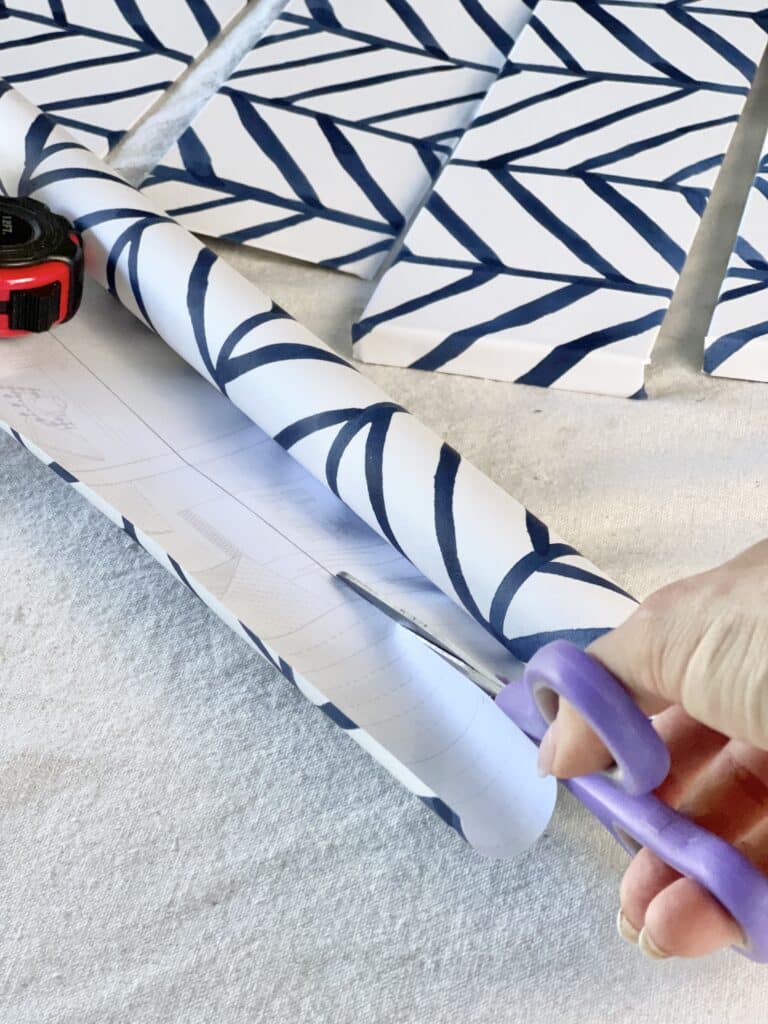
If your wallpaper is not as wide as the long side panel like mine was, just cut a smaller piece of wallpaper, match up the pattern, and splice it onto the panel.
Follow this process for each side piece of the cart shelves as well as the connector pieces. The first couple of pieces that I wallpapered felt a little awkward to me but I got the hang of it after doing it a couple of times.
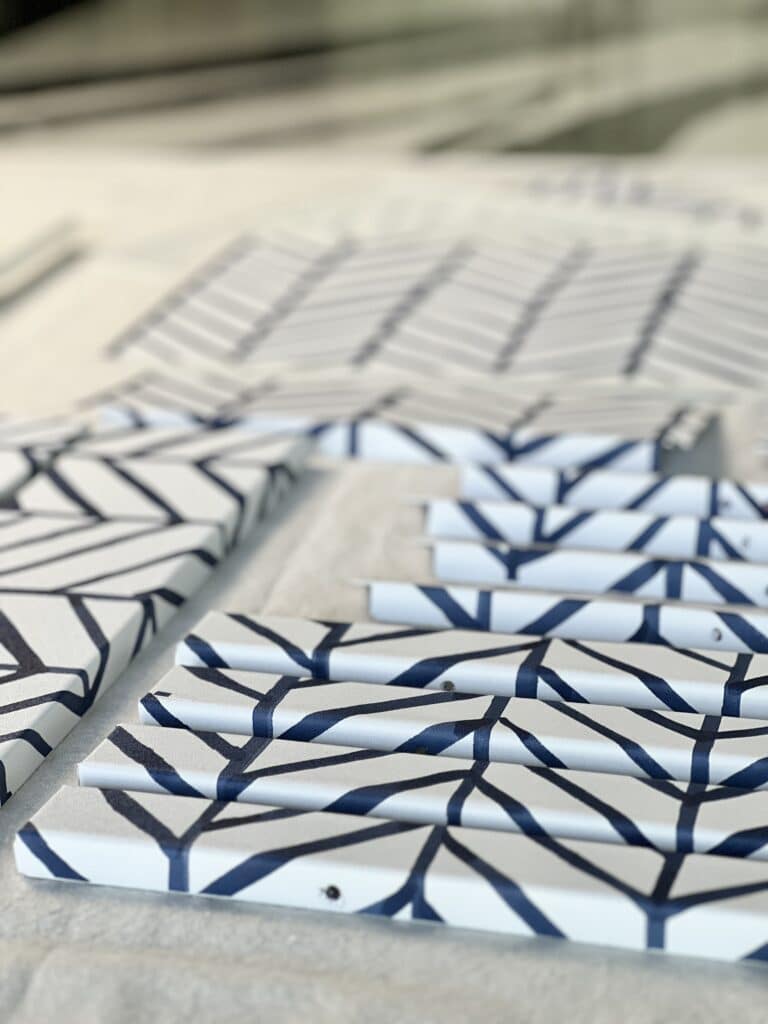
As you wrap the shelves in wallpaper, be sure to mark where the screw holes are located for later assembly.
You will notice that I wallpapered each part separately PRIOR to assembling the cart. This is important as it is much easier than trying to wallpaper the entire cart once it is put together.
Bar Cart Rails and Wheels
From your wallpaper color and pattern, pull an accent color and start spray painting the two side rail handles.
My wallpaper is navy blue and white so navy blue was the obvious choice. A couple of light coats of spray paint is plenty so this step did not take a long time. Just make sure you allow the rails to be thoroughly dry.
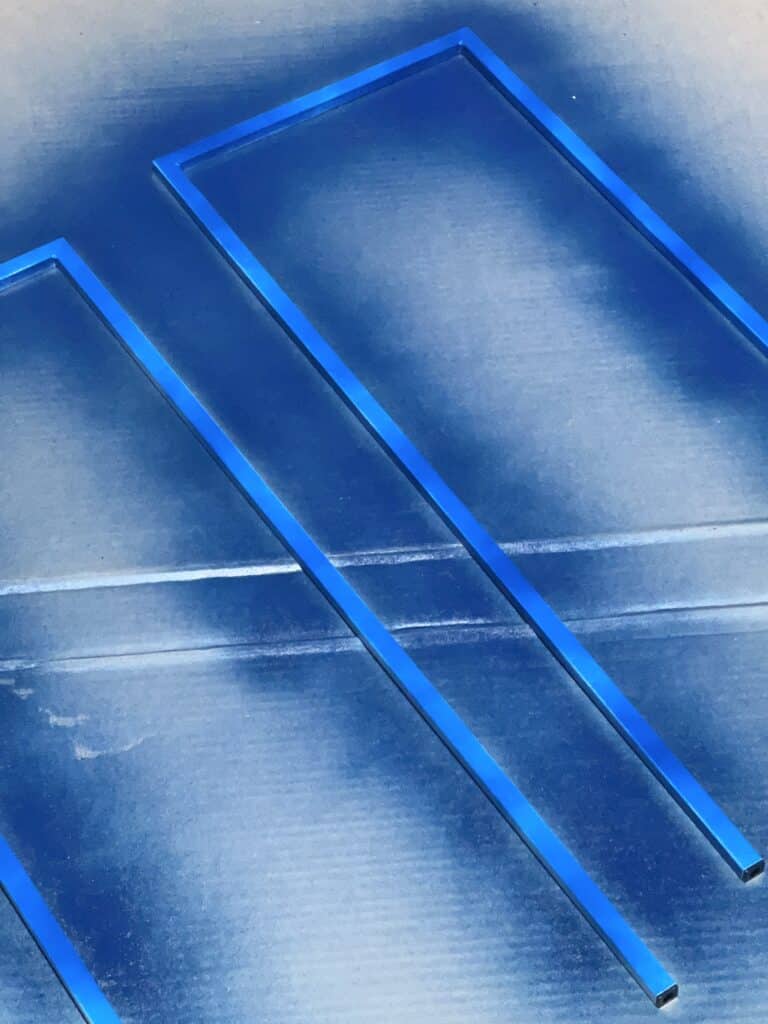
Next, follow the instructions that Ikea provides in the box and assemble all of the pieces of the cart.
You knew that assembly part was coming, didn’t you? Don’t worry, it doesn’t take very long!
Remember those spots on the connector pieces that you marked? Poke a pen or screwdriver through the holes so you can attach the pieces together with the screws.
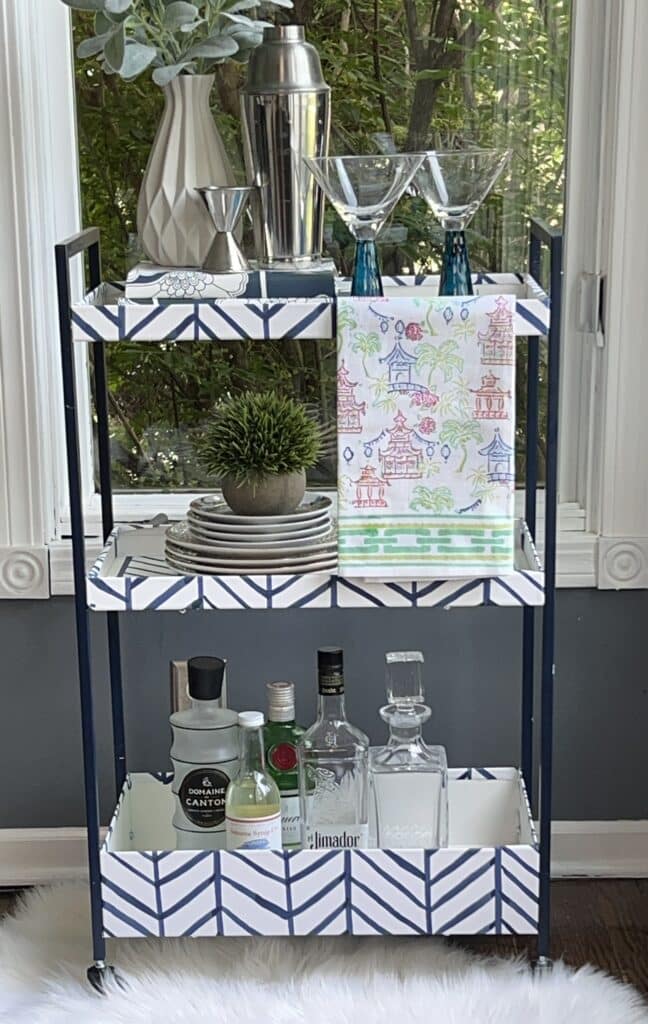
Pop on the wheels and your new chic DIY Ikea bar cart is ready to ROLL!
What to Include on a Bar Cart
Having your own bar cart is only a good thing if you stock it with items you will use!
If you are a wine drinker, then include a corkscrew and wine glasses.
Are martinis your thing? Then keep a shaker and strainer on one of the shelves.
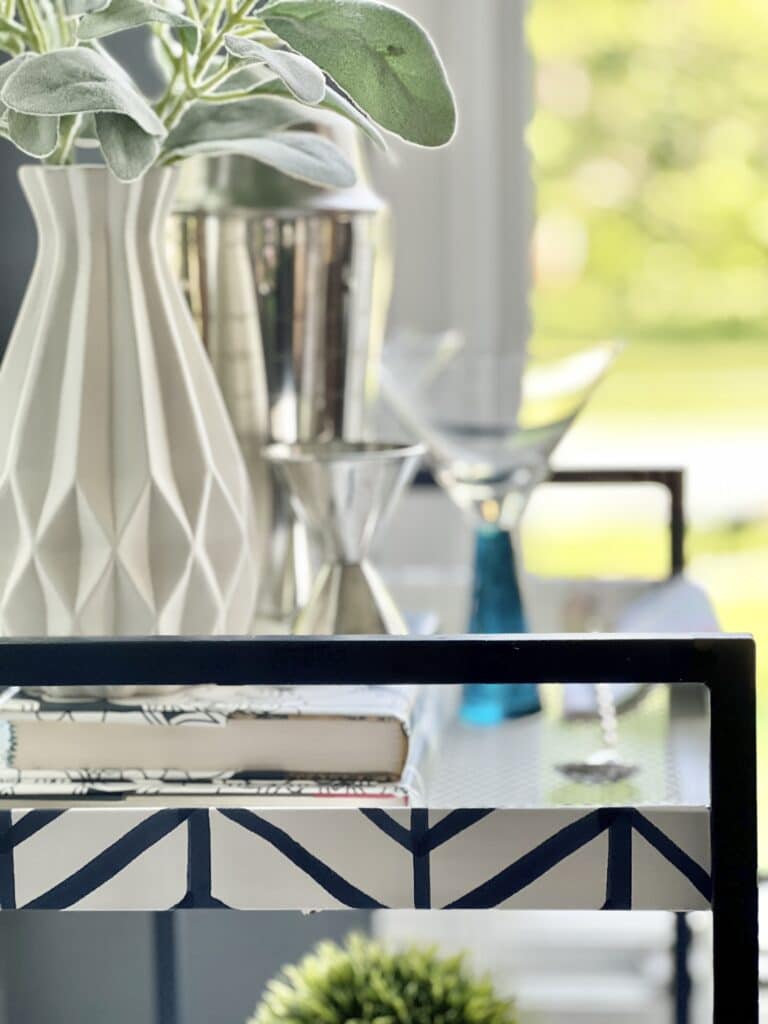
A great way to know what to put on your cool home bar is to think of what you like to drink and/or serve to others…and then start stocking. So much fun!
Here is a list of general items you might want to stock your new wet bar:
- Assorted Liquors and Mixers: Display a selection of your favorite spirits such as vodka, rum, whiskey, gin, tequila, and liqueurs. Also include mixers like tonic water, soda, ginger ale, and fruit juices to create a range of delicious cocktails.
- Glassware: Include different types of glassware such as highball glasses, martini glasses, and wine glasses to cater to various drink preferences.
- Bar Accessories: Add a touch of style with accessories like shakers, cocktail muddlers, bottle openers, and wine openers.
- Fresh Citrus and Garnishes: Keep some lemons and limes on hand for garnishing cocktails, along with other garnishes like olives, cherries, or herbs.
- Ice Bucket and Tongs: Keep your ice cubes chilled in a stylish ice bucket and provide a pair of tongs for easy serving.
- Bar Towels and Napkins: Have a stack of clean towels and napkins readily available for spills and wiping glassware.
- Decorative Touches: Add personal touches like fresh flowers, small plants, or decorative elements that complement your bar cart’s theme or your overall home decor.
Remember, this list can be customized based on your preferences and the available space on your bar cart. Feel free to add or remove items to make it perfect for your entertaining needs!
What else can you use a bar cart for?
If creating a “bar” is not to your liking, this DIY Ikea bar cart can be used for a lot of other uses because it can fit into such varied, tight spaces. Try styling your new cart in one of these ways:
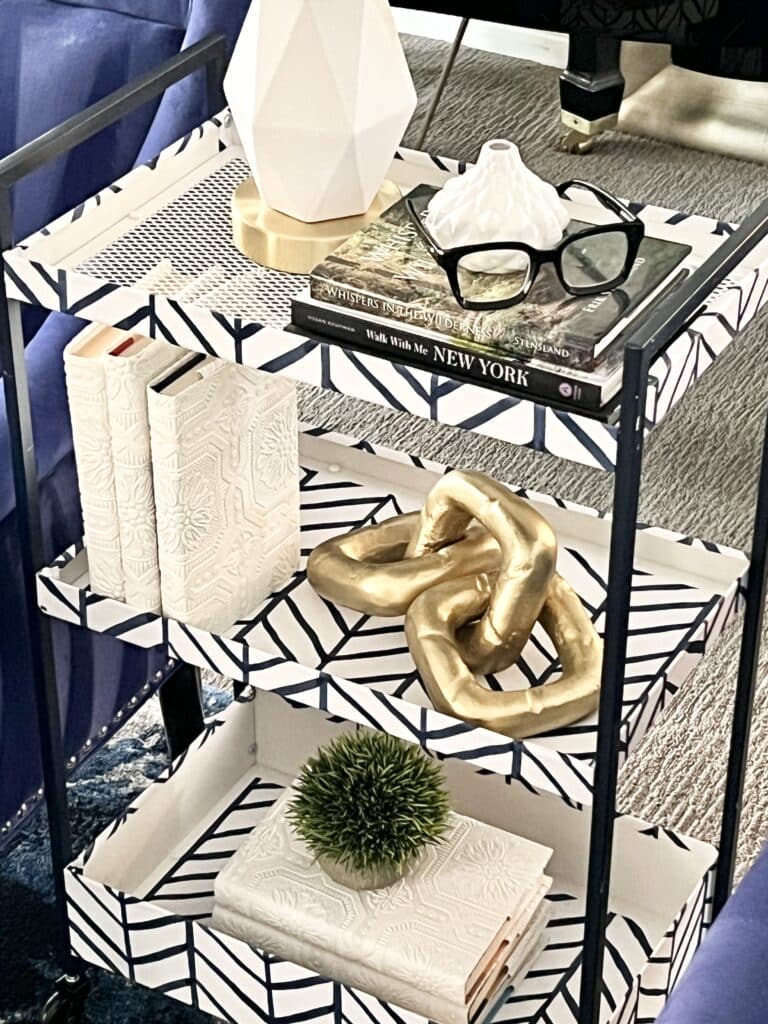
- A Living Room Side Table: Add a small lamp, some of your favorite books, and some green plants. It is the perfect side table because it has so much storage space. Place it by a side chair and enjoy!
- Mobile Bookshelf: Arrange your favorite books, magazines, and literary treasures on the shelves of the bar cart, creating a stylish and portable bookshelf that can be moved around your home.
- Vanity Table: Convert the bar cart into a glamorous vanity table by placing a mirror on the top shelf and arranging your makeup, brushes, and beauty products on the lower shelves. Add a small stool or chair for a cozy beauty nook.
- Bedside Table: Use the bar cart as a trendy alternative to a traditional bedside table. Keep your nighttime essentials like books, a glass of water, and a small tray for jewelry or personal items within arm’s reach.
- Outdoor Refreshments Cart: Take the bar cart outdoors and use it as a mobile refreshments station for picnics, barbecues, or poolside lounging. Load it with chilled beverages, snacks, and ice buckets for portable convenience.
Cheers!
You now have a functional yet beautiful bar cart to show off at your next gathering. The best part is that you choose your favorite wallpaper and create a personalized bar cart for your next shindig that will definitely help you raise a glass!
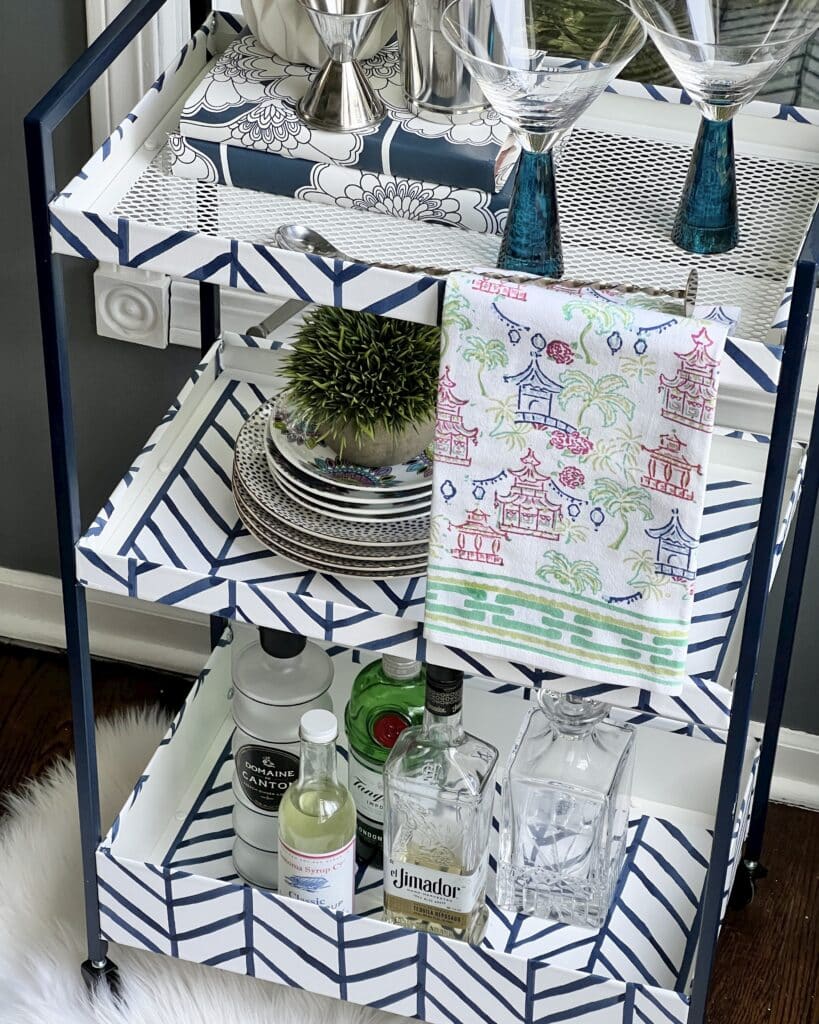

Don’t Forget to Pin It!
Pin the image below to your boards on Pinterest (just click the Pin button in the top left corner). You can also follow along with me on Pinterest!


What a great idea!! Beautiful job!
Thank you so much, Leslie!
SO CUTE! Thanks for the cleaver idea and tips on how to do it!
Thank you, Michelle! I was a fun project to do. I find that I am moving it all around the house because there are so many ways to use it! Thanks for stopping by. I appreciate you!
Super cute Missy! love this idea. I am going to share on my Saturday post. XO
Thank you, Wendy! You are so sweet to share it. Thank you, dear friend!
So creative. Fabulous job.
Thank you, Rebecca! I really appreciate that!