ORC Update: A Missing Sink, A Damaged Floor, and The Best Primer for Dark Walls
What started as an eight-week challenge for the semi-annual One Room Challenge event has turned into a one-week challenge! One item has held up the entire process. But we made progress when I discovered the best primer for dark walls!
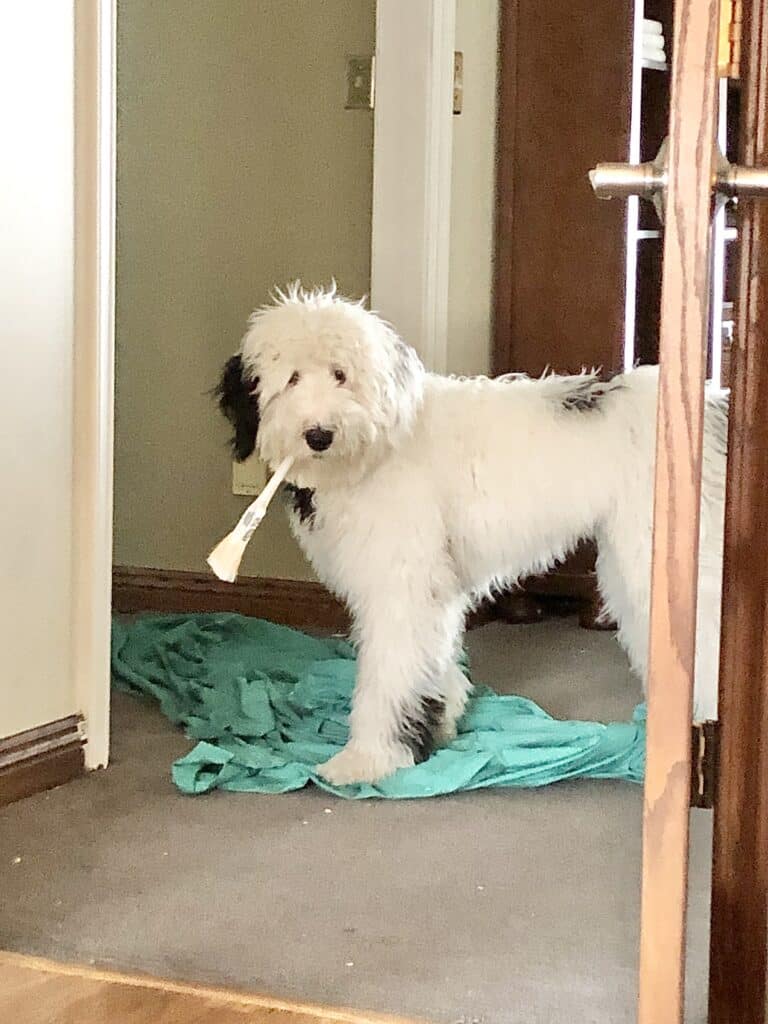
I am a planner.
Planning and preparation are my jam.
I am a retired teacher after all.
And I have been planning for this One Room Challenge for 4 months!

Preparing for the makeover of our first-floor half bath has been so exciting!
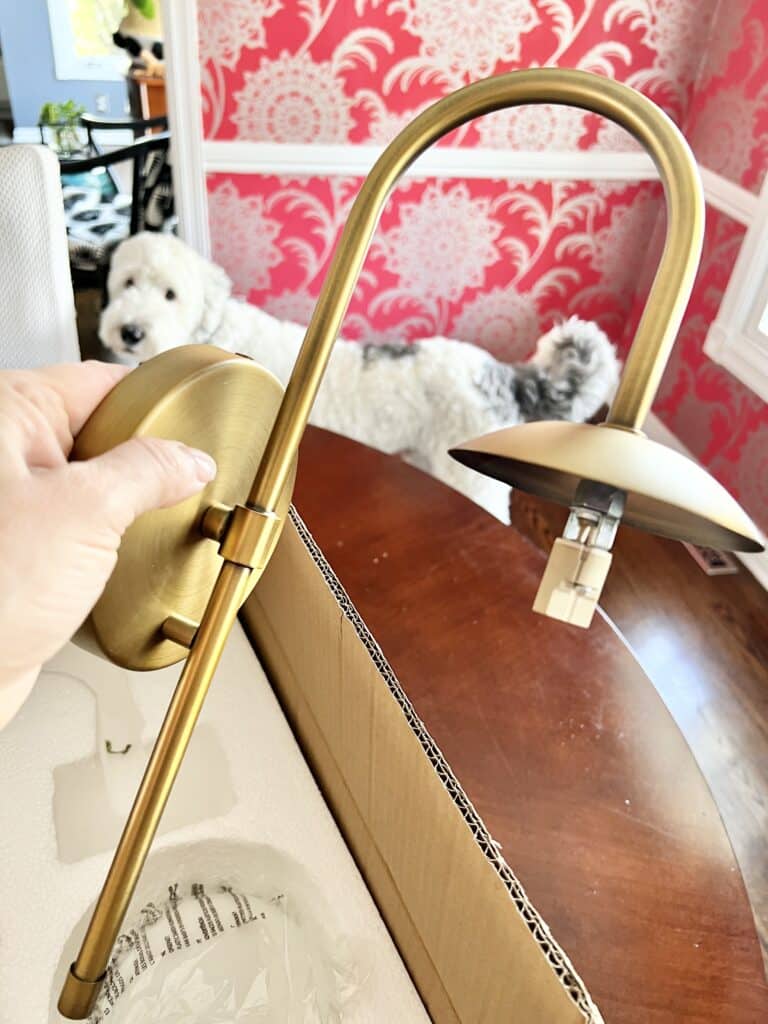
The new sconces from Lights.com arrived first!
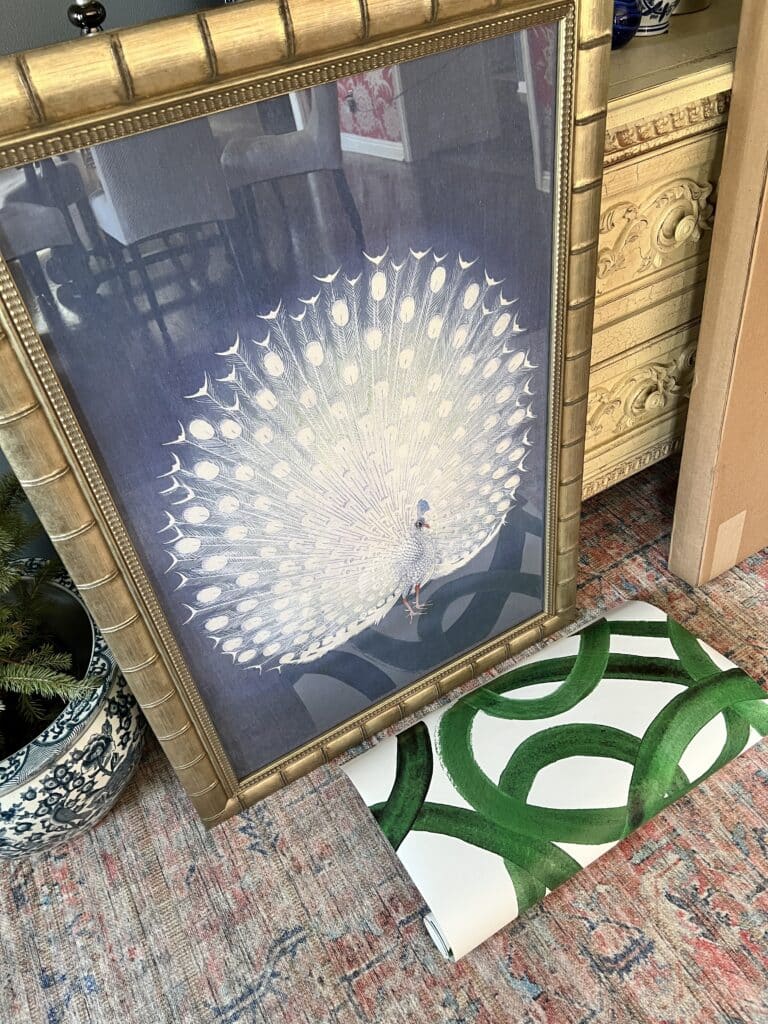
Then the wall art from Urban Garden Designs!
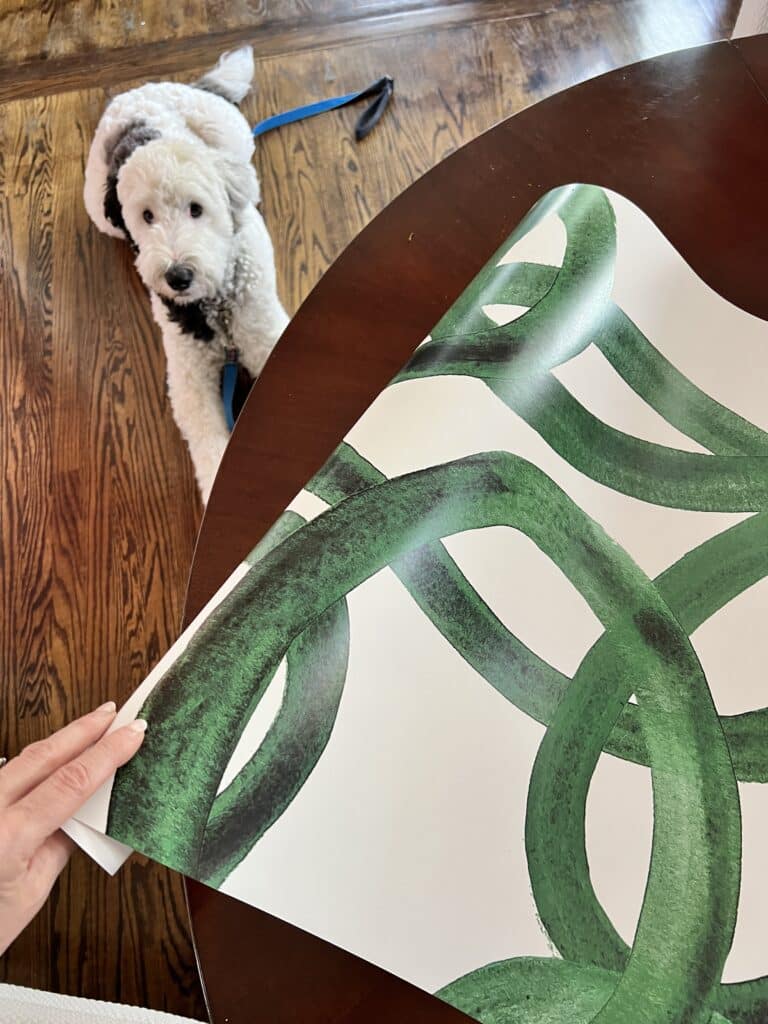
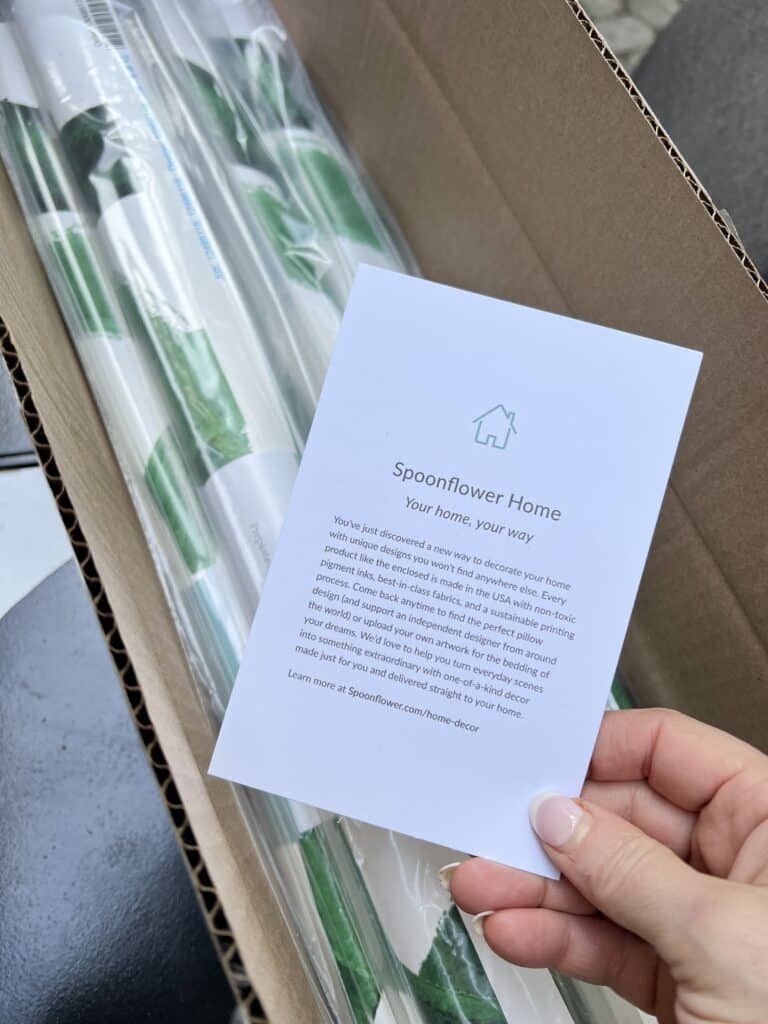
Wallpaper from Spoonflower arrived!
The commode arrived in 3 days!
And the sink…
Oh, dear.
The sink.
Here is the current rundown of this “One Week One Room Challenge!”
The Case of the Missing Sink
At the beginning of the One Room Challenge, I ordered the sink. I probably hesitated a little because it is a splurge. But I took the plunge and ordered it from Home Depot. 1 week was the estimated shipping time from Canada.
One week passed, then two.
I checked the tracking daily. Each destination checkpoint brought it closer to Lincoln.
Finally, it arrived in Lincoln.

Or not…
The tracking then showed that it traveled to Colorado!
And then Omaha…
…then California. Ugh!
I called the local store and was told it would arrive…tomorrow.
Umm…
Next, I called the national Home Depot number and spoke with the nicest customer service rep.
After my long explanation, his response…”I think it’s lost, ma’am.”
Silence. Then, “Oh NO!”
My friendly customer service buddy was upbeat, and positive, and promised me that a different sink would be shipped and arrive at my home in 7 days.
It did! (Ok, 9 days.)
In the meantime,
-Need to wait on wallpapering the walls because we need to adjust the plumbing and repair the drywall for the sink…once it gets here.
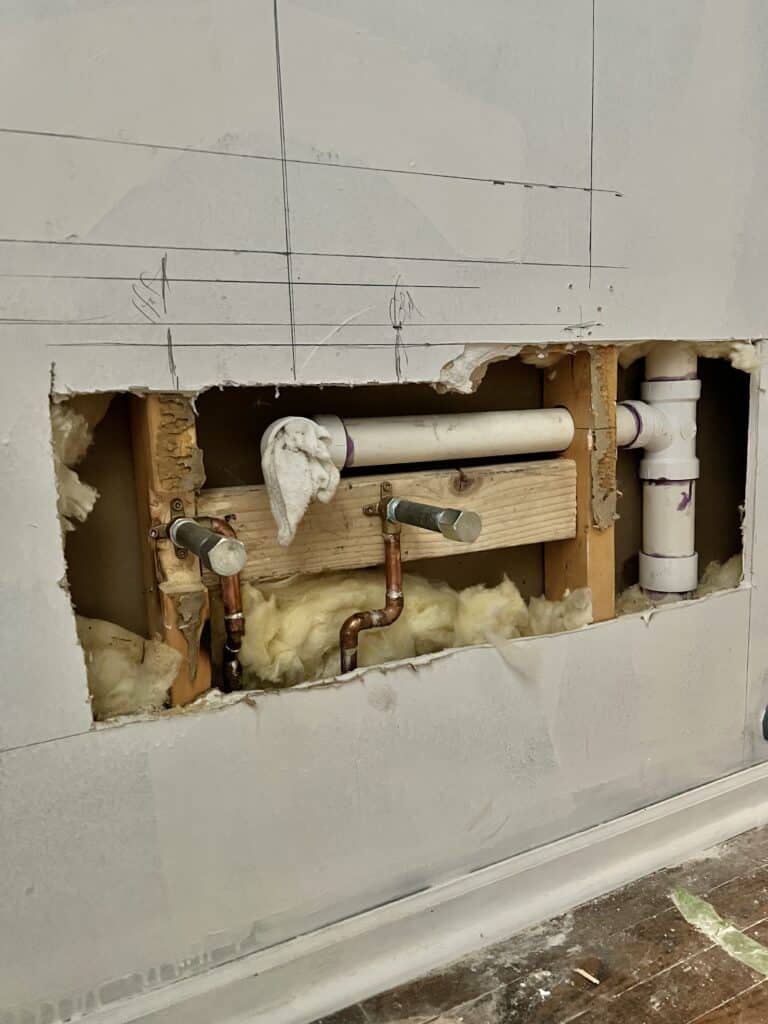
-I need to hang the mirror..,.once the sink gets here.
-Need to wait to install the toilet because that comes after the wallpaper which comes after…the sink!
What can we do? Something has to get done!
The good news is that I could prep and prime the walls!
Just slapping on primer is not the best way to prepare walls for wallpaper. There is prep work!
How to Prep Walls for Wallpaper
For wallpaper best results, it is a good idea to follow this prep checklist!
- Clear the room:
- Remove furniture, decorations, and other items from the walls and surrounding area.
- Cover the floor and any remaining furniture with drop cloths or plastic sheets to protect them from dust and adhesive.
- Inspect the walls:
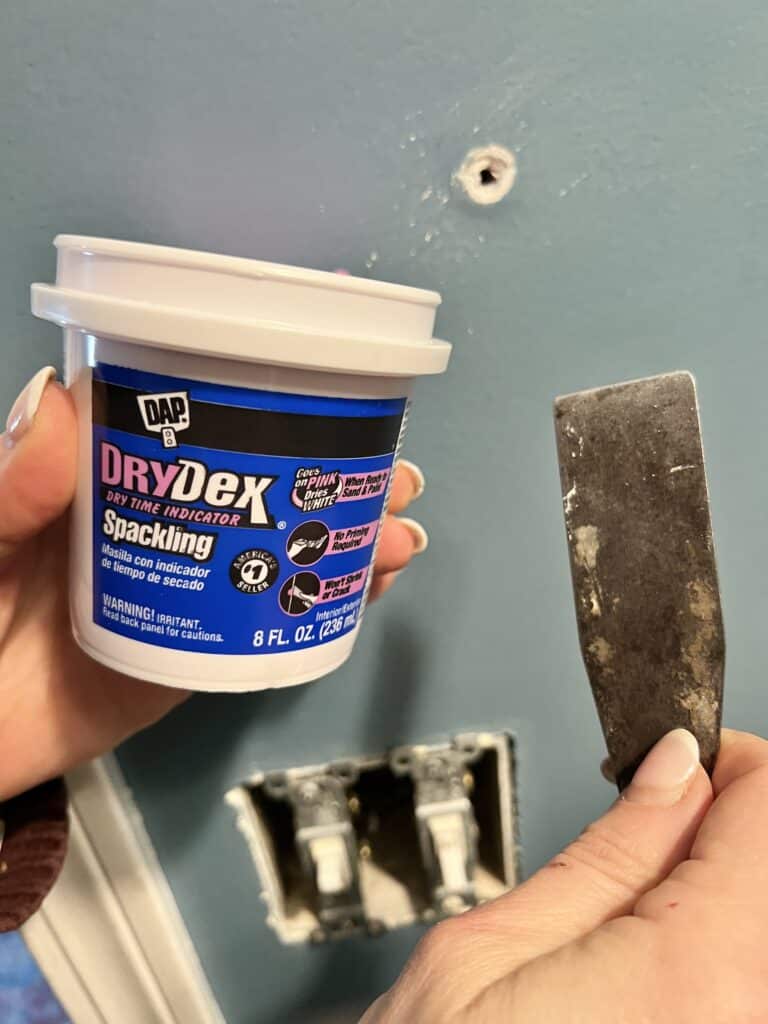
- Check for any cracks, nail holes, or imperfections on the walls.
- Repair any damages by filling them with spackle or putty, then sand the patched areas so you have a smooth finish.
- Clean the walls:
- Use a mild detergent mixed with water to remove any dirt, grease, or stains from the walls.
- Rinse the walls with clean water and allow them to dry completely.
- Remove existing wallpaper (if applicable):
- If there is existing wallpaper, carefully peel it off or use a wallpaper steamer to loosen the adhesive.
- Clean any residue or adhesive left on the walls using warm water and a sponge.
- Prime the walls:
- Apply a coat of good primer or sealer to create a smooth surface for the wallpaper to adhere to.
- Follow the manufacturer’s instructions for proper drying time.
I followed my own checklist and got to the priming point. But what primer to use?
For general use, I always use Kilz Original Interior Primer. This is a fabulous all purpose primer that I have used on walls ceilings, and furniture. It worked wonders when a 2nd-floor leak left a watermark on the living room ceiling!
But these walls had been painted a very deep saturated blue and the wallpaper has a white background. I needed a primer that would prime the wall for the paper but also block the block so there is no shadow color in the wallpaper.
The Best Paint Primer for Dark Walls
I think Zinsser Shieldz Universal Wallcovering Primer is the best bet!
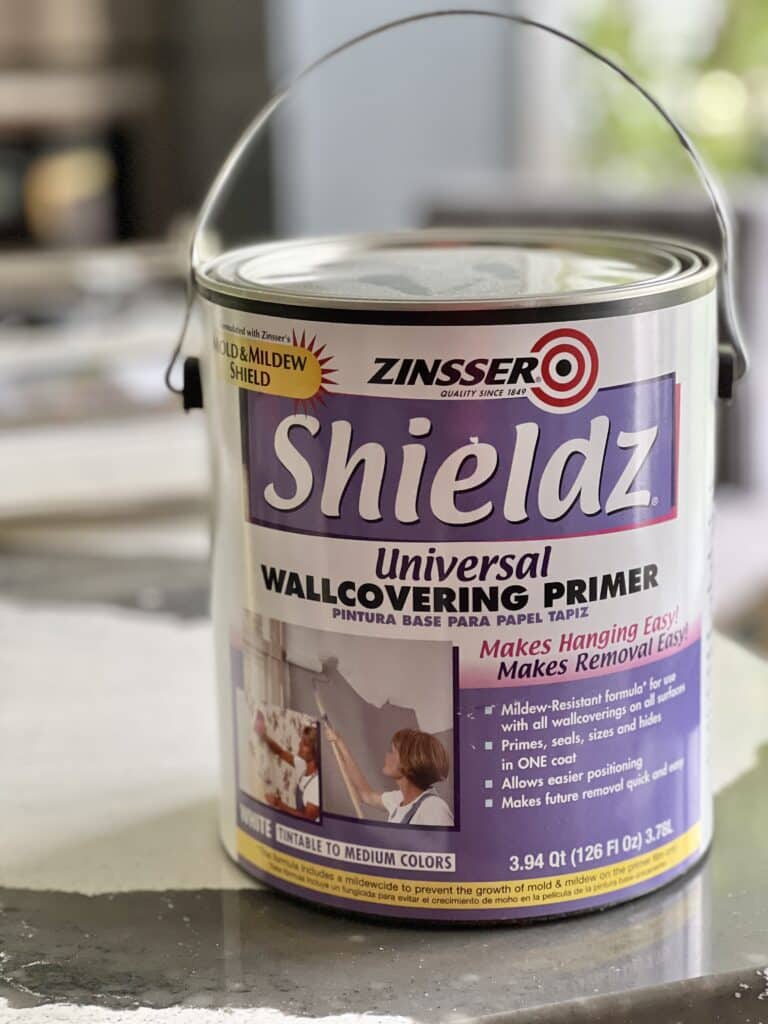
This is a quality primer and is just the right primer for prepping walls with dark colors!
Shieldz primer is a great option to cover dark paint or bright colors on your walls. The last thing I want is wallpaper with a blue hue!
In no time, I was able to prep and prime the half-bath walls with one can and now have confidence that the old blue paint is going to show through. I was also pleasantly surprised at how fast drying this quality paint primer was.
I used a paint roller to prime the majority of the walls.
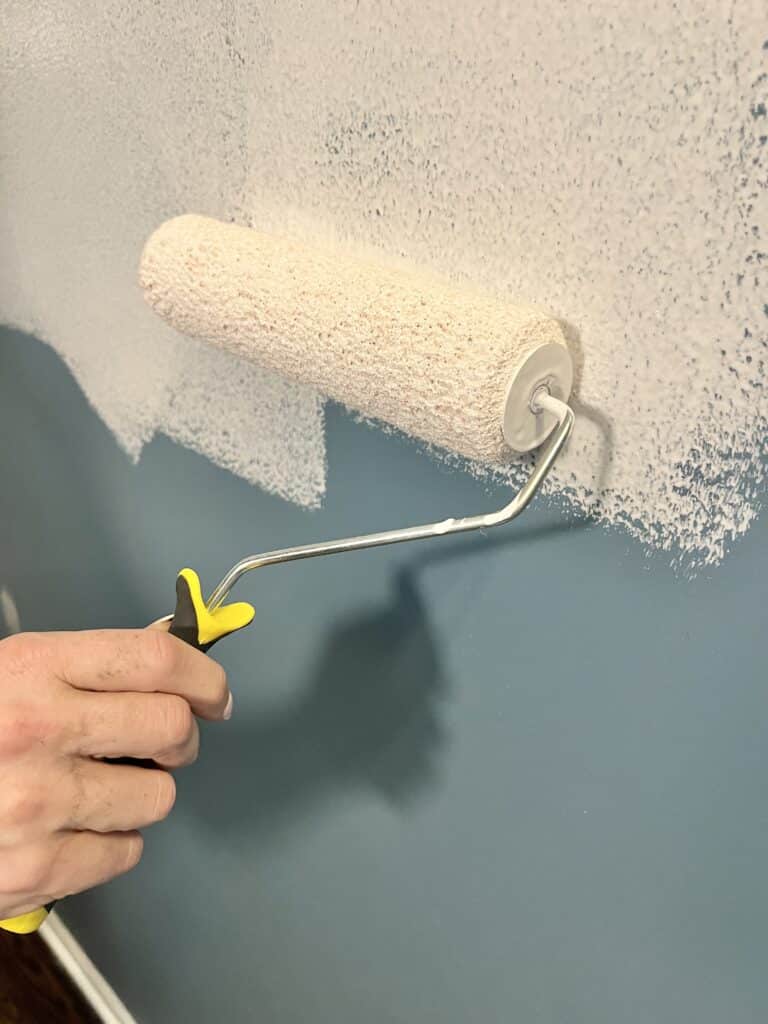
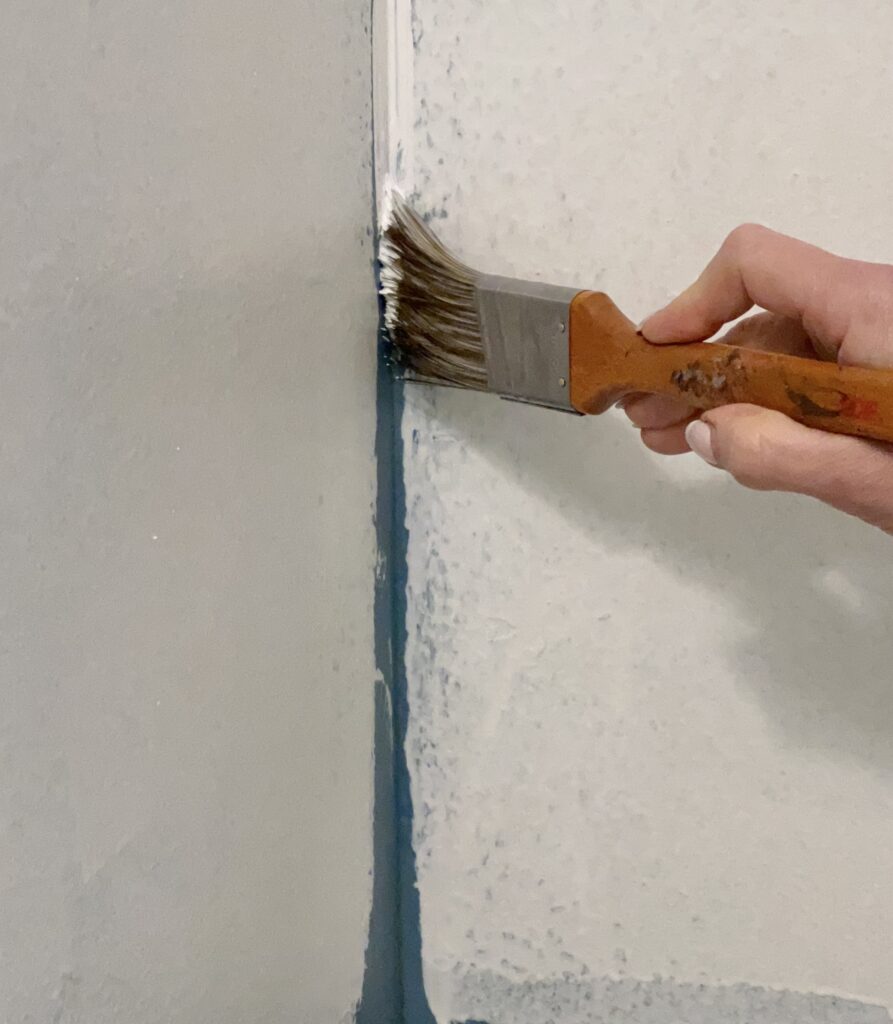
For the corners, I usedd a paintbrush to cover the areas close to the ceiling and the baseboards. I’ve even gotten confident enough to do this and not use painter’s tape. (A white ceiling and baseboards help!) One can of primer went a long way in covering the old paint color. I did apply a second coat of primer just to make sure there was no blue “glow” on the walls.
Benefits of Zinsser Shieldz Wallcovering Primer
- Water-based formula that resists mold and mildew growth.
- Prepares surfaces for hanging any type of wallpaper.
- Makes wallpaper removal easy.
- Comes as a white primer and can be colored to hide wallpaper seams.
- Has a low odor.
- Quick dry time
- Cleans up easily with water.
Additionally, let’s be honest…I am using a bold, colorful wallpaper from Spoonflower that might not be the design choice for a someday future homeowner. (We are not moving but it is something to consider.) Furthermore, by using a water-based primer like Zinsser Shieldz, removing the wallpaper someday will be much easier.
While this primer is perfect for wallpaper prep, it is also great for a design situation where you need to cover dark spots or prime dark-colored walls that are destined for lighter colors. I highly recommend this primer for any painting project or wallpaper job.
The work of hanging the wallpaper has begun…at least partially.
No blue hue showing through the paper!
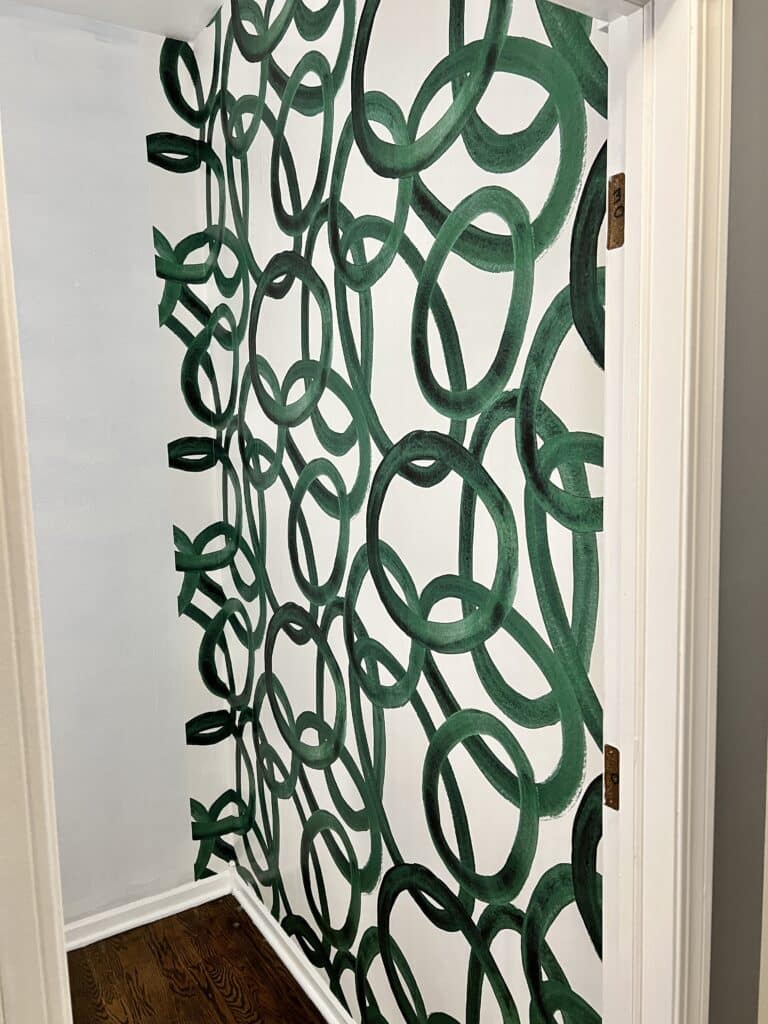
I need to wait for the drywall repair on the main wall to be completed before I continue the wallpapering.
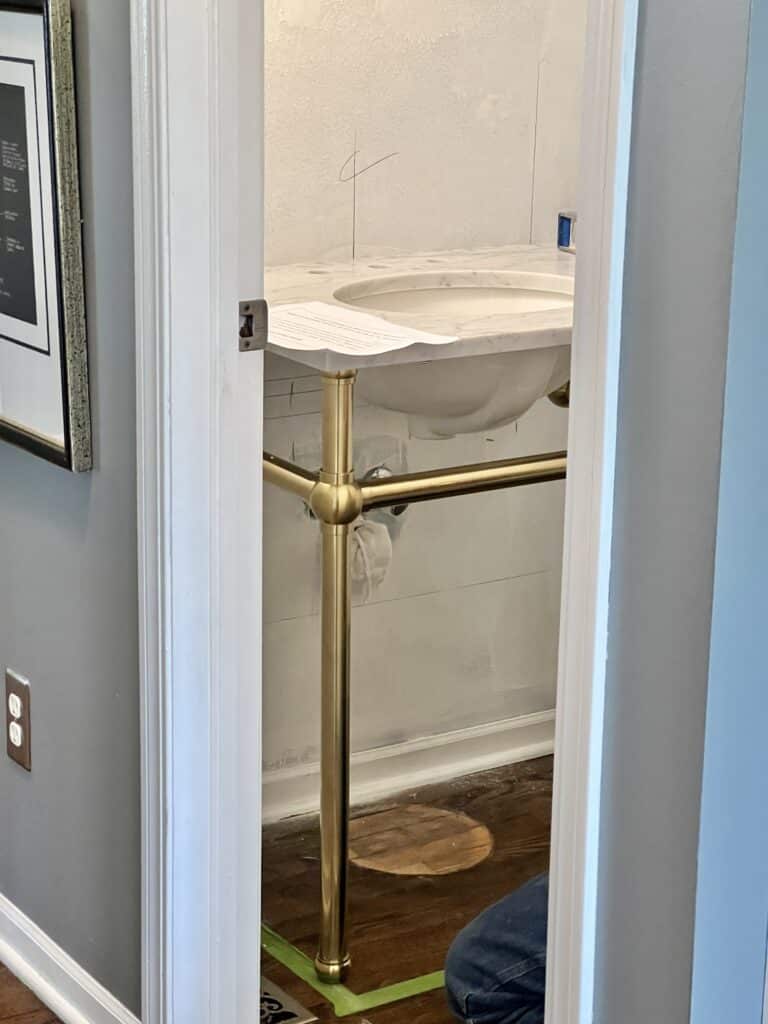
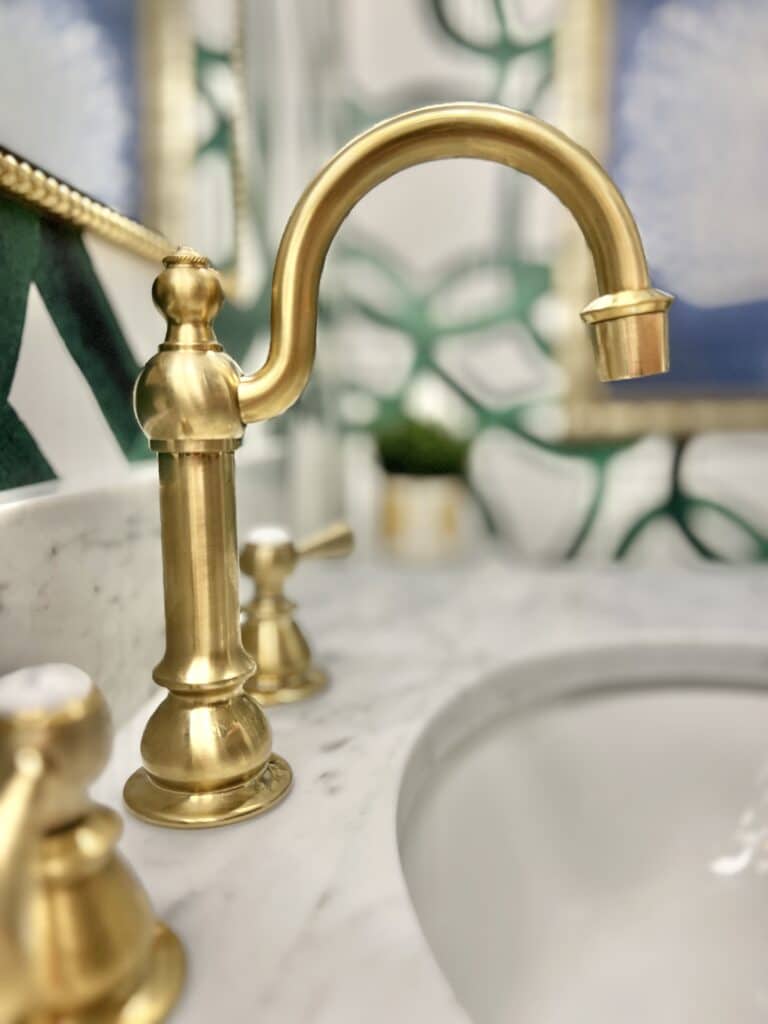
I can’t let you go without giving you a peek at the infamous sink! The plumber roughly assembled it so he could measure for the plumbing.
I had a moment of glee seeing the new sink. But then it had to come down so the drywall can be patched.
So, my good friend, this is going to be an interesting week!
My original intent was to reveal the half bath makeover on Thurs. May 25.
Yikes!
I am an optimist…and a pretty hard worker.
This challenge to complete the One Room Challenge is accepted! Fingers crossed I make my deadline…or at least close to it!
Be sure to check back to see the Half Bath final look!
Cheers!
Missy



oh my gosh Missy! What an ordeal. I have confidence you will pull it off! I love how it is coming out. That wallpaper is amazing. Can’t wait to see the full reveal!
Thanks, Susan! I am so thrilled with the wallpaper! It is just hard when things move slowly. I’m too impatient! Hopefully, I can wrap it up this week!
I feel your pain and know it so well but I amnso glad it arrived! Great tip on the primer. I love the hardware you have chosen!!!
Thanks so much, Crystal! I’m excited to finish!
I. Feel. Your. Pain. Truly! Each step on this planner’s plan has been one step forward…three steps back for this One Room Challenge here. Crown Moulding completed here…still floors, toilet, vanity, trim and accessories to make it to the finish line! Whew! I am in LOVE with your wallpaper and sink!
It is nice to know someone else is going through some of the same things, Leslie! We will conquer!
Thankfully the sink finally arrived! Good luck with the rest of the project. LOVE the wallpaper.
Thank you! Yes, I am breathing a sigh of relief! I adjusted my goal date slightly. Now shooting for next Saturday! Thanks for stopping by!
This sounds like my kind of project – one with “hiccups” along the way 😂 I feel like no project ever goes exactly according to plan 🫤 Thanks for the tip on the Primer! I just painted a very light grey wall white – it was so light grey I figured I didn’t need to prime. And I used super expensive paint (with built in primer) what a joke – took twice as much paint as it should have (4 coats!!!) and still needs more. I think even expensive paint isn’t nearly as good as it used to be!!!!
I think you are right, Michelle. Sometimes those paint/primer combinations don’t work as well as we would hope. I was nervous about putting this wallpaper over the dark blue walls. The Shieldz covered beautifully and no blue hue coming through! Thanks so stopping by, Michelle!
What a nightmare Missy! It is always something when it comes to these projects. Especially when we are on a time clock. Hang in there, I have faith in you.
Thanks, Wendy! Making progress!
Oh my – thank goodness it finally arrived! I am in love with that wallpaper and I can’t wait to see the reveal!
The wallpaper is finished and the plumber is working on the sink as I type this…so excitedd!
Where did you get your mirror. It is beautiful.
Hi Sheila, I found it on Amazon! Here is a link (affiliate) if you want to take a look. https://amzn.to/3N5s4jf
Thanks so much for your question! ~Missy