

4 Simple Steps to Creating Pom Pom Magic
Try to say it angrily…Pom Pom! POM POM!
LOL! You can’t do it, can you?
It’s like trying to say the word “Bubbles” with anger. Try it! You, like me, will fail. Some words are just so full of fun that they sound even more ridiculous when attempted with an angry tone.
These quirky little fur balls are all the rage in home decor. They’re everywhere and I couldn’t be happier! They add a playful, bohemian vibe that works with every decor. EVERY decor!
Whimsy in the Home
A beautiful, well-styled room makes my heart sing, but there should also be a little FUN in our decor. Here are some ways I love to add fun to a room through color and a little quirkiness :
https://www.sonatahomedesign.com/optimistic-decorating/
https://www.sonatahomedesign.com/my-10-favorite-pops-of-red/
https://www.sonatahomedesign.com/one-bottle-four-ways/
https://www.sonatahomedesign.com/diy-dog-bowl-succulent-garden/
Whimsy is always fun in a room; let’s make some pom poms! And then, let’s add some “pom-pom pizzazz” to some accessories!
I would love to say that I am going to teach you how to create pom poms with your bare hands.
Well, I’m good but not THAT good!
What I can teach you is how to use a magnificent little cheater gadget called a pom pom maker (How’s that for a catchy name!) that will have you cranking out pom poms like popcorn at the theatre!
Here is what you will need:
-Pom Pom maker (One box has four different sized winders. For $6, you cannot beat the value!)
-Yarn in the color of your choice
Scissors


Here is a short demonstration video:
And now, the step by step…
Step #1
Open the pom pom maker and begin to wrap one end with the yarn. Continue to evenly wind the yarn on the arm until it is full. The more full the arm is wound, the fuller your pom pom will be.

Keep winding until one arm is full. Then, continue the yarn to the other side, open the opposite arm and begin to wind. Again, wind evenly and to a fullness that matches the other side.

This is the perfect “keep your hands busy while watching tv” activity. Watch and wind at the same time!
Pom Pom Step #2
After both sides are fully wound, close the arms to the center and snip down the center of the wheel with scissors.
SHARP scissors needed! You are cutting through a lot of loops and sharp scissors make it so much easier (and safer).

Pom Pom Step #3
Take a length of the yarn and wrap it around the wheel, filling in the center trough. Pull tight and tie off twice.

Pom Pom Step #4
Open the wheel arms and fluff your new pom pom. I have to be honest, I kind of hold my breath every time I open the wheel because it is so amazing to me when the fluffy pom pom emerges.

Did I mention your kids or grandkids will LOVE making these?

Now, it’s time to accessorize
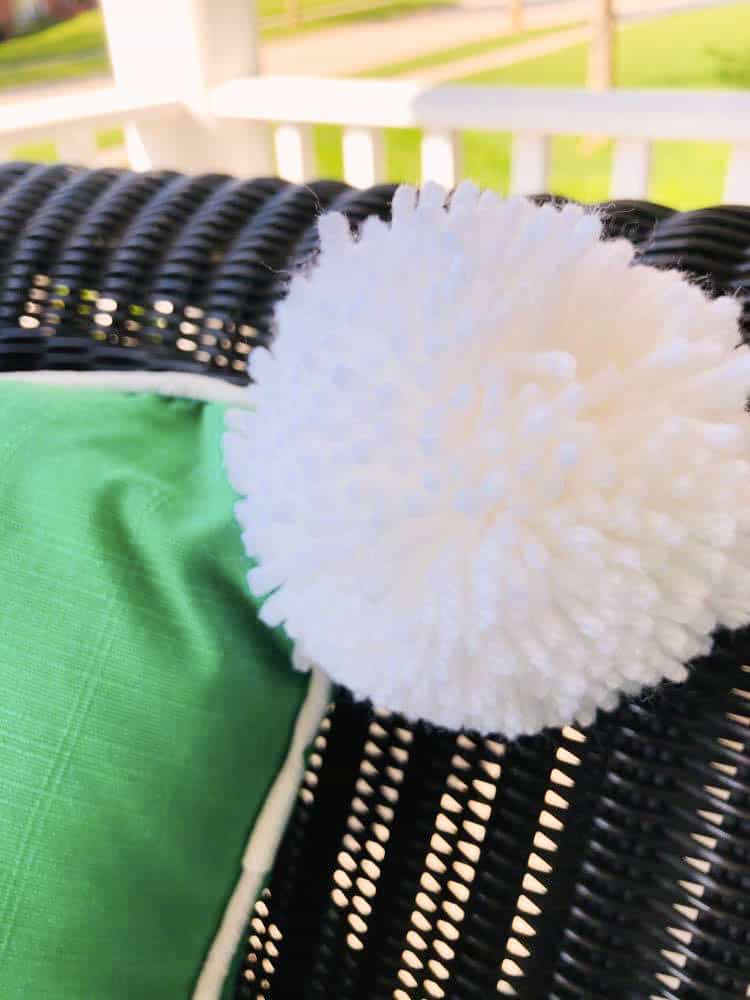
Time to GO TO TOWN and get creative with your new pom poms! The inspiration for my pom pom craze was this set of two outdoor pillows.

I loved the color but was wanting a little something extra. That’s where the pom pom magic begins!
(Captain Obvious…remove the white tag!)
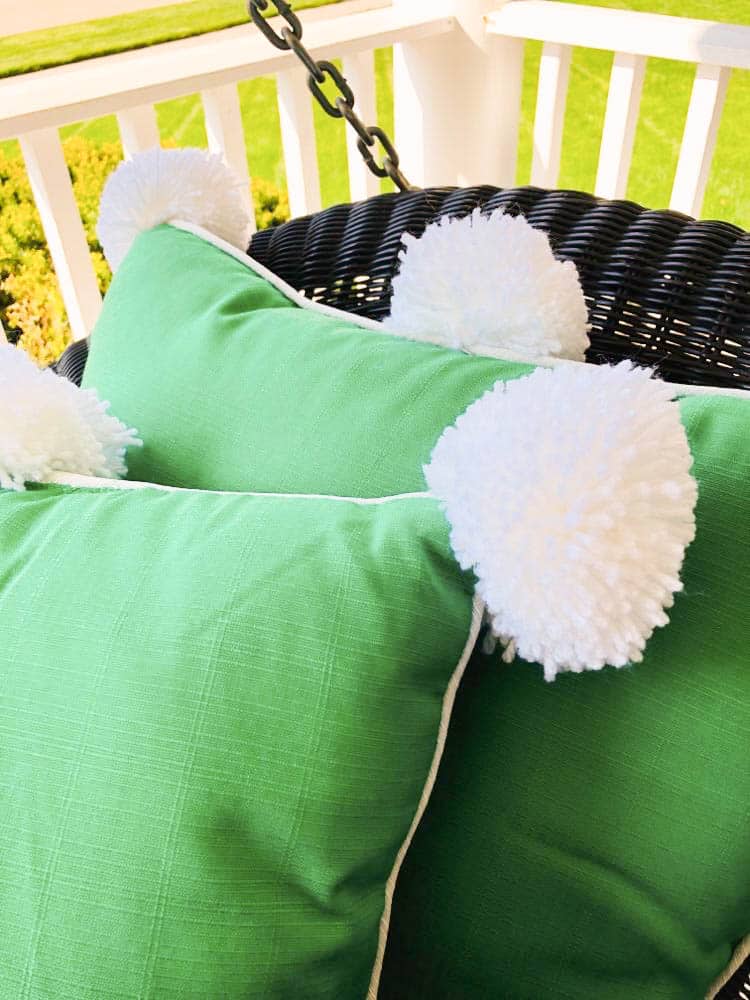
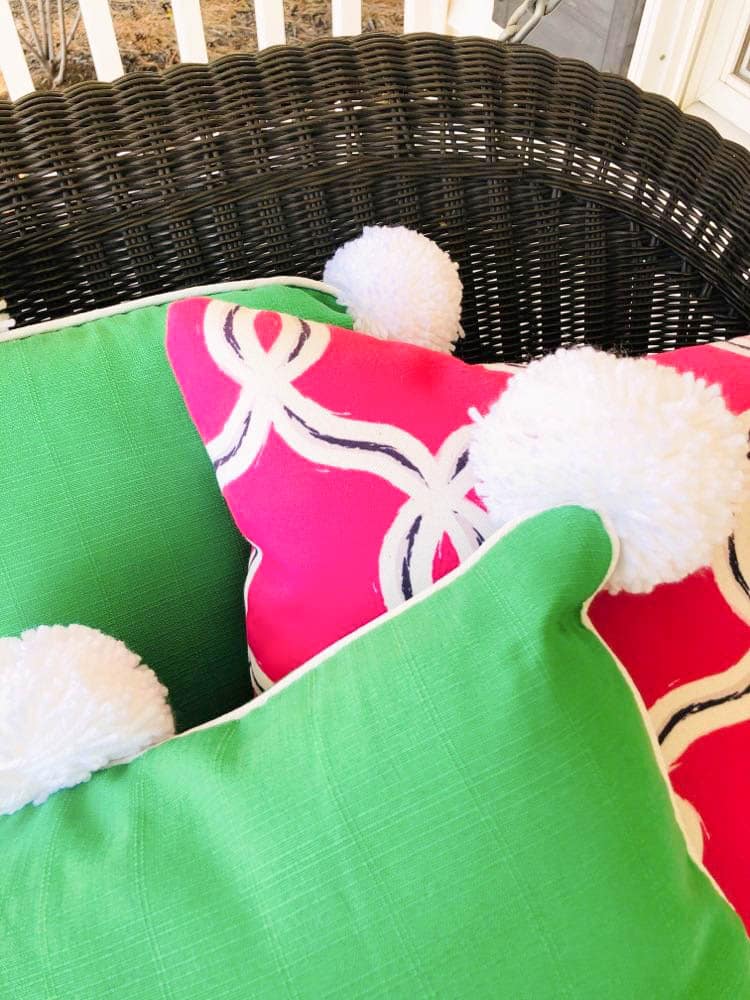
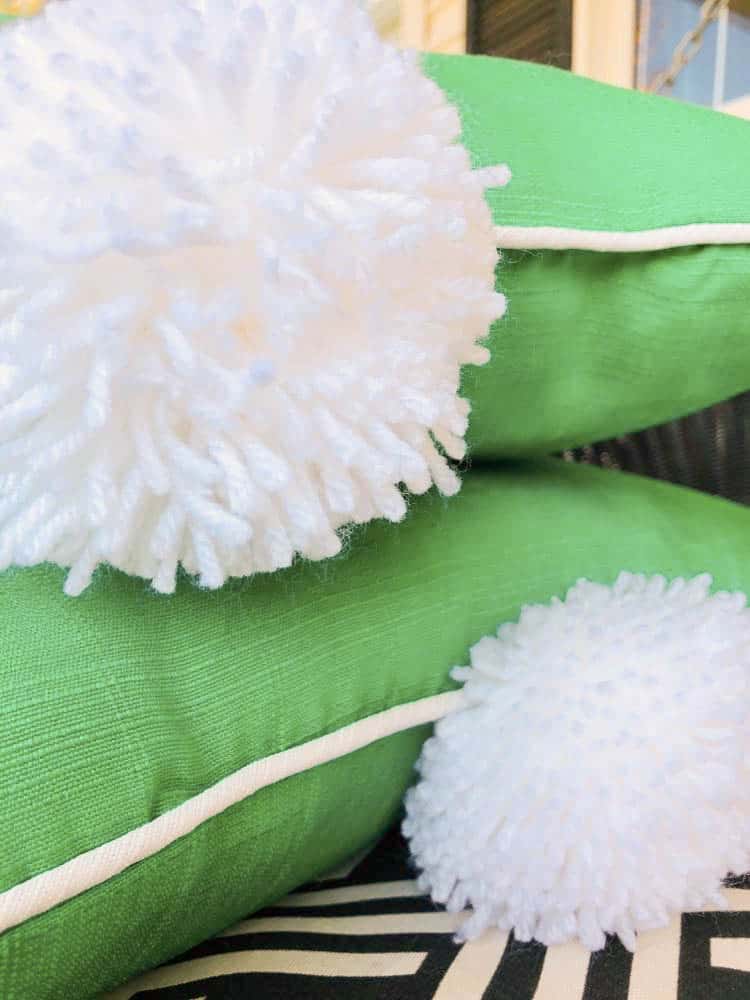
After whipping up a batch of pom poms (sounds like a batch of cookies!), I tacked a pom pom to each corner of the pillows with a needle and thread and transformed the pillows in a matter of minutes!
These pillows sit on my covered porch swing and offer a cheery welcome to porch visitors.
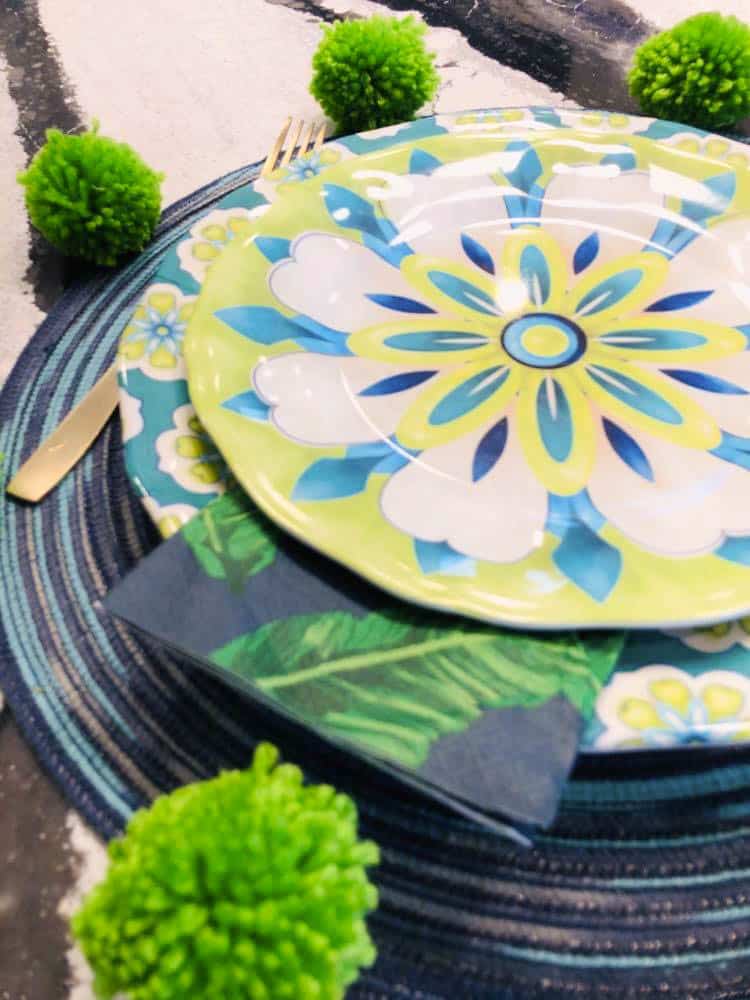
Pep up your patio with placemat pom poms! (Don’t you love alliteration with the letter “p”!) Now that spring is here, we are ready to start eating on the patio. Thank goodness for melamine dishes (Our new sheepadoodle, Bentley, loves to break things!) Blue is my favorite color and these placemats are perfect for picnics on the patio. Just attach the pom poms with needle and thread around the perimeter of each placement for a FUN vibe.

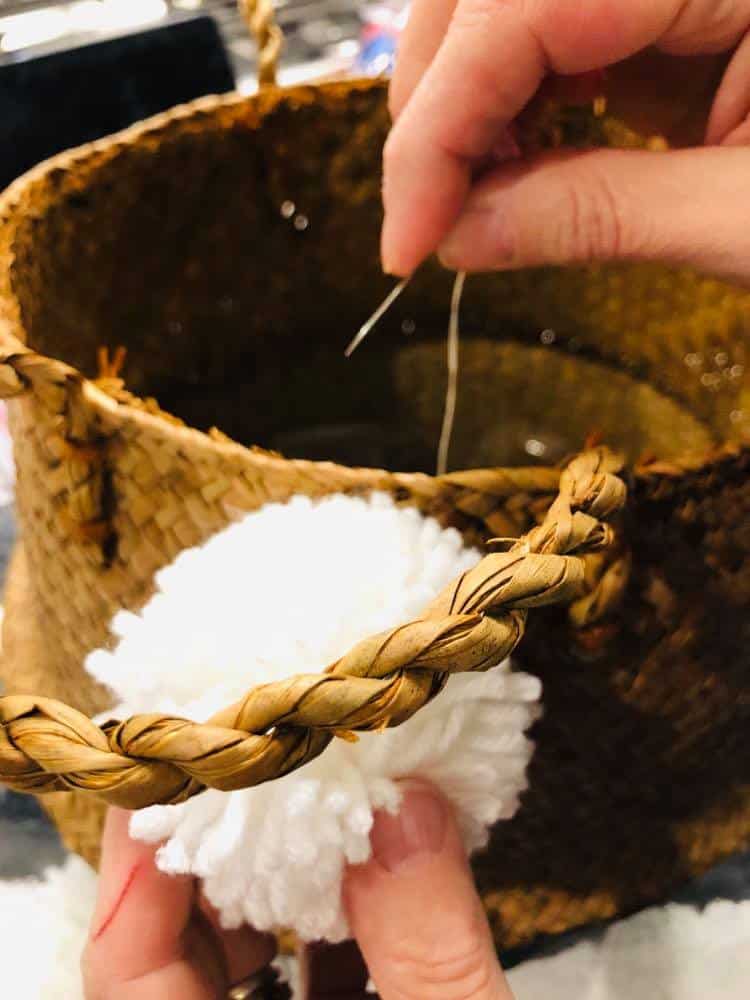
This is one of my favorite baskets. It is a belly basket to be exact. I ordered it from Amazon and it has lived in just about every room in my house. If you love it as much as I do, click here to order.

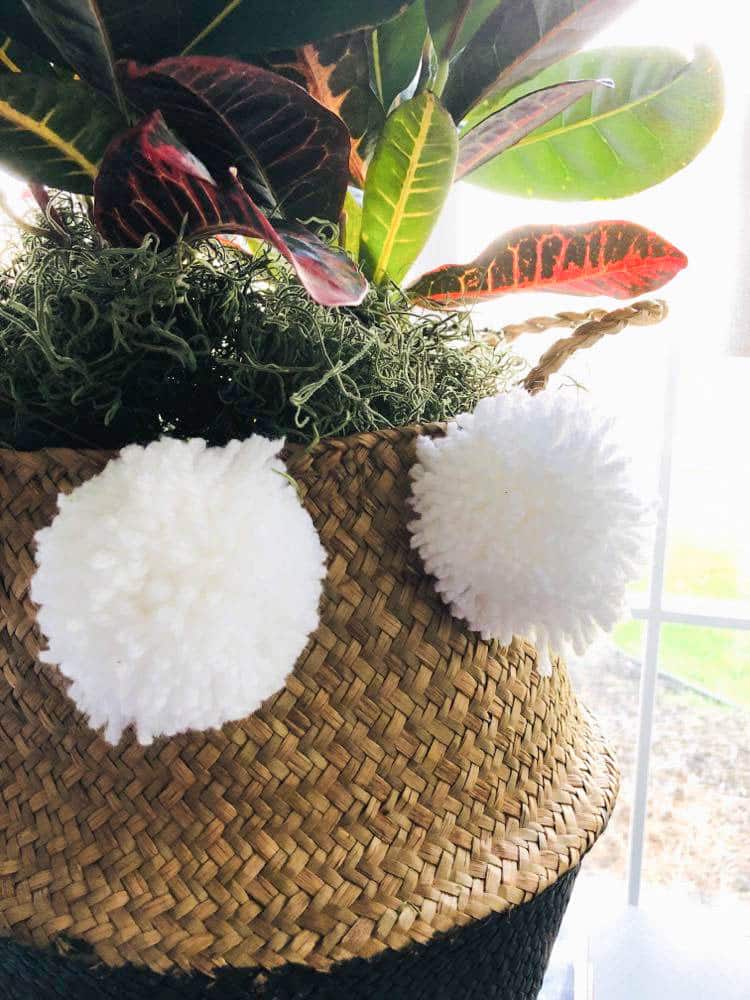
It is so simple to add pom poms: A needle, thread and ONE stitch on the inside of the basket to tack the pom poms to the side of the basket.
I loved it before but LOOK AT IT NOW! The pom poms changed the look so dramatically!
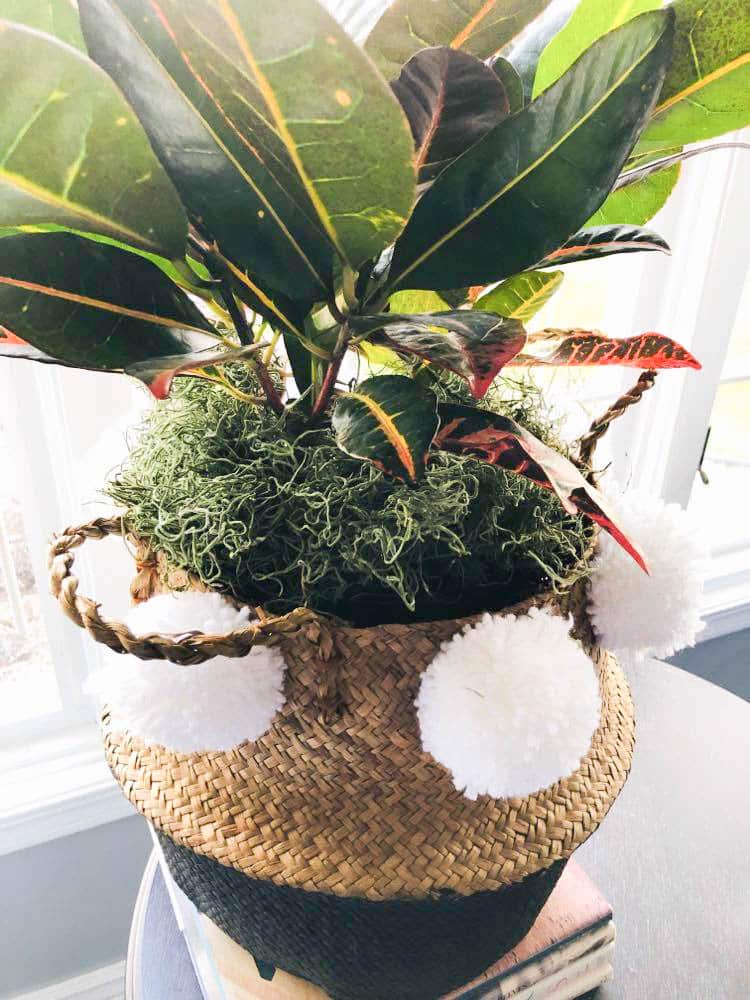
Pom pom magic is real (and a little addictive, if truth be told)!
Settle in, let your mind wander and keep your hands productive as you produce these positively playful poufs!
(You know I had to end with alliteration!)
Cheers!

*Disclaimer: This post contains affiliate links.
I have tried to make Pom Poms several times and they have never turned out right. I may need to try again. Yours are perfect and add a fun little element to your decor!
Hi Jen! I was a little perplexed by the process in the beginning and then got on a roll when I got the hand of it. Thanks for reading!
You’ve inspired me once again, Missy! This is such a cute idea! Thanks for all of the inspiration and fun ideas. I hope to try this fun DIY project. I especially love your “Pom Pom placemat” idea!!! Soooo cute! Thank you!😊👍‼️
Ooh! I’m so glad you liked it! I really had fun with it. I kind of chuckled through the Pom Pom project because it reminded me of when I was a kid. Pom poms were so cool in the 70’s! Thanks for reading!