

Make A Unique DIY Door Wreath with a Lampshade Twist
Are you ready to add a touch of spring whimsy to your door decor? I’ve got just the project for you: crafting a unique DIY door wreath using, of all things, a lampshade!
This is a fun and innovative project that will add charm to any door in your home. Read on for this fun and surprisingly simple tutorial!

This blog contains affiliate links. This means a small commission is earned if you make a purchase by using this link. The price you pay will be the same whether you use the affiliate link or go directly to the vendor’s website using a non-affiliate link. Sonata Home Design is an Amazon affiliate.
Let’s Make Some Front Door Decor
It’s time once again for the Handcrafted Society! This month’s challenge?
Create a unique door decoration for Easter or the spring season. Fun!
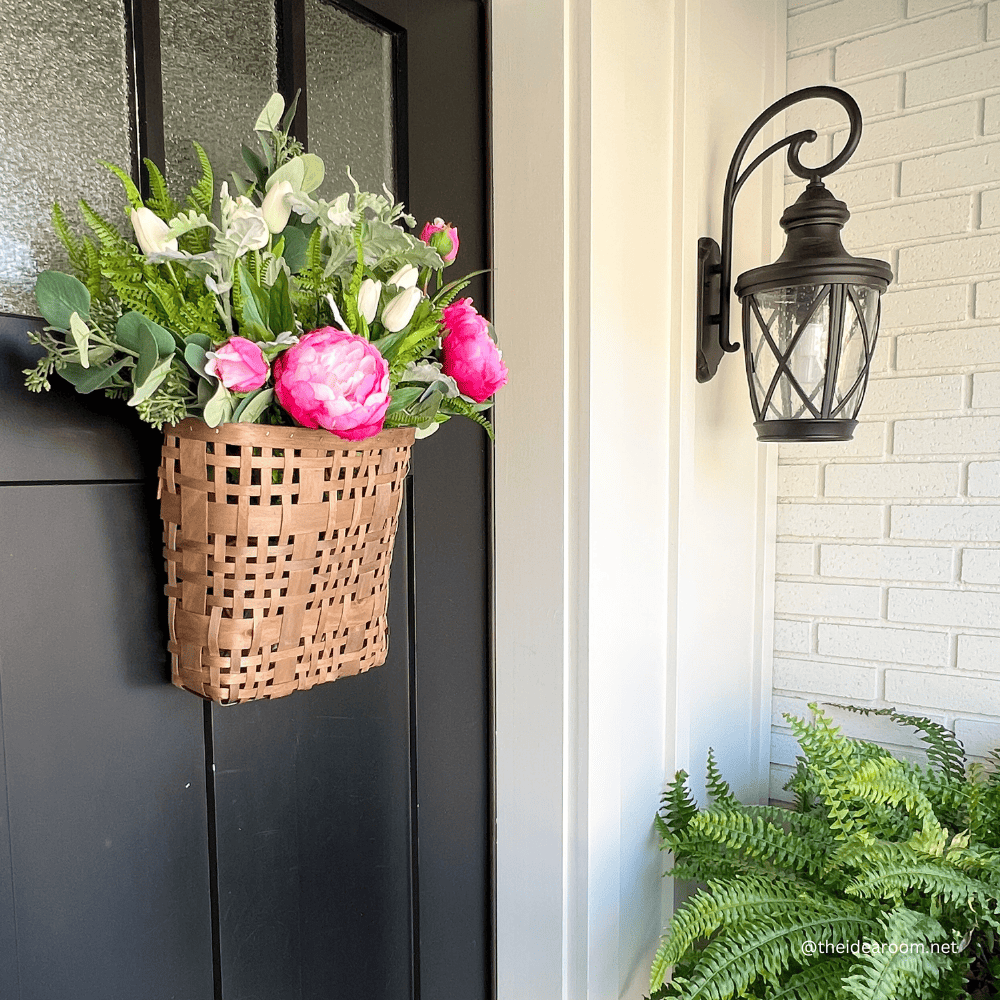
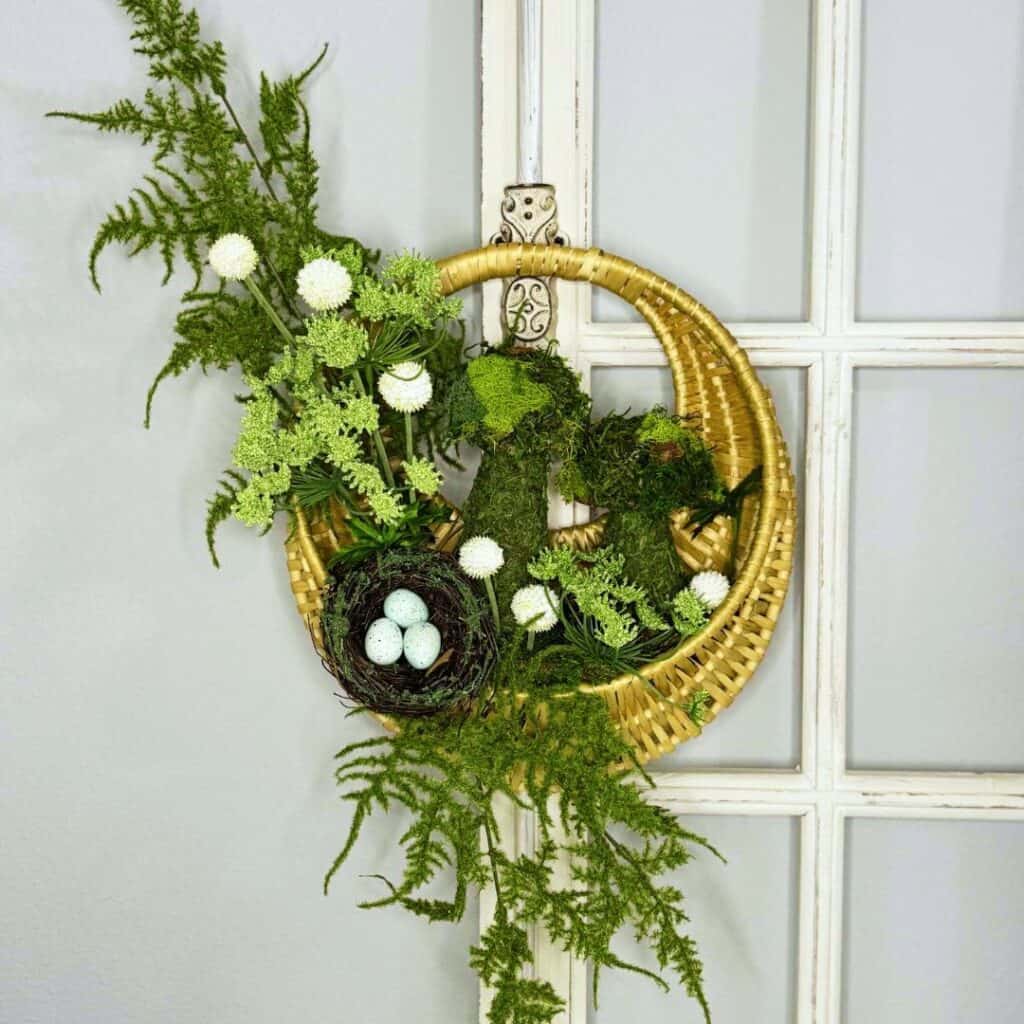
I love front door decor and love to see what each of the talented creators comes up with. Be sure to check out all of the projects at the bottom of this post!

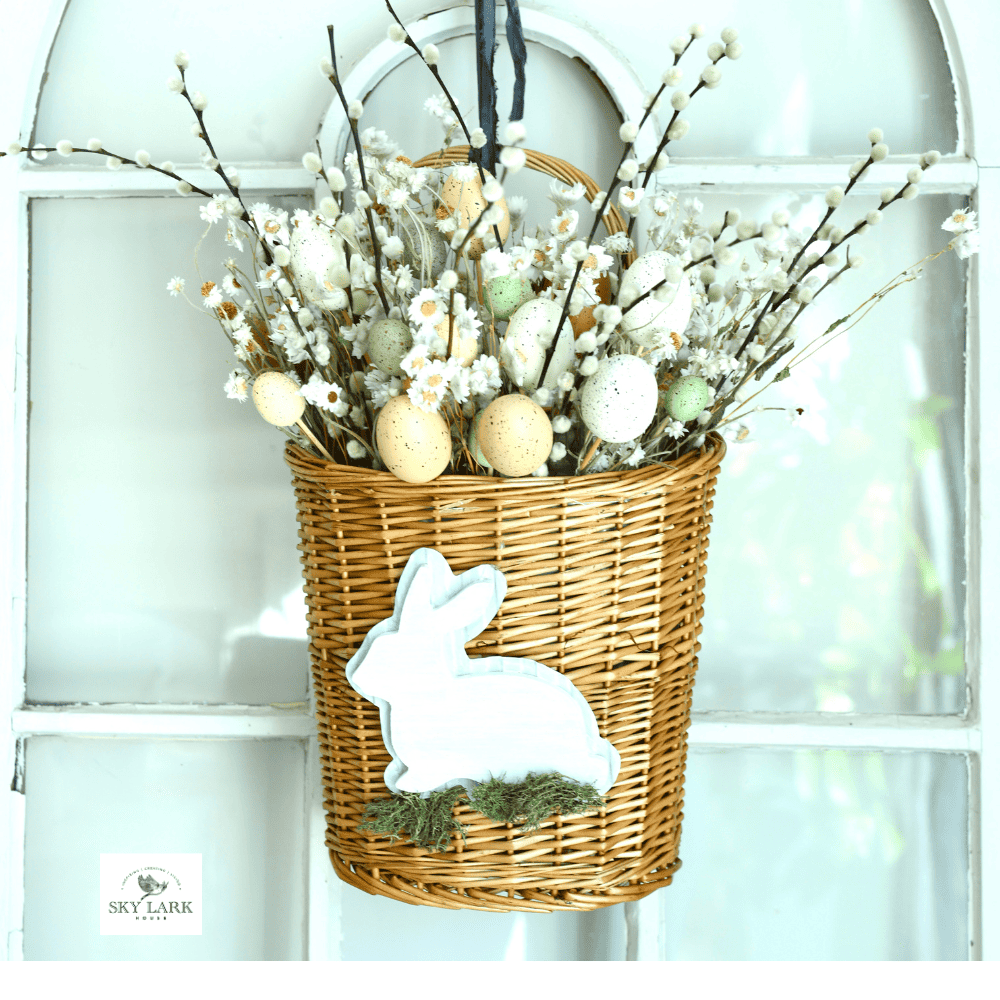
If you are visiting from The Crowned Goat, welcome to Sonata Home Design! I know you loved CoCo’s Spring Front Door Bunny Flower Basket...the perfect way to decorate for both Easter and spring!
A Twist on the Simple Wreath
Hey there, friend!
One of the easiest ways to signal to the world that spring is here is to hang a beautiful wreath on your door.
Each time I take a walk with our dog, Bentley, I love to look at my neighbor’s homes and check out their front door wreath. I have gotten many a great idea from these walks!
I have created many DIY door wreaths over the years. Some were a great success! Others….well, just remember that failures are a great way to motivate you toward success!
I’m so excited to share with you one of my recent crafting adventures that turned out to be an absolute gem – making a DIY door wreath using a lampshade.
Yep, you heard that right – a lampshade!

Who knew something as ordinary as a thrift store lampshade could be transformed into a stunning piece of door decor?
Well, buckle up because I’m about to spill all the deets on how I turned a plain lampshade into a whimsical wreath that can be hung on a protected door outdoors (perhaps your front porch?) or any door indoors!
Supply List
Rather than use a traditional foam wreath form, wreath frame, or grapevine wreath form, the lampshade serves as the wreath base.
First things first, let’s talk supplies. Here are the relatively inexpensive materials you’ll need:
- A lampshade in a shape and size that suits your door. (Check out thrift stores if you don’t have a spare lampshade.)
- Whimsical peel-and-stick wallpaper
- Green moss
- Spray adhesive
- Spring-themed decorative elements like spring flowers, bunnies, and Easter eggs (The dollar store is always a good resource for this type of thing.)
- Wide ribbon (3″-4″ works best) – Patterned or burlap ribbon will give your wreath a spring vibe.
- Hot Glue Gun and glue sticks
Creating a DIY Wreath from a Lampshade
Now that we’ve got our materials ready, it’s time to dive into the crafting process and put that lampshade to good use.
Wrap the Lampshade
I started by giving my thrifted lampshade a good wipe-down to remove any dust or grime. Then I pulled a roll of my favorite peel-and-stick wallpaper that I have been waiting to use for just the right project. I think this project is it!
The great thing about peel-and-stick wallpaper is that it’s super easy to work with – just peel off the backing and stick it onto your surface of choice.
The first step is to make sure that the width of the wallpaper is at least a couple of inches wider than the lampshade.

I had plenty of width so decided to trim it on the side slightly so it would be easier to work with.
Next, pull back about 6 inches of the wallpaper backing and center the lampshade in the middle of the paper.

Then, slowly roll the lampshade on the wallpaper, all the while slowly peeling back the wallpaper from the backing, smoothing out any air bubbles as you go along.
In no time at all, the lampshade goes from drab to fab with a vibrant pop of color!

To wrap the wallpaper over the lampshade edge, cut the excess paper at an angle toward the shade edge, stopping just as you hit the edge. Make these cuts around the entire perimeter of both the top and bottom of the shade.
Take some spray adhesive and spray a little onto the inside edge of the lampshade. Carefully, wrap the pieces of wallpaper over the edge of the shade and secure in place on the tacky adhesive.
Continue by wrapping and adhering the wrapped wallpaper around both the top and bottom of the shade. Don’t worry about matching the inside wrapped pieces. You will be covering those!


Pro Tip: If you don’t want to use peel-and-stick wallpaper for your lampshade, you can spray paint the shade! Use several light coats, letting the shade dry completely between coats. The key is to use a light hand and get even coverage.
Add the Hanger
You might be wondering…how in the world do you hang a lampshade on a door?
It took a little time and creative engineering but I figured out a way to hang the lampshade so it balances flat against the door. I’m sure there are different ways that you could hang a lampshade on a door but I’m going to share what worked for me.
I practiced by hanging it from a window in my craft room so you might try the same to get it just right.
There are three elements for hanging and you need three separate pieces of ribbon.
Tie the ends of one piece of ribbon securely to the inside frame of the lampshade frame. This created the first hanger for the shade.
But you need a second ribbon in order for the shade to not tip forward when hanging. For this, wrap the second ribbon over and under the shade itself and tie a knot at the hanging juncture point.


Take the third ribbon length and create a floppy bow.
First, using a suction hook, you need to hang the shade from the back ribbon. Then secure it with the second ribbon. And, finally, hook the bow onto the suction hook so all the connecting points are covered.
Bring the Outdoors In with Green Moss
To give your wreath a touch of natural charm, cover the inside of the lampshade frame with lush green moss.
Using spray adhesive, lightly coat the inside of the shade with adhesive and press the moss onto it, making sure to cover every inch for a full and verdant look.

Once the inside is covered, you can add some moss to the outside of the shade to give the wallpaper some depth and texture.


Pro tip: work in small sections to ensure the adhesive doesn’t end up everywhere. You could have a very sticky mess if you spray a wide swath!
Add Springtime Cheer with Decorations
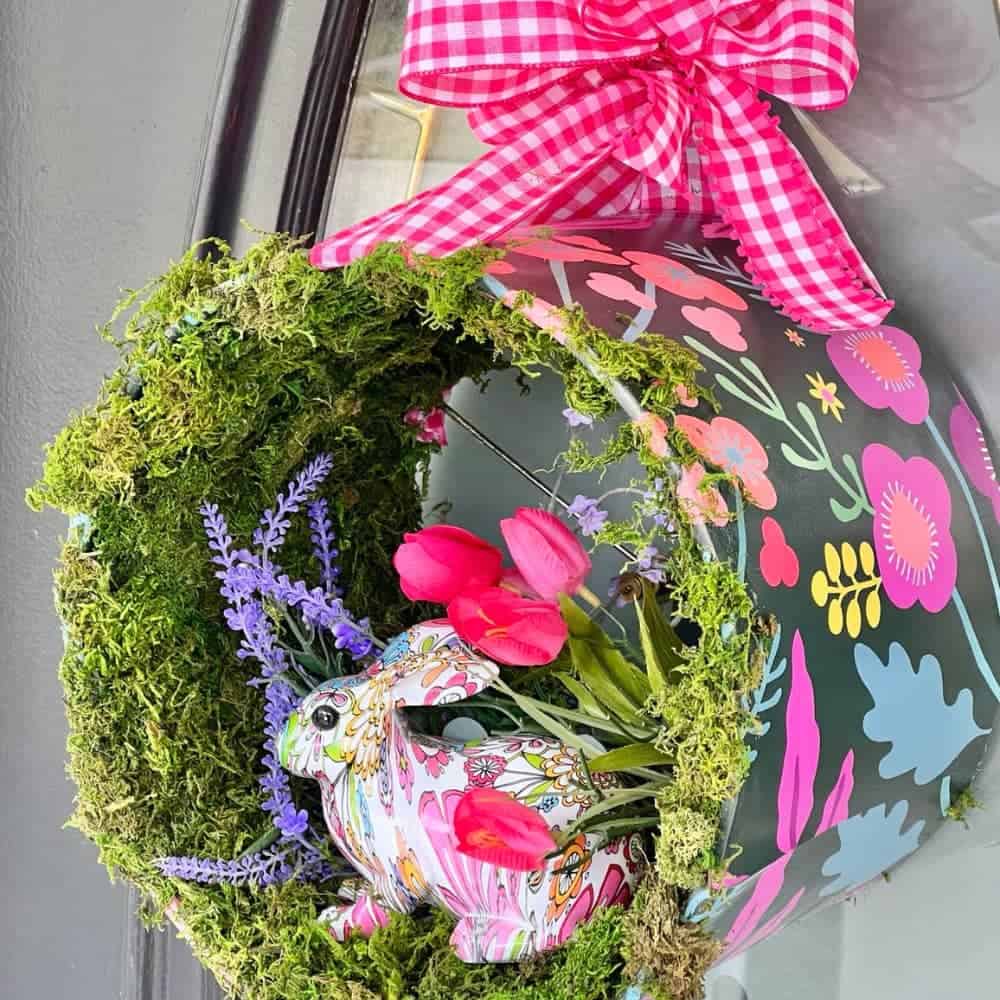
Now for the fun part – decorating our lampshade wreath! Since I made this wreath with spring in mind, I opted for adorable bunny and floral decorations to adorn my moss-covered shade.
I arranged the floral stems toward the back of the wreath, securing them in place with a hot glue gun.
Then I gave the bunny a little dab of hot glue on the bottom and nestled her into place. The best part of using a lampshade inside of a wire wreath form is that nothing falls through!
The result? A whimsical and festive wreath that’s perfect for welcoming the season with open arms!


Hang Up Your DIY Door Lampshade Wreath!
With a little adjustment to get the length just right, I hung my lampshade wreath on my front door and stood back to admire my handiwork. Perfection!

Pro Tip: Choose ribbon in bright colors so your DIY project can easily be seen from the street!
Can You Hang this DIY Door Wreath Outside?
I’m glad you asked this question because it was one that went through my mind the entire time I was creating it.
This lampshade is surprisingly sturdy and has already spent a great deal of time on our front door.
However, this wreath is best hung in a protected area. And common sense would tell us to bring this wreath inside if you have high winds or rain.

DIY Lampshade Door Wreath
Equipment
- 1 Scissors
- 1 hot glue gun and glue sticks
- 1 suction door hook or door hanger
Materials
- 1 lampshade
- 1 roll peel-and-stick wallpaper
- 1 bag green moss
- 1 can spray adhesive
- 1 roll wired ribbon
- 3-4 faux floral stems
- 1 small decorative bunny rabbit
Instructions
- Wrap the lampshade with peel-and-stick wallpaper with 1-2 inches of overhang on the outer edges of the shade.
- Make diagonal cuts in the excess wallpaper and wrap the pieces over the lampshade edge and secure on the inside of the shade.
- Cut a length of ribbon and tie each end to two frame pieces on the inside of the lampshade. Adjust as needed for hanging.
- Next, cut a second piece of ribbon and wrap it around the side of the lampshade. Tie the ends in a knot and adjust as needed for hanging.
- Take a third piece of ribbon and tie it nto a large bow to cover the hanger when you finish the project.
- Use spray adhesive to attach a thin layer of green moss on the inside of the lampshade. Wrap and adhere some moss over the lampshade edge.
- Glue faux floral stems and other spring decorations to the inside of the lampshade. Nestle a small decorative bunny rabbit amid the florals.
- Hang the lampshade to a door hanger using the two anchor ribbons and big bow.
Other Ideas of What to Put in Your Lampshade Wreath
The sky is the limit when it comes to what you can put in your new fun wreath. Here are some ideas to consider for the perfect finishing touch:
- faux flowers
- faux greenery
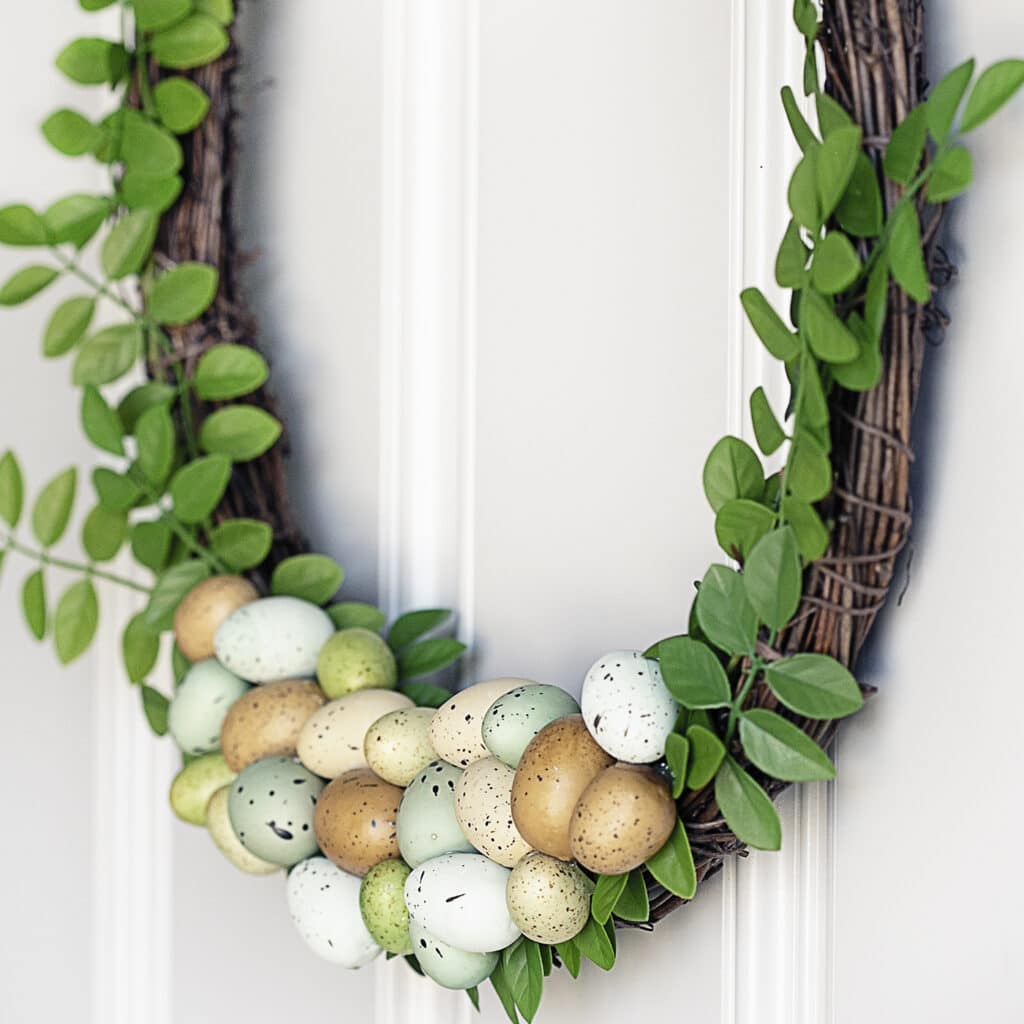
- bird’s nest
- miniature birdhouse
- butterfly accents
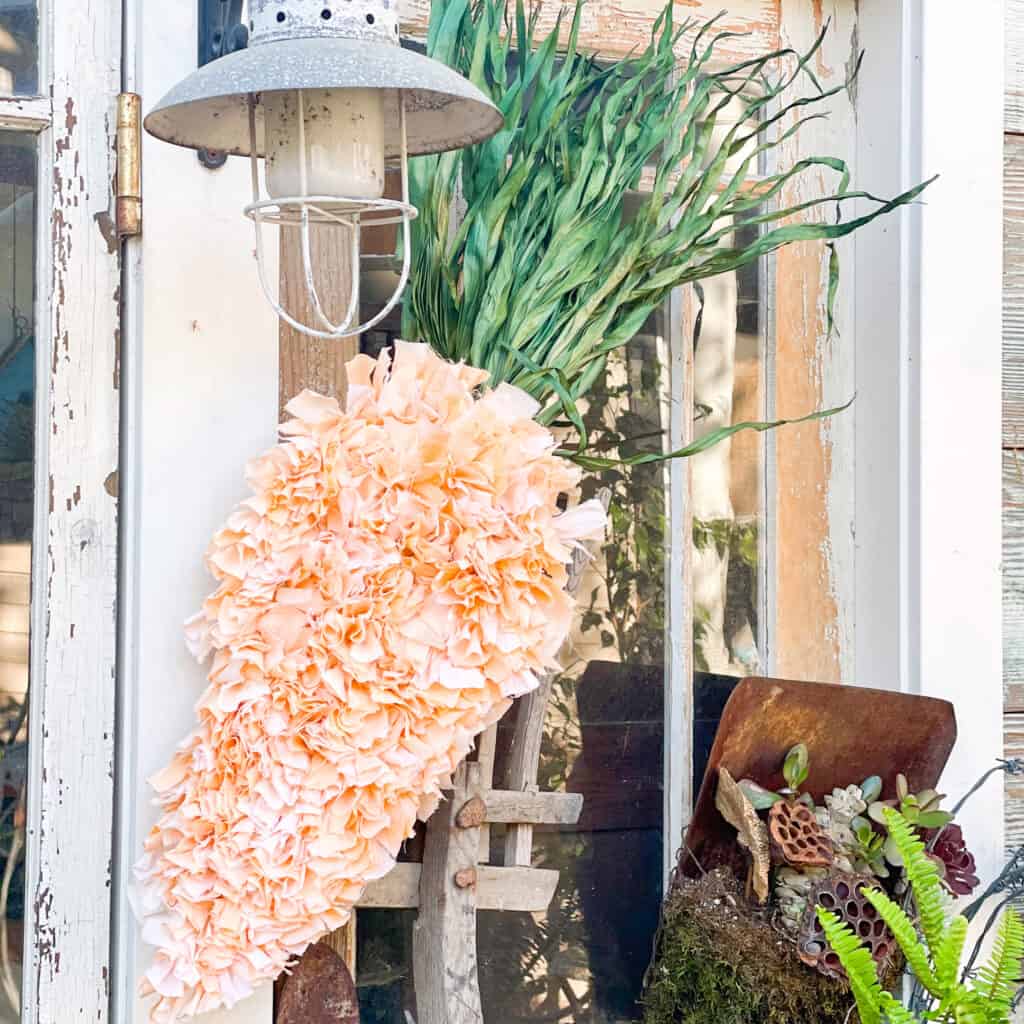
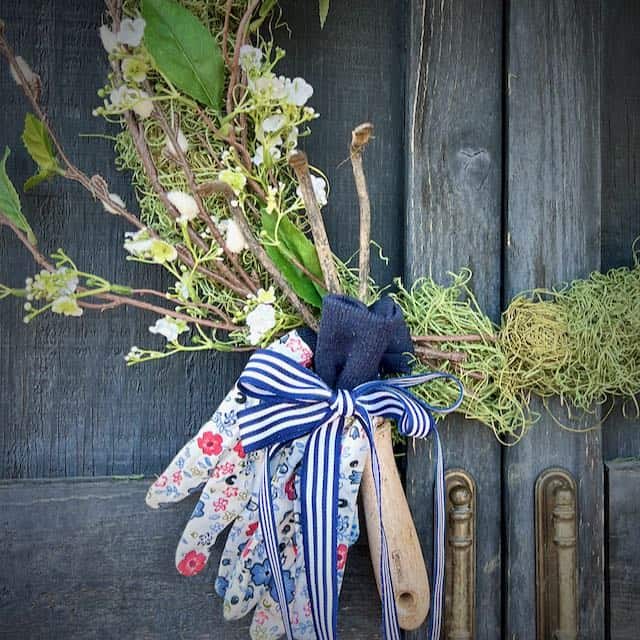
- garden tools
- fabric or felt carrots
- faux mushrooms

And there you have it, my friend – a step-by-step guide to making a unique DIY door wreath using a lampshade!
Who would have thought that something as simple as a lampshade could be transformed into such a whimsical piece of decor?
I hope this tutorial inspires you to get creative and add a touch of personality to your own front door.
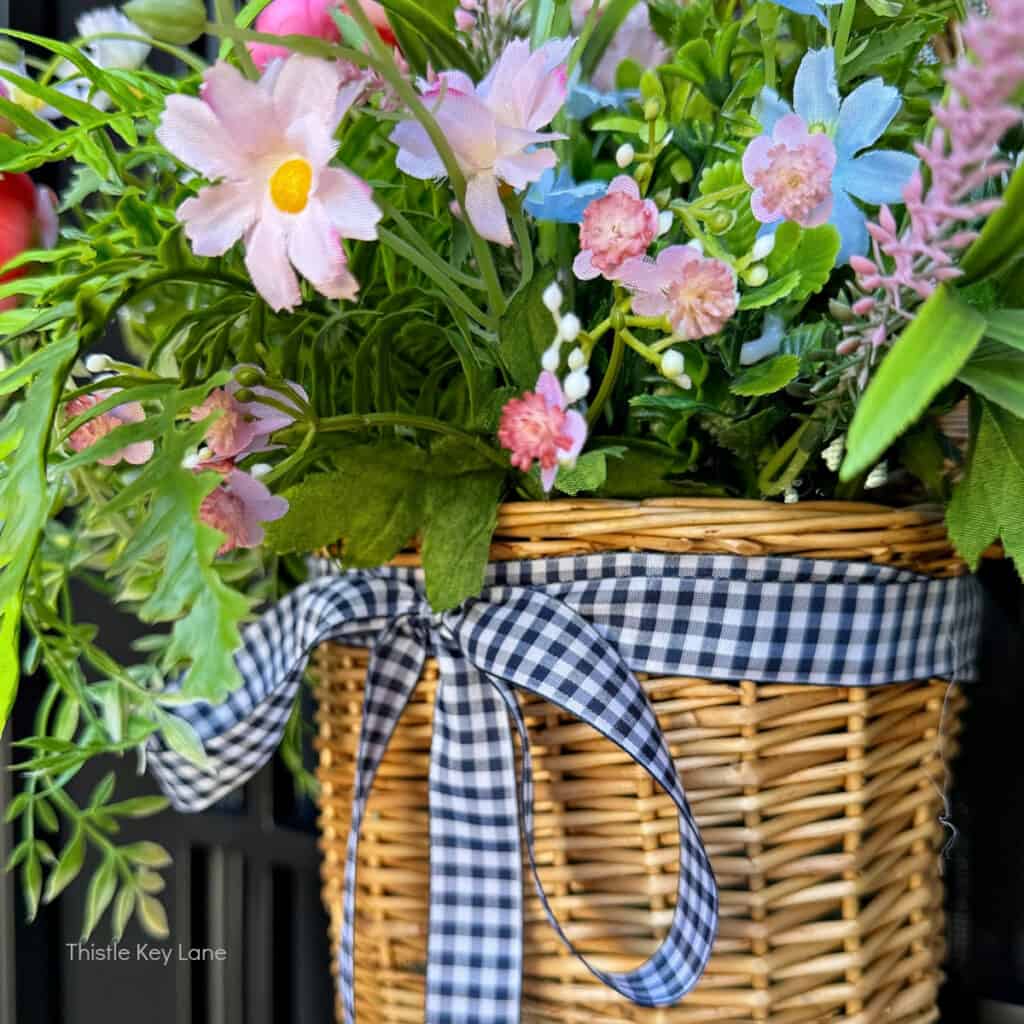
I’m sending you over to Thistlekey Lane so you can see Michelle’s fresh and fancy flower door basket. It is so pretty! And be sure to check out all of the other fun Handcrafted Society spring door decor ideas! Happy crafting!
Cheers!

Don’t Forget to Pin It!
Pin the image below to your boards on Pinterest (just click the Pin button in the top left corner). You can also follow along with me on Pinterest!

Love Wallpaper? Try These Projects!

A Decorative Wallpaper Bowl Under $5

The Handcrafted Society


More Spring Decorating DIYs


How fun! Love that you made a wreath with a lamp shade. Love how colorful the wreath is for the spring season.
Thank you, Tammy! Happy handcrafting!
Oh my goodness! Leave it to your creative vision to turn a lampshade into a bunny cave to hang on your front door!!!!!!!
So Clever, so fun, so original!
It’s great to be crafting together.
I always love crafting with you, Diane! Thanks so much for your kind and happy words!
I’ve never seen a wreath like this, Missy. It’s really creative! I love how you used so many bright colors and added lots of Spring touches to make it feel extra special. It’s fabulous! Hugs, CoCo
Thank you so much, CoCo! It was a fun project to make!
So cute! That little bunny looks so happy and cozy!
He is a happy little bunny! Thanks for reading and commenting! Enjoy your spring break!
I love your mossy spring lampshade wreath Missy! So cute, creative and colorful with the wallpaper and the bunny!
Thank you, Michelle! My little colorful bunny is pretty happy in his little front door cave!
Incredible, Missy!! I would NEVER have thought of using a lampshade as a wreath but holy cow it’s so cool!! It’s like a 3D display. Amazing!!
Thank you, Rachel! You make my day with your kind words! It was a fun project and I loved sharing it! Have an awesome day!
Missy, you are SO creative! I have never seen someone use a lampshade as a base for a wreath, but I love it! The adorable bunny looks so great with that wallpaper and the bright pink flowers! So festive and fun! It just makes me smile!
Thanks so much, Donna! Don’t you love it when crazy ideas pop in your head? Thank you for the kind words. So fun to be in the Handcrafted Society with you!
This is just darling Missy! Truly one of my favorite ideas.
Thank you so much, Wendy! I really appreciate that!
Gorgeous wreath, Missy! It’s so vibrant and such a clever idea! You always have the best ideas!!
You are so sweet, Kim! Thank you so much!
How fun and creative! It even has a little groovy 70’s vibe going on. And a lampshade?!? 🤯
It was a fun project!
This is SO cute and clever, Missy! Thanks for sharing at Vintage Charm! Blessings, Cecilia @ My Thrift Store Addiction
Thank you so much, friend!
Hi Missy – This is super creative and I love how you used cheerful colors. The tip for using peel and stick wallpaper is genius. I also love that you added some moss. Pinned!
Thank you so much, Anna! I really appreciate it!
So cute! I love that it’s not tacky looking, but really pulled together in a beautiful way! Thanks for sharing with us at the Homestead Blog Hop. I can’t wait to see more this Wednesday.
Thank you so much, Kelly! It is always so much fun to link up!
OMGSH just GORGEOUS, Missy! I love how your mind works. The depth allows for so many display options like your patterned bunny.
Thank you so much, Beth! That really means a lot! It was such a fun project and I love sharing it!
I would never ever have thought to use a lampshade for a wreath but your wreath turned out so great!! What a fun and fabulous idea.
Thank you, Joanne!
You are so creative and I adore your imagination. Thank you for sharing this with us on Farmhouse Friday. I’m featuring it tomorrow! pinned
Thank you so much, Cindy! I appreciate this so much!
What a fun and different idea. I’d have birds nesting in it within 5 minutes! So bright and colorful!
Tuck a little fake snake in there and birds will stay away!
This is very colorful, bright and cheery! I would not have thought of using a lampshade for a wreath.
Kind of a crazy idea but it has been fun to hang on the front door!