How to Hang a Wallpaper Mural: A Step-by-Step Guide
Are you looking to transform a room in your home and add a touch of personality? Wallpaper murals are a fantastic way to breathe life into your living space, creating a visually stunning focal point that reflects your style and interests. Learn how to hang a wallpaper mural and achieve stunning, professional-looking results!
This project is sponsored by Wallism, all opinions are my own.
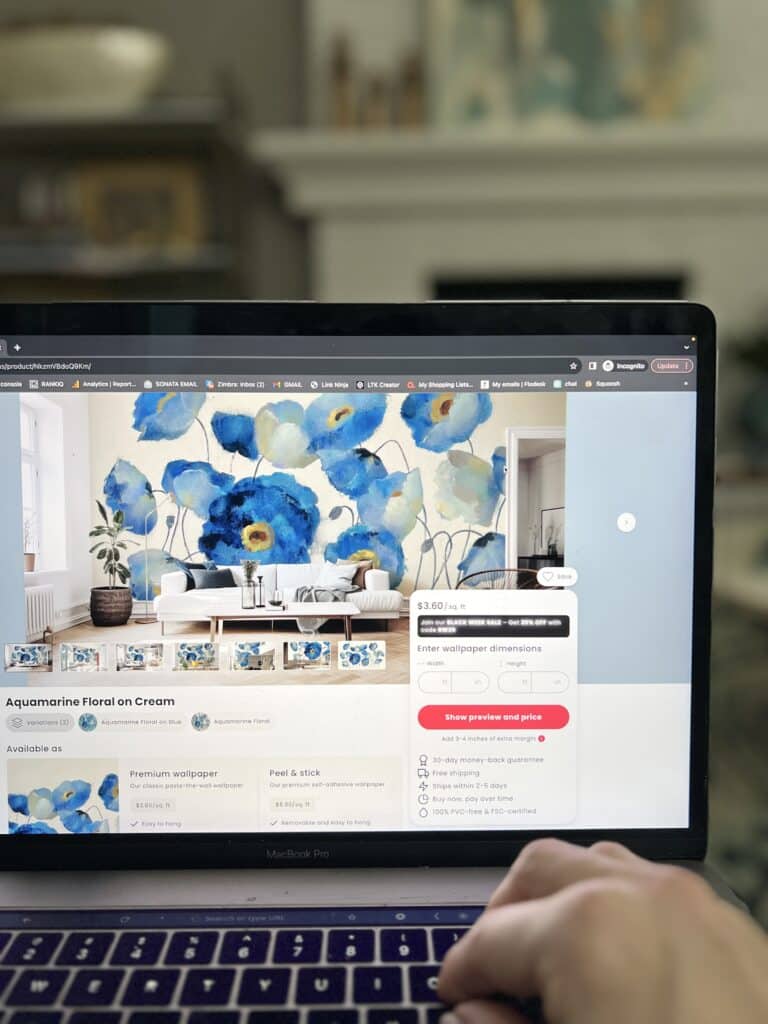
Hanging a wallpaper mural may seem like a daunting task, especially if it’s your first time attempting a project of this nature. But hanging a custom wallpaper mural is a straightforward project that can be done in a few hours and gives your room an amazing design focal point.
Why Settle for Boring Walls?
Bold but calm…
Unique and cohesive…
Dramatic yet peaceful.
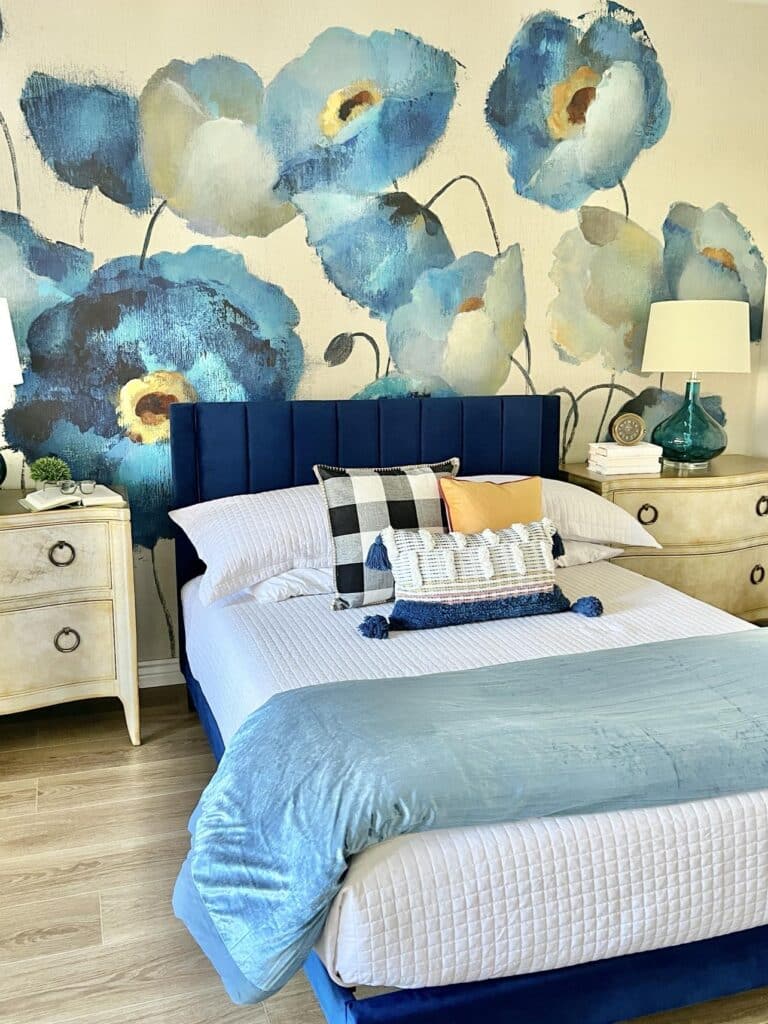
This was the goal for our primary bedroom makeover.
We attempted to create a focal point wall in our primary bedroom by painting it a darker shade of grey. It gave the wall a little “oomph” but it was still pretty boring.
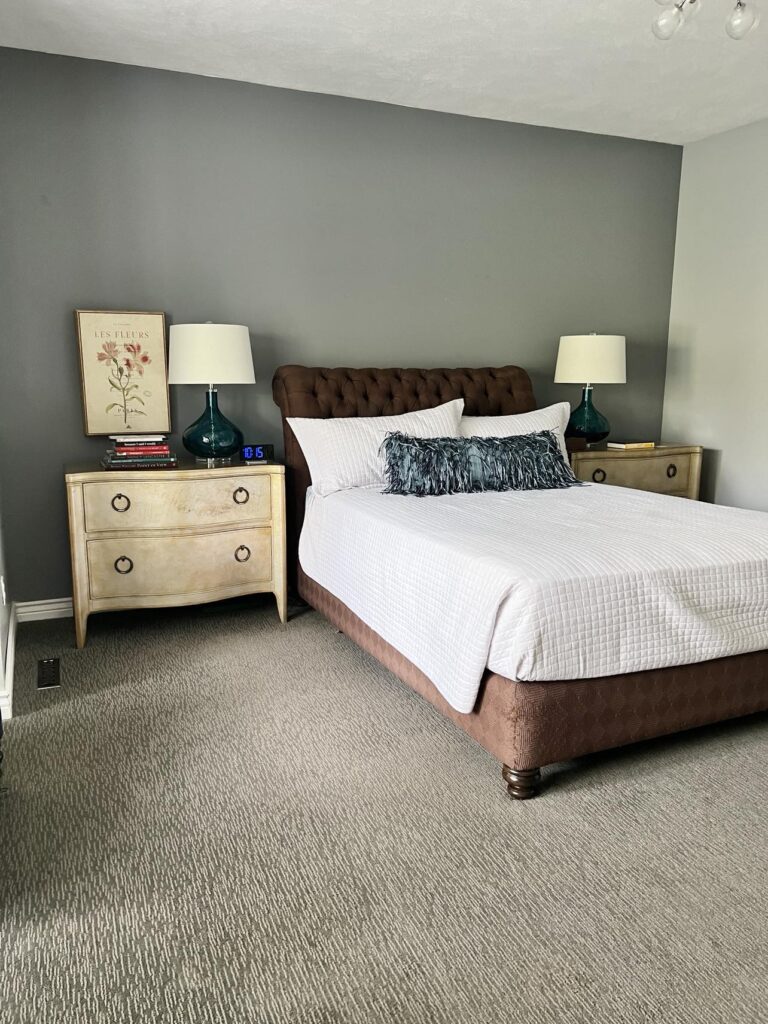
I love unique and colorful design details that pack a punch but also want a tranquil and comfortable bedroom. And since I love wallpaper…
A beautiful wallpaper mural is the answer and now is my chance to share how to hang a wallpaper mural!
I am thrilled to be collaborating with Wallism as a Hometalk Ambassador and am grateful for the gift of this gorgeous wallpaper mural.
Why A Wallpaper Mural is a Good Idea
Wallpaper murals are trending and for good reason! They are a fantastic design choice for several compelling reasons.
- A wallpaper mural allows for an effortless transformation of any space, instantly injecting personality and style into a room. The vast array of available designs ensures that you can find the perfect mural to suit your taste, whether you’re into nature-inspired landscapes, abstract art, or vintage patterns.
- A mural serves as a bold focal point, effortlessly drawing the eye and creating a captivating atmosphere. It’s a versatile option, whether you want to cover an entire room for a dramatic effect or create a stunning feature wall.
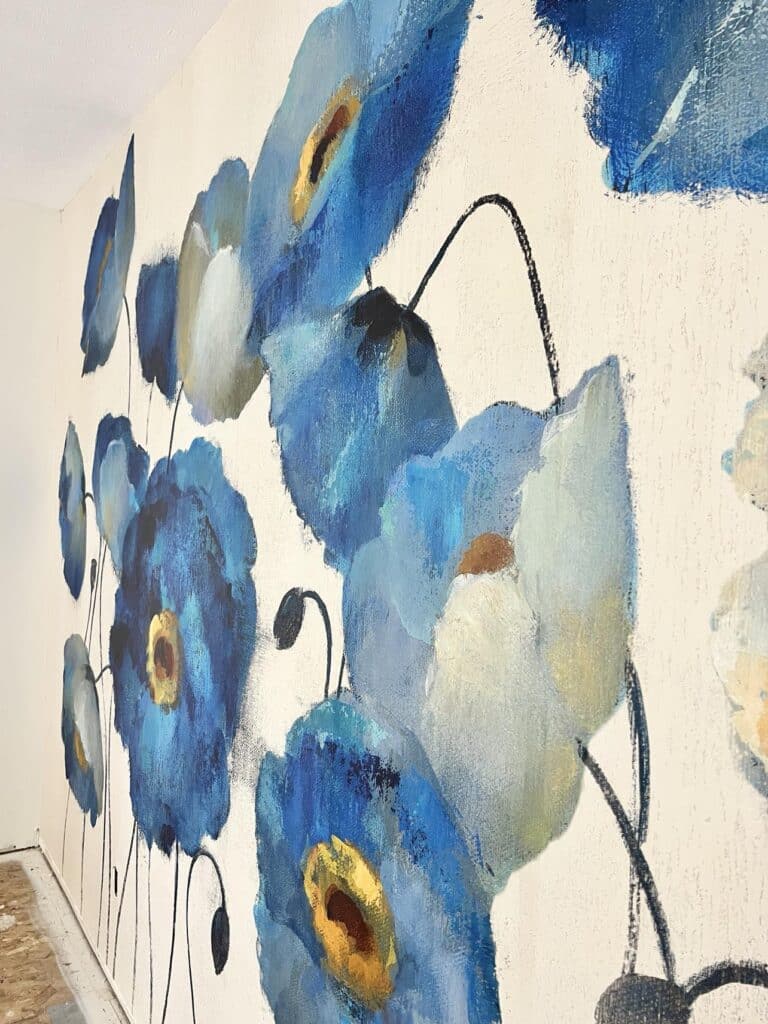
- With a quality paper like Wallism, you have ease of installation and the ability to change the look of a room without a long-term commitment. Wallpaper murals are an ideal choice for those seeking a quick, impactful, and customizable design solution.
Check out all that Wallism has to offer and get 15% off your order with the code SONATA15!
- Make your space look larger! Because of the large-scale nature of this type of wall paper, you can create a sense of depth with a unique mural image.
Supplies You’ll Need:
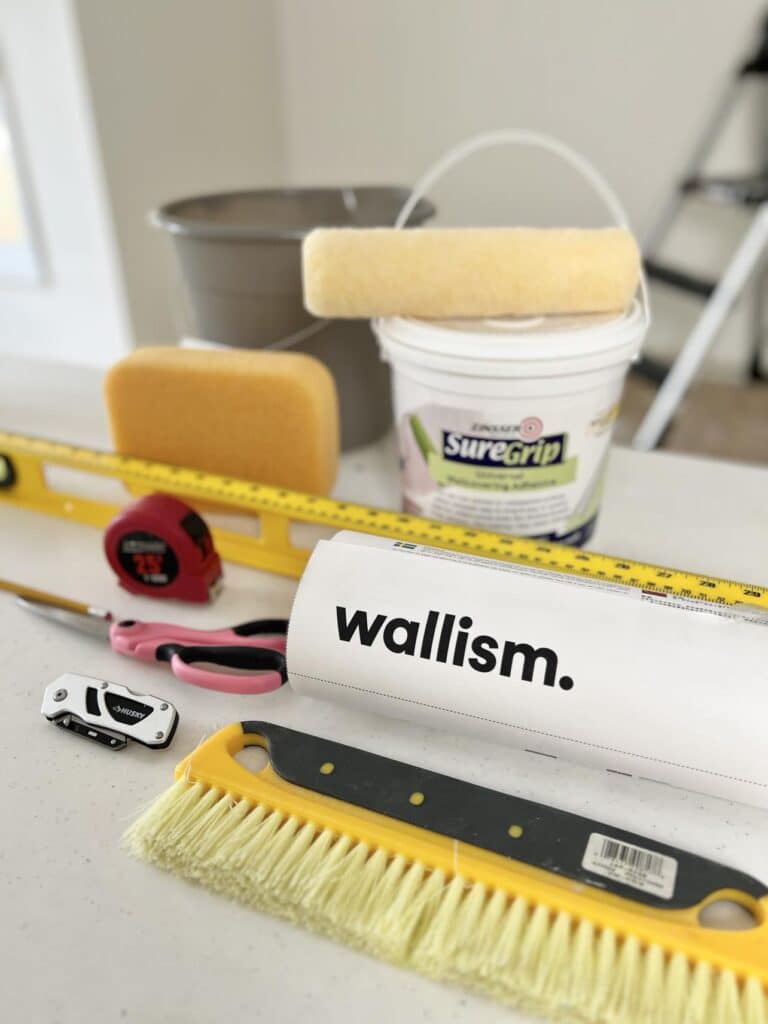
Knowing how to hang a wallpaper mural starts with gathering your supplies. Let’s make sure you have all the necessary supplies at hand. Here’s a handy list:
- Wall Mural: Choose a design that suits your taste and the ambiance you want to create. Wallism has an amazing catalog of unique designs for every decorating style and taste.
- Wallpaper Adhesive: This wallpaper uses a “paint the wall” wallpaper adhesive (sometimes labeled non-woven adhesive) for extremely easy application and installation.
- Bubble Level: For creating your initial plumb line and to ensure level application of the paper.
- Smoothing Tool: This could be a wallpaper brush or a seam roller to eliminate air bubbles.
- Sharp Utility Knife and Razor Blades: This is essential for trimming excess material and achieving clean edges. Make sure you always have a sharp razor blade loaded into your utility knife.
- Tape Measure: To measure and mark the wall accurately.
- A Bucket and Damp Sponge: For wiping away excess paste and keeping things tidy.
- Drop Cloths: To protect your floor from any stray adhesive or water.
- A Ladder: I’m tall, but not that tall!
- Clean Surface: Ensure your wall is free from dirt, dust, and any uneven surfaces.
- Helper: I was able to hang this mural by myself but it can be helpful to enlist the help of a friend for an efficient (and fun!) installation.
The Beauty of Wallism Wallpaper
Wallism wallpaper is amazing! Their online website is perhaps my favorite rabbit hole ever! With over 7000 different designs available, I could (and have) spent hours exploring all of their fantastic designs.
Whatever your interior aesthetic, there is a design for you! These eco-friendly mural designs range from floral to forests, tropical to romantic, and abstract to vintages…the latest trending designs are on the Wallism site in all of its large-scale paper glory!
As someone who loves color and pattern, this is my playground and I’m having a blast!
I had a mile-long list of favorite designs but finally whittled my choice down to one that perfectly fits my primary bedroom goals: Aquamarine Floral on Cream. It is a large-scale classic floral pattern with the most beautiful blues set against a lovely cream background. She’s a beauty!
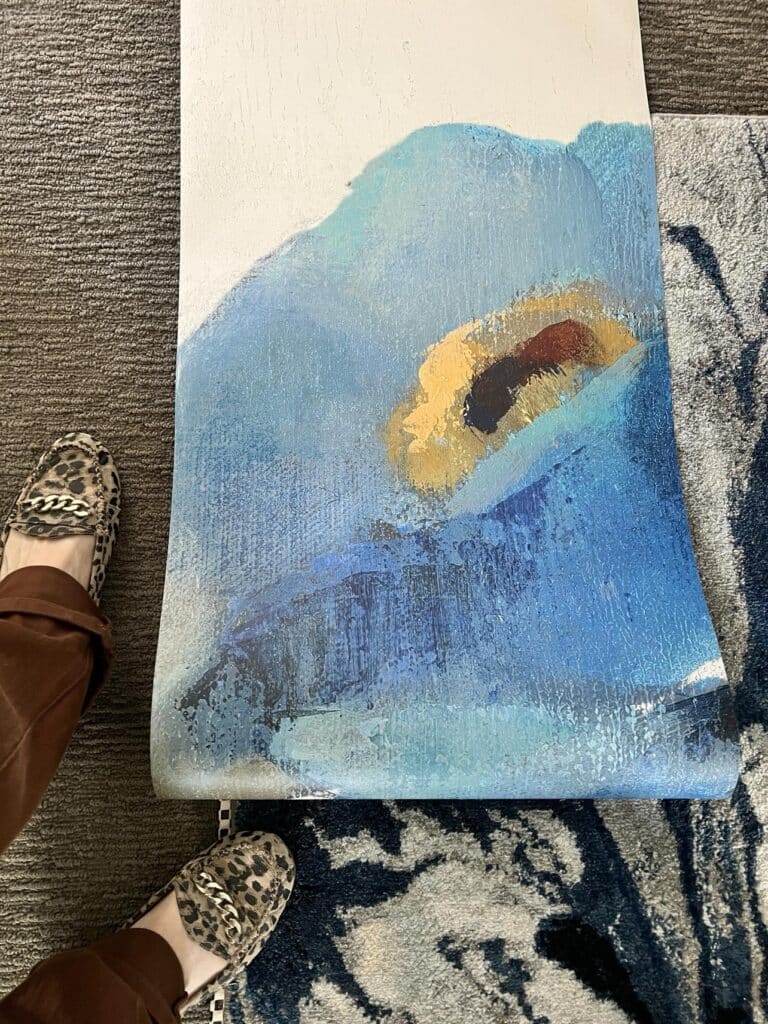
In addition to being a beautiful design, Wallism wallpaper is very high quality, eco-friendly and contains no PVC. It is incredibly easy to hang and is available both as a non-pasted (“paste the wall”) paper or as a peel & stick paper.
BONUS! Wallism is offering 15% off your order with the code SONATA15.
Click HERE to check out the Wallism site and find the wallpaper of your dreams!
Choosing Your Wallism Design
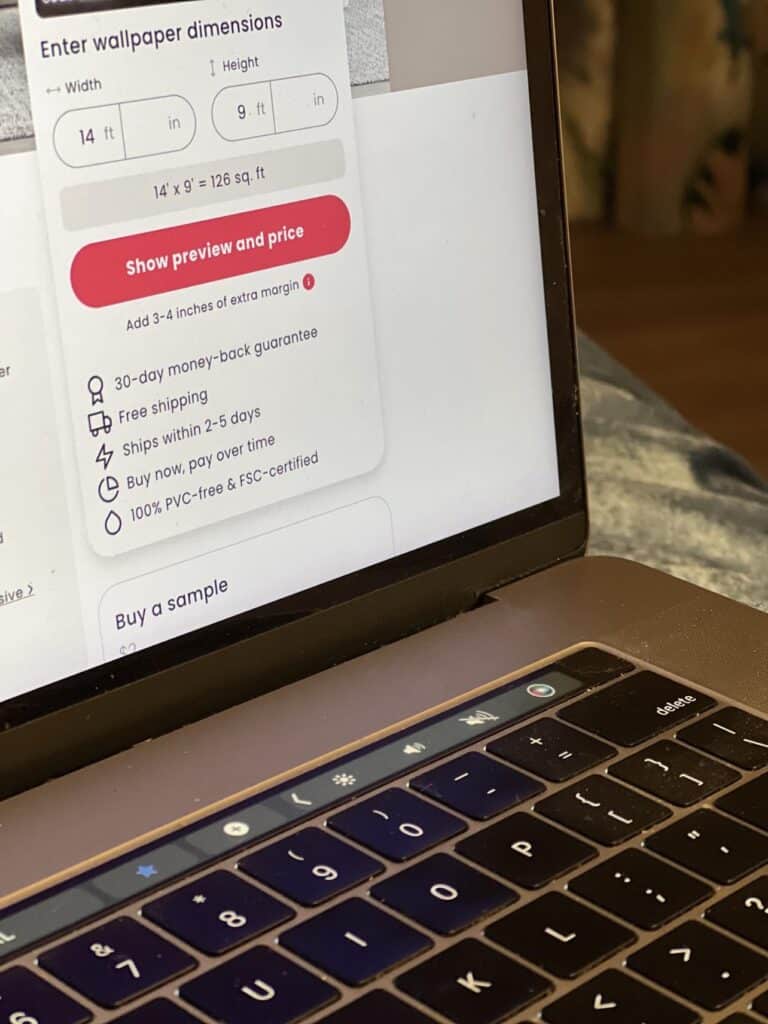
My wallpaper choice was made to order and they customize every order to the measurements of your wall. For example, all I had to do to order my paper was enter the dimensions of the wall I was covering. I pressed “Enter” and their site instantly showed me a preview with the image scaled to the size of my wall. They also told me exactly how much to order. So easy!
How to Hang a Wallpaper Mural
Wallpaper is my jam! From the laundry room to the dining room to the upstairs bathroom, I have used just about every type of wallpaper there is. Wallism wallpaper is a thick, high-quality paper that is extremely easy to hang. Not kidding…super smooth application with no wrinkling and no shrinking!
Here are the easy steps for how to hang a wallpaper mural:
Step 1: Prepare Your Wall
The first thing you’ll want to do is prepare the surface of your wall. Clean it thoroughly to ensure there’s no dust or debris that could affect the adhesive.
If there are any imperfections on the wall, consider filling in holes with some spackle and sanding down uneven surfaces for a smooth finish.
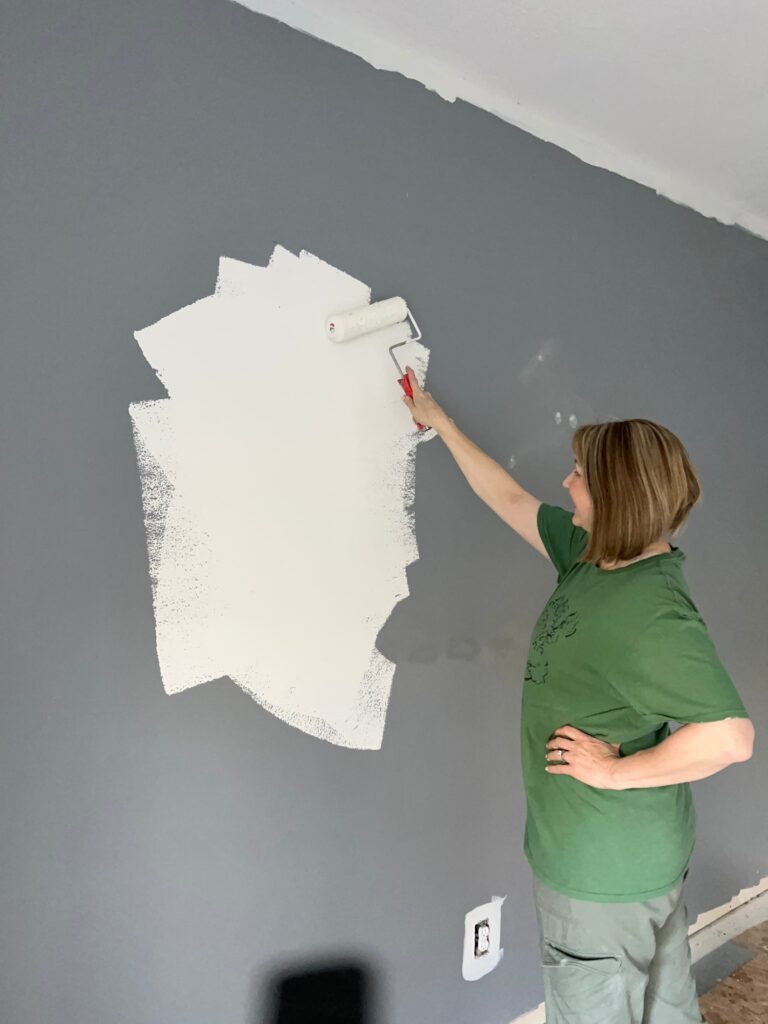
I had quite a few nail holes in the wall so I spackled the holes and gave all the walls a quick coat of Behr “Blank Canvas.” This ivory shade is a fantastic match for the wallpaper background!
Step 2: Prepare Your Wallpaper
A wallpaper mural is different than regular rolls of wallpaper in that each strip has a unique image that is a custom-printed piece of the mural puzzle. So, it is very important to prep and organize your mural strips in the right order.
My mural consisted of 9 strips but the order arrived as two large rolls of paper.
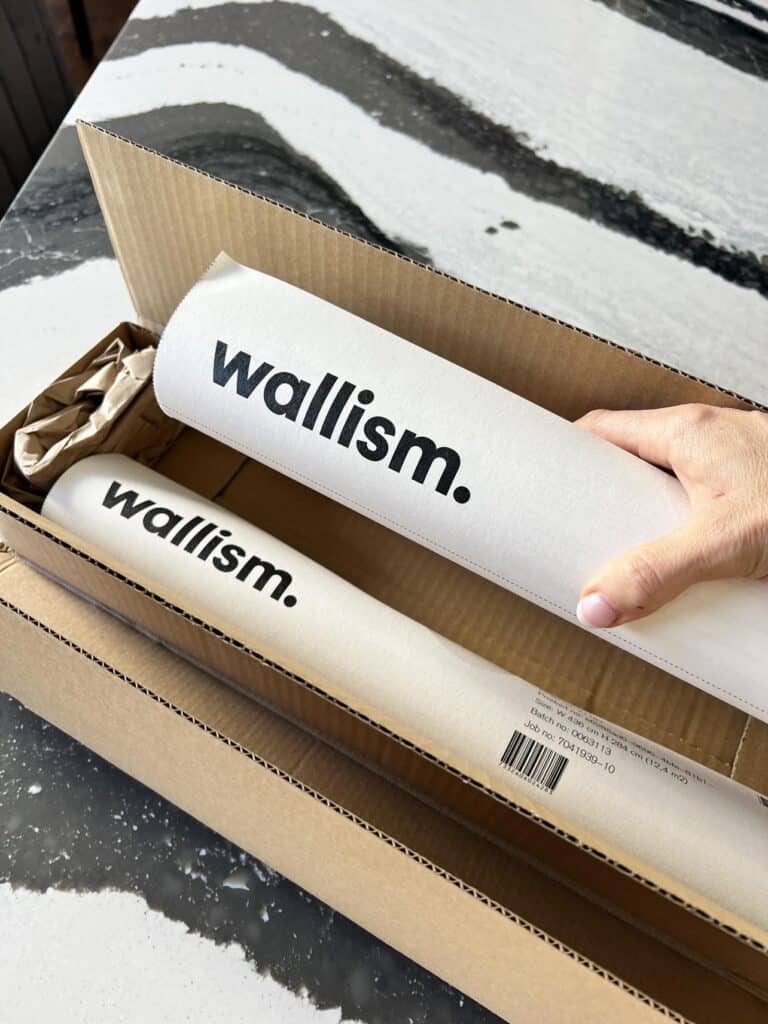
The first thing I did was to unwrap and unravel the rolls slightly and let them sit in the room for 24 hours. Just like flooring, wallpaper needs to acclimate to the humidity of the room.
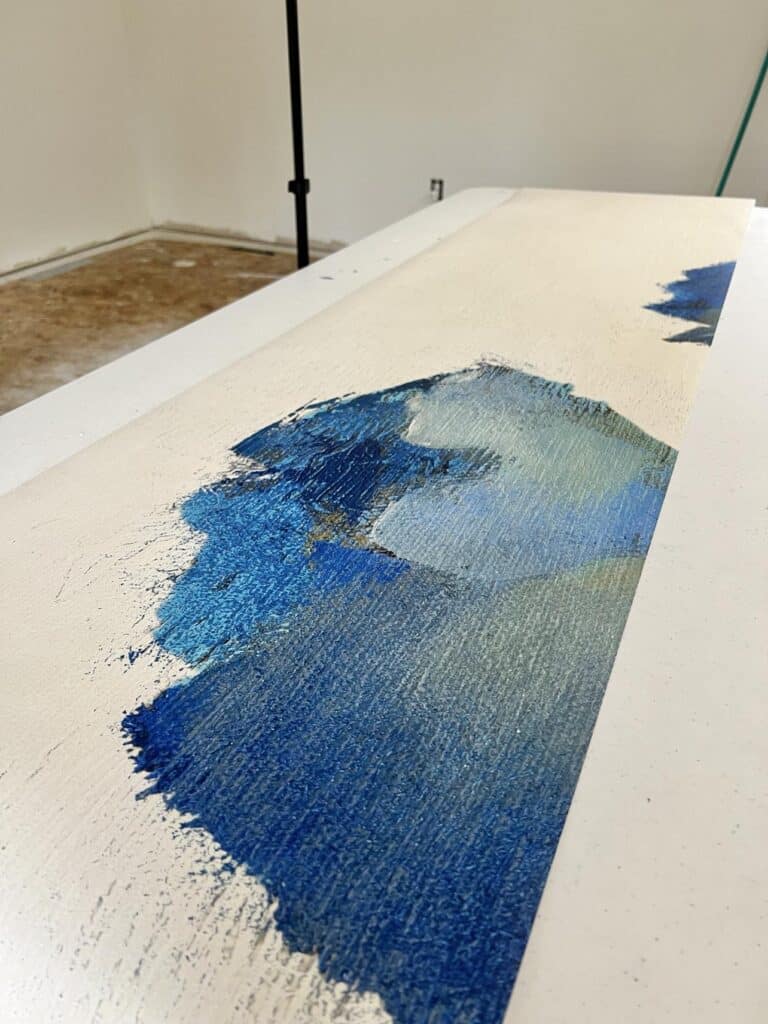
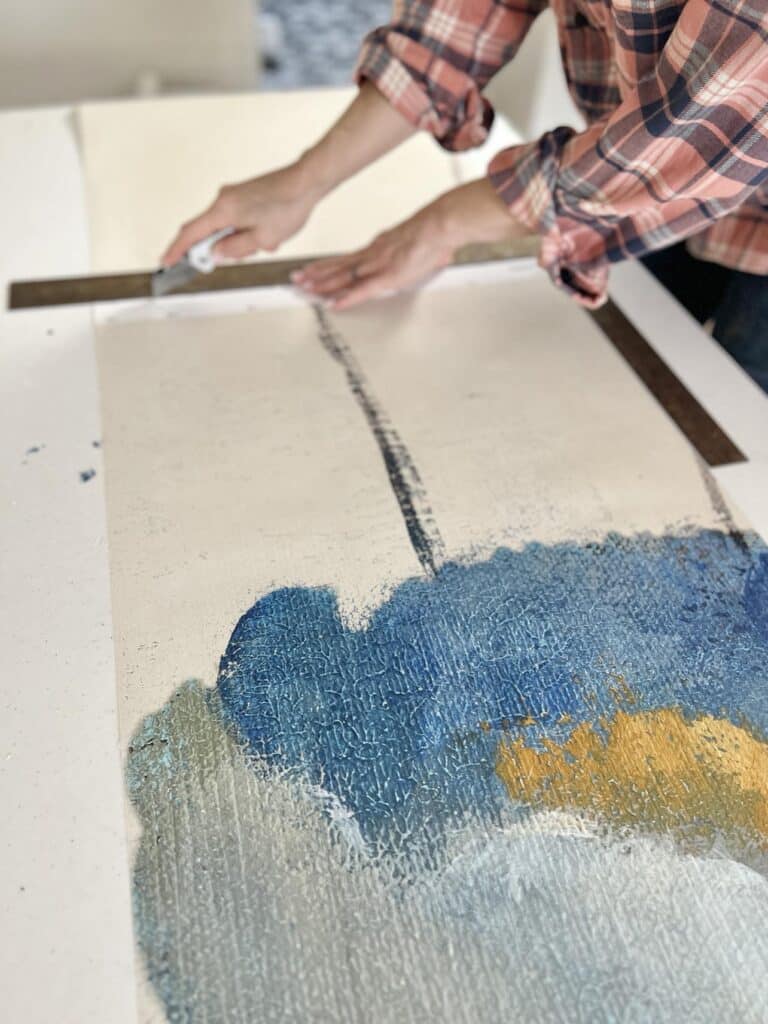
On a flat table, unroll each roll and cut using a utility knife and a straight edge (or sharp scissors) on the designated dotted lines. The Wallism paper is very clearly marked with the strip number as well as directions on where to cut.
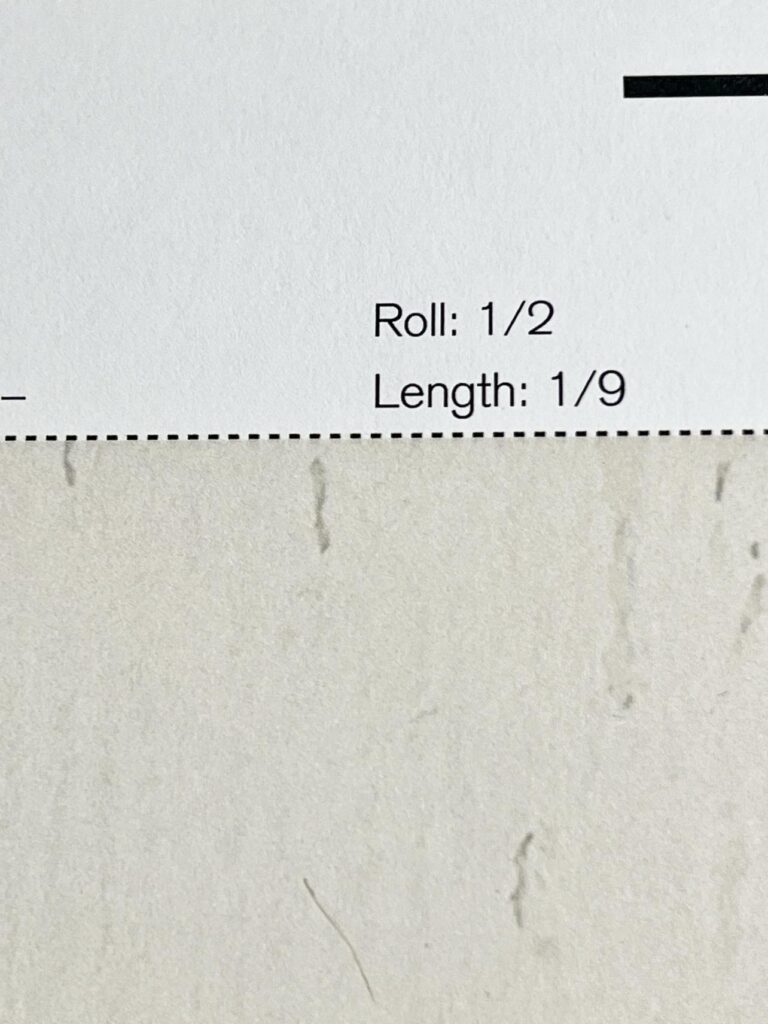
Each length of paper will be the full height of your wall. No more trying to match a pattern repeat halfway down a wall!
For best results, cut all of your strips and lay them out in the correct order left to right on a clean floor so you have a full view of the entire mural. The strips are numbered from left to right and the number one strip should ALWAYS be on the left.
Step 3: Measure and Mark
You will be working from left to right on your wall and the first strip you hang is the most important. So take some extra care in finding the perfect placement for this piece.
Use a tape measure to mark the width of the wallpaper from the left edge of your wall and mark it with a pencil. Mark this width at several points on the wall and then draw a vertical line (or plumb line)
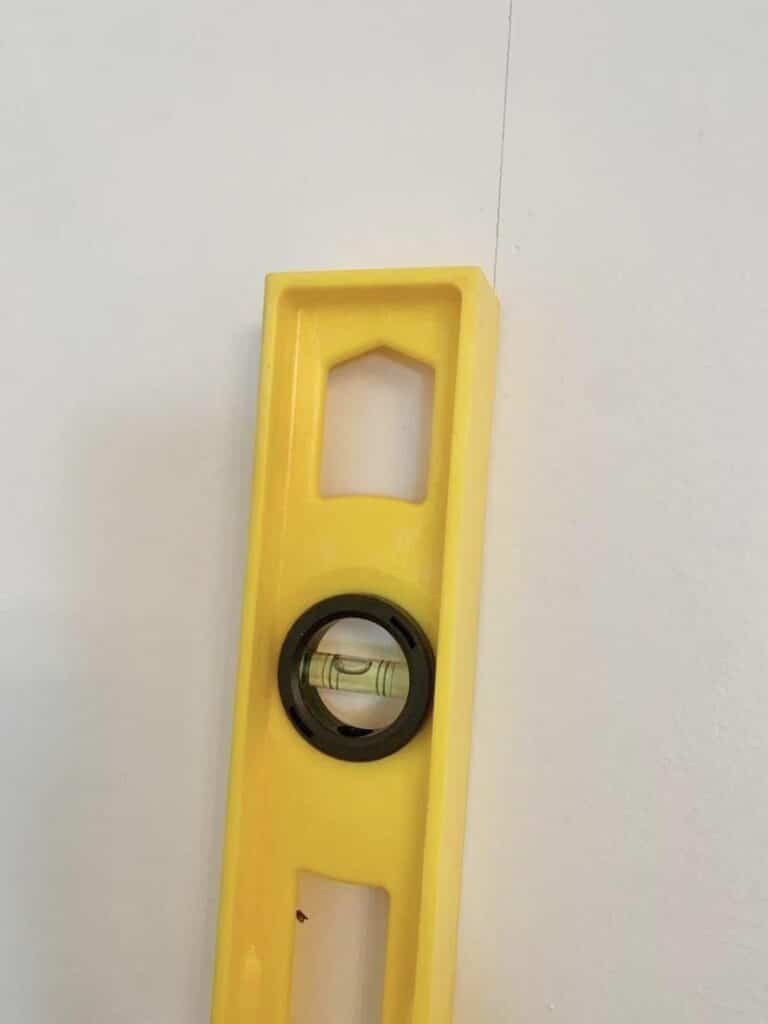
This pencil line will be your edge guide for hanging the first panel of your wallpaper mural. Double-check the pencil marking with your level to make sure that your straight line is level. These measurements will give you your starting point and guide you in placing your first panel perfectly.
Step 4: Apply Adhesive to the Wall
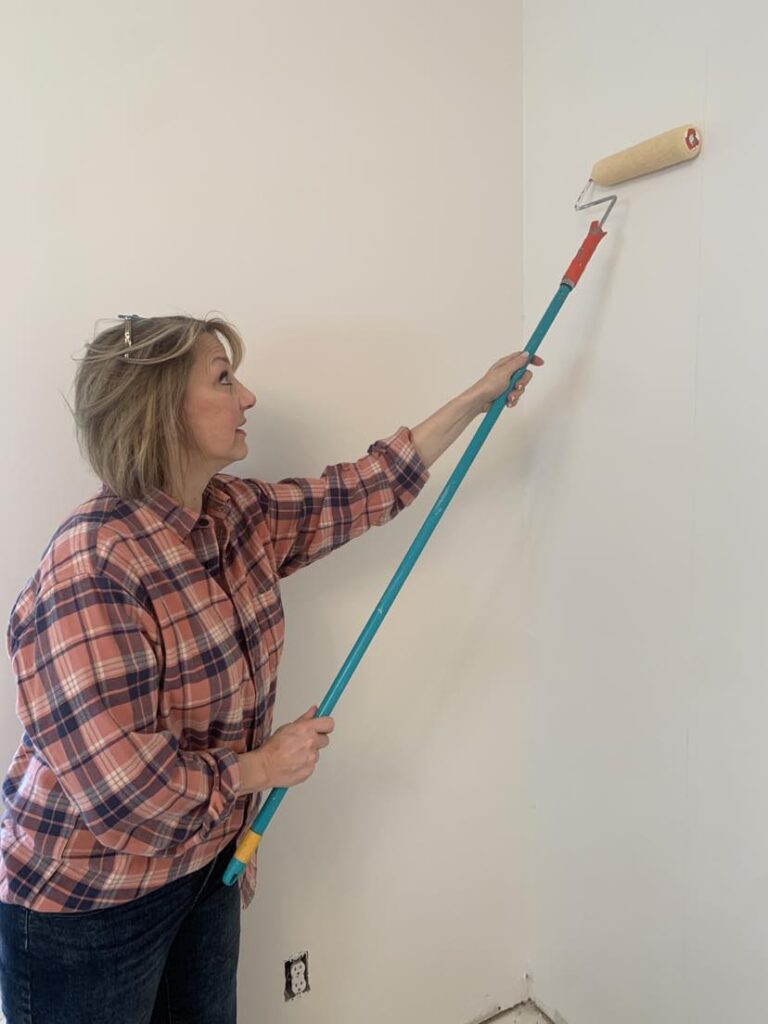
The next step is to apply the wallpaper adhesive to the wall. Starting on the left side of the wall, use a paint roller to apply the adhesive to the wall surface just beyond the area marked for the first panel.
Be generous but avoid excessive amounts that could cause the wallpaper to slide. This is not the time to take a break…you don’t want the glue to dry before you hang the paper!
Step 5: Hang the First Panel
To hang your first panel, position the paper at the ceiling edge and align the right side of your first wallpaper panel with the plumb line you marked on the wall. Starting at the top, carefully smooth the panel from the center outward, using a smoothing tool to eliminate air bubbles. Continuously check to ensure the outer edges are properly aligned with the pencil marks on the wall.
Step 6: Trim Excess Material
Once your first panel is securely in place, use your sharp utility knife to trim the excess paper at the top of the wall as well as the bottom, and left side. Don’t wait for the paste to dry. You will be able to get a smooth, clean line at your edges if the paper is still malleable. A straight edge can be helpful for achieving clean, straight lines.
Step 7: Repeat the Process
Continue these steps for the next panel and the next, working outward from the center.
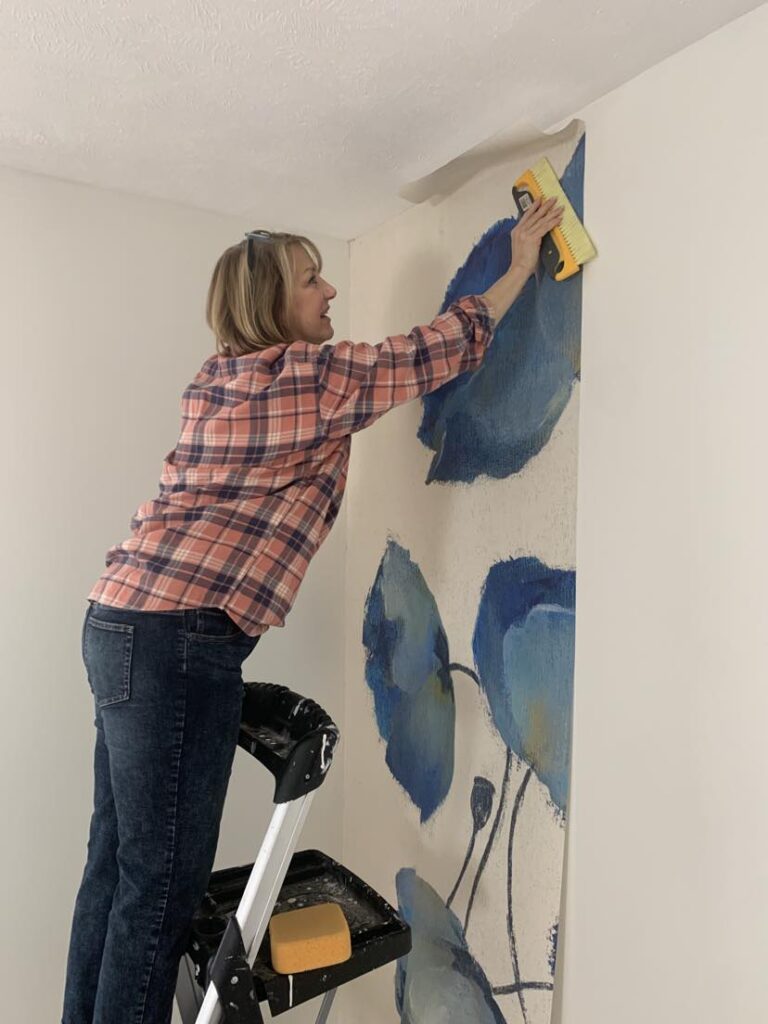
You don’t need to measure any more plumb lines because you are aligning the wallpaper image of each strip with the prior strip. To make sure each panel aligns seamlessly with the previous one, find match points with defined lines to visually align the strips.
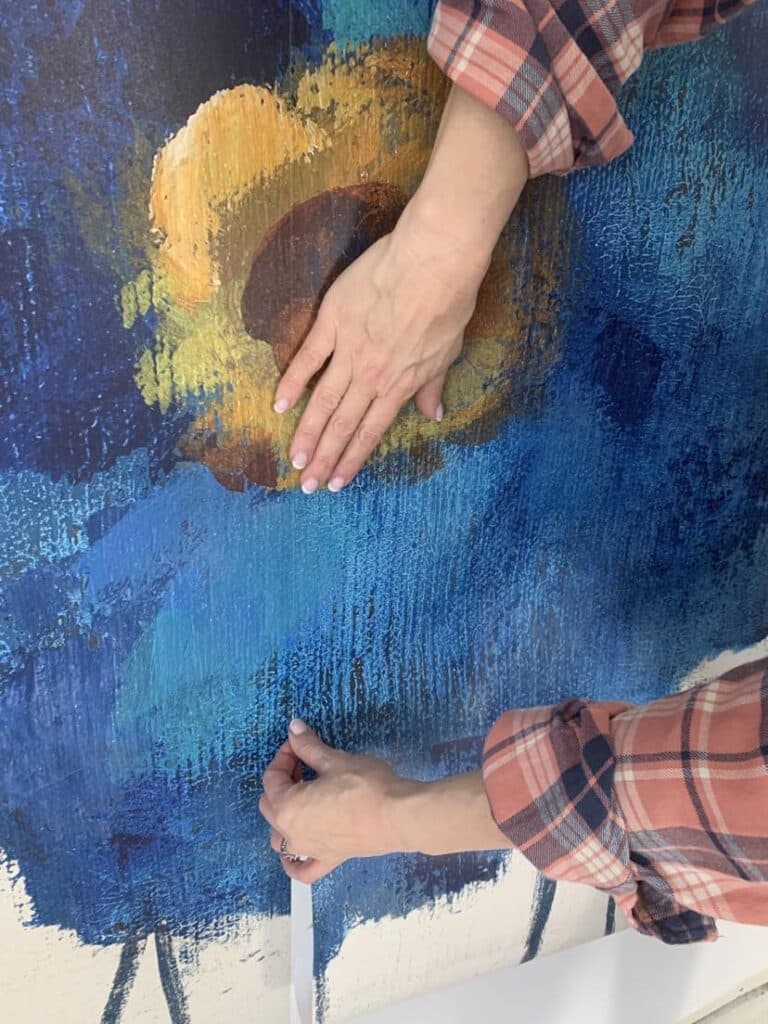
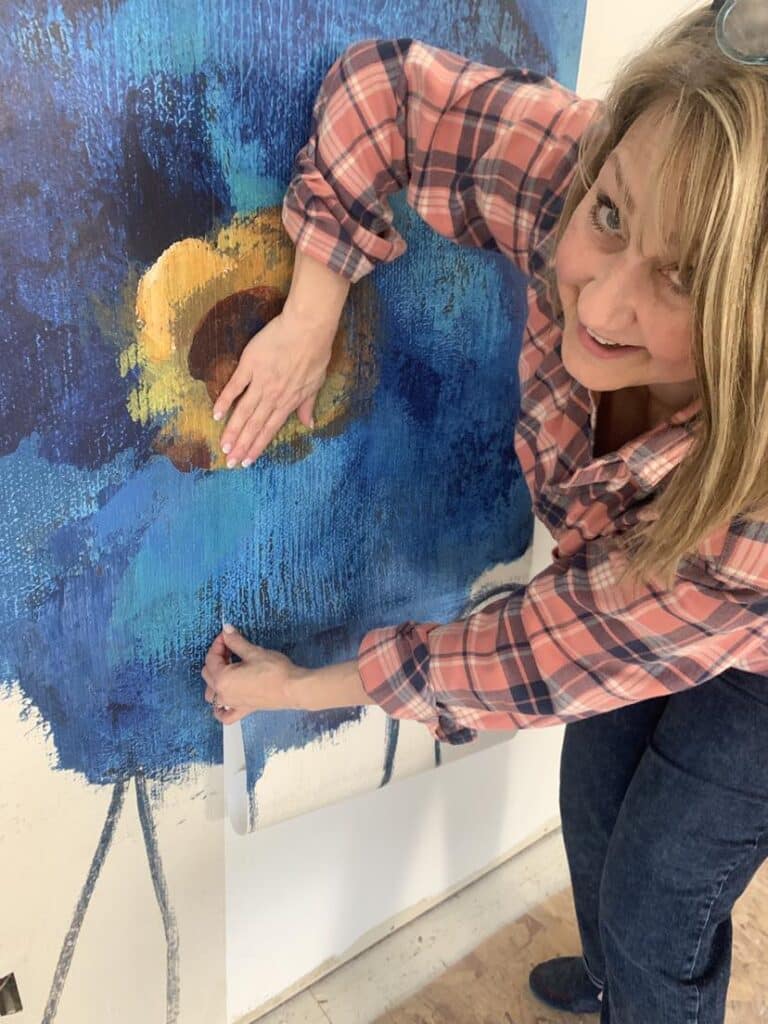
You can use a level to periodically check that your mural maintains a straight line. However, I didn’t bother. If your first strip is level, the others should follow suit.
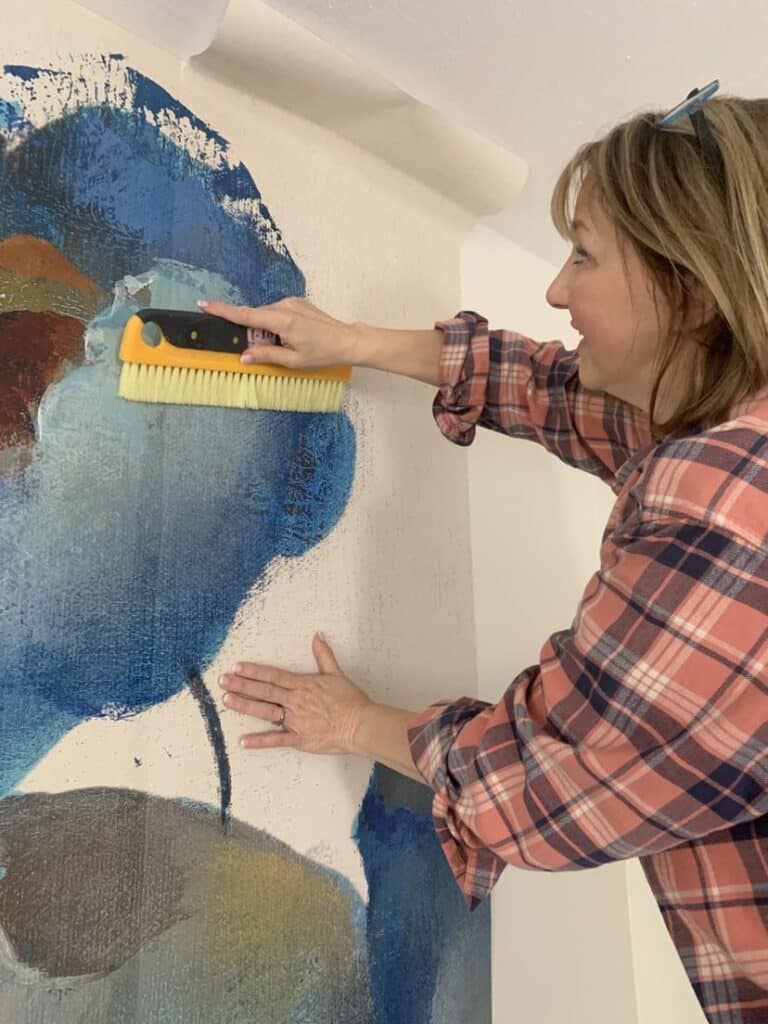
Allow your paper to dry for 24 hours with good ventilation. If there is a radiator attached to your wall, turn it off for the drying period to avoid shrinkage.
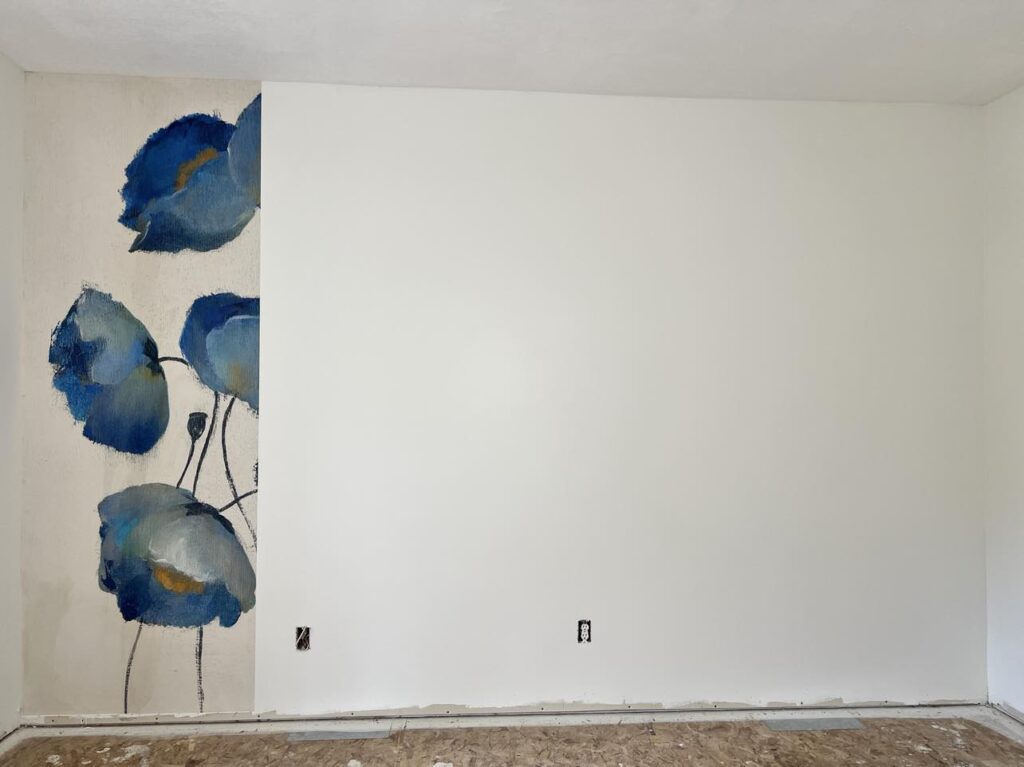
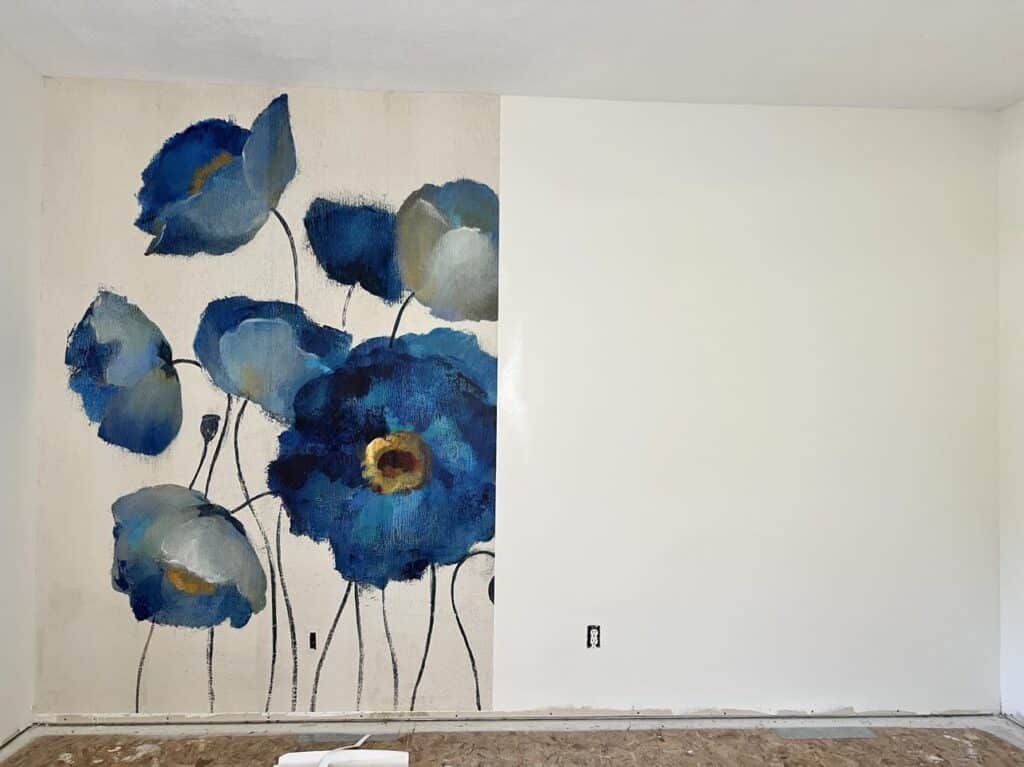
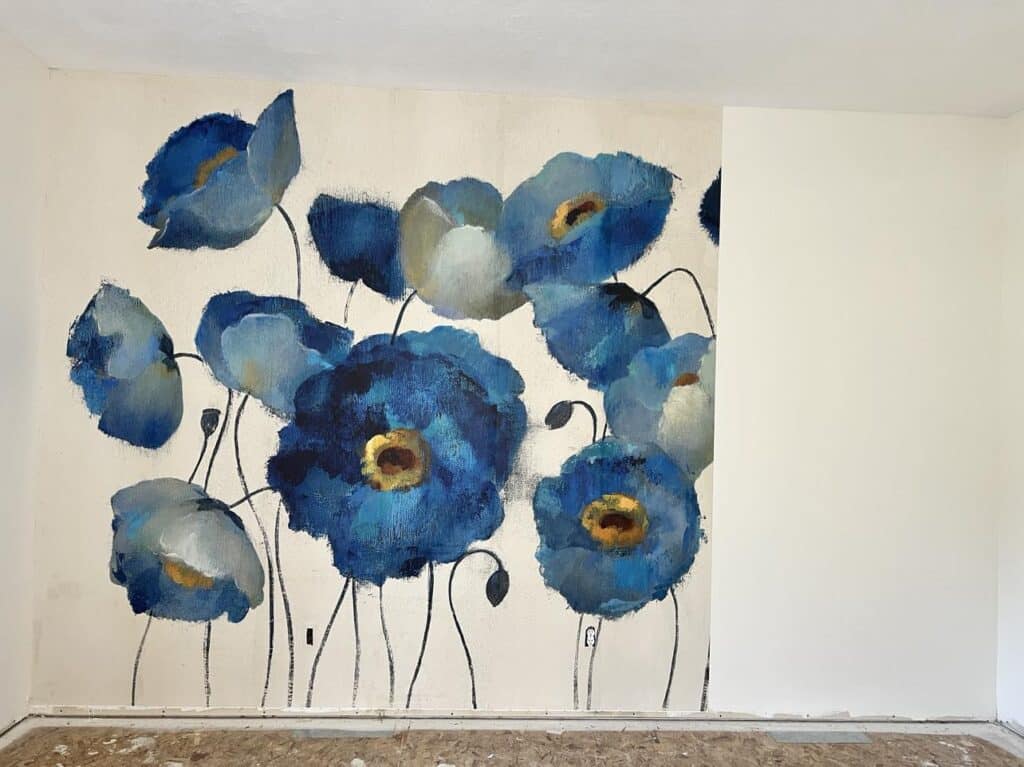
I was able to cover the whole wall with the mural in just a couple of hours. It is so much fun to see your image appear as you hang the mural panels!
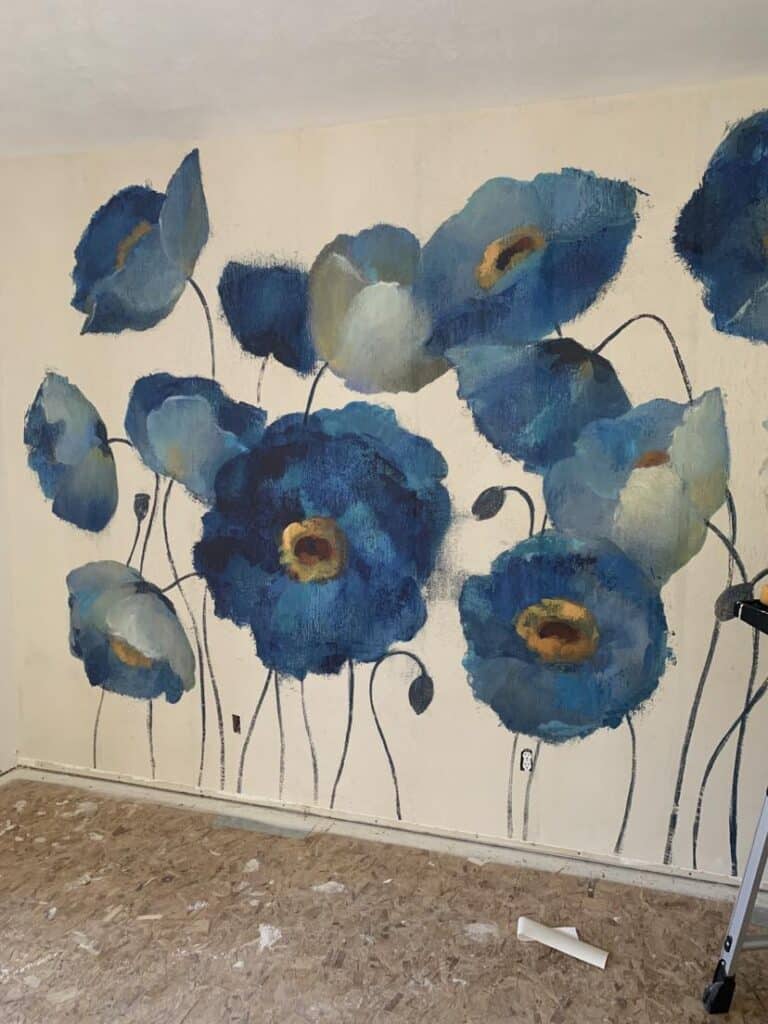
Top Tips for How to Hang a Wallpaper Mural
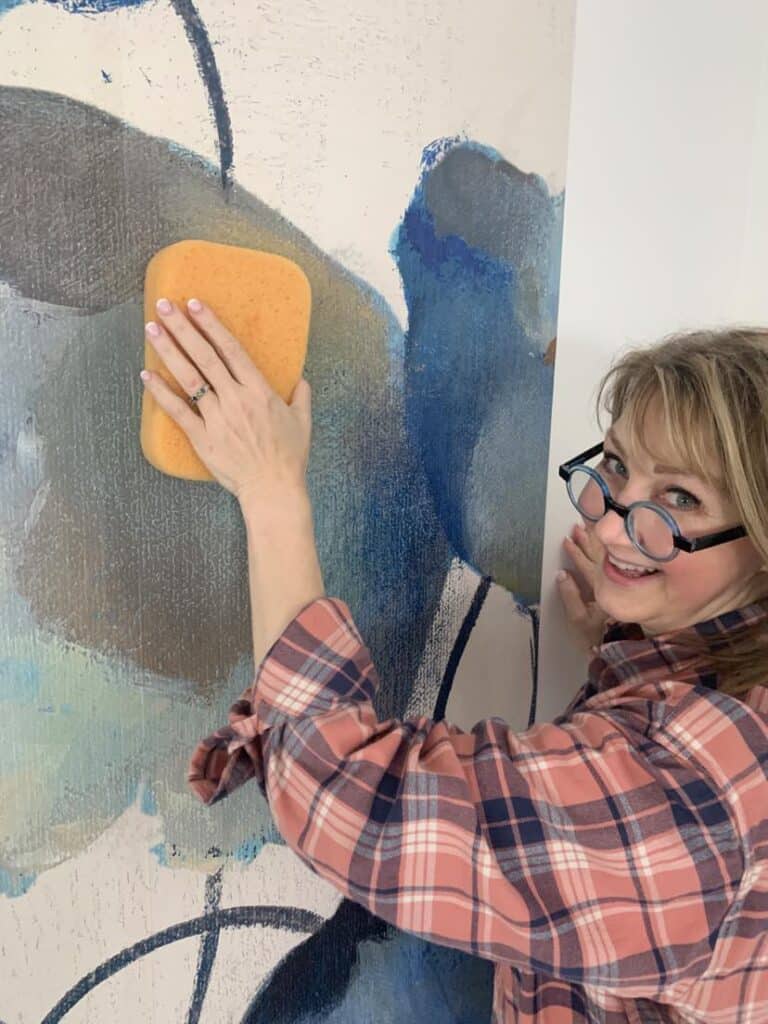
Clean Up Excess Paste
Take a warm, damp sponge and carefully wipe away any excess paste from the surface of the wallpaper. This not only ensures a clean finish but also prevents the paste from drying and leaving unwanted marks on your mural.
Light Switches and Outlets
If you encounter obstacles like light switches or outlets, turn the power off to that wall while you work. (Moisture and electricity don’t go well together!)
Hang the paper directly over the outlet space. Then, use a utility knife to cut a small “X” over the space. From this small cut, you can trim out the space to the edge of the switch or outlet space.
You can also use a pencil to mark their location on the wallpaper before hanging. Cut a slit from the edge of the wallpaper to the mark and smooth the wallpaper around the obstacle. Trim any excess paper carefully.
A Fresh Look with Wallpaper Mural Magic
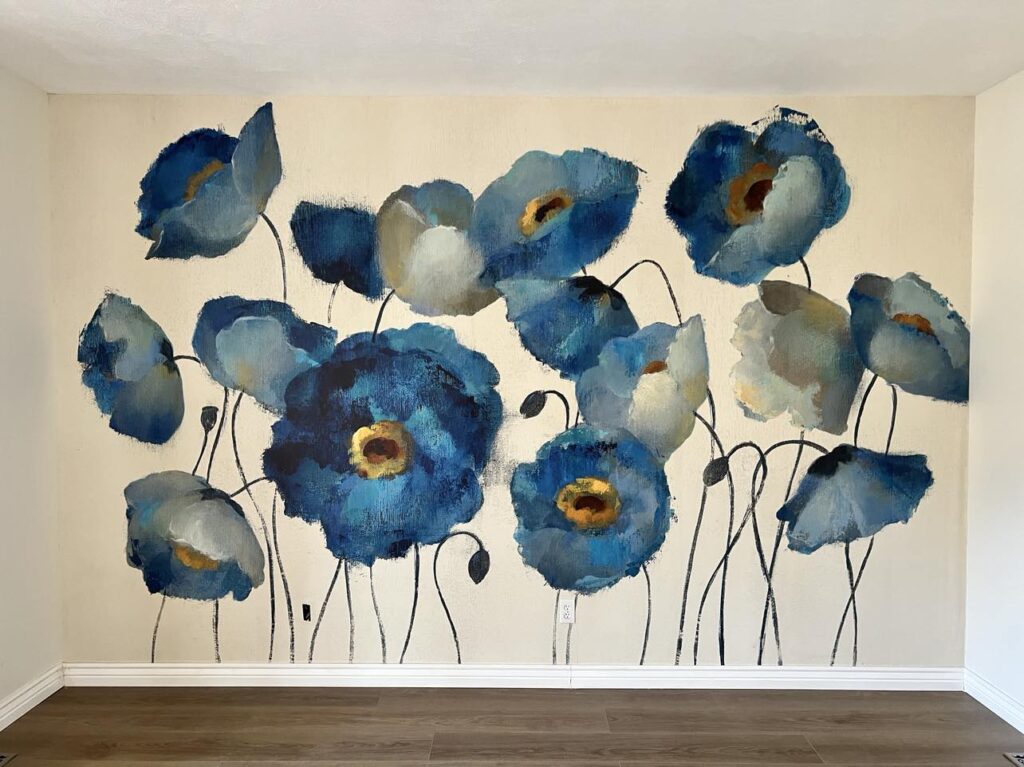
Referring back to my original checklist…
Bold but calm…check!
Unique and cohesive…check!
Dramatic yet peaceful…check!
I’m adding another important element to the list…easy to hang! Check, check, check!
What a delight to place our bed and nightstands in front of this gorgeous focal point wall mural!
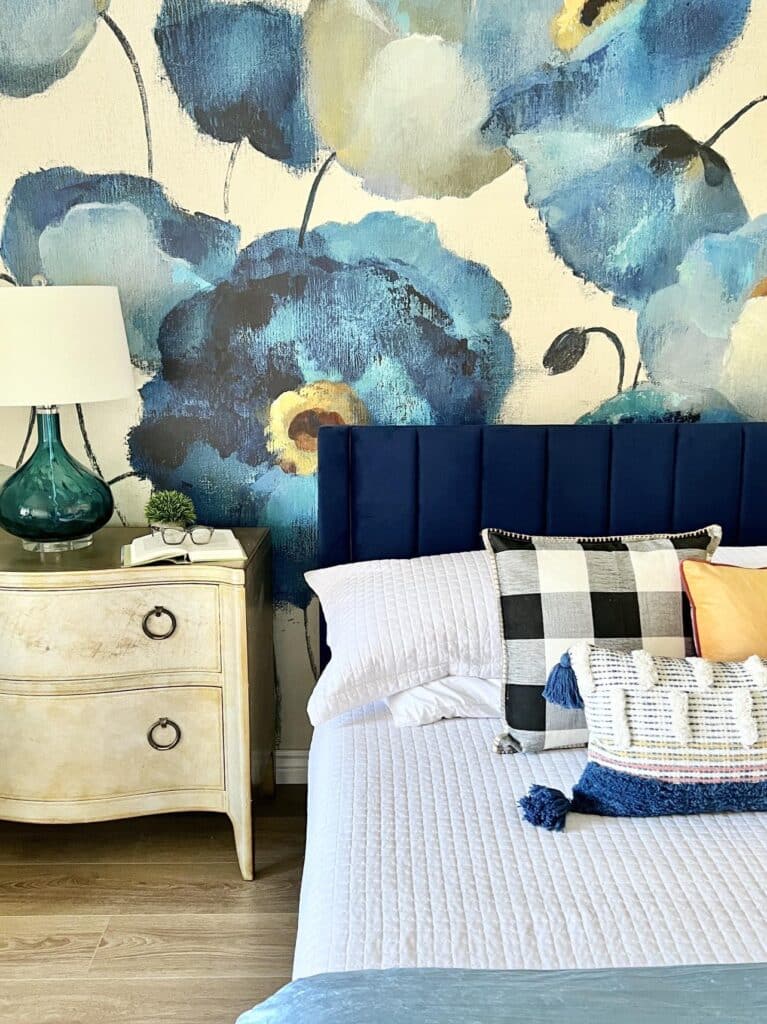
Special thank you to Wallism for this amazing wallpaper and stress-free installation process! Be sure to head over to the Wallism website and check out all of their amazing designs.
Wallism is generously offering a 15% discount with the code SONATA15. Thank you, Wallism!
So, now you know how to hang a wallpaper mural!
Hanging a wallpaper mural may seem like a challenging task, but armed with quality wallpaper, the right tools, and a bit of know-how, it becomes an achievable and rewarding DIY project.
Whether you’re transforming a living room, bedroom, or any other space, a well-chosen wallpaper mural has the power to elevate your interior design to new heights.
Which wall in your home will get the star treatment first?
Cheers!

Don’t Forget to Pin It!
Pin the image below to your boards on Pinterest (just click the Pin button in the top left corner). You can also follow along with me on Pinterest!

More Room Transformations


Oh wow Missy! I love this. Such a bright and lovely transformation! You nailed it! I’m so glad you are feeling much better also, I missed you! 🙂
Thank you, Susan! Yes, I’m slowly back in motion…good thing this was an easy project!
Missy
That mural is absolutely gorgeous! Well done!!!
Cathy
Thank you so much, Cathy! We are so happy with it. Bold…but calm!
Missy!! I love your mural!! Your bedroom looks amazing!! What a transformation! Your step by step tutorial has even convinced me that maybe this is a DIY I could do myself. So good!! So good!!
Thank you so much, Brooke! That means a lot to me! It really was super easy. Two hours and I was done!
This wall is gorgeous!
Thank you, Catherine! We are loving sleeping under the poppies!