

How to Create Unique DIY Abstract Canvas Wall Art
Imagine having eye-catching artwork that no one else has – and being able to say “I made it myself!” With this easy DIY abstract wall art project, even non-artists can make an amazing piece of artwork that will stand out from the rest. Perfect for any skill level! So grab some paints and a canvas; let’s explore how simple it is to create your own beautiful abstract art!
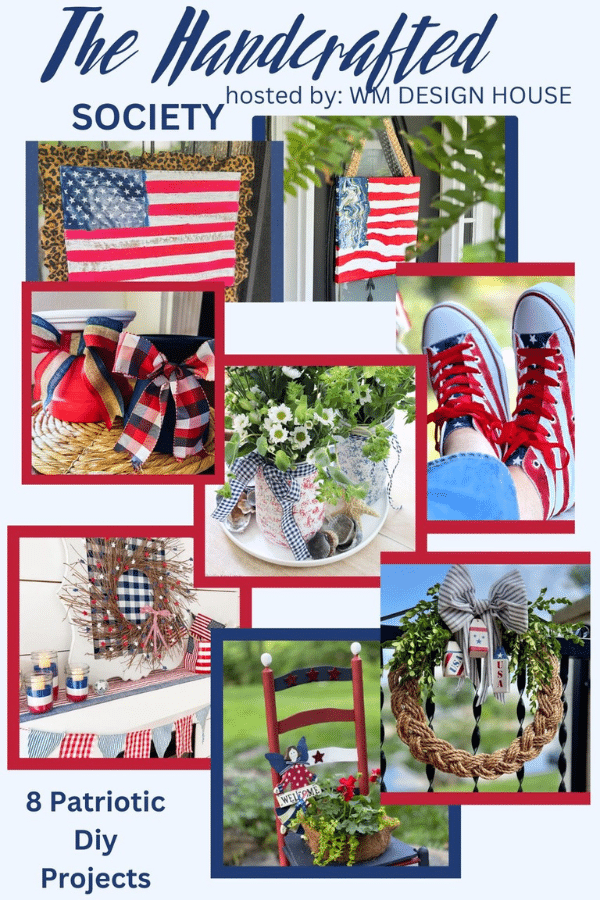
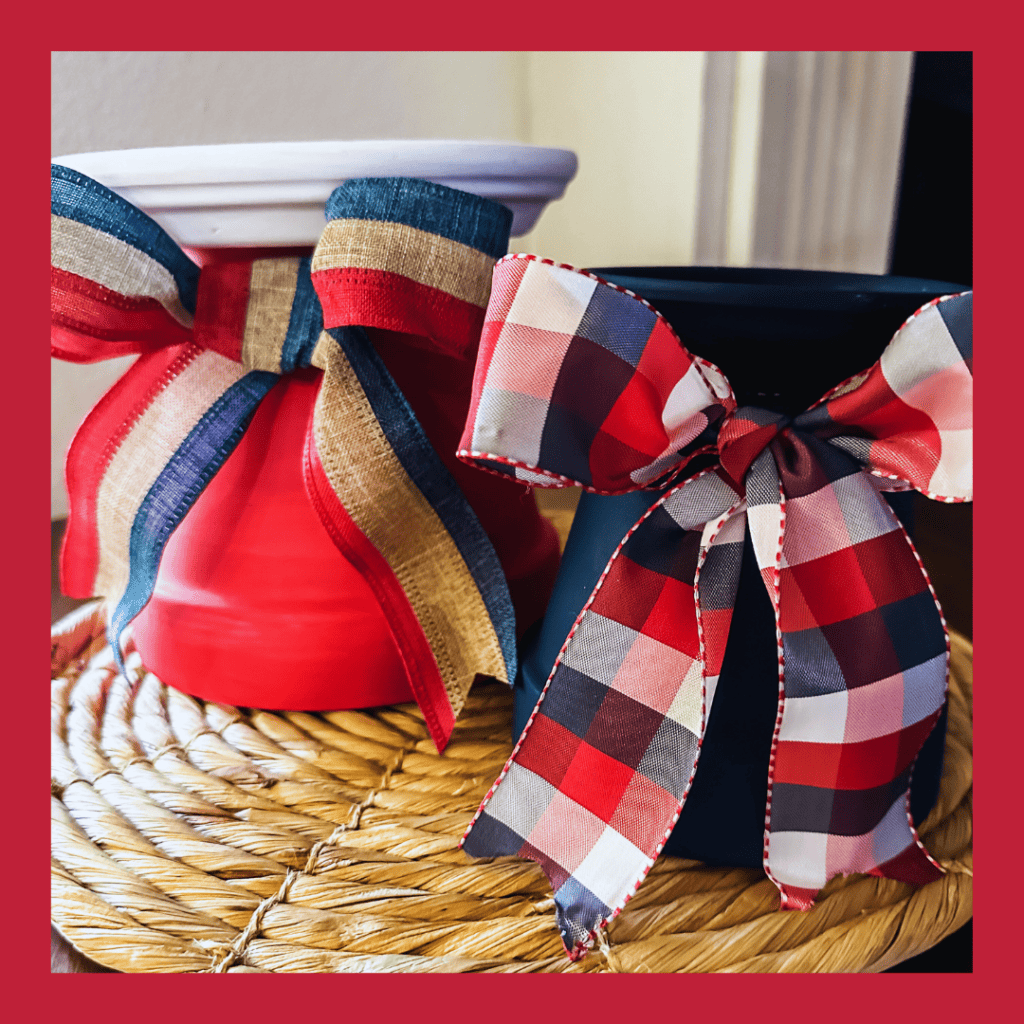
It’s time once again for my monthly Handcrafted Society project, These projects are always so much fun! This month’s challenge is proposed by Amy at Amy Sadler Design and is supposed to involve paint and the colors red, white, and blue.
This blog contains affiliate links. This means a small commission is earned if you make a purchase by using this link. The price you pay will be the same whether you use the affiliate link or go directly to the vendor’s website using a non-affiliate link.
If you have come here from Southern Crush at Home, you have seen Melanie’s creative flag made from a paper bag. She is always so creative with any project. Great minds think alike! I have another flag project for you…you can never have too many flags!
Jumping Out of the Comfort Zone
I love a challenge and decided to think outside of my usual box. I have painted a lot of things…baskets, a rug, a bookcase.
But I have never painted “artistically” before. I leave that to the artists in my life. Then I thought…Everyone is an artist! So that makes ME an artist!
Since I love abstract art, I thought I would take a shot at creating my own DIY abstract wall art. With a shot of patriotic color!
Follow along for this FUN project. If I can do it, YOU can do it!
DIY Abstract Wall Art Supplies
All of the supplies needed for canvas painting can be found online or at your local craft stores.
- White canvas
- Pourable acrylic paint (I chose red, white, blue, and gold)
- Plastic cups
- Dustpan
- Heat gun
- Dropcloth

Prepping for Painting Abstract Canvas Art
This project can potentially get messy so prepping the space is important. Cover a table and the surrounding floor with a drop cloth. I also made sure there was a paper towel nearby for a quick clean-up of my own hands. Just know there will be dripping paint!
The blank canvas also needs to be prepped for this project. I covered my canvas with a quick, thin coat of white acrylic paint so the pourable paint will adhere better.

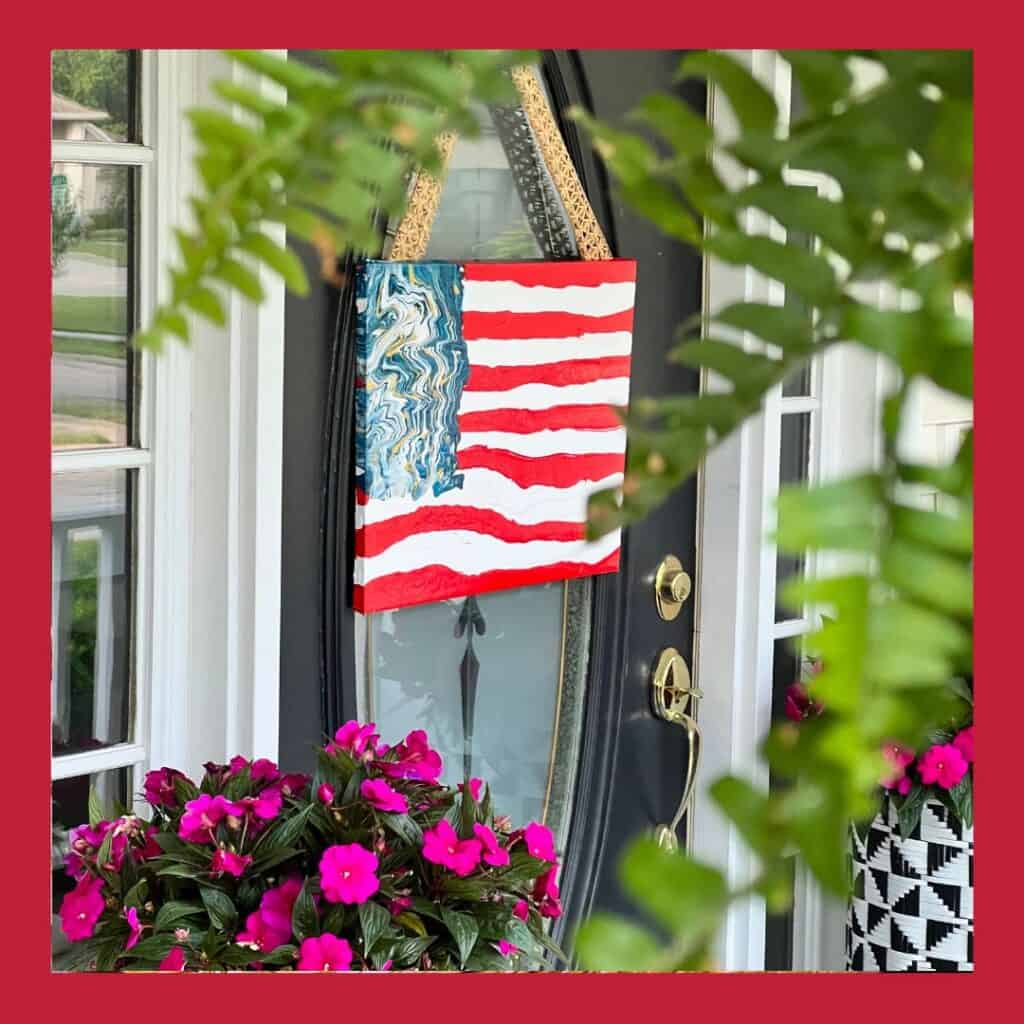
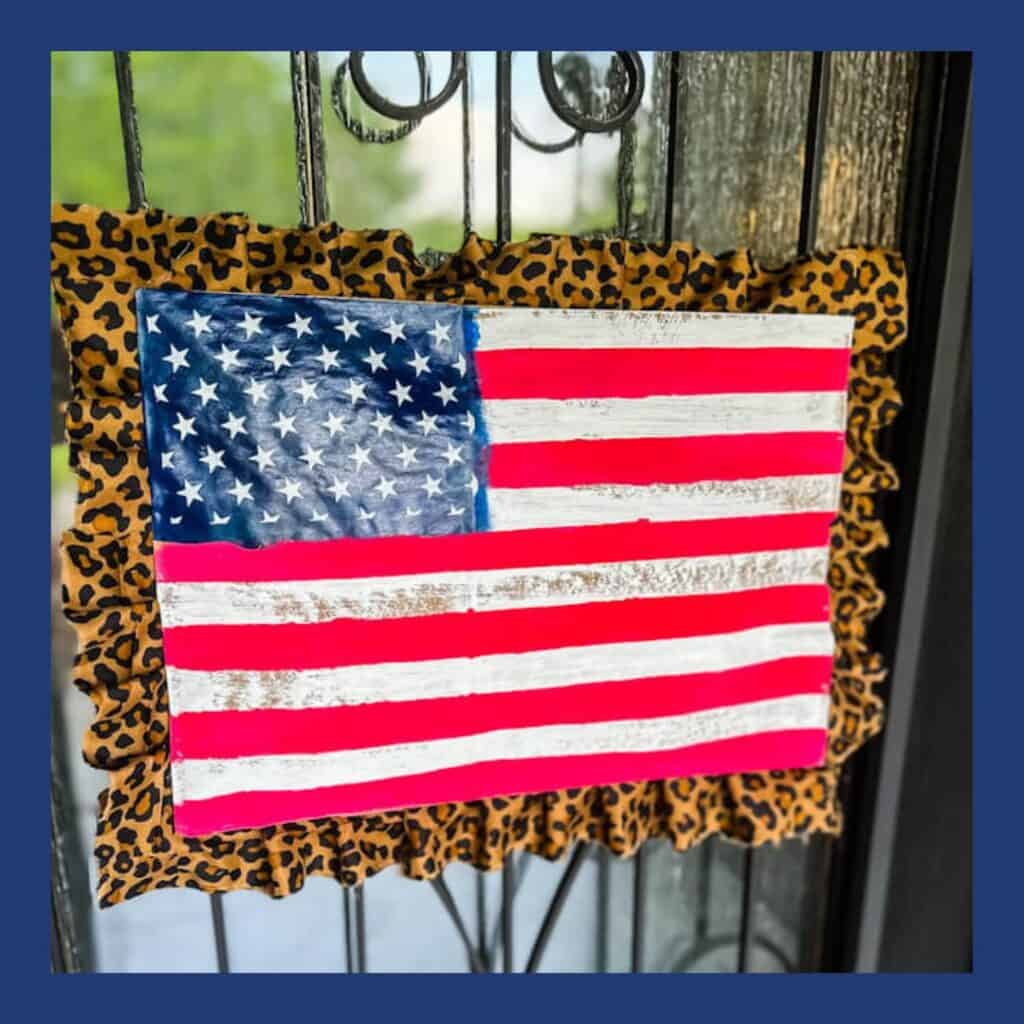
Because the base of my abstract wall art is the stripes of the American flag, I measured out 13 stripes so I had a guide for pouring and alternating red and white stripes.
I poured the pourable paint into plastic cups so they are ready to go and can be poured easily. Each color of pourable paint gets its own plastic cup.
How Do I Make My Own DIY Abstract Wall Art?
Now that your canvas is ready, it is time to pour.
I will be honest…I was really nervous to actually pour the paint…to the point of major procrastination.
What got me going? Tucking Bentley in his kennel, asking Alexa for some “calming” music, and giving myself a little kick in the pants!
This is supposed to be abstract! Mistakes are art! Let the pouring begin.
Abstract Stripes
Start by pouring the paint just off the edge of the canvas and move the pouring paint across the area designated for the stripe. The hardest part for me was keeping the cup moving and not slowing down or stopping mid-point.
Pouring the alternating stripes was very helpful to me in figuring out my own control of the cup and the paint flow. After the first few stripes, I was feeling much more comfortable with the pouring.


Once all the stripes were poured, I gently tipped the canvas in different directions to coax the paint to move to the edges of the canvas, fill in empty spots, and widen the stripes as needed.
I let the wet paint stripes sit overnight and also used a heat gun to help the paint to set.

Abstract Stars
Now for the most fun part!
For the stars, I chose paint colors in a blue, white, and gold color palette.
Start layering paint by pouring the different colors one at a time into a plastic cup. I started with blue paint, followed by white, and then gold. Sometimes I layered in this same order and sometimes I switched it up. This is not an exact science but rather what colors you want to dominate.
Layer and alternate the colors in any order that you choose! I used less gold than blue and white so that the gold was an accent instead of the main event. The gold looks like gold leaf amid the other colors!

The poured layers of paint in the plastic cup are so pretty!
Next comes the surprising tool…a dustpan!
Coat the inside of the dustpan with some of the white paint. This will help the paint pour to slide out easily.
Now take the plastic cup with the layers of paint and start to pour it onto the dustpan. I started with a direct pour and then started to create circles with the paint as it poured. Even little paint squiggles created such a fun pattern in the dustpan!


Once all the paint had been poured into the dustpan, I had to check my courage again as this next step is done in one fell swoop!
Laying Out the Paint Pour
Holding the dustpan over the top of the upper left corner of the canvas, I literally “laid” the paint on the left side of the canvas. As the paint fell from the dustpan to the canvas, it creates this unique abstract swirling pattern. Once all the paint had been laid out, tilt the canvas gently in different directions to move the paint. The pattern will continue to evolve as you move the paint toward different areas of the canvas.

Once you have a design that you like, let the painting dry completely. I used a heat gun to move this process along. (I am so impatient!)

If you have told me last month that I would paint my own abstract art, I probably would have laughed aloud.
But I did it! And I am so happy with the final piece!

Are There Rules for DIY Abstract Painting?
The beginning of abstract wall art can be dated back to the years 1905-1915. Many attribute the Russian painter Vassily Kandinsky as the artist responsible for propelling forward the movement of art with no formal composition.
In abstract art, you will find elements of form, color, line, tone, and texture. For our purposes, there are no rules for abstract art! You can do what you want!
How to Style Abstract Art
You might be creating your own DIY abstract wall art or you may be purchasing it. Either way, you want it to look beautiful in your home.
Whether styling an abstract American flag or a non-themed abstract, here are some different ways to style your DIY abstract artwork!

- Statement Wall: Choose a large-scale piece and hang it on a blank wall or empty space to create a bold and impactful statement. Let the artwork take center stage and be the focal point of your living space. My abstract flag takes center stage when I prop it against the backsplash in our kitchen.
- Gallery Arrangement: Create a gallery wall by grouping multiple smaller abstract artworks together. Mix and match different sizes, shapes, and colors to create a visually interesting and dynamic display of beautiful art on your wall.
- Color Coordination: Select abstract art pieces that complement your existing color scheme. Use the colors in the artwork to tie in with other elements in the room, such as furniture, pillows, or curtains, creating a cohesive and harmonious look.
- Contrast and Balance: Pairing abstract art with contrasting elements is a great way to create a visually balanced space. For example, hang a vibrant and energetic abstract piece against a neutral wall, or place a bold and dynamic artwork above a minimalist or monochromatic furniture arrangement.
- Unexpected Placements: Think outside the box and consider placing abstract art in unexpected areas of your home. For instance, hang a small abstract piece in the entryway to create a welcoming first impression, or hang it on your front door for the world to see!

If I Can Do It…
You can do it too!
You can easily create an abstract American flag on canvas for a beautiful addition to any wall. And it will be uniquely and perfectly your own canvas design!
There’s something special about making something unique and personal that was made with your own two hands – makes it so much more than just a decoration.
Take this project as an opportunity to tap into your creative side with some fun colors and shapes. Don’t worry if it doesn’t turn out perfect, that’s part of what makes creating works of art so worthwhile. So summon up some courage, set yourself free, and let your inner artist shine!
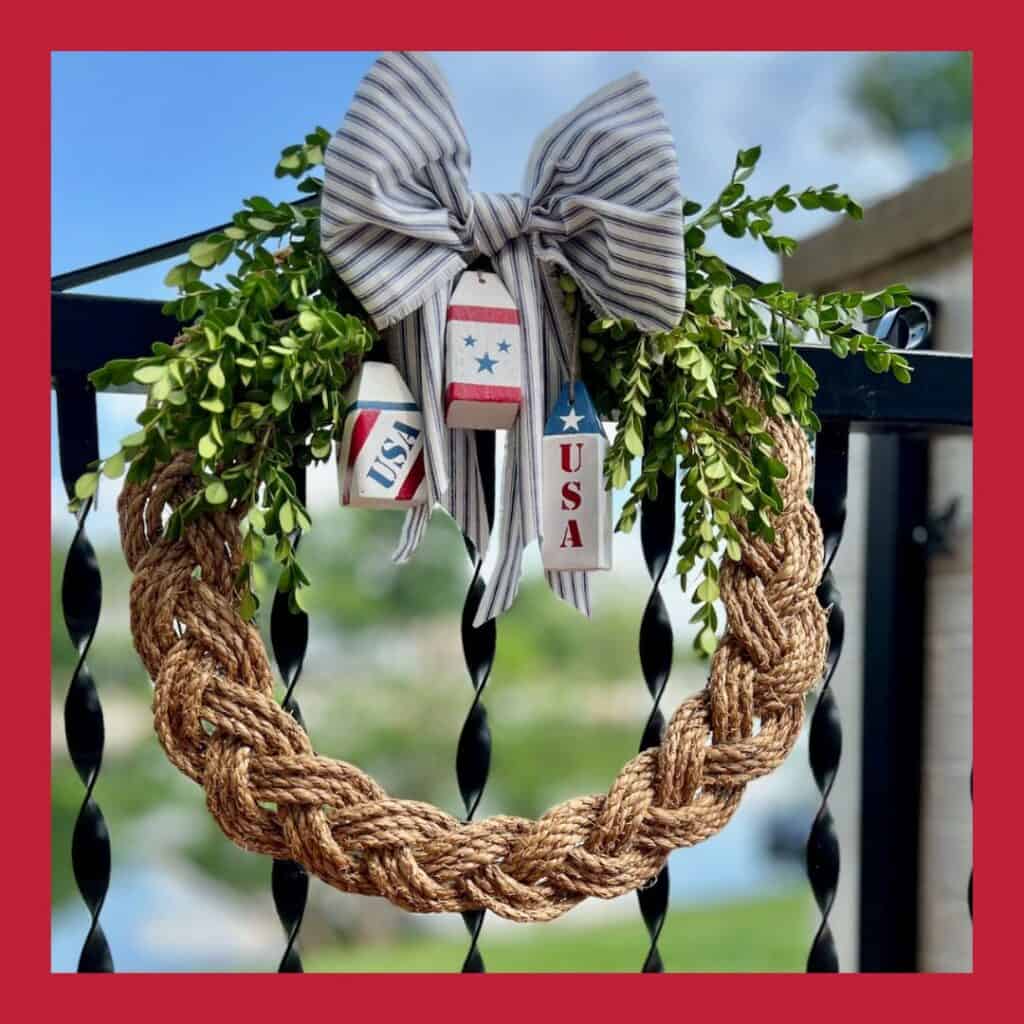
Next on the Handcrafted Society tour is Diane’s nautical 4th of July wreath at South House Designs. You are going to want to make this wreath and hang it in your home all summer long!

Cheers!

Be sure to check out everyone’s projects!
Pin the image below to your boards on Pinterest (just click the Pin button in the top left corner). You can also follow along with me on Pinterest!

Past Handcrafted Society Projects to Try
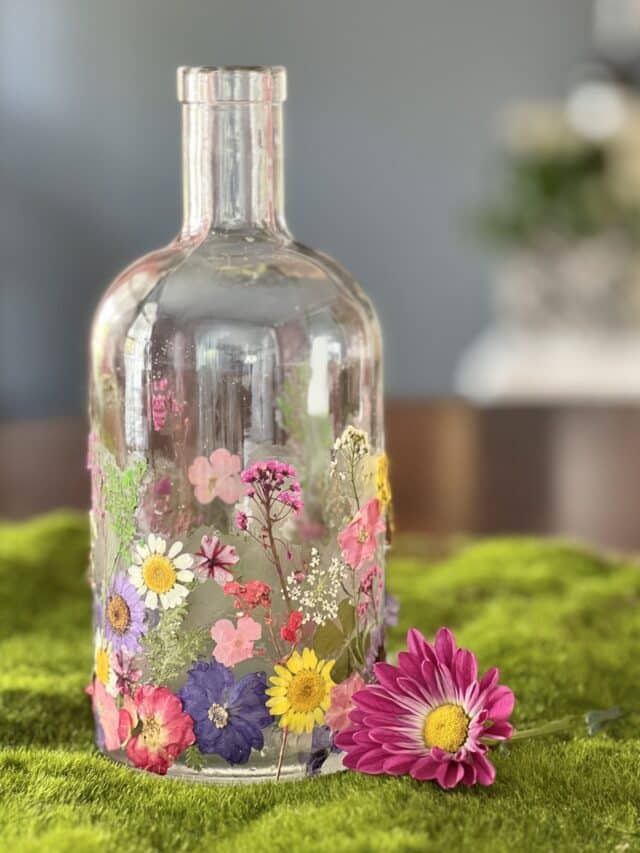
The Easiest Press Flower Vase Decor for Your Kitchen
An Easy Fleur de Lis Flower Pot Using Air Dry Clay


Missy, so cute — so YOU! When I saw the picture in our folder, I instantly knew it was yours. I love the abstract twist to a true classic. Love that you grew outside your comfort zone. That’s part of the fun of these monthly challenges. Way to go friend!!!
Thank you, Diane! I appreciate this so much. Its probably a little silly how nervous I got to pour the paint. But it felt so great when it worked! Always fun to try something new! Another great Handcrafted Society day for us all! Thanks, Diane!
So darn cute Missy! What a great idea. You had me chuckling when you said you needed to check your courage! haha Great project. Thank you for sharing such a clever idea!
I had to check my courage several times! LOL! And my background “meditative music” really did help! Thanks for taking a look, Susan! Hope you have a great week!
Love this Missy! I think I need nerves of steal for the abstract stars part. So impressed with your skills!
Thanks, Michelle! My nerves are taking a little break after this one. Even so, I want to try it again sometime! So fun!
Your art turned out so great, Missy! I love the way you swirled the paint to get the pattern. So cool. I pinned it to my patriotic board to share 🙂
xoxo
Hi Jennifer! Thank you so much! This was definitely a fun challenge this month! I’m already thinking ahead to next month!
Missy, this is so creative, and you really thought outside of the box. I honestly cannot believe you used a dustpan. The results were amazing.
Thank you, Wendy! I love the different challenges each month. It is such a talented group and it pushes me to try new things! Thank you so much for being our fearless host and leader!
Such a cute idea.
Thank you, Rachel! I really appreciate it! I had a lot of fun painting the canvas and am having a ball sharing it with others. Have a great day!
Oh Missy! I love to paint pour and this abstract painting turned out so fabulous! Thank you for sharing your talents!
Thank you, Melanie! It was such a treat having you join us this month! You are a master crafter and are always so incredibly crreative!
I love paint pours and bought all of the supplies but haven’t tried it yet. Love the flag!! By the way, I found your post at a party and wanted to let you know that I host parties too. Won’t you drop by and linkup with me?
Hi Dee! Thank you so much for stopping by. I actually have been linking up with your party the past couple of weeks and loving it! Thanks for hosting!
I have never tried a paint pouring technique and this one has inspired me to try it out. Love the way this looks. Thanks for sharing some inspiration for a new project. This post will be a feature this week. #HomeMattersParty
Hooray! Thank you so much, Donna! This was definitely a “you can do this” project that pushed me in a good way. I’m so excited to share it!
Wow, Missy!! You ARE an artist!! This is so cool…totally out of my comfort zone as well but I’m so happy you shared this so that others, like myself, have an example to follow. It’s a great statement piece for Summer!!
Hi Rachel, If you only knew how much my hand was shaking! Thank you so much for taking a look!
This is fantastic and it turned out fabulously! Thank you for sharing it on Farmhouse Friday. Featuring it tomorrow. Hope you link up again soon. pinned
Thank you SO much, Cindy! I love your link party and and thrilled to be featured!
You are so creative Missy, I love this idea since it is something even I think I could do. I wish I was a painter, but I did not inherit that gene in our family. This turned out lovely, and I love how you have it on your front door, what better way to greet guests!
Thank you, Cara! I do not consider myself an artistic painter at all. But I can do this! I’m so glad you like it! It has been a fun conversation starter with neighbors!
This is so neat! My son has been begging me to try paint pouring on his Playstation console (eek!), but you make it look pretty easy. Love this! Pinning to try later. I found you over on Creatively Beth’s link party. I’d love to have you come over & share on Crafty Creators Link Party, open Thursdays thru Mondays. I think my readers would love to find you too! My other party, Happiness is Homemade opens tomorrow (Sun-Thurs), & you’re welcome to share on both parties as they have different audiences. Hope to see you there!
You really should give paint pouring a try! I was so nervous the first time but it really is no-fail! Thanks for the link party info! I will definitely look them up! Thanks, Niki!
Hi Niki! Your son is very creative…what a fun idea! Thanks for the tip about your two link parties. I will definitely join in! Thanks for stopping by!