3 Easy Steps to Painting a Jute Checkerboard Rug
There’s a new jute rug in town and it’s sporting a checkerboard pattern! This easy DIY project is perfect for crafters of all levels and can be completed in just a few short steps.
So grab your paint (and a surprise ingredient) and get ready to create a one-of-a-kind piece that will add some pizzazz to any room. Let’s get started!
Do you ever see this something in a store or online and think…
“I could make that!”
This phrase goes through my head…All. The. Time!
Sometimes it works…and sometimes it doesn’t.
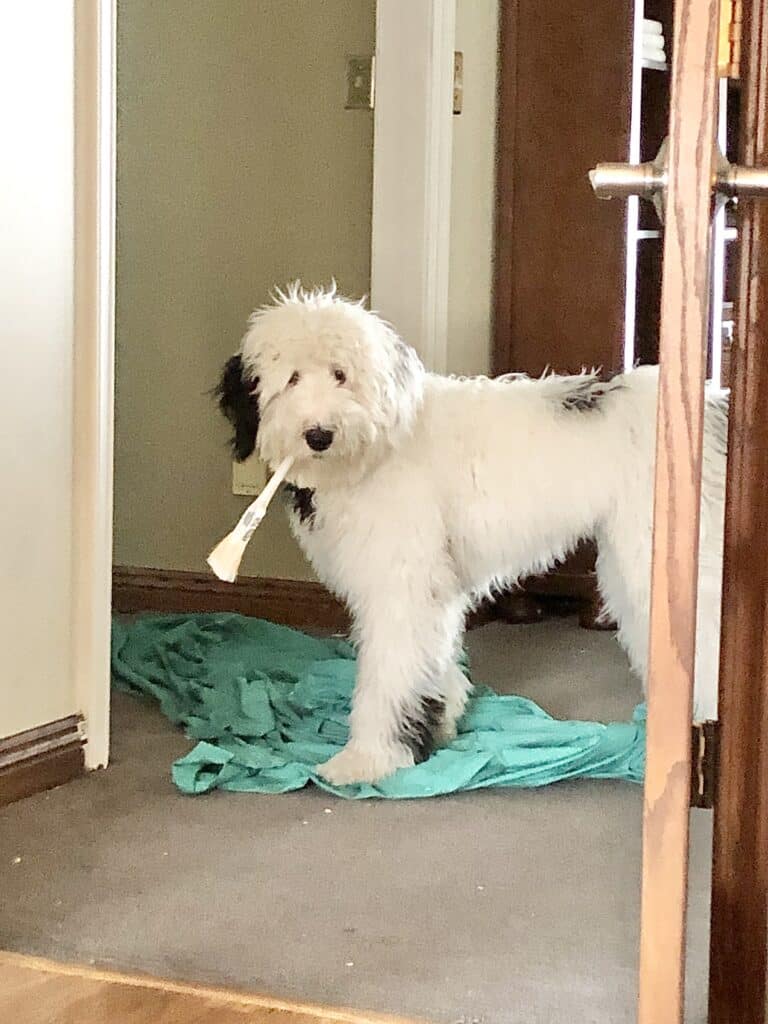
Our sheep-a-doodle, Bentley encouraged me. (How does he manage to find the brush?)
This time…it worked!
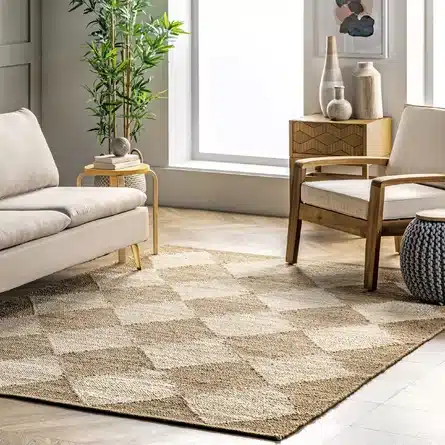
I saw this natural jute rug with a checkerboard design and loved it.
Natural, neutral color combination but with a strong graphic pattern.
I have a jute rug runner.
Hmm…
Worth a try!
You Will Need These Supplies
- Posterboard
- Ruler
- Pencil
- Scissors
- Jute rug (any size)
- Latex paint
- Clear liquid fabric softener
- Water
Grab some fabric softener and your favorite color of latex paint. You can buy a small amount of paint or just use some leftover wall paint that you have at home.
and then…roll out the jute carpet!
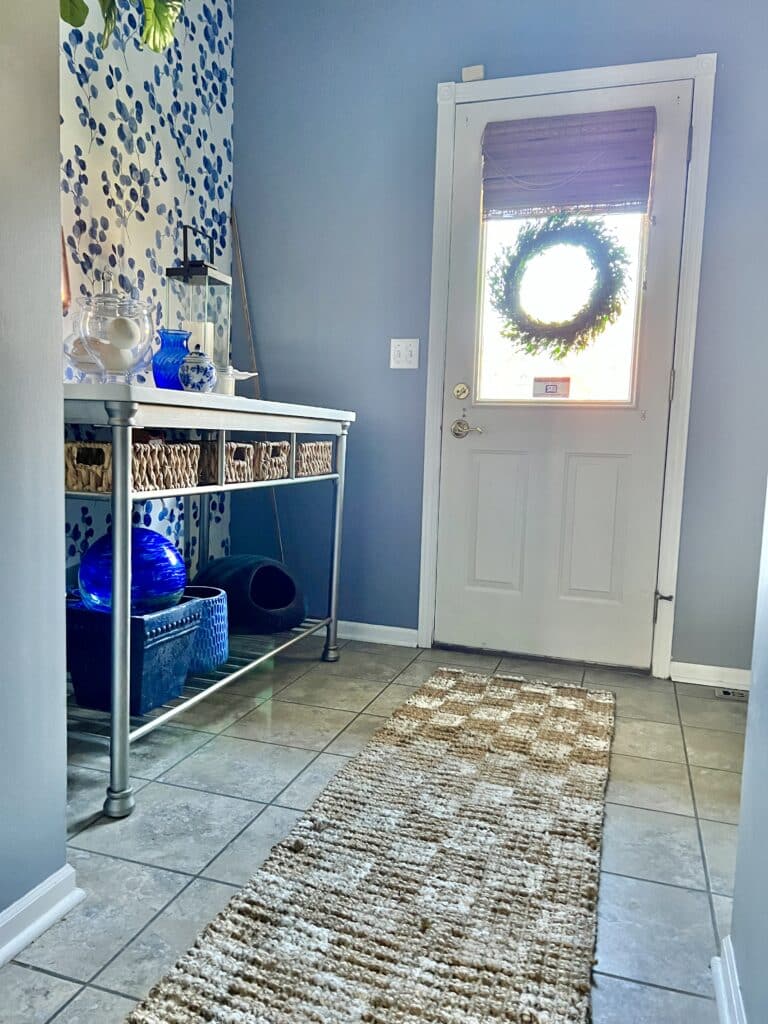
We have a jute rug runner in our mud room that could use a little update.
I wallpapered a wall in the mud room and it looks so fresh and updated. We need the same thing to happen to the rug!
Why not use a fresh creamy white paint color that I have used for other projects and have some left over?
You mean…I had everything on this list except the fabric softener?
I only need to buy one thing?
Don’t you love it when that happens!

1. Make the Checkerboard Grid for Your Rug
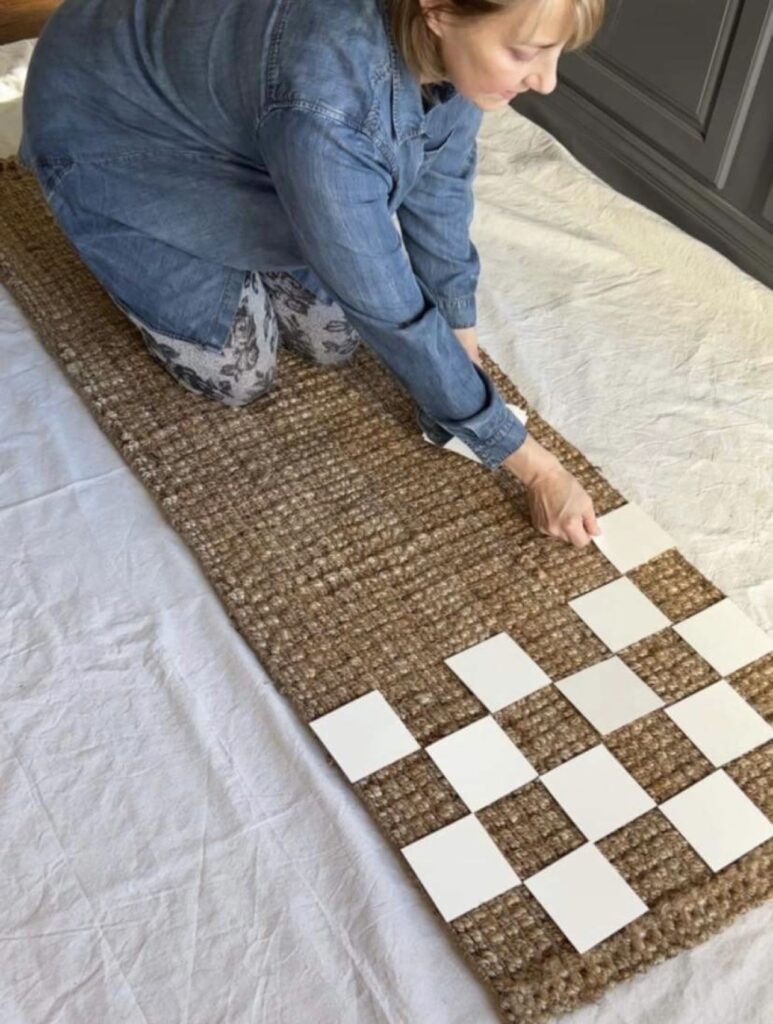
First, take some posterboard and measure and cut out squares to create a checkerboard pattern on your rug.
My rug is a runner and measures 2′ by 6′. So I’m going with checkerboard squares that measure 4″ x 4′”.
You can adjust the size of your squares based on the size of your rug and how large you want the squares to be.
Lay the poster board squares on the rug in a checkerboard pattern so you can make sure that all the squares fit.
You may want to place your squares on an angle so the pattern is truly like the original inspiration. Because this rug may end up in our kitchen (where I have diamond-shaped tiles), I am laying my grid in a non-angled pattern.
Don’t skip this step. You want to make sure that your checkerboard grid fits the rug with no surprises at the end of the project.
If the squares don’t fit perfectly, just organize the squares so there is an intentional border on each end of the rug.
2. Mixing the Paint
You don’t want to start painting the jute with just the paint. It won’t get into the fibers and it will dry pretty hard to the touch. (Not great for bare tootsies!)
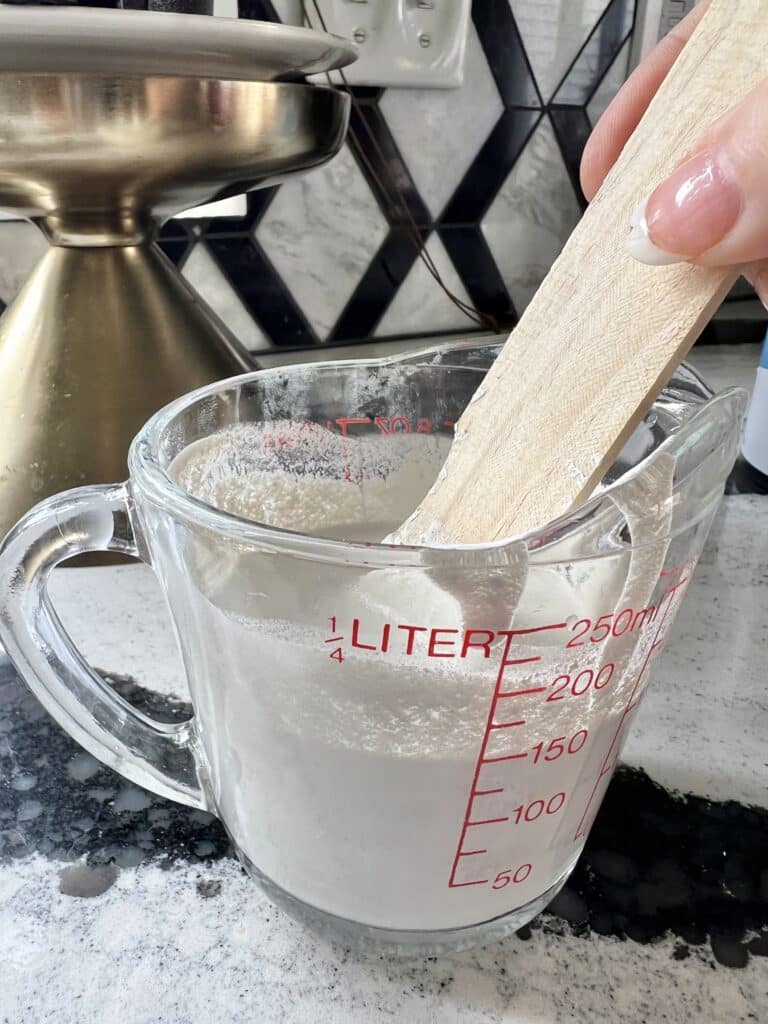
Mix together 1 part latex paint with 1 part fabric softener and stir completely.
It will take a little time to incorporate the two together. You will notice that the mixture thickens quite a bit.
I panicked slightly for a moment and then just added a little bit of tap water to thin it out.
3. Painting the Checkerboard Rug
Holding the poster board squares down with one hand, start to paint in the open areas between the squares.
Start by loading your paint brush lightly and then dabbing the paint getting into the fibers of the jute rug.
Then, while holding the square with one hand, lightly stipple the paint, or dab up and down, to establish the lines of each square. It’s a good idea to paint all of the squares lightly and then go back and fill in with more paint.
Continue to add paint to each square until you get the color density that you want.
Keep in mind throughout this project that jute rugs are irregular and so your squares will have some irregularity as well. This is actually the beauty of this type of rug!

Checkmate!
This rug can be used in so many places in your home!
It was originally in our mud room so I tried it there first.
Nice!
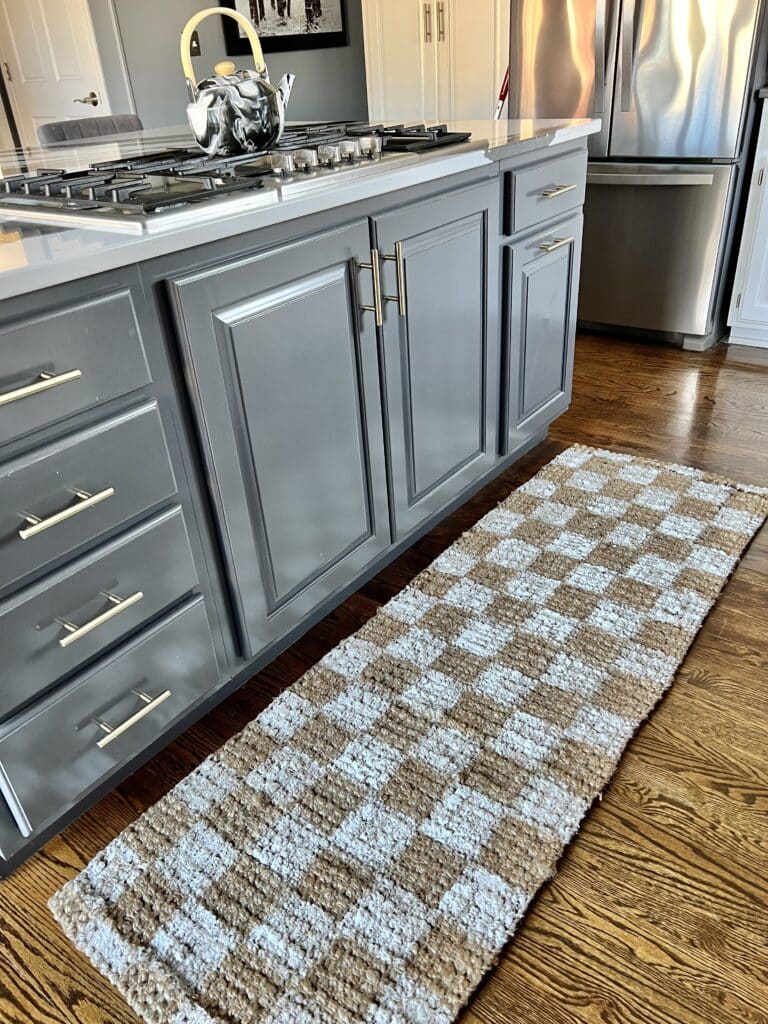
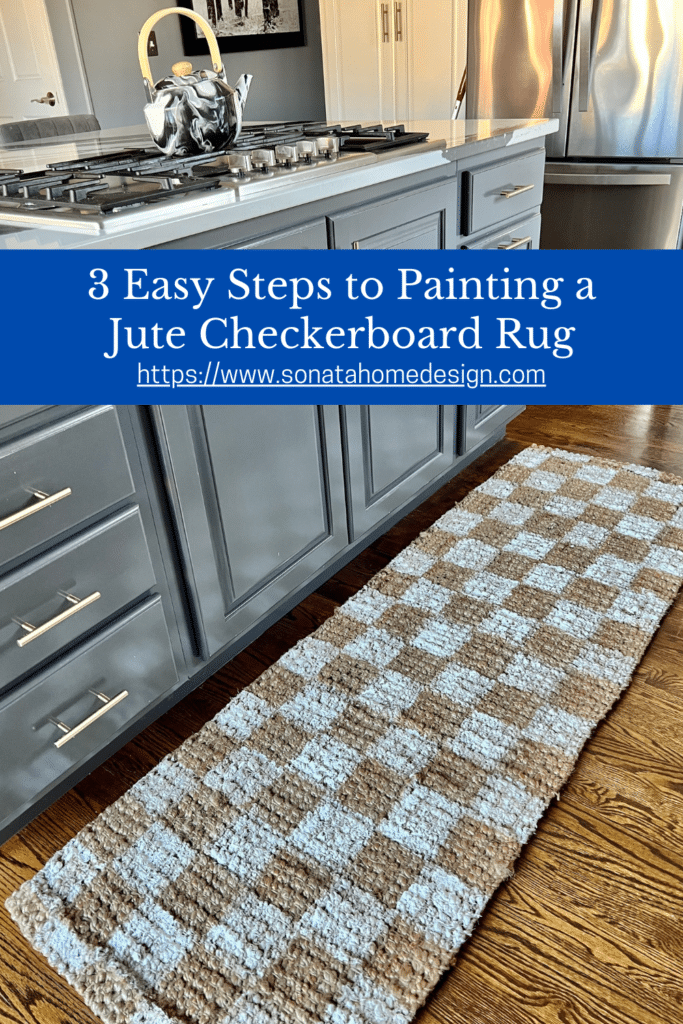
Next, I tried it in front of our kitchen cooktop.
Ooh! I like it here too!
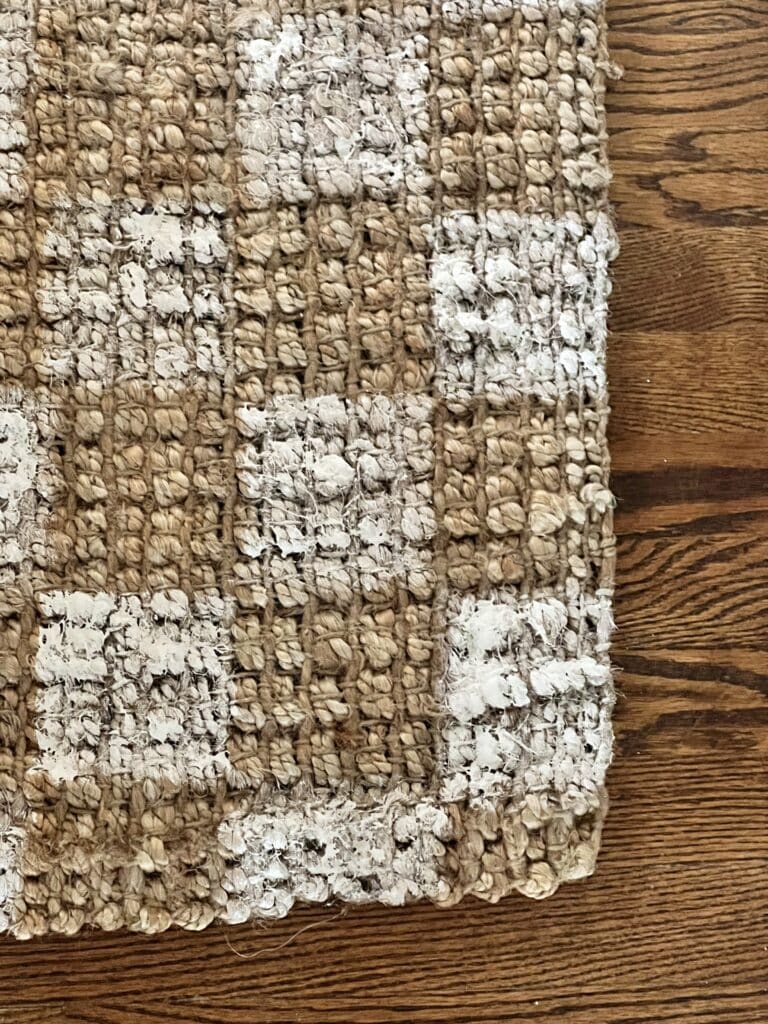
It looks great on top of the wood floor.
Last, I’ve always wanted a rug for the garage door entrance. This runner is a perfect size and the checkerboard pattern of the rug is a nice addition.
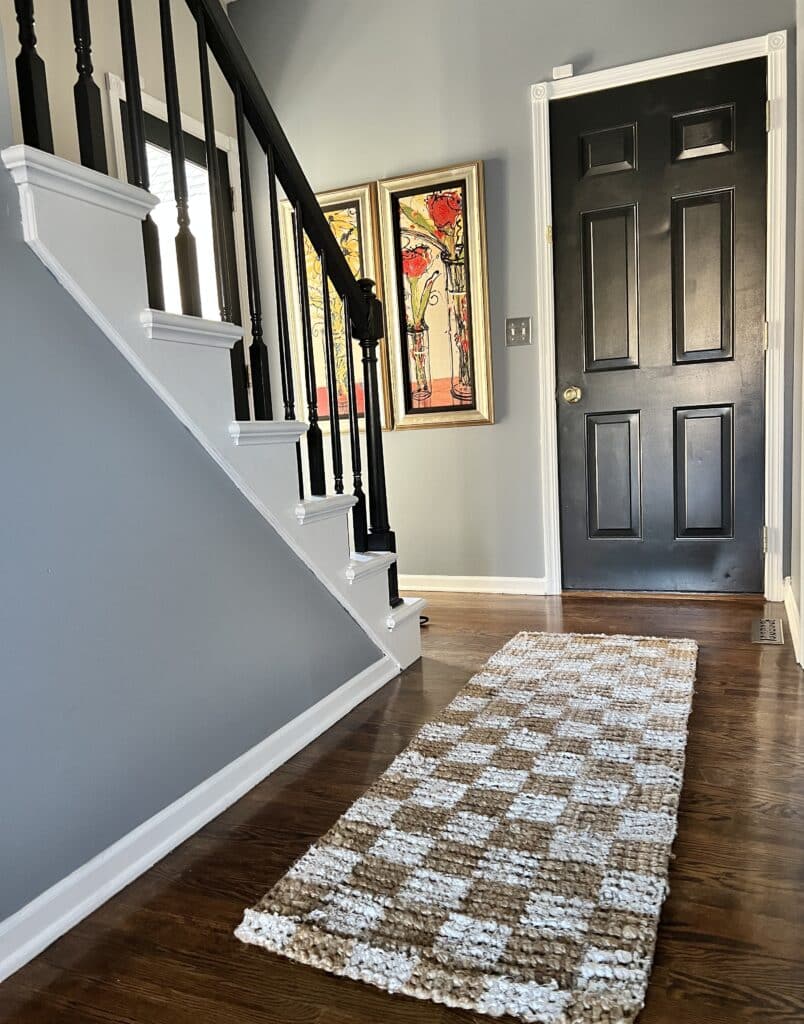
Bentley approves of this location so I think it will stay here for a while!
Thanks, Bentley!
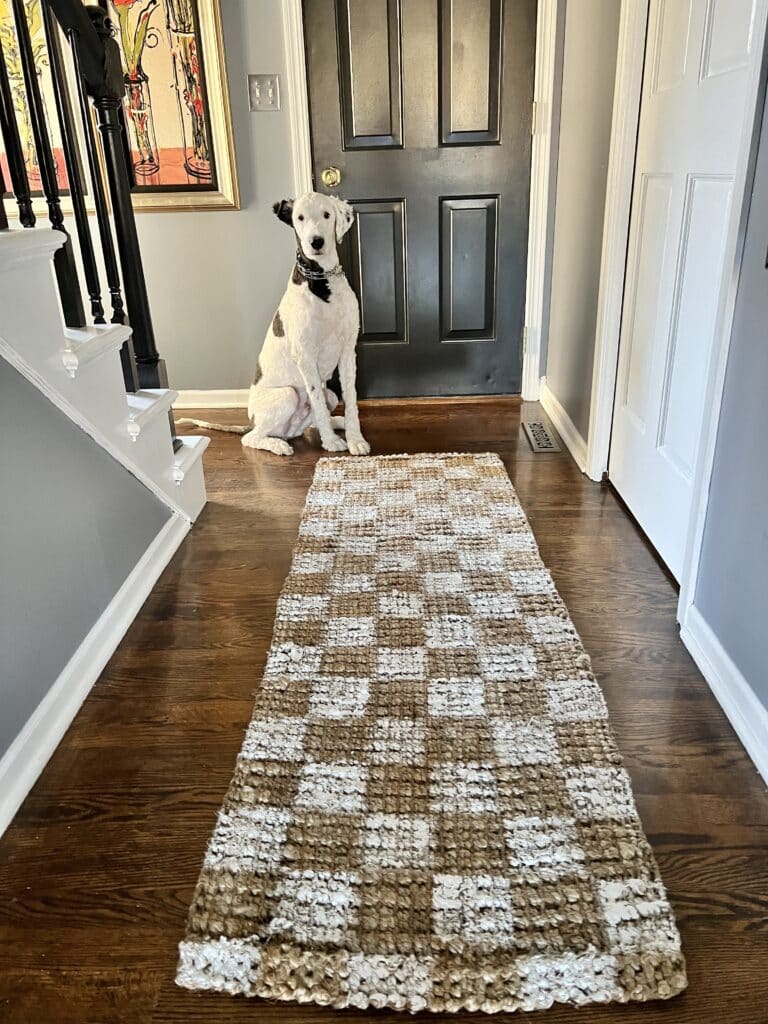
I hope this inspired you to put on your painter’s cap and create your own checkerboard jute rug.
All you need is a few basic supplies that you probably already have around the house.
So don’t be afraid to duplicate that expensive designer rug on a budget – with this simple hack, anyone can do it!
Cheers!

Don’t Forget to Pin It!


I love the new log for the rug, Missy! What a great idea! Looks like Bentley approves!!
Bentley always seems to be in the thick of things! If he doesn’t chew it up, I take that as his “OK!” Wishing you and your family happy holidays!
The article provided an innovative and creative approach to transforming a plain jute rug into a visually appealing checkerboard pattern. The step-by-step instructions were clear and concise, making it easy for readers like myself to follow along and replicate the process. What sets this article apart is the emphasis on simplicity and accessibility, making it accessible to both experienced DIY enthusiasts and beginners alike. The use of paint to achieve the desired design opens up a world of possibilities for personalization and customization. Overall, this article showcases a fantastic way to breathe new life into a basic jute rug and add a touch of uniqueness to any space. I can’t wait to try out this technique and create my own stunning checkerboard rug!
I’m so glad you liked the article! Good luck with your rug project!