

An Easy Fleur de Lis Flower Pot using Air Dry Clay
Have you ever wanted to add a unique Parisian flair to your home décor or garden, but weren’t quite sure how? Well, if you are looking for an easy and stylish way to upgrade your living space without breaking the bank, then why not create an elegant, timeless Fleur de Lis flower pot with air-dry clay?
It’s simple enough for even novice DIYers and decorators—plus it can be customized to fit your own home decor. Read on as I take you step-by-step through this charmingly creative project!

Welcome to Sonata Home Design
If you are joining from Hometalk, welcome to Sonata Home Design! I hope you enjoy this family-favorite recipe and well as exploring some of the other recipes, DIYs, and home decorating projects. Everyone is welcome!
This blog contains affiliate links. This means a small commission is earned if you make a purchase by using this link. The price you pay will be the same whether you use the affiliate link or go directly to the vendor’s website using a non-affiliate link.
One of the things I love about this creative group is that each month’s theme material can be something completely new with which to work. This month’s material…
Air dry clay!
Confession time…I’ve never worked with air dry clay before! Bring on the challenge!
I discovered that this material is soo easy and fun to work with. I think this might be the beginning of a wonderful relationship!
Here is what you will need for this easy flower pot project using air dry clay.
Supply List
- air dry clay
- cookie cutter (any shape you want)
- rolling pin
- plastic knife
- terra cotta pot
- spray paint (if needed)
- metal foil leaf
- adhesive sizing
- small soft paintbrush
- cotton glove
An Easy Flower Pot Idea Using Air Dry Clay
I bought my air dry clay…and then started looking around the house.
What could I use or re-use with this project?
I was looking in my supply cabinet and saw this.

This is a terra cotta pot that had been whimsically painted for a graduation party about 15 years old. Immediately, I got started painting the pot as a backdrop for my air dry clay embellishment.
I spray painted the pot white and then added a layer of blush pink spray paint over the top. It covered the dark black color and is now such a beautiful pink color.


I bought this copper fleur de lis cookie cutter years ago and have never used it. Such a crime!
No more crime scenes here…this cookie cutter is perfect for an air dry clay cut out!

I guess it pays to save things as both the pot and the cookie cutter are perfect for my project!
Creating the Air Dry Clay Cutout
The first step in creating the pot embellishment is to roll out the air dry clay with a rolling pin. Because my terra cotta pot is a pretty hefty pot with a thick edge, I rolled out the clay to a thickness of 1/2″
The next step is the most fun…pressing the cookie cutter into the rolled out clay for a fleur de lis cutout.
Be sure to press and wiggle the cookie cutter to the bottom of the clay for a clean cutout.

Depending on the intricacy of your cookie cutter, you might need to clean up some edges.
I found that a plastic knife gave me the quickest and easiest “tidy up” cut.

While the cutout is still moist “wet” (the clay is not really wet…just not dry yet), lay the cutout onto the side of terra cotta pot.
Press it gently so the clay adheres to the curved shape of the pot. Smooth out any cracks or creases you don’t want by just dipping your finger in water and lightly brushing the top.
I actually want a few little cracks to give this a more aged look.


Decorating the Flower Pot Cutout
Metal leaf is a fantastic way to give anything some color and shine.
And, did you know it comes in assorted amazing colors?
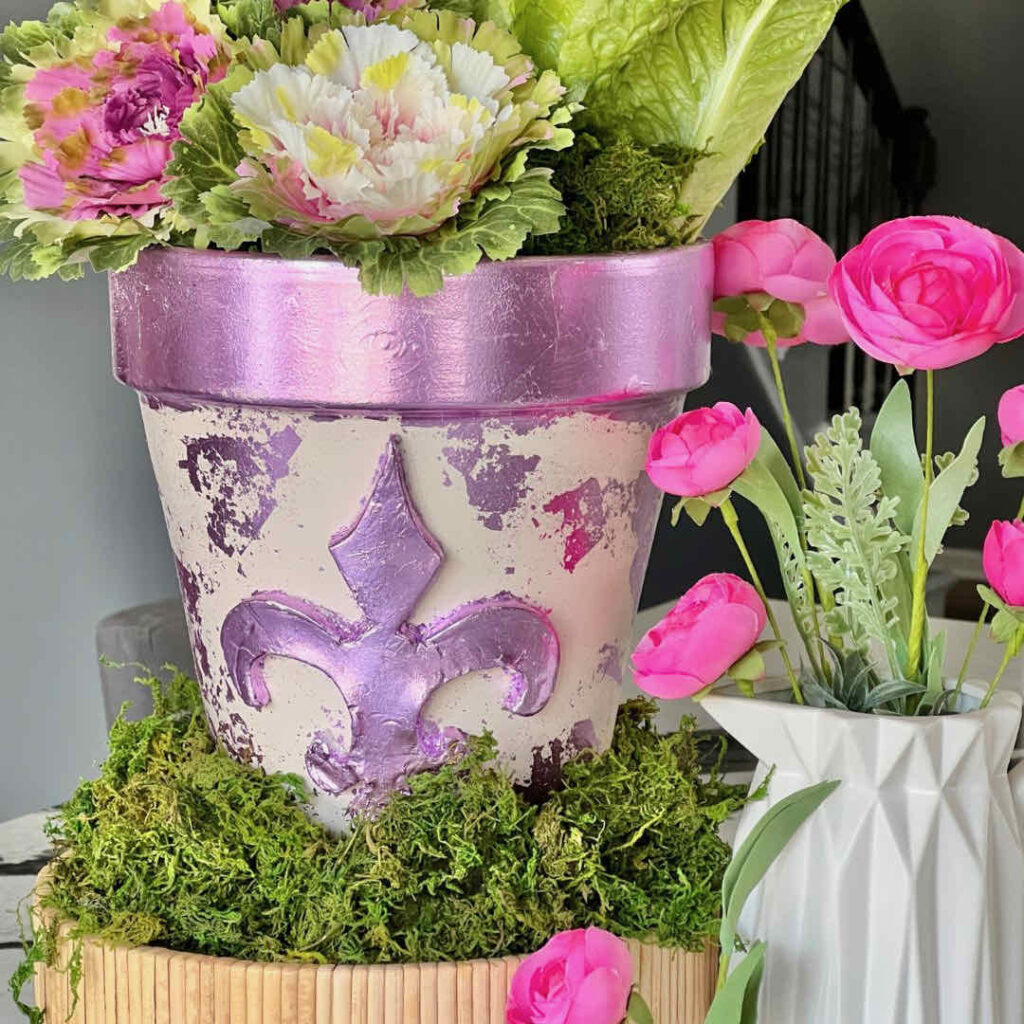
For my blush pink flower pot, I chose a metal leaf in a beautiful pinkish purple color.
It is a little messy but, when finished, so worth it!
- Apply metal leaf adhesive sizing to the flower pot cutout and let dry till sticky…about 5-7 minutes. I decided to also add metal leaf to the flower pot rim and other random spots.
- Apply each insanely thin piece of metal leaf to the tacky surface with your fingers or tweezers.
- Using a soft brush, remove the excess metal leaf with gentle brush sweeps. Once most of the excess is gone, buff the surface with your hand covered in a cotton glove.


Style Your Air Dry Clay Flower Pot
There are so many ways to style your new embellished flower pot!
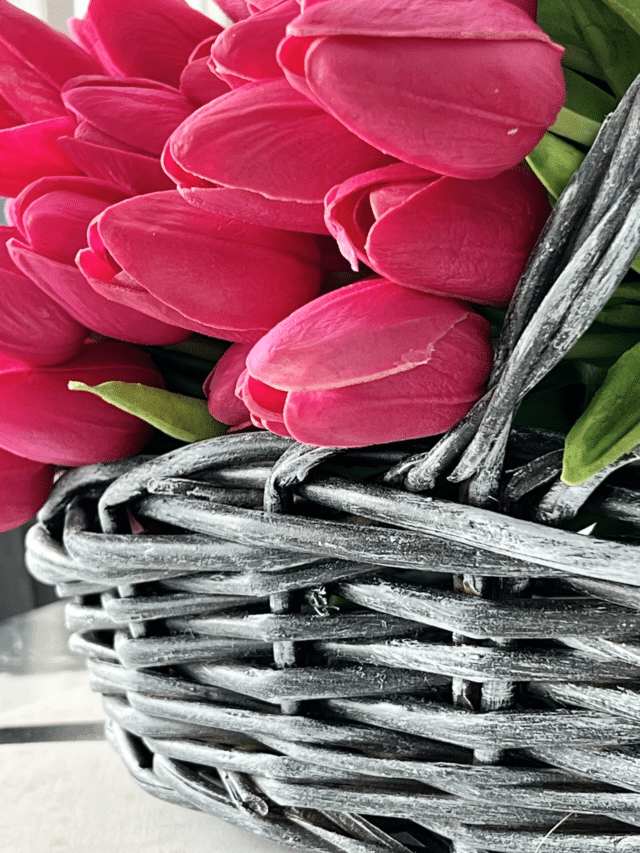
- Flowers
- Plants
- Faux cabbage
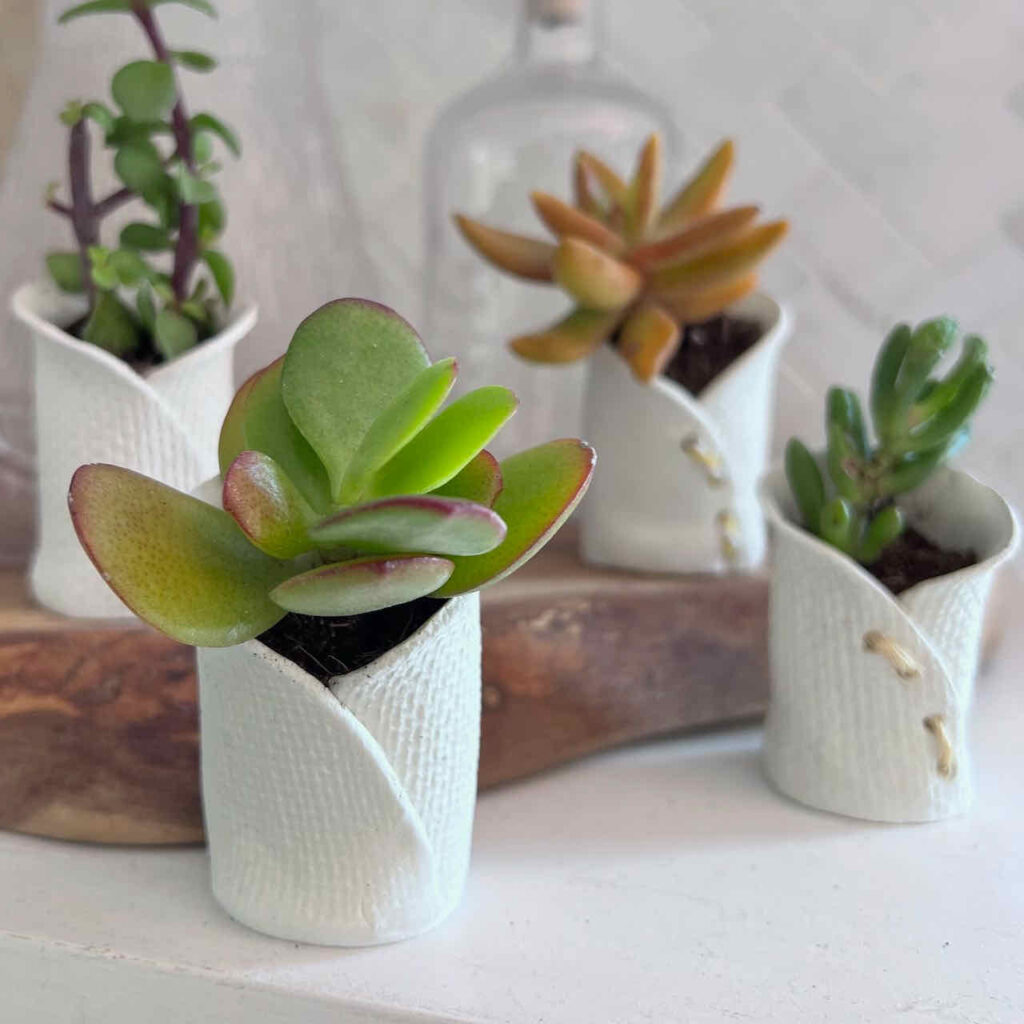
- Succulents
- Herbs
- Kitchen utensils
- Patio storage for sunscreen, sunglasses, and flip flops
- Bath bomb storage
I added some faux cabbages but didn’t have enough.
So, in this critical styling emergency, I grabbed some lettuce from the refrigerator!
I tucked it into a small votive with water and it lasted for a few days!

And that’s how you can create a beautiful air dry clay embellishment for a flower pot!
I’m so glad I finally discovered the fun of working with air dry clay! It’s incredibly easy, cost-effective and lots of fun. Perfect for creating colorful home decor!
Don’t forget to add some glitzy metal foil leaf for an extra special touch. Now all that’s left is to find the perfect spot for your creation – perhaps placed on top of a bookshelf or in your garden as a bright addition!
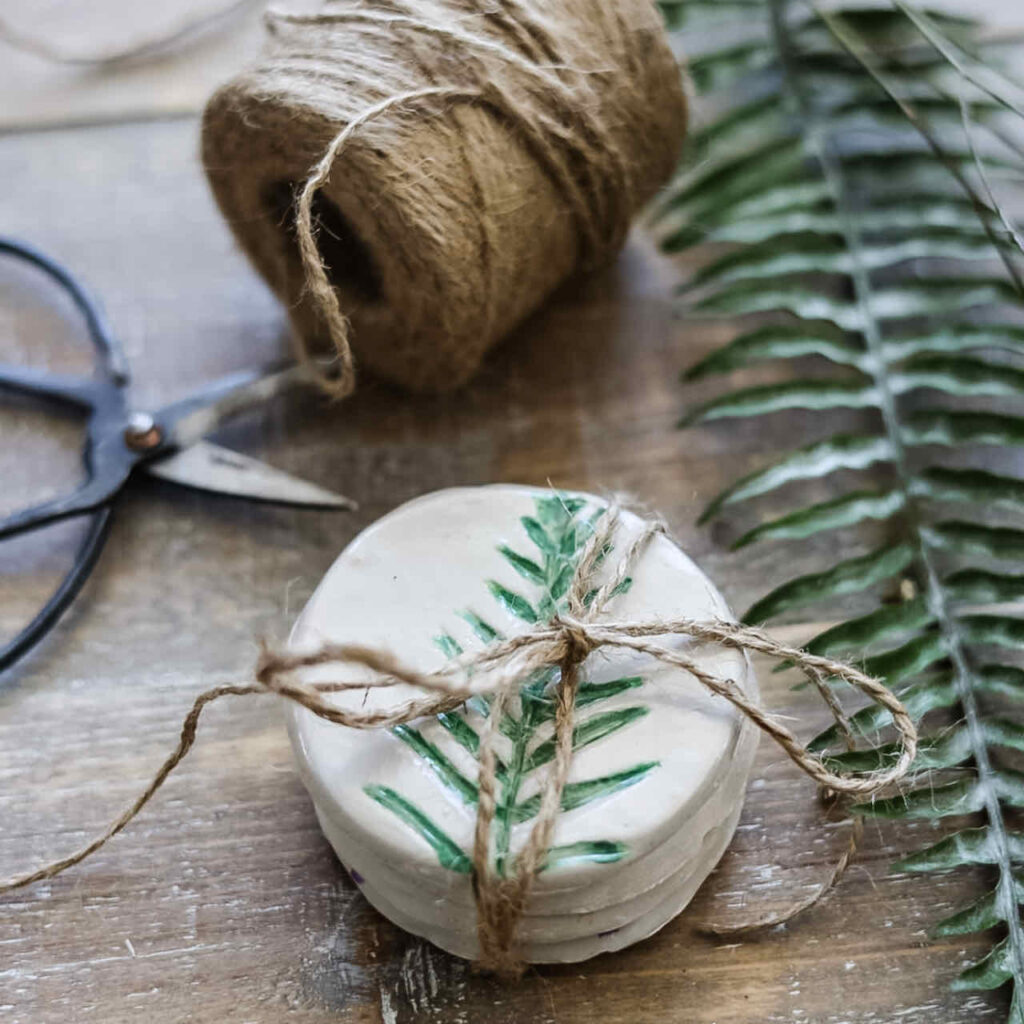
If you are coming over from Jennifer at Cottage on Bunker Hill, welcome! Don’t you just love her adorable air-dry clay coasters? I love how she used the fern pattern to create such unique coasters!
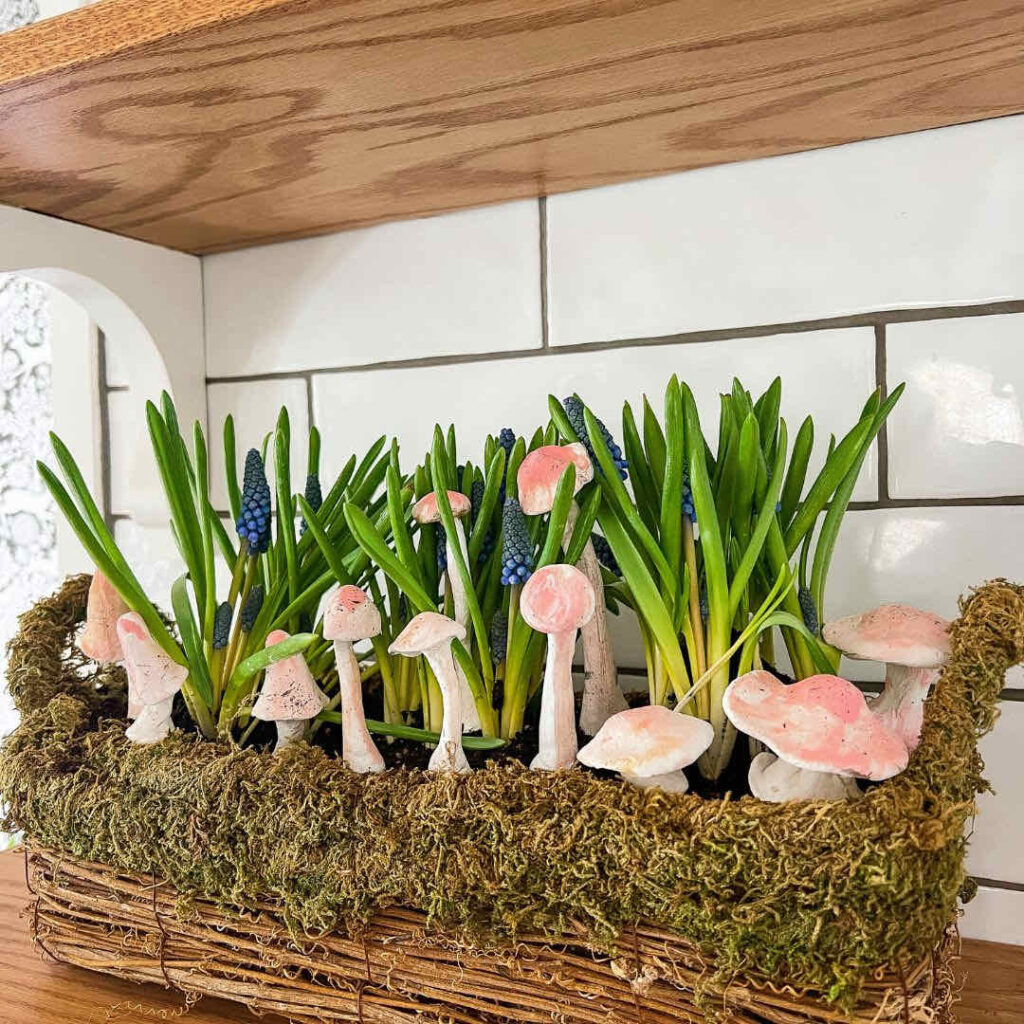
Next on the Handcrafted Society tour…head over TaterTots and Jello and check out Jen’s clever mushroom plant stakes. You will love her air dry clay project!

Cheers!


More DIY Projects!
The Best Way to Make an Easy DIY Faux Olive Topiary

Dazzling DIY Outdoor Hanging Butterfly

Don’t Forget to Pin It!
Pin the image below to your boards on Pinterest (just click the Pin button in the top left corner). You can also follow along with me on Pinterest!


Your fleur de lis flower pot is absolutely adorable Missy, and I love the Parisian flare of the pink foil! Pinning!
Thanks, Michelle! Fun to add a little “French” once in a while!
Cute & Colorful…just like you!!
You are so sweet, Jennifer! Thank you!
Missy, your fleur de lis flower pot is beautiful. I love the foil added to it for a pop of color.
Thank you so much, Tammy! It’s amazing what you can do with air-dry clay, isn’t it? Thanks for joining us this month!
Love your pot Missy! I adore pink foil and your pot came out so cute.
Thank you, Wendy! I learned a lot from this project as it was my first time working with air-dry clay. It was fun!
What a fun project! I love using what we already have floating about to make something new. It’s amazing you were an air dry clay rookie! Sure didn’t look like it. Well done Missy, well done! Always fun to hop with you.
Glad you didn’t see my hands shaking! Thanks, Diane!
I love the fleur de lis! What a pretty pot!
Thank you, Amy!
Such a pretty idea and I love the pink! Pinned : )
xoxo
Thanks so much, Jen! I always love Handcrafted Society day!
Thanks so much, Jen!
Your flower pot looks wonderful with the clay fleur-de-lis! Here via Sundays on Silverado.
Thank you so much, Allyson! Sundays on Silverado is such a great link party! Thanks for stopping over!
I can totally relate to the excitement of discovering a new material like air-dry clay. The author’s creativity in repurposing the old terra cotta pot and utilizing the long-forgotten copper fleur de lis cookie cutter is truly inspiring. The addition of the metal leaf for a touch of color and shine is simply genius. I can’t wait to try this project and add a Parisian flair to my own home decor. Kudos to the author for sharing such a fun and cost-effective DIY idea!
Thank you so much! I really glad you liked the project and are going to give it a try!