

DIY Decoupage Coasters: A Candle Jar Lid Upcycle
Let’s dive into the realm of DIY decoupage coasters, but with a twist – we’re using those often overlooked wood candle jar lids. Yes, those humble little discs that usually end up in the recycling bin are about to undergo a fabulous transformation into stylish coasters that’ll have your guests asking, “Where did you get those?!”
So grab your crafting supplies and let’s get ready to elevate our coffee tables one candle lid at a time!

This blog contains affiliate links. This means a small commission is earned if you make a purchase by using this link. The price you pay will be the same whether you use the affiliate link or go directly to the vendor’s website using a non-affiliate link. Sonata Home Design is an Amazon affiliate.
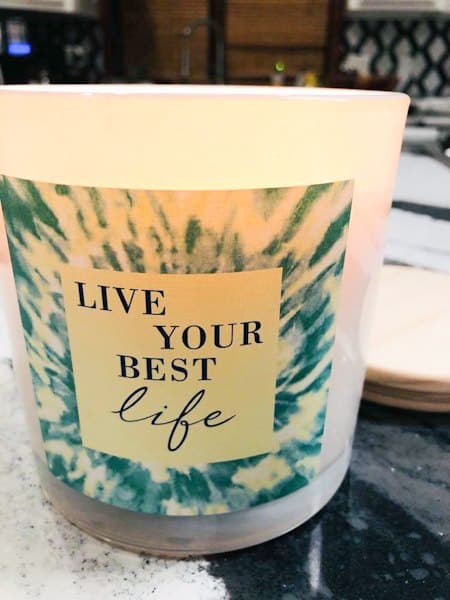
Are you a self-proclaimed candle connoisseur?
Ever find yourself staring at those wooden jar lids, pondering their untapped potential while you guiltily toss them into the recycling bin? (Seriously, it’s a real existential crisis moment!)
Well, welcome to my world!
I confess…I have a burning passion for candles—pun intended!
There’s just something so soothing about the flickering flame and the aroma wafting through the air. And don’t get me started on those gorgeously designed jar candles; they practically beckon me from the shelf with promises of cozy ambiance.
Who knew a simple jar and a wick could hold such power over us?
But once the candle has been burned, it seems sad to just throw away the beautiful jar…or the lid!
I love to clean and repurpose candle jars once they have been completely burned. They are great for holding cotton balls, craft supplies…even scrabble tiles! If you want some of these details, click here for an entire post about it!
But what about the lids?
Repurposing Candle Jars and
Their Lids
As I burn a jar candle, I find myself placing my coffee cup on top of the candle lid as I do computer work. Maybe I’m on to something!
Lightbulb moment! I’m using the lid as a coaster, so I might as well make it official and decorate it.
I love to decoupage with paper napkins! I’ve decoupaged simple glass bottles, decorative glass snacks plates, and even the frame of a mirror.
Time for some DIY decoupage coasters!
Supply List
This list is short because you don’t need very much to create DIY coasters!
- Wood lid from a used candle jar
- Decoupage Glue
- Foam brush
- Decorative paper napkins (There are so many cute napkins that are available!)


How to Make DIY Decoupage Coasters from Candle Jar Lids
The first step is to remove the rubber seal ring from the candle. Easy peasy…it just slides off.

Next, it is a good idea to give the lids a coat of spray paint.
White is always a good choice because it creates a neutral background for your paper pattern. However, if you have a dominant color from your paper that you would like to highlight, spray paint your lids that color!
Several light coats are always better than one heavy coat. Be sure to spray the sides of the lid and let it dry thoroughly.

Once your lid is completely dry, flip it over onto a flat surface and trace around the top of the lid onto the back side of your paper napkin. Then, simply cut out the circle.

Take your paper napkin circle and separate the layers of the decorative napkin. You will be using just the top layer.

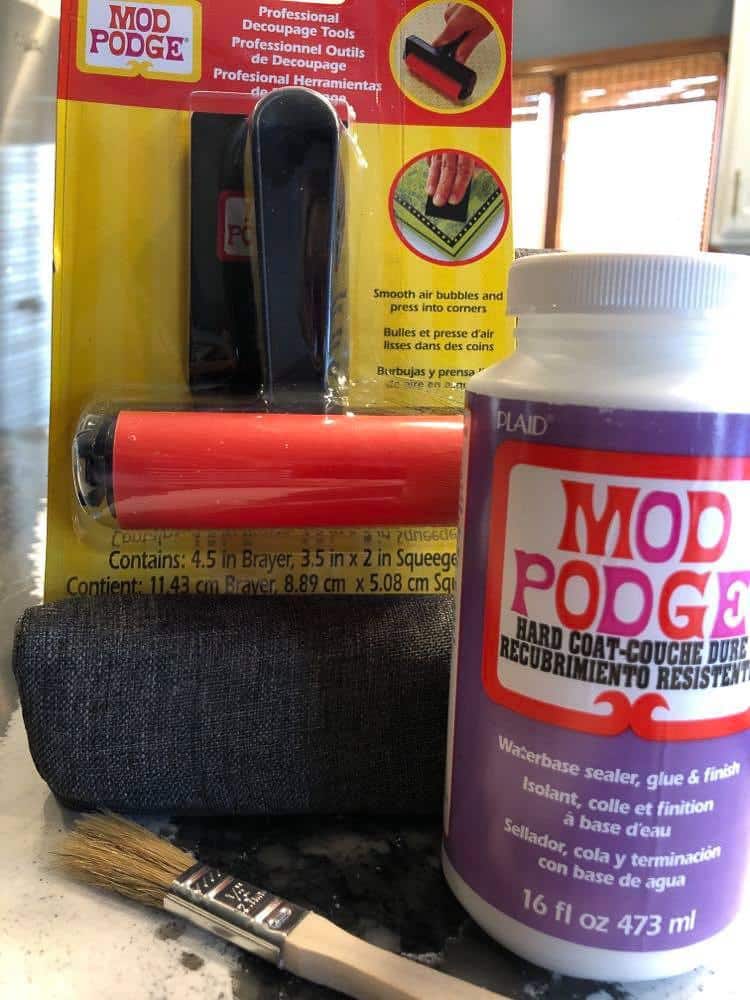
Brush a thin coat of Mod Podge decoupage glue onto the top of the lid with your foam brush. Let the glue sit for about 10 minutes or until the glue is tacky to the touch.

Place the paper circle on top of the lid with the pattern side up.
You can use a Mod Podge squeegee to squeeze out any bubbles but a finger works as well to smooth the napkin onto the lid surface.
I found it works best to start in the middle of the lid and smooth the napkin outward to the edge.
Once you have placed the paper napkin on top of the lid, brush another coat of decoupage glue over the top of the lid.

Make sure to brush over the edge of the paper as it seals any open edges to the side of the lid. Let it dry completely or spray the lid with Mod Podge Sealer.
You can start using your new jar lid coasters as soon as they are dry!
You might try using paper napkins in different patterns that coordinate together as a set. These great coasters make a perfect gift and are so fun to use when entertaining!

What Types of Paper Can I Use to Decoupage My Candle Lids?
You don’t need to limit yourself to paper napkins! Many types of paper will work beautifully when making Mod Podge coasters. Here are a few to consider:
- Wrapping paper
- Tissue paper
- Scrapbook paper
- Stationery paper
- Wallpaper
- Pencil
- Scissors
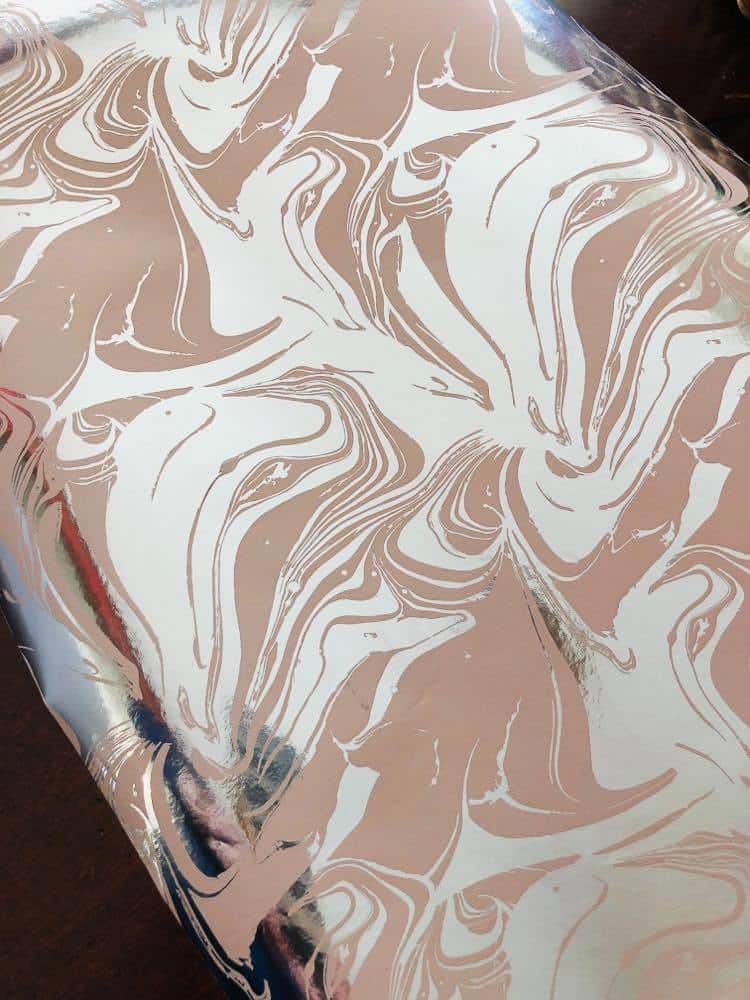
I created some coasters using blush pink and silver wrapping paper. Because the paper is thicker, I used a couple of additional coats of Mod Podge when applying the paper.
Take a look at this lovely stack of decoupaged coasters ready for a coffee break!

How do you waterproof decoupage coasters?
The first decoupage coasters that I made have held up well for over a year. If you want, take the extra step of choosing Hard Coat Mod Podge for your project.
It acts as a waterproof sealer that will give your project a protective finish.
You can also use an acrylic sealer to spray a protective coating on the top of the coaster. Your new coasters will last for a very long time!

DIY Decoupage Coasters Using Jar Candle Lids
Equipment
- 1 Pencil
- 1 Pair of scissors
- 1 Foam brush
Materials
- 1 wood jar candle lid
- 1 can spray paint You won't use much of it.
- 1 piece decorative paper napkin Pick your favorite!
- 1 jar decoupage glue Mod Podge Regular or Hard Coat
- 1 can acrylic sealer Optional
Instructions
- Remove ny rubber seal from the jar candle lid.
- Spray paint the wood lid and let dry completely.
- Trace around the perimeter of the wood lid onto the back of a decorative paaper napkin.
- Separate the layers of the paper napkin circle. You will use the top layer.
- Brush the top of the wood lid with decoupage glue. Let sit for 10 minutes until tacky.
- Place the paper napkin circle on top of the wood lid with the pattern facing up. Working from the center to the edge, smooth the napkin onto the lid, removing wrinkles as you work.
- Brush another coat of decoupage glue on top of the paper napkin and let dry completely.
- If desired, brush a coat of acrylic sealer over the top of the new coaster.
Not Decoupage…But a DIY Monogrammed Candle Lid Coaster
Here is another great way to upcycle a candle jar lid into an amazing coaster… with a monogram!
Again, I spray-painted the candle jar lid so there is a solid base color. Navy blue is my choice this time!
Once completely dry, wipe down the top of the lid with some rubbing alcohol.


There are lots of online options for buying monogram stickers. I have had amazing luck using stickers from an Etsy business called OMD Monograms. There are lots of styles and patterns and they are very reasonably priced.
I wanted a clean and classic monogram look and chose a pristine white sticker for the top of the navy blue lid.

The application process for this type of sticker can vary so follow the instructions provided with your sticker very carefully.
The best part of my application was peeling back the clear sheet to reveal a perfect monogrammed coaster!

Everyone in the house knows that this is my coaster and I always have it nearby for my morning cup of coffee!

I’ve shown you just a couple of ideas for creating unique designs on upcycled candle jar lids. Think of each easy DIY as a springboard for creating your own custom coasters.
Now that you have the hang of it, you can custom-create DIY decoupage coasters for every room in your home!

Whether using the art of decoupage or the technology of transferable stickers, you can discover your own fun way of making handmade coasters.
So stack those upcycled coasters next to a beautifully lit candle and enjoy your save-the-planet-one-lid-at-a-time handiwork!
Cheers!

Don’t Forget to Pin It!
Pin the image below to your boards on Pinterest (just click the Pin button in the top left corner). You can also follow along with me on Pinterest!

More Fun Repurposed DIY Projects
The Best Way to Restore Outdoor Solar Pathway Lights


From Indoors to Outdoors: A Chandelier Makeover


Hi Missy, I saw your post on Try-It, Create it and thought it was so cute! I love all the detail you provide and the coaster came out so beautifully! Can’t wait to try these out! Thank you for sharing! Feel free to visit us at PurelyPrintables.com for all free printables 🙂
Hello! Thank you so much for stopping by and leaving such kind words. It was a fun project and Im so glad you like it!