

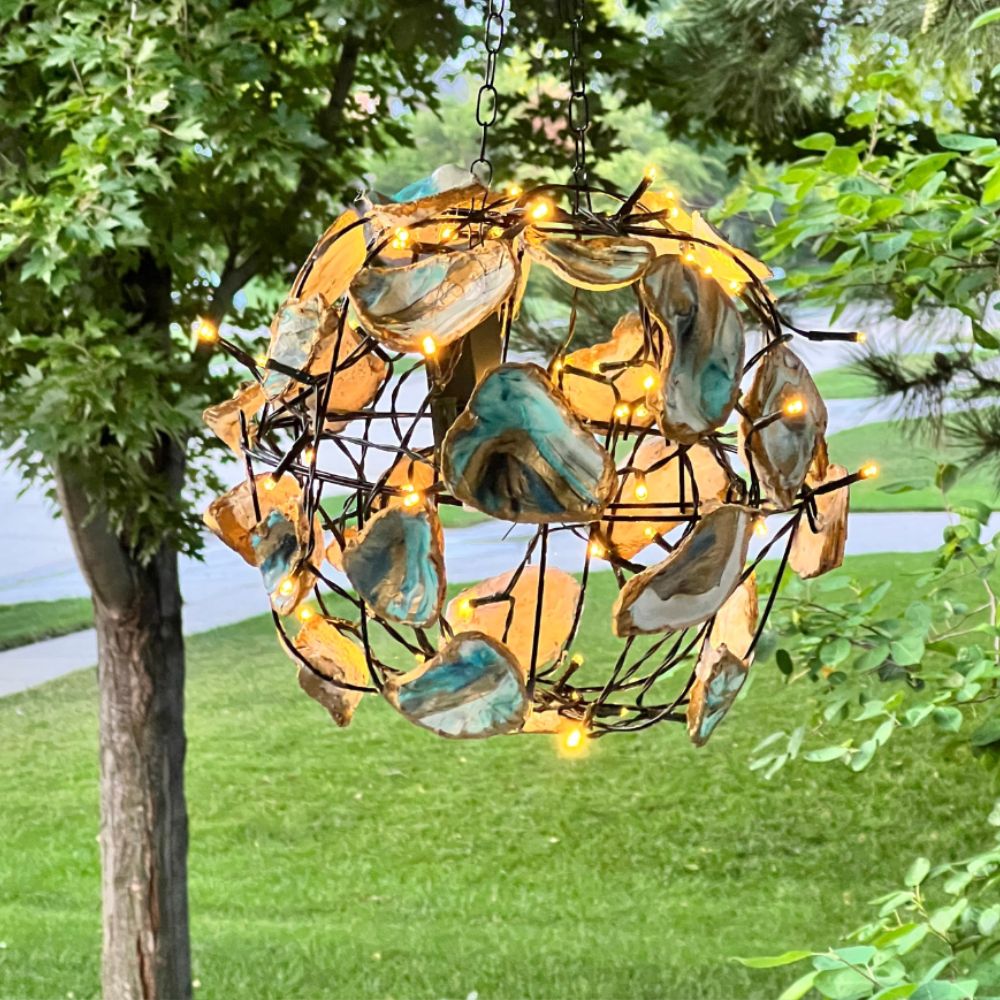
How to Make a Twinkling DIY Oyster Shell Chandelier
Who doesn’t love the look of a twinkling chandelier? If you’re a fan of interior design and crafting, why not put some coastal-inspired decor into your home with this fun and easy DIY oyster shell chandelier project? This tutorial will show you how to create one of these sparkling items with oyster shells and materials from your local dollar store!
Once again, the Handcrafted Society is teaming up to bring you all sorts of unique crafting inspiration! This month’s material challenge? Shells!

This blog contains affiliate links. This means a small commission is earned if you make a purchase by using this link. The price you pay will be the same whether you use the affiliate link or go directly to the vendor’s website using a non-affiliate link.
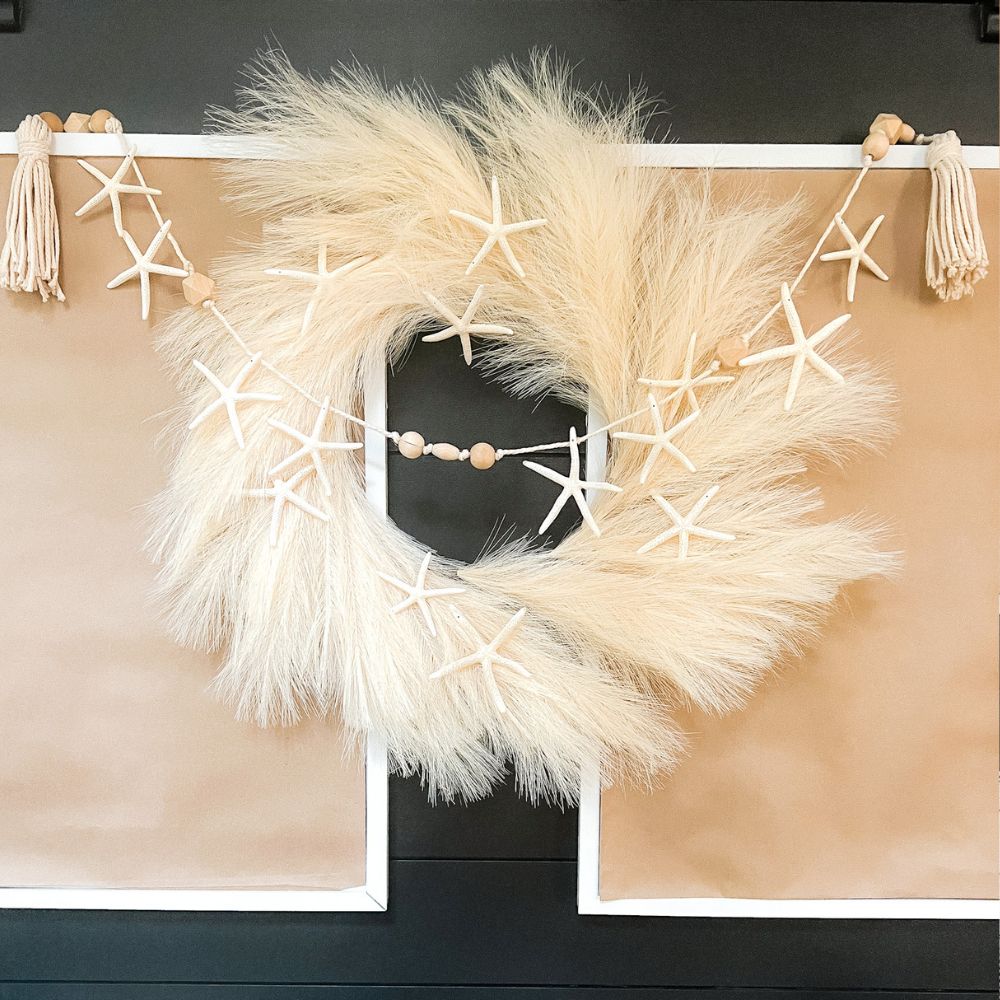
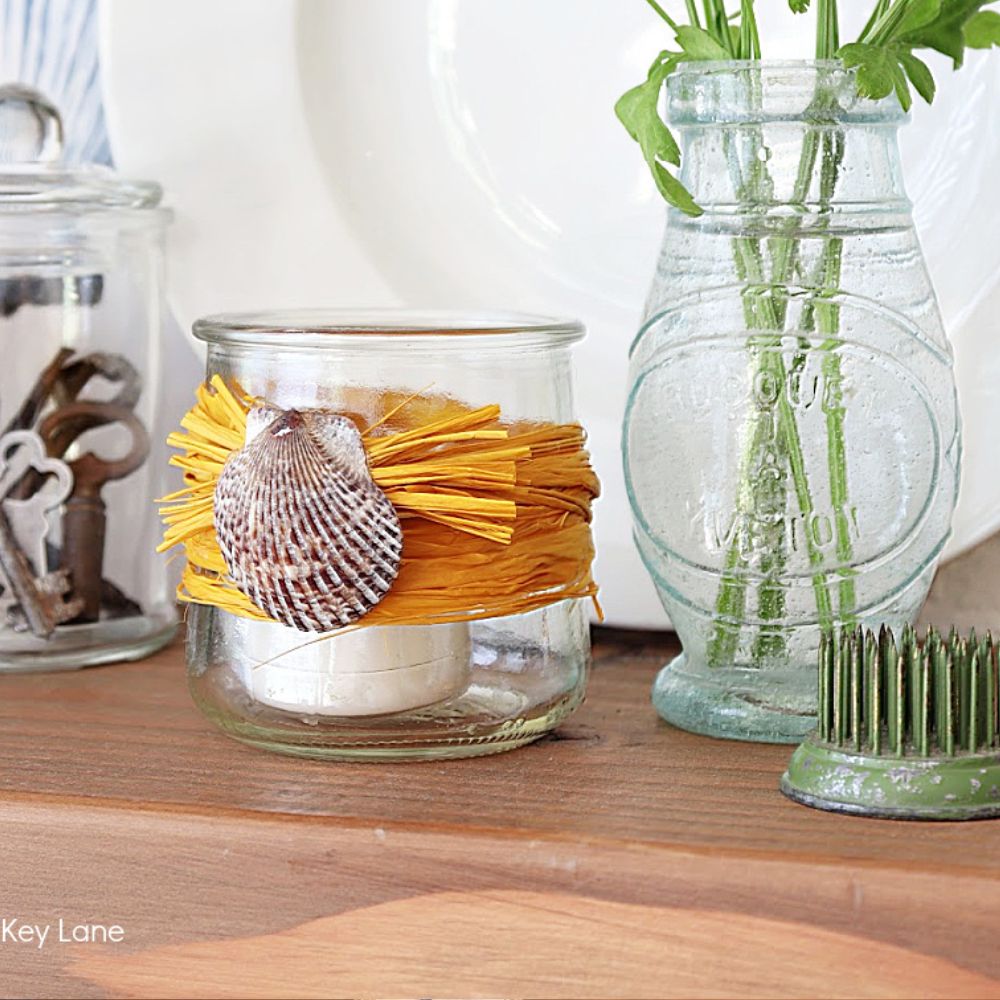
If you’ve come here from Thistle Key Lane, you are freshly inspired by Michelle’s DIY raffia and shell candle holders. So creative and charming!
A Shell-Shocked Handcrafted Society
Shells! The material this month is shells!
And Nebraska…really do not go together. This could be interesting!

Living in a land-locked state does not give me much opportunity for gathering shells. (There are occasional lakes in the state, but not many!) We are a state of corn and wheat with little chance of finding shells on a stroll outside!
So when Regina with Save from Salvage chose a seashell craft for this month’s material challenge, I was a little stumped. Then I remembered my hurricane-laden trip to Charleston last fall.
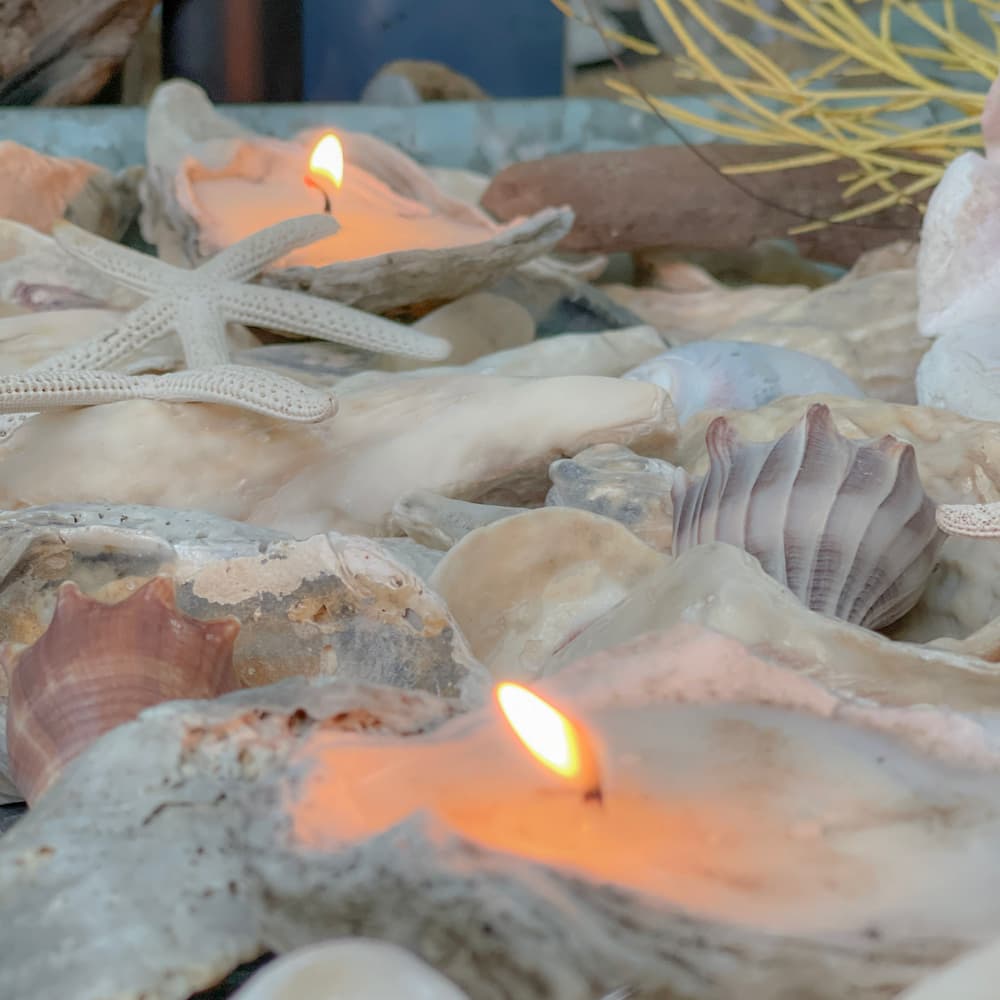
Oyster shells! They were one of my favorite things in Charleston and were in shops everywhere! This is the shell ornament that I brought home with me!

Sadly, we do not naturally have oyster shells in Nebraska. But I can order oyster shells online and create something from that! I am inspired by a decoupaged oyster shell ornament that I bought as a souvenir on the trip. Blue and white with a little bit of gold…
Hmmm…I’ve seen a lot of coastal chandeliers. How about a twinkling DIY pendant lamp with decoupaged oyster shells? Let’s give it a try!
Supplies Needed
For this DIY oyster shell chandelier project, I used the following supplies.
- Oyster Shells (I bought mine from Amazon but you can find them in craft stores.)
- Patterned Tissue Paper
- Mod Podge decoupage glue
- Small paint brush
- Rub n’ Buff
- 2 wire hanging garden baskets (from the dollar store)
- Zip ties
- Battery-operated fairy lights (I like them with a timer!)
- Floral wire
- Hot glue gun
- Glue sticks

Oyster Shell Decoupage
The art of decoupage remains a very popular crafting project and is an easy way to give your oyster shells some personality. Most of the time I use paper napkins for decoupage patterns. This time I am using tissue paper in this fabulous marbleized pattern. There is a little bit of an additional cost when using patterned tissue paper but it is worth it!
How to Decoupage Shells
Here is a quick rundown of the decoupage steps:
- For oyster shells that are straight from Mother Nature, start by gently washing the oyster shell with warm water and mild soap to remove any dirt or debris. Let it dry completely.
- If the oyster shell has a glossy finish, lightly sand it with fine-grit sandpaper to create a rougher surface. This will help the decoupage materials adhere better.
- Select the paper or fabric you want to decoupage onto the oyster shell. It could be patterned paper or tissue paper. Cut the design into small pieces or shapes that will fit nicely on the shell.
- Using a brush, apply a thin, even layer of decoupage medium to the inside of the shell. Make sure to cover the entire surface.
- Attach the pieces: Carefully place the paper or fabric pieces onto the oyster shell, smoothing them down with your fingers or a soft brush. Arrange them in a way that creates a pleasing design or pattern.


6. Seal the decoupage: Once the pieces are in place, apply another layer of decoupage medium over the entire surface of the oyster shell. This will seal the design and provide a protective finish. Allow it to dry completely.
7. Once the glue has dried, inspect the decoupaged oyster shell for any rough edges or excess medium. Use sandpaper or a craft knife to smooth out any imperfections.


8. Apply Rub ‘n Buff to the outer edge of the shells. I just used my finger to rub it on. You can cover the entire back side of the shell if you wish but I actually like the natural finish on the back.

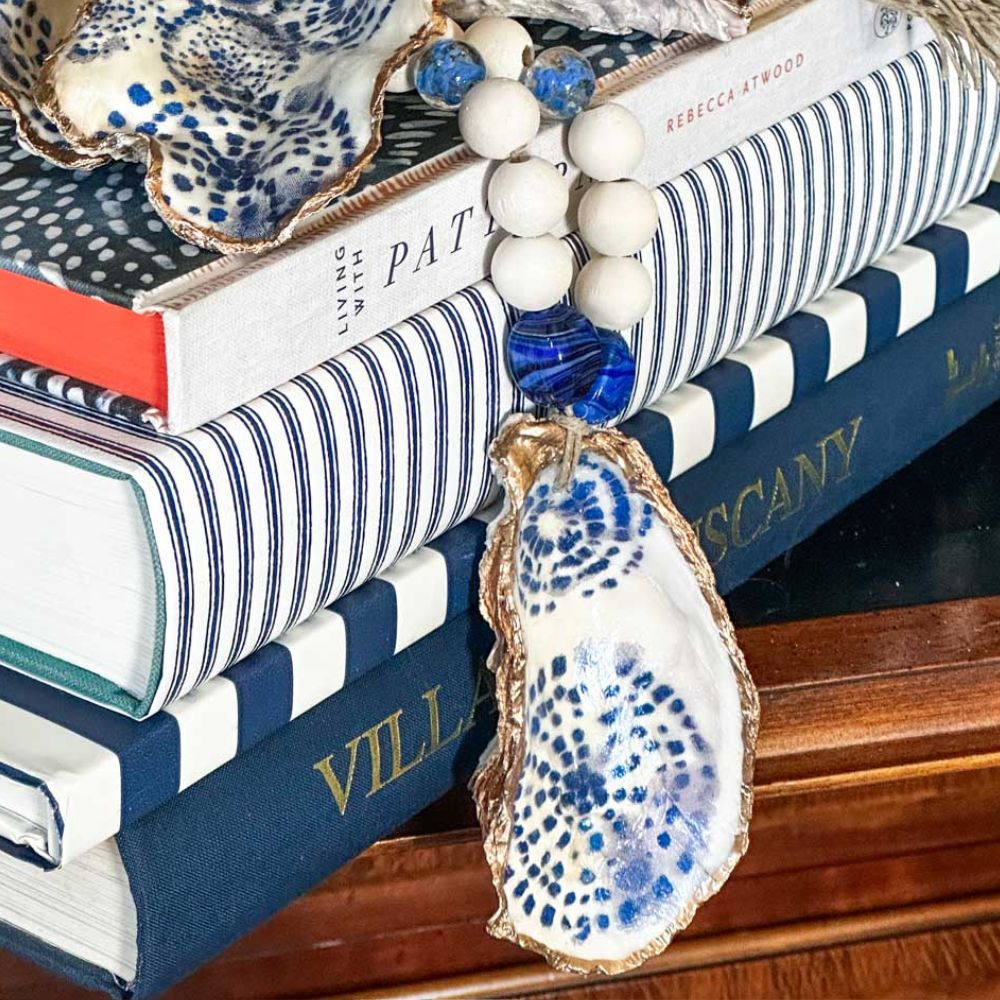
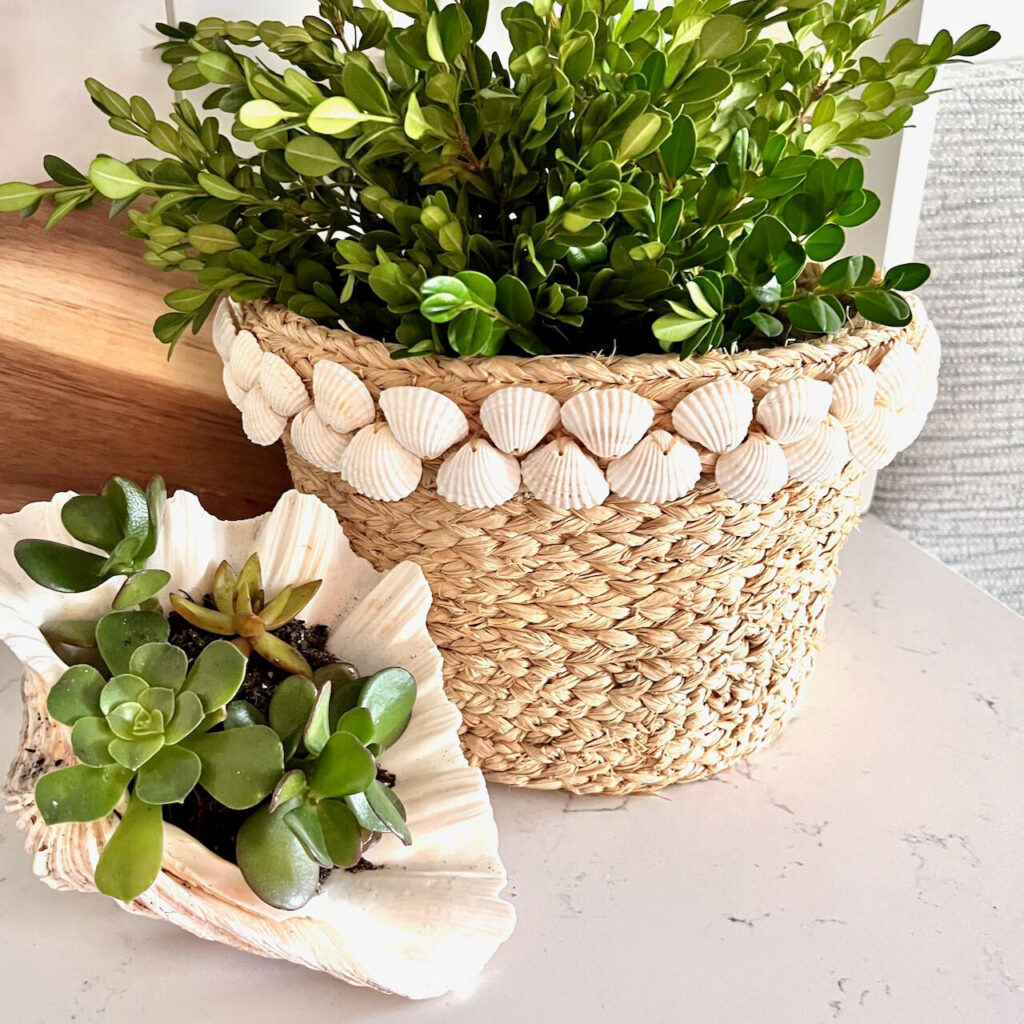
Oyster Shell Decor
You could actually stop here if you want…decoupaged sea shells make a great addition to any style of decor.
I decided to set a couple of them on top of a stack of books in the kitchen. Then, I decided to use them as oyster shell jewelry dishes. They are perfect as a ring holder!


Building the Light Fixture Globe
Did you know that dollar stores carry small hanging garden baskets? And that two halves make a whole? Yes! And yes!
Take two wire hanging baskets and remove the hanging chains. (Keep one on hand for later!) Invert one basket over the other and attach them to each other using zip ties. Now you have a structure for the light globe.
Put batteries in the fairy light battery pack and slip through one end of the wire globe. Secure it to the globe using floral wire or one of the hooks from the basket hanging chain. Once the battery pack is secure, start to randomly wrap the lights around the globe. Secure the end to the globe with floral wire.


Attaching the Oyster Shells
I tried all sorts of different glues to attach the oyster shells to the globe frame but finally settled on my trusty glue gun.

For each oyster shell, apply a thin bead of hot glue along anchor points on the globe. Press the oyster shell against the glue and hold for about two minutes. Some of the oyster shells are a little heavier so I made sure the glue was fully cooled before letting go.
Occasionally, a shell would fall off because of the weight. I just a different spot on the globe where the shell would fit better and stay once glued.

I started the gluing process on a flat surface. However, as I started to cover the globe, I found it better to hang the globe above the work surface so I didn’t knock other shells off as I worked.
Hanging the DIY Oyster Shell Chandelier
Once completed, I hung outside on our front porch. It hangs right beside the porch swing so I can look at it while I sip my coffee each morning.

I’m feeling the coastal home decor vibes on my Nebraska porch!

The oyster shell chandelier is an easy yet beautiful accent to add to your décor. With a warm glow and twinkle, you will feel as if you are at the beach each time you gaze at the soft illumination.

Take a plunge into this seaside-inspired crafting journey and add some coastal flair to your home with this DIY oyster shell chandelier project…no matter where you live! Have fun crafting!
There is more fabulous shell decor on this Handcrafted Society tour! Head on over to see Diane’s adorable seashell decor project at South House Designs. In fact, be sure not to miss any of the Handcrafted Society projects! They are truly “spe-shell!”
Cheers!

Don’t Forget to Pin It

More Decoupage Projects

Decoupage Glass Snack Plates (Does the tissue look familiar?)


Such an amazing idea! And it looks amazing too 😍 Thanks for the idea!
Thank you, Samantha! I only burned my finger once! LOL!
Such a fun idea Missy! I’ll be making these pretty painted oyster shells from our dinner the other night. I love the idea of the ring holder as a cute gift for my neices!!
Thank you so much, Susan! Your dinner from the other night sounds so amazing and, yes, this would be the perfect follow-up!
I’m so impressed with your chandelier Missy! I love the pattern you picked to decoupage on the oysters. It looks hand painted!
Thanks so much, Michelle! The tissue paper is one that I have used on other projects…I love it so much!
Thank you, Michelle! I keep finding things to decoupage with the tissue paper!
Oh my gosh, Miss! Your chandelier is so creative and pretty! I love it! I pinned it to my summer board to share.
xoxo
Thank you so much! I really appreciate that!
Thanks so much, Jen! It was a fun month for the Handcrafted Society!
So clever, Missy! I love the inspo shell, lol. It looks like my project.
Too funny. I can imagine your beautiful lantern lit at night, and you can see through the shells.
I think I need add another decoupage shell using your pretty napkin pattern. It would go so well with the one I bought!
What a super creative project idea on the chandelier! Tech comment, I don’t know if your pinning plugin isn’t working but nothing pops up when I drag over the images to pin them.
Thank you so much, Jennifer…for both the comment and the heads up! I appreciate it!
That tissue paper is gorgeous on your shells — and then again on your snack plates. Who would have thought to make a chandelier with the shells? You, Missy, of course would! Pure creative genius!
You always make my day, Diane! Thank you so much! (I promise I will get the spreadsheet right next time! LOL!)
What a great way to create an outdoor light! So clever! I love that tissue paper too! Thank you for linking it!
Thanks so much, Amy! It was fun to decorate with shells in land-locked Nebraska!
what a lovely idea – lots of oyster shells here in Normandie.
Hello, friend! I think our shells would probably in comparison to those of Normandie! Thank you so much for stopping by Sonata Home Design!
Gosh you are SO creative, Missy!! That is such a pretty idea for an outdoor space! I have the same issue living in MN..we have plenty of pretty rocks but no seashells. This was super fun to follow along to. Thanks so much for sharing!
Hi Rachel, Thank goodness for Amazon! Easy oyster shells in just a few days!
So darn cute Missy! I am land locked too, but never thought to pick up shells online, thank you for the tip! Now I am wondering what I can make with them. I love chandeliers and this one is so creative!
Thank you, Cara! I really appreciate that!
j