

Chic Seat Makeover: Easy DIY Chair Seat Upholstery
Are you ready to give an old worn-out chair a chic new makeover? This DIY chair seat upholstery project takes a thrift-store find and turns it into something special with just a few basic supplies.
Now, I know what you’re thinking. Upholstery sounds complicated and time-consuming. But don’t worry, I’m here to make it easy for you. I’ll walk you through the steps one at a time!

This blog contains affiliate links. This means a small commission is earned if you make a purchase by using this link. The price you pay will be the same whether you use the affiliate link or go directly to the vendor’s website using a non-affiliate link.
It’s time for the monthly Handcrafted Society post! This month, we are challenged with sharing a project that uses fabric. For me….that means upholstery time!

Welcome to Sonata Home Design
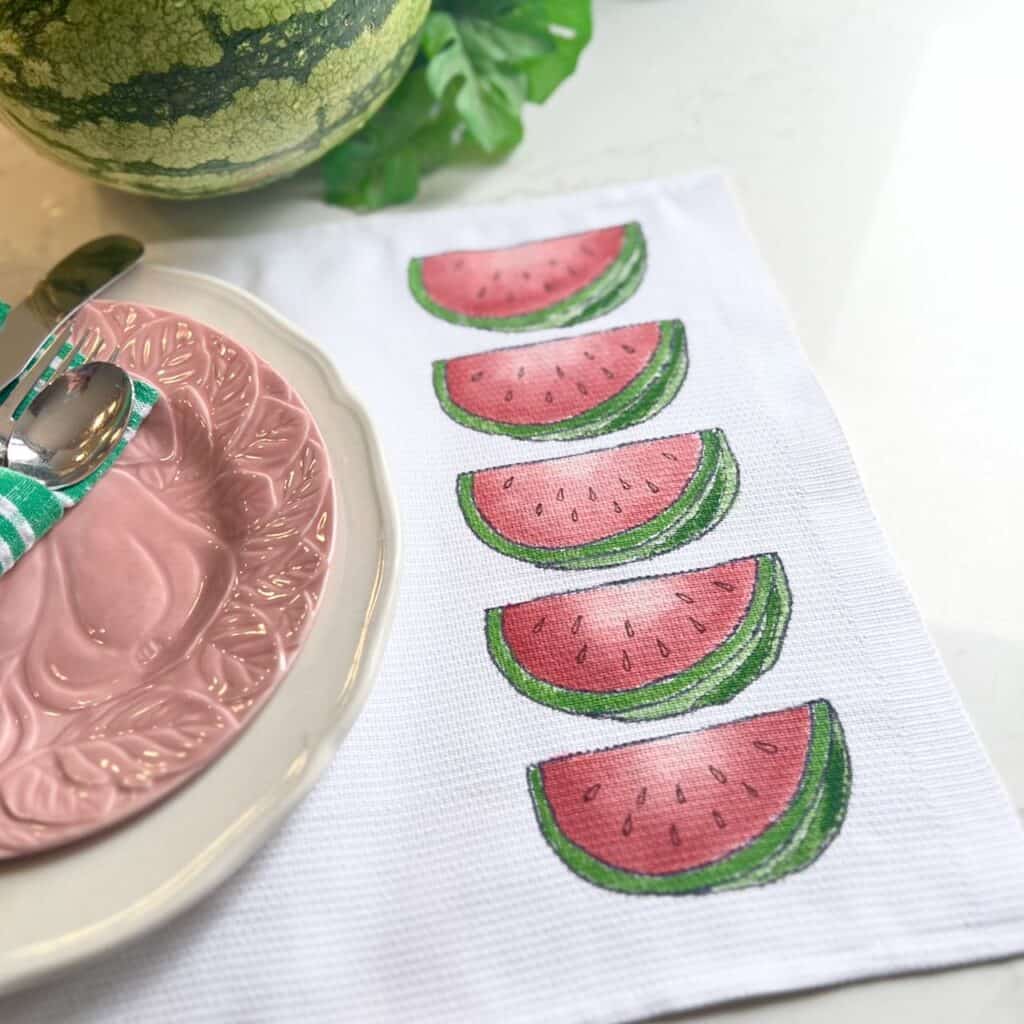
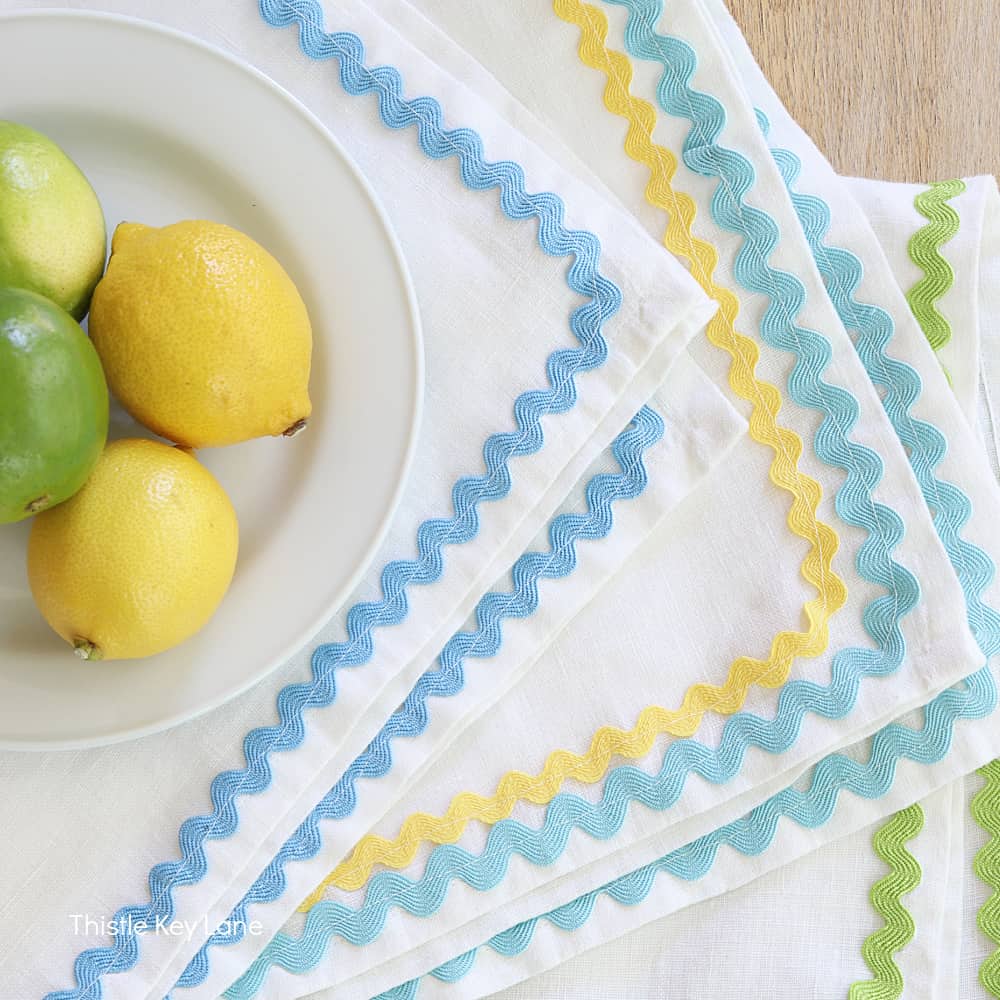
If you are visiting from Thistlekey Lane, don’t you love Michelle’s Anthropologie inspired dish towels and napkins! So chic and beautiful!
I love decorating my home with DIY projects and colorful decor. And, I’m all about meeting new people and sharing inspiring ideas so I’m thrilled that you are here. Welcome!
My Neighborhood Thrift Store Addiction
The Habitat for Humanity ReStore is about five minutes from our house.
I can get there, shop, and be back home in about 30 minutes…with a carload of “loved” pieces.
And for some reason, I seem to always find an abundance of beautiful chairs!
When I say beautiful, I really mean old worn-out chairs with old upholstery and old fabric. They just look…old!
But the bones are good! The chair frame is in good condition or just needs a little refresh assist. It is usually the fabric that is the worst culprit.
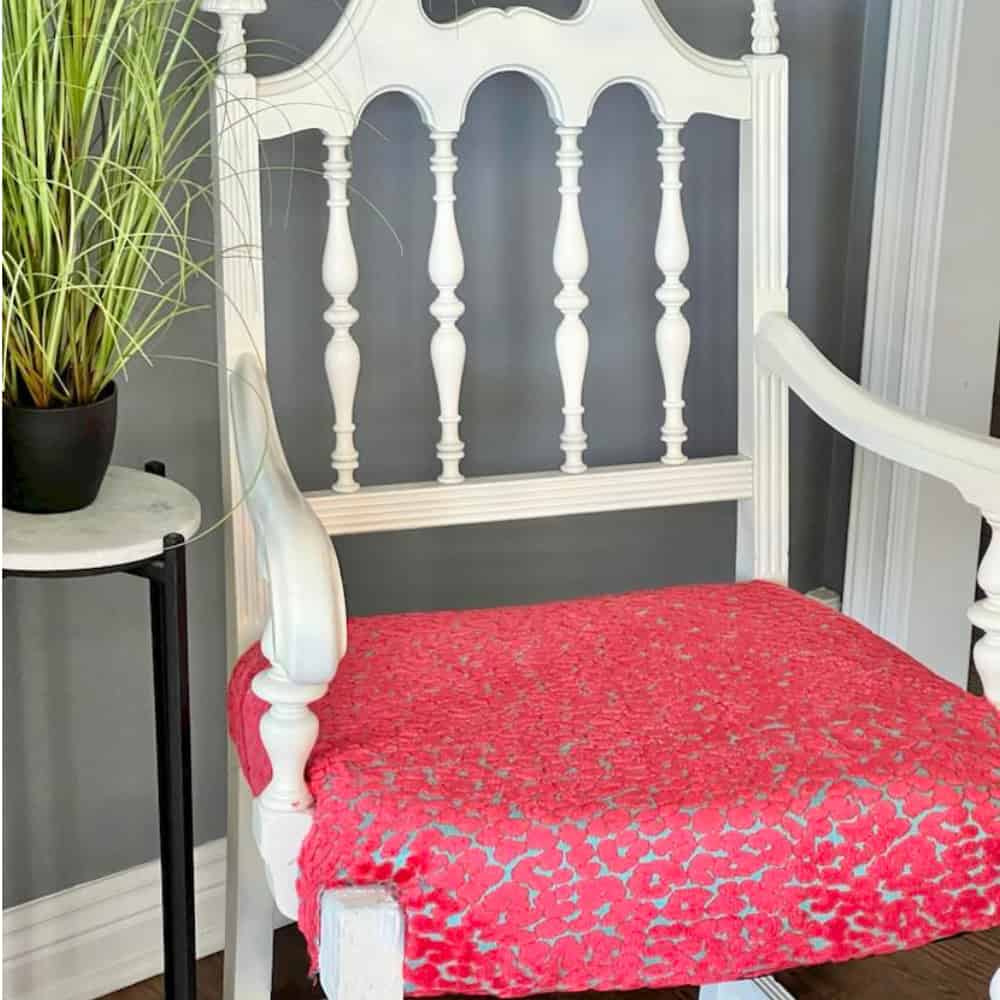
This wood chair caught my eye. All the interesting twists and curves…and ugly upholstery!

And it was a good price!

Perhaps you have an heirloom chair or a thrift store chair, or you just want to give your dining room chairs an update? By adding new fabric to a seat cushion, you can give a vintage chair a completely new life!
Is It Hard to Reupholster a Chair Seat Yourself?
Reupholstering a chair yourself can be a challenging project, but it is definitely doable for beginners. The difficulty of the project will depend on the type of chair you are reupholstering and your own level of experience.

If you are reupholstering a simple chair with a flat seat, the project should be relatively straightforward. However, if you are reupholstering a more complex chair with curves or arms, the project will be more challenging.
Here are some factors that will affect the difficulty of reupholstering a chair seat:
- The type of chair seat: Some chair seats are easier to reupholster than others. For example, a dining room chair seat with a flat surface is easier to reupholster than an armchair seat with curved edges.
- Your level of experience: If you have never reupholstered a chair seat before, it is a good idea to start with a simple project. As you gain experience, you can tackle more challenging projects.
- The tools and materials you have: If you have all the necessary tools and materials, the project will be easier. However, if you need to purchase tools or materials, the project will be more expensive.
DIY Chair Seat Upholstery Supply List
Once you have your chosen chair, you will need some tools and supplies.

Basic Tools and Supplies Needed:
- Fabric
- Foam Padding
- Batting
- Upholstery staple puller or tack puller
- Staple gun
- Upholstery staples
- Screwdriver
- Scissors
- Spray adhesive
- Dust cover fabric
Optional tools:
How Do You Upholster a Chair Seat?
While reupholstering a chair seat can seem daunting, it is not so overwhelming if you take it a step at a time!
Step #1: Prep the Chair Frame.
The first step is to remove the seat from the chair frame using a screwdriver to remove the screws. Be sure to put the screws in a safe place as you will need them later to reattach the seat.
You may have some chair frame repair at this point. Now is the time to reinforce weak frame joints with wood glue, screws, or nails or smooth out the wood finish with sanding.


Next, remove the existing fabric and old foam from the seat. Here are some tips for removing the old fabric:
- Start by removing the staples or tacks from the underside of the chair seat.
- Once the staples are removed, you can lift the fabric and foam from the chair.
- Be careful not to tear the fabric or damage the chair frame as you work.
- If the fabric is stuck, you can use a utility knife to cut it away.

If you choose to do any painting on your chair frame as I did, make sure you let the paint dry thoroughly and cure for about a week before you start to upholster.

Step #2 – Cut the New Fabric
I like to keep things easy and so use the old fabric as a pattern to cut the new fabric. Here’s how!
Lay the old fabric on top of the new fabric and cut around the old fabric. I like to add a couple of inches around the entire cutting to give me a little more flexibility in attaching the new fabric.

- Lay the new fabric flat on a table.
- Lay the old fabric piece on top of the new fabric.
- Use sharp scissors to cut the fabric around the old fabric, leaving an additional 1-2 inches to allow for flexibility when attaching to the chair.
If you do not have the old fabric to use as your pattern, measure the chair seat and cut the new fabric to size. Leave about an inch of extra fabric on all sides for seam allowances.
Step #3 – Layer the Seat Cushion
Before attaching the fabric, this would be the time to replace or add new foam and/or batting if needed. If the old foam and batting is in good shape, you can just reuse it.
For my project, I reused the foam pad but used new batting. Using a spray adhesive, give the chair seat and one side of the foam a quick spray of adhesive to bind them together. This is so helpful in keeping the foam from shifting while you work.


Lay the batting on top of the foam pad. Feel free to make cuts in the batting to allow for the chair frame.
Also, make sure that your batting wraps all the way around the chair sides that will be covered with fabric. This way, you don’t have any hard edges that appear from the edge of the hard wood.


Step #4 – Attach the Fabric
To staple the new piece of fabric to the chair seat, start by stapling the edge of the fabric to the underside center wood piece on the back of the chair.
Stretch the fabric across the top of the chair to the opposite side over the top of the foam and batting. Pulling the fabric taut, staple the front edge of the fabric to the underside front seat base. Move yet again to the right side of the chair, pull the fabric taut, and staple. And finally, anchor the left side after pulling it taut and stapling.
As you continue stapling, work from the center of each side and pull the top of the fabric taut from each direction for a cushion with clean lines. Staple the fabric every 2-3 inches and trim away any excess fabric.


Corners and angles can be tricky to manage when reupholstering a chair seat, but with a little patience and care, you can get the job done. At the back and front corners, fold the fabric under itself and staple it in place. You may need to trim away excess fabric to get a smooth finish with no wrinkles.
Just a reminder…be sure to stretch the fabric taut as you staple it, so that there are no wrinkles.
Step #5 – Attach a Dust Cover
You don’t want to leave the underside of the chair open and exposed as dust and debris can accumulate. Plus, it just looks more “finished” when the underside is covered and you don’t see fabric raw edges. Dust cover fabric is a light fabric that is tightly woven to prevent dust from getting through.
Use the old fabric pattern to cut the dust cover fabric. Staple and attach the dust cover in the same way you attached the fabric.
Fold the edge of the dust cover fabric under 1-2 times to create a thicker edge. Then staple and attach the dust cover in the same way you attached the fabric.

Step #6 – Reattach the Chair Seat
Yay for the last step! Find those screws that you set aside earlier and reattach the chair seat through the screw holes.
Tighten the screws and trim any excess threads that might be showing.

Chair transformed! You’ve created an instant update to a piece that likely had seen better days. It’s amazing what a few well-placed nails, fabric, and foam can do. Plus, you did it yourself with minimal tools and steps.
FAQ
What is the best fabric to reupholster a chair seat?

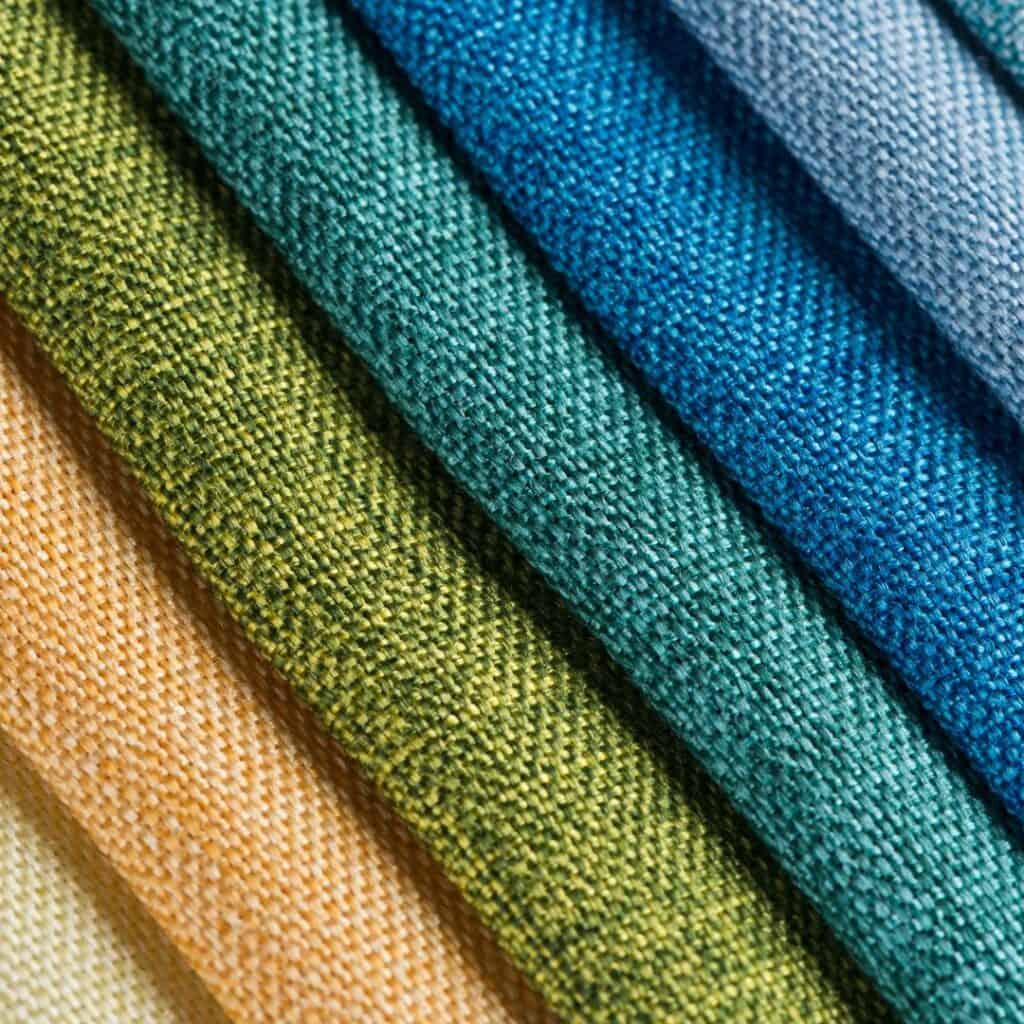
When it comes to choosing the best type of fabric to use when upholstering a chair seat, there are a few things to consider. You’ll want to think about the style of your chair, the amount of traffic it will get, and how easy it is to care for.
- Durability: The fabric you choose should be durable enough to withstand the wear and tear of everyday use. If you have kids or pets, you’ll want to choose a fabric that is stain-resistant and easy to clean.
- Comfort: The fabric should also be comfortable to sit on. If you plan on spending a lot of time in your chair, you’ll want to choose a fabric that is soft and supportive.
- Style: The fabric should also complement the style of your chair.
Here are a few of the most popular fabrics for upholstering chair seats:
- Cotton: Cotton is a natural fiber that is soft and comfortable. Use a cotton fabric blend with a high thread count for higher durability.
- Velvet: Velvet is a luxurious fabric that is both soft and warm. It is also relatively easy to care for.
- Leather: Leather is a durable and stylish fabric that is perfect for high-traffic areas. It is also relatively easy to care for.
How many yards of fabric do I need to reupholster a chair seat?
I used the old fabric as my pattern for the new fabric and so just measured accordingly. However, if you don’t have the existing chair fabric, here are some tips for determining how much fabric you need.

How many yards of fabric you need to reupholster a chair seat depends on the size of the chair seat and the fabric you choose. Here are some general guidelines:
- For a standard dining room chair seat, you will need about 1 yard of fabric.
- For a larger chair seat, you may need 1.5 or 2 yards of fabric.
- If you are using a patterned fabric, you will need to buy enough fabric to allow for the pattern to match.
- If you are using thick fabric, you may need to buy more fabric to allow for the thickness of the fabric.
It is always a good idea to buy a little extra fabric, just in case!
Can I upholster a chair seat without removing old fabric?
Yes, you can upholster a chair seat without removing the existing fabric. This is called over-upholstering.
Personally, I like a fresh start and always remove the old fabric. However, if you want to change the color or pattern of the fabric, but you don’t want to damage the existing fabric, here are some tips.

To over-upholster a chair seat, you will need to:
- Remove any old staples or tacks that might be sticking out from the chair seat.
- Cut the new fabric to size.
- Staple or tack the new fabric to the chair seat.
- Trim any excess fabric.
Over-upholstering is a relatively easy project that you can do yourself. However, there are some potential drawbacks to over-upholstering. For example, the new fabric may not be as thick or as durable as the existing fabric. Additionally, the new fabric may not fit as well as the existing fabric, which could lead to wrinkles or gaps.
If you are concerned about these potential drawbacks, I suggest you remove the existing fabric before you upholster the chair seat. This will give you a better chance of getting a good fit and a durable finish.
DIY Chair Seat Upholstery Reveal
This DIY project doesn’t have to be intimidating; you might be surprised by how easy it is to upholster your own furniture. Think of the possibilities going forward, too. With just a few upholstery skills, you could create masterpieces for years to come.

Don’t let upholstery intimidate you; transform a chair seat in an afternoon with fabric and a few tools today!
Now, head over to South House Designs and see Diane’s charming DIY napkins. I always love her creativity! Happy handcrafting!
Cheers!

Don’t Forget to Pin It!
Pin the image below to your boards on Pinterest (just click the Pin button in the top left corner). You can also follow along with me on Pinterest!


Fun Furniture Flips
An Astonishing Before and After Bookcase Makeover


The difference between the before and after photos of the chair is very impressive. Love the paint color and the fabric choice! Very chic!!
Thank you, Michelle! My husband walked into the room and asked where I bought the new chair from. It’s hard to believe they are the same chair. Thanks so much for stopping by and your sweet words!
Missy – you did a fabulous job. Looks like you are a pro at recovering chairs. What a fun fabric too, and of course I love the paint color with it. Very detailed and comprehensive instructions. Pinned!
Thank you, Regina! I love upholstering chairs. I just have to get comfortable with sewing a cushion! lol
Missy, this is an incredible project. You gave that old chair a new life. I love the fabric you chose and how clear your directions were. This chair will be a great addition to your home.
Thank you, Wendy! She is placed proudly in the living room!
I’m so glad you saved that chair! It has such a unique structure. Great project, Missy!
Thanks, Jennifer! Found it in the most dusty corner of the store. Glad I saw it!
That chair is amazing Missy!!! Aren’t you amazed sometimes at what people give away — but grateful? I know, I am.
Of course it looks so great with a great Missy makeover.
Thank you so much! It was a fun project to take on!
The fabric you chose is perfection! I love it and it goes perfect with your style!
Thank you, Amy! I’m enjoying my new special chair!
I realize it’s been years since you posted, but I think I NEED this fabric. Do you recall where you found it or have a link??
Oh dear! How I wish I could help you with this! I found this fabric as a remnant at a retail store in Kansas City several years ago. Sadly, I have no idea as to the origin. I will definitely keep my eyes open for it as I do like to shop fabrics. You never know…I might run across it again and will let you know!