An Easy DIY Patio Table Makeover for Outdoor Dining
Do you like to eat outside? There’s something about sipping coffee, eating dinner, or sipping wine at a patio table under an open sky that just feels special. Especially when it is your own DIY patio table!
Our old patio table was looking a little sad. The paint was faded and it was looking pretty shabby. So, I decided to give it a makeover. Follow along for easy step-by-step instructions for the amazing DIY!
This blog contains affiliate links. This means a small commission is earned if you make a purchase by using this link. The price you pay will be the same whether you use the affiliate link or go directly to the vendor’s website using a non-affiliate link.
Our simple outdoor dining table is more than just one of our outdoor furniture pieces.
It serves as our outdoor dining room table, an outdoor side table for computer work, and a great place to just hang out with family and good friends.
There’s nothing like dining al fresco in an outdoor space on a beautiful summer day!
Last year, I would sit at the table first thing in the morning with a cup of coffee, online news, and our dog, Bentley at my feet.
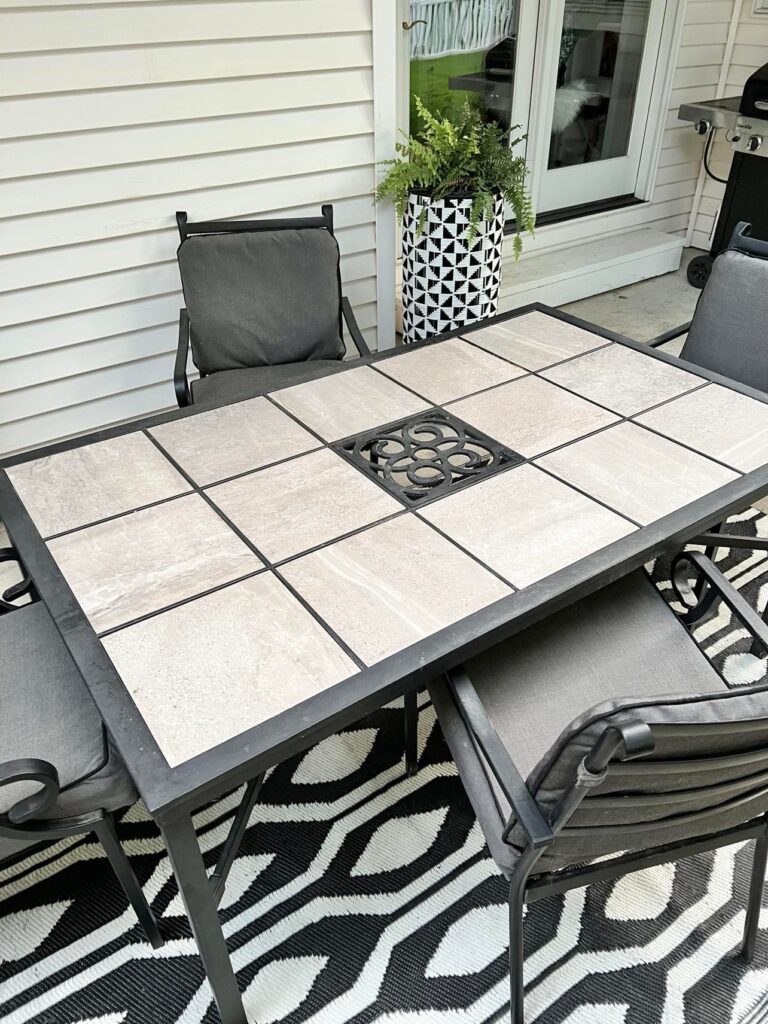
But our patio table was looking a little worse for wear…a little faded and a little dented.
Do you have a table like this?
Good bones but looking shabby?
The shopper in me would have loved to plunk down some cash for a brand-new large table. Whoo hoo!
But the budget-minded me was digging in her heels because she didn’t want to spend the money. (Hello! Newly retired!)
Then, I ran into some blogger luck!
You see, I follow an amazing blogger who I discovered on Instagram. Her name is Liz Morrow and she writes a delightful blog called “Delightfully Tacky.”
She shared a DIY outdoor table idea that stopped me in my tracks.
For in that project was a table…almost exactly like ours!
Grid frame…tiles…almost exact!
A patio table makeover was revealed right before my eyes and I had my new DIY project!
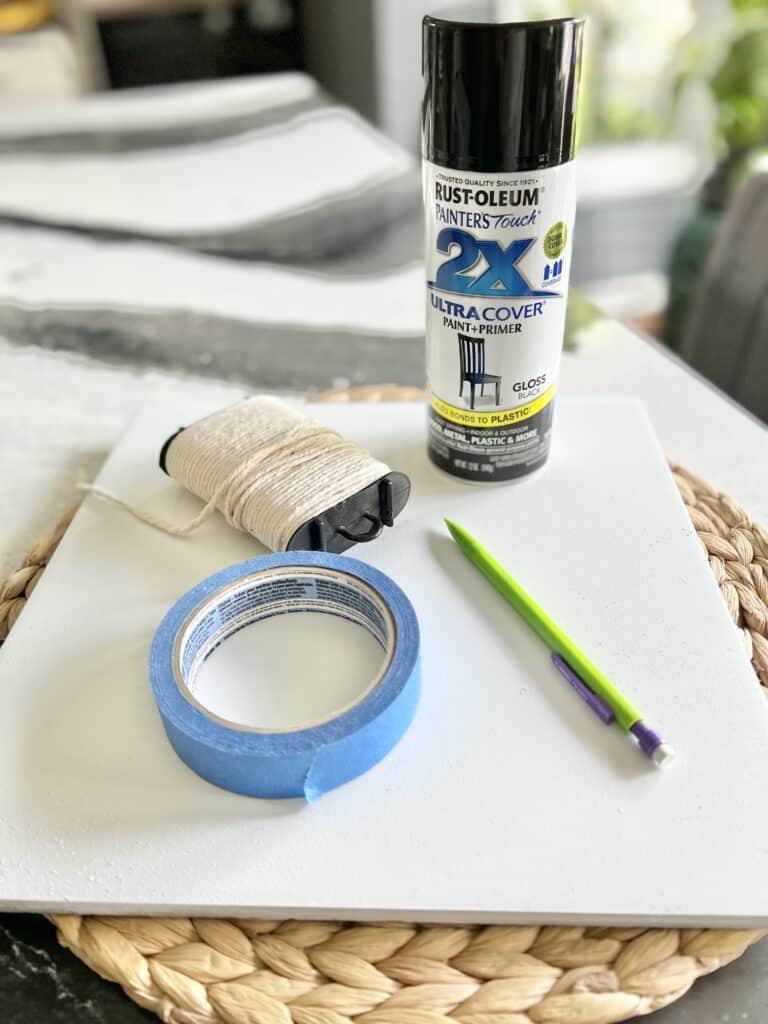
Materials List
Fortunately, I had most of these items at home and just needed a few things from the hardware store.
- Black spray paint
- White spray paint
- Painters tape
- Pencil
- String
- Cardboard
The Patio Table Frame
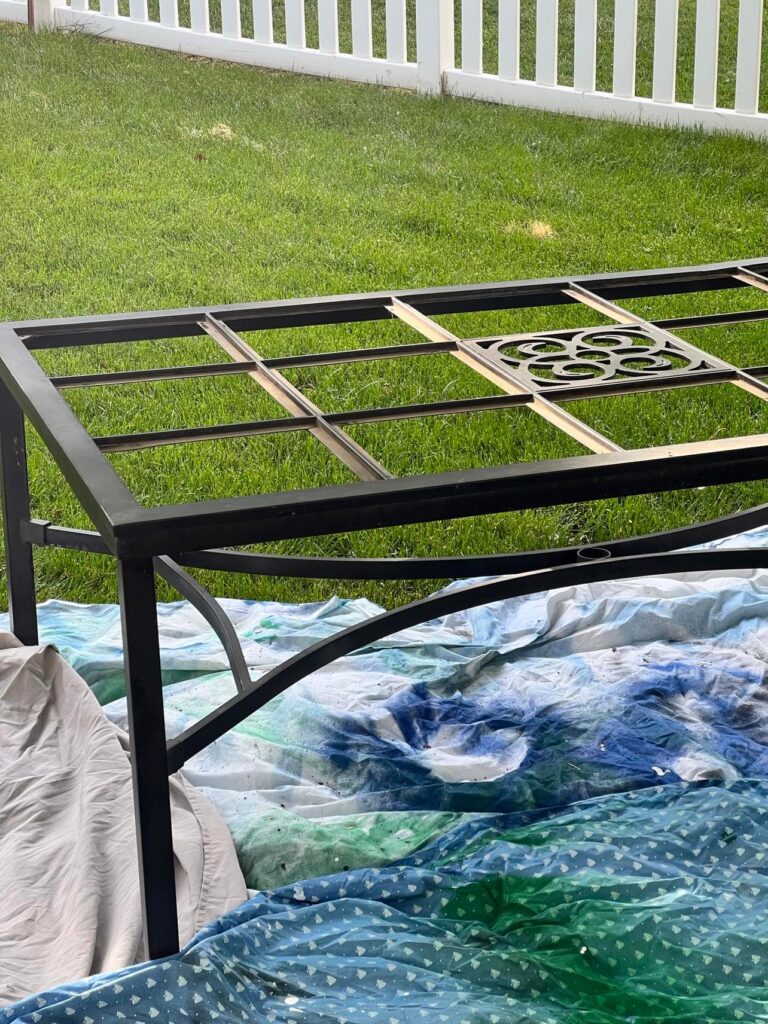
The frame of our table was in pretty good shape and the support pieces were strong. Only a slight wobble with two of the table legs was fixed with a quick tightening of some bolts.
There are a few dents. But this was easily camouflaged with a little bit of Rust-Oleum black spray paint.
Yes, don’t hesitate to refresh your black pieces with black spray paint. The table really looked brand new!
The Patio Table Top
There is a story here…
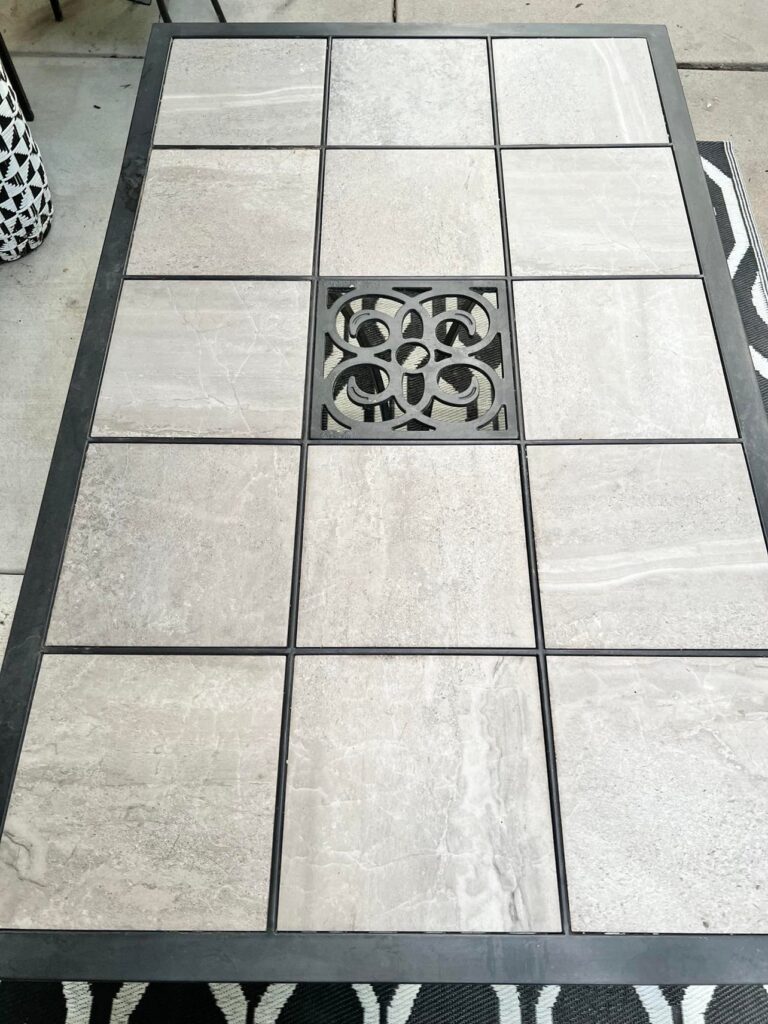
The tiles in our patio table are actually floor tiles.
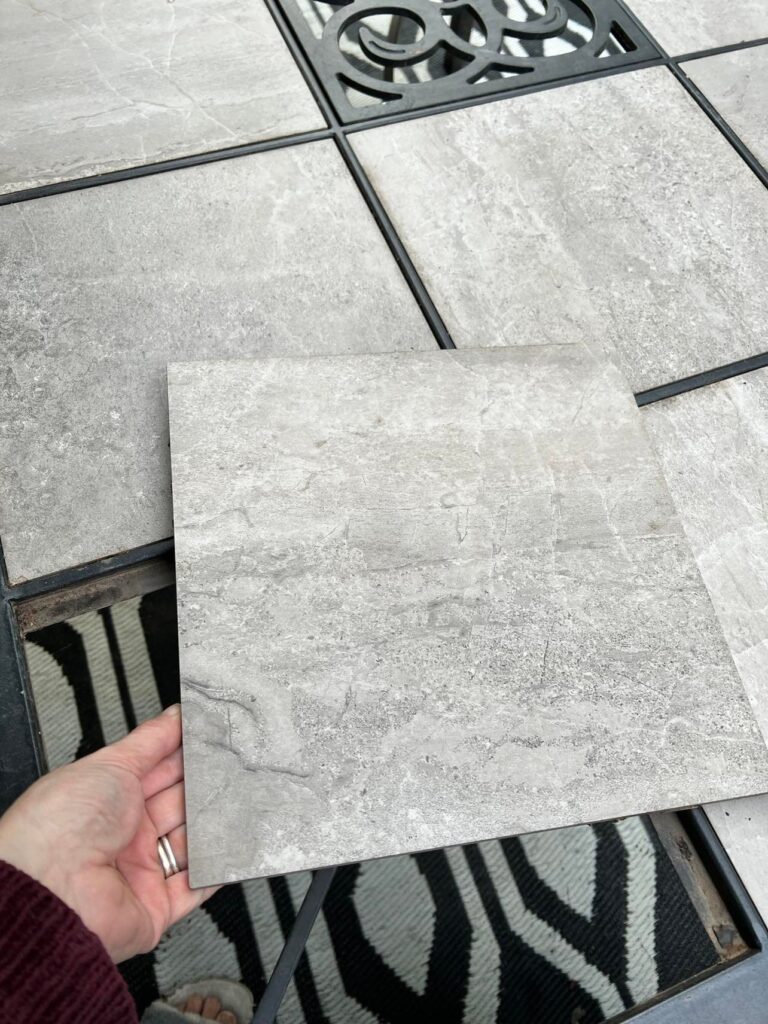
What?
Long story short…the original glass tiles were shattered when our roofer dropped a hammer from…you guessed it…the roof!
In an attempt to salvage the table, I bought floor tiles to replace the shattered mess.
They were fine…but kinda boring!
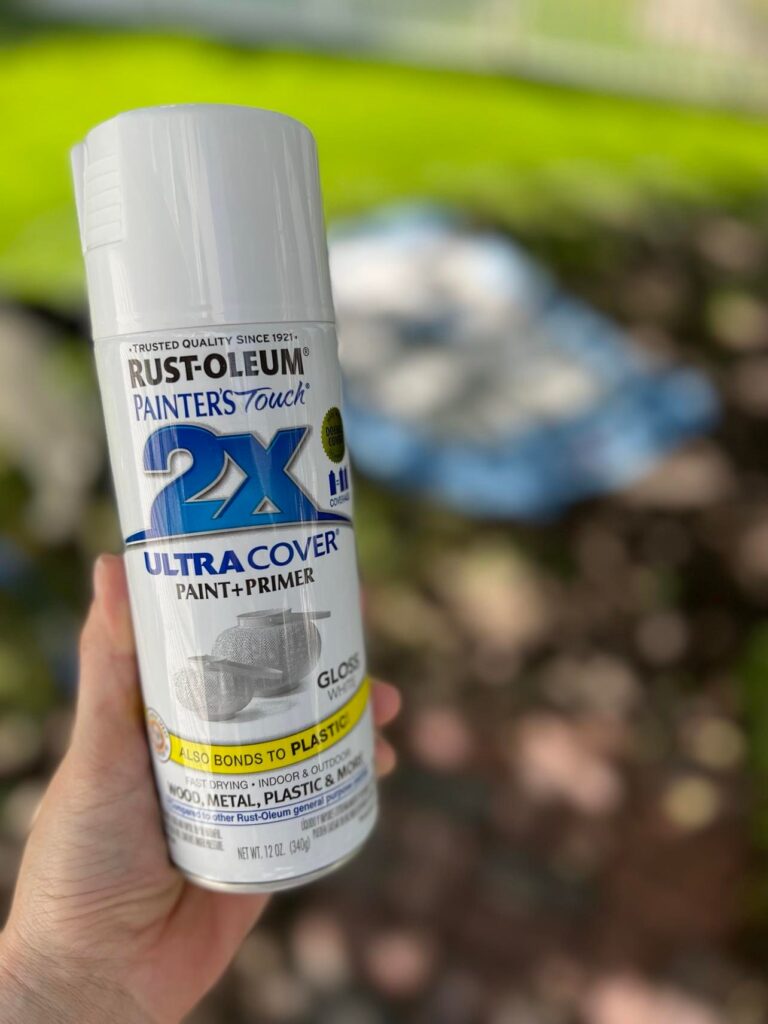
So, the floor tiles that were now table tiles also got the Rust-Oleum treatment…this time in white.
I Knew I Liked Geometry
Algebra and I are not friends. Algebra was mean to me in the 7th grade!
Geometry and I have always been besties!
And I needed to create my “pattern.” So, geometry helped me!
Actually, I just needed a simple arc.
Which, a pencil and some string provided!
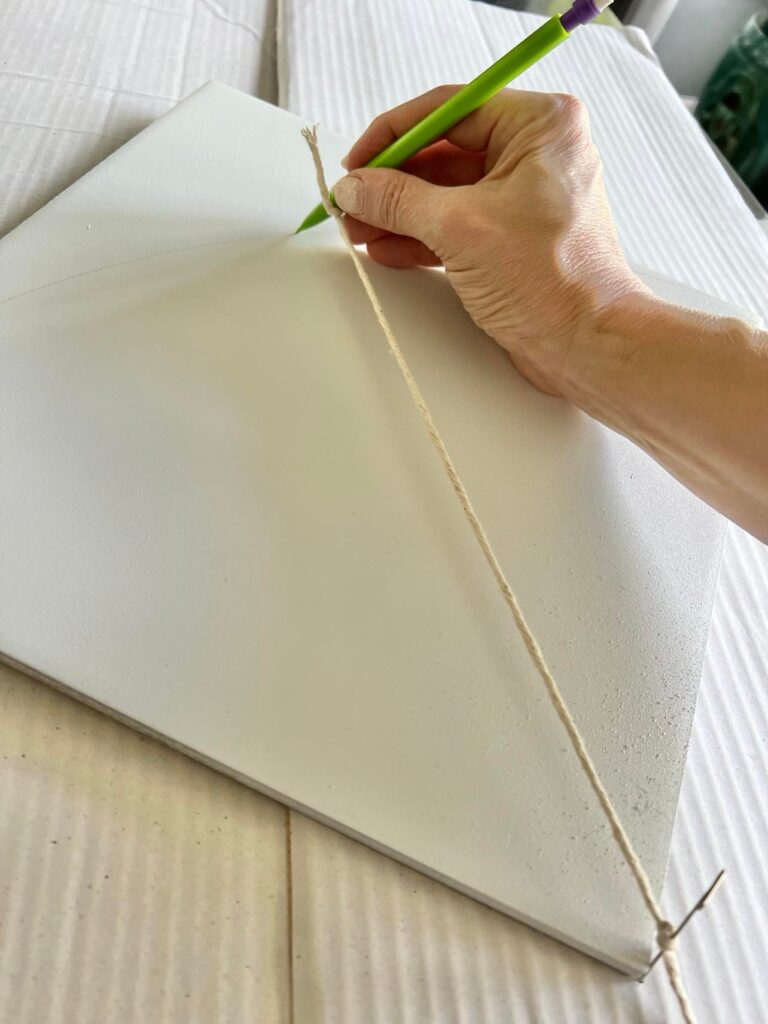
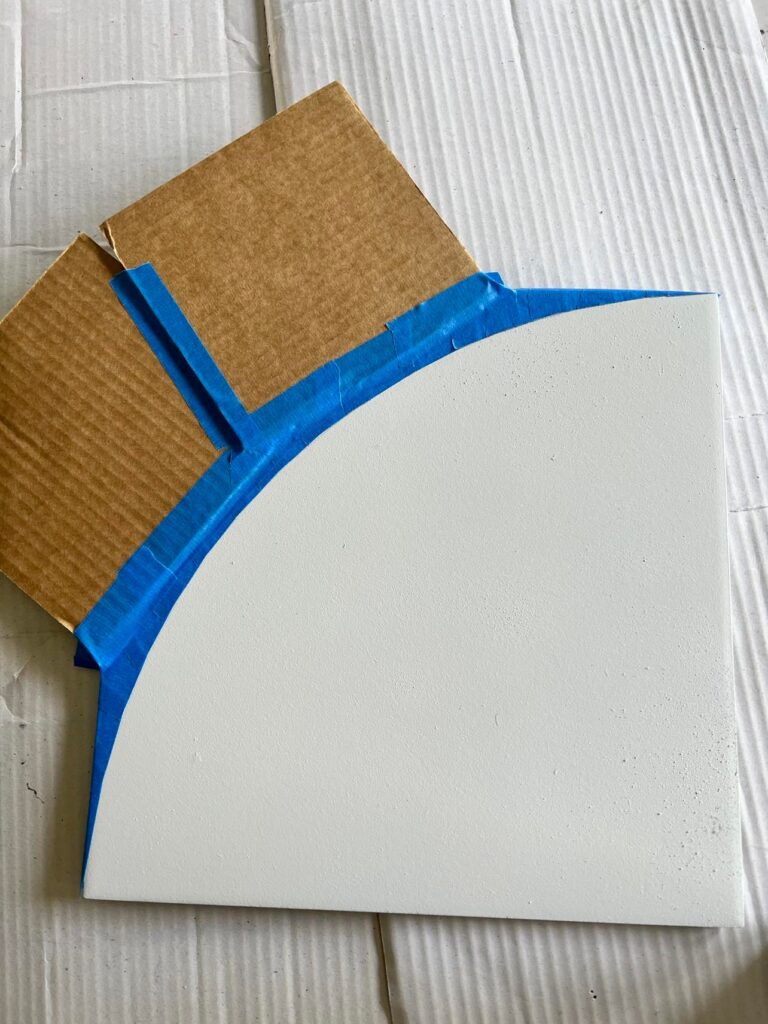
Taping off a curved arc can be done by using lots of smaller pieces of painter’s tape.
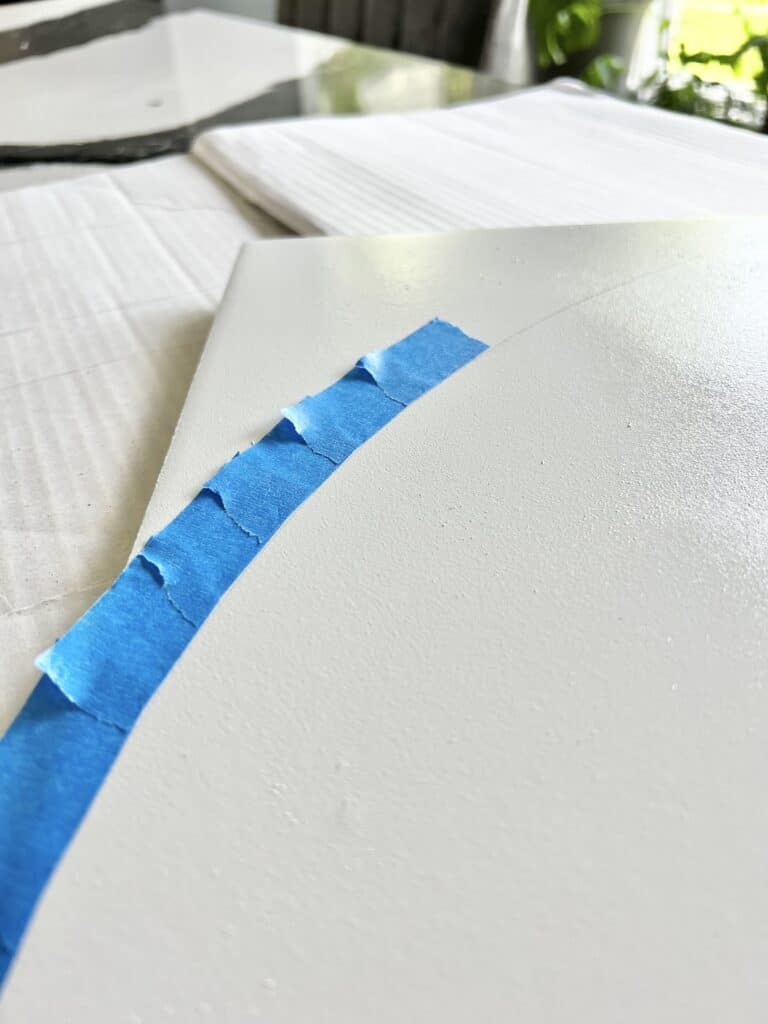
This strange configuration shows how I then taped off the areas of the tile with cardboard. These are areas where I don’t want the tile to get hit with the next layer of paint.
Curious yet as to the pattern?
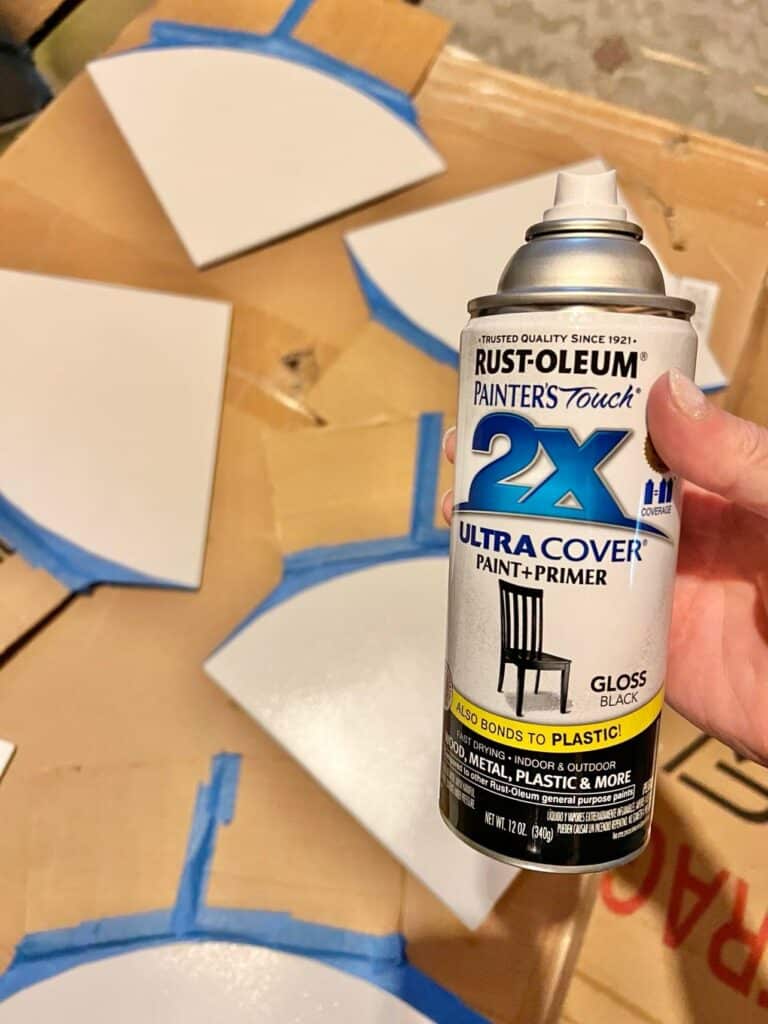
The next step was spray painting the exposed areas on the tile with the same Rust-Oleum black spray paint that was used to paint the table frame.
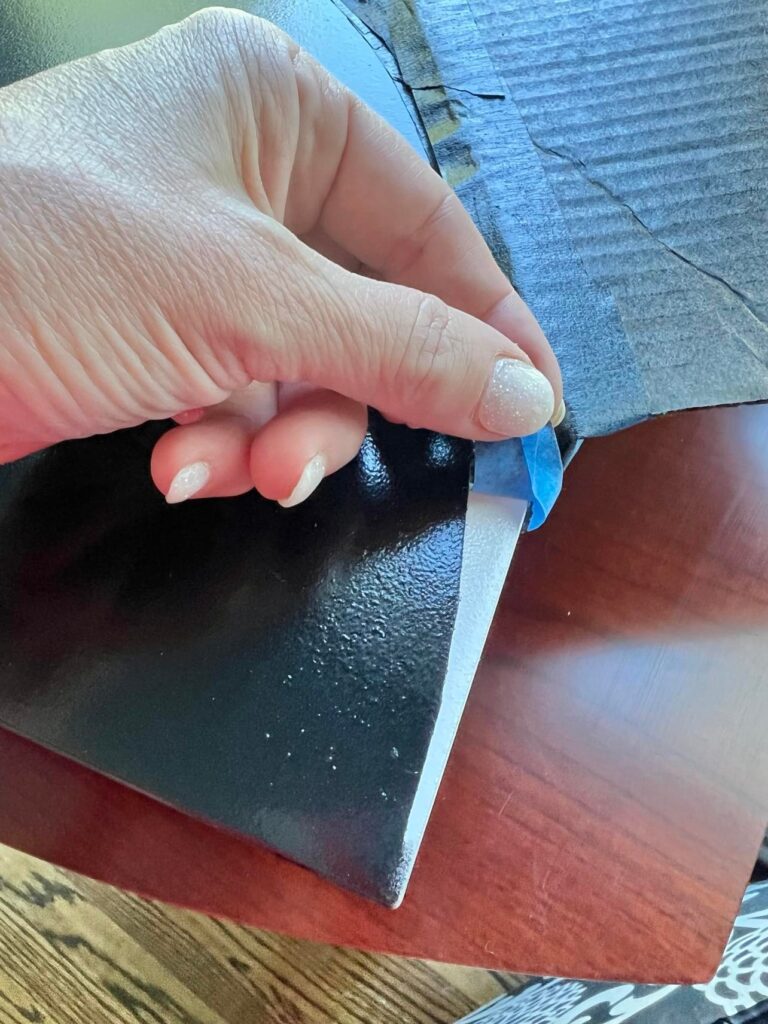
In the final step, after several days of the paint drying and curing, I started to peel away the painter’s tape.
The best way to peel off painter’s tape is to score along the edge with a putty knife and then peel it off. Comes off clean every time!
Such a satisfying sound and feel, don’t you think?
The DIY Patio Table Reveal
Ready for this patio table makeover reveal?
Drumroll, please!
Voila!
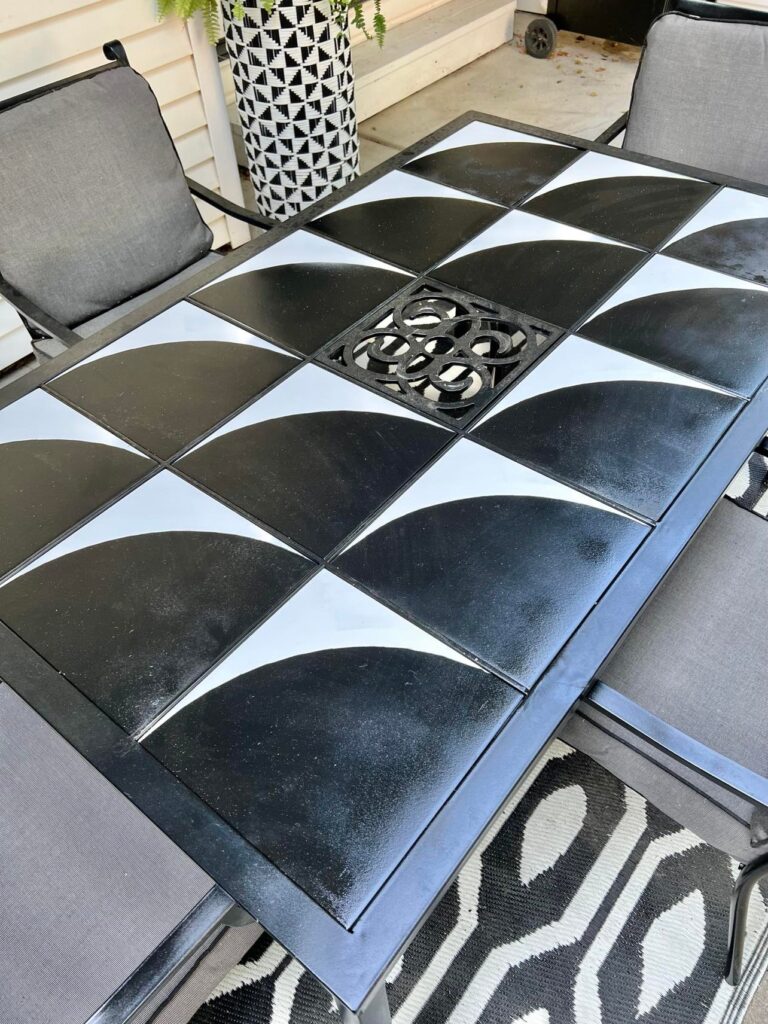
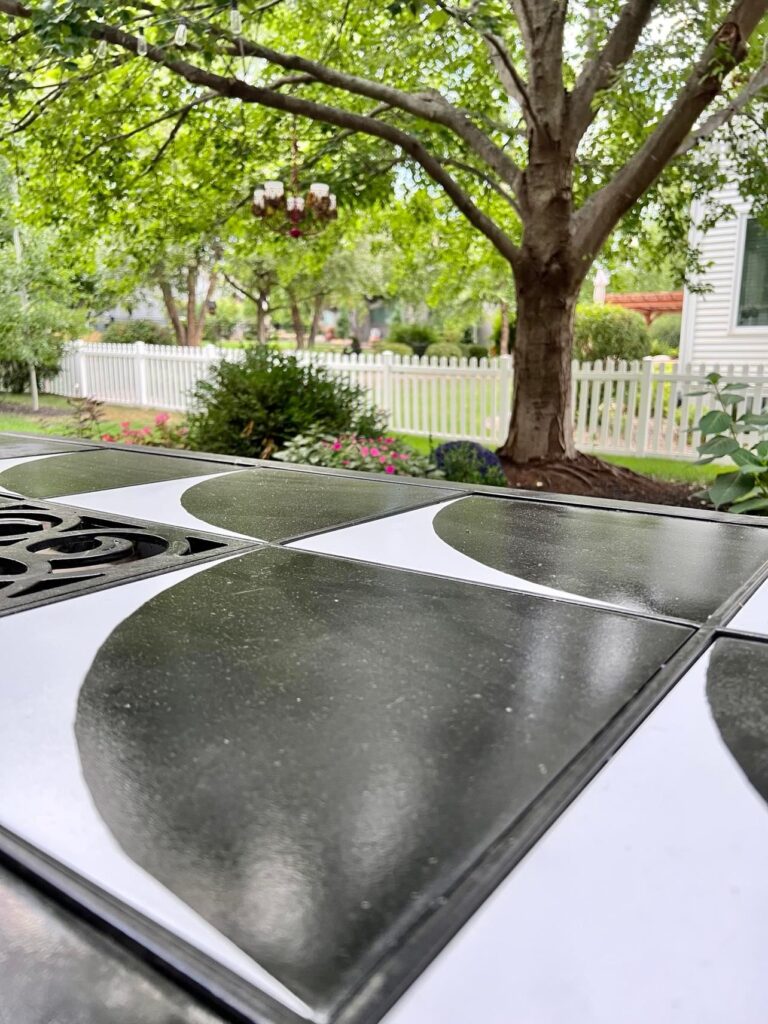
Gleeful joy doesn’t begin to describe how much I LOVE this new gorgeous outdoor table!
Those old floor tiles are now feeling smart, sassy, and COOL!
Just a little tape and spray paint gave this table new life and ready for everyday use.
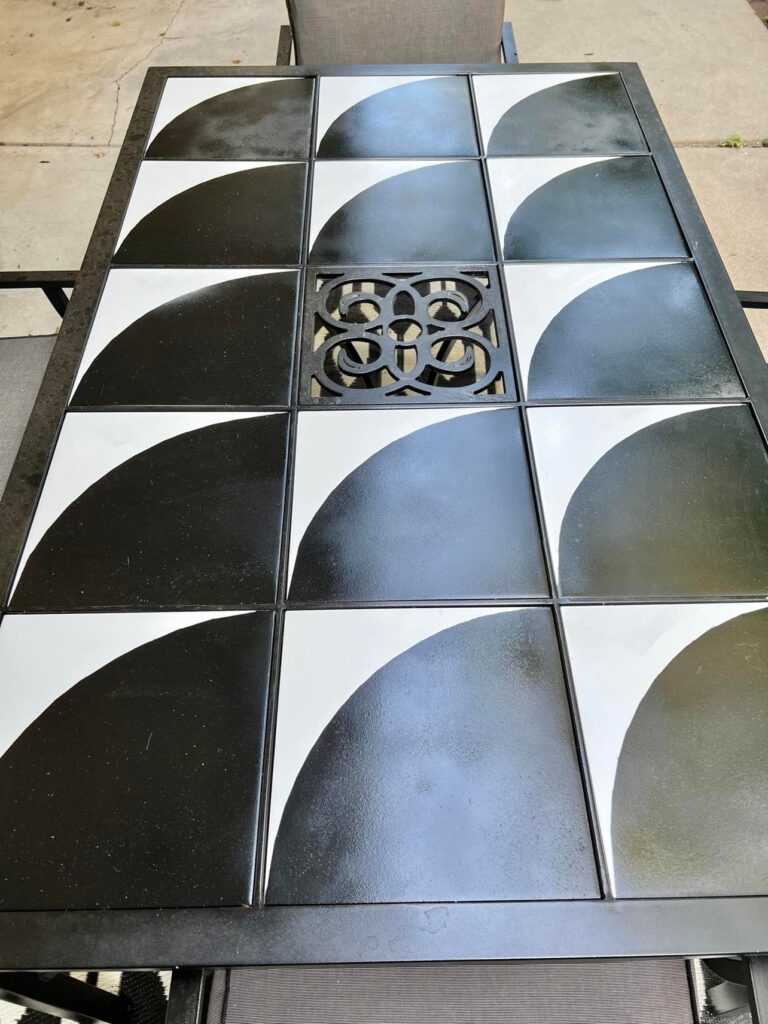
Outdoor Table Ideas
You may not have a table exactly like this. But even without table tiles, you can still turn an old table into a new table with these ideas!
- Give a thrift store find a similar paint treatment in a pattern that you like. Choose appropriate paint for your piece so it is ok for outdoor use.
- Cut out or remove the center of the table and retrofit for an ice bucket or built-in planter.
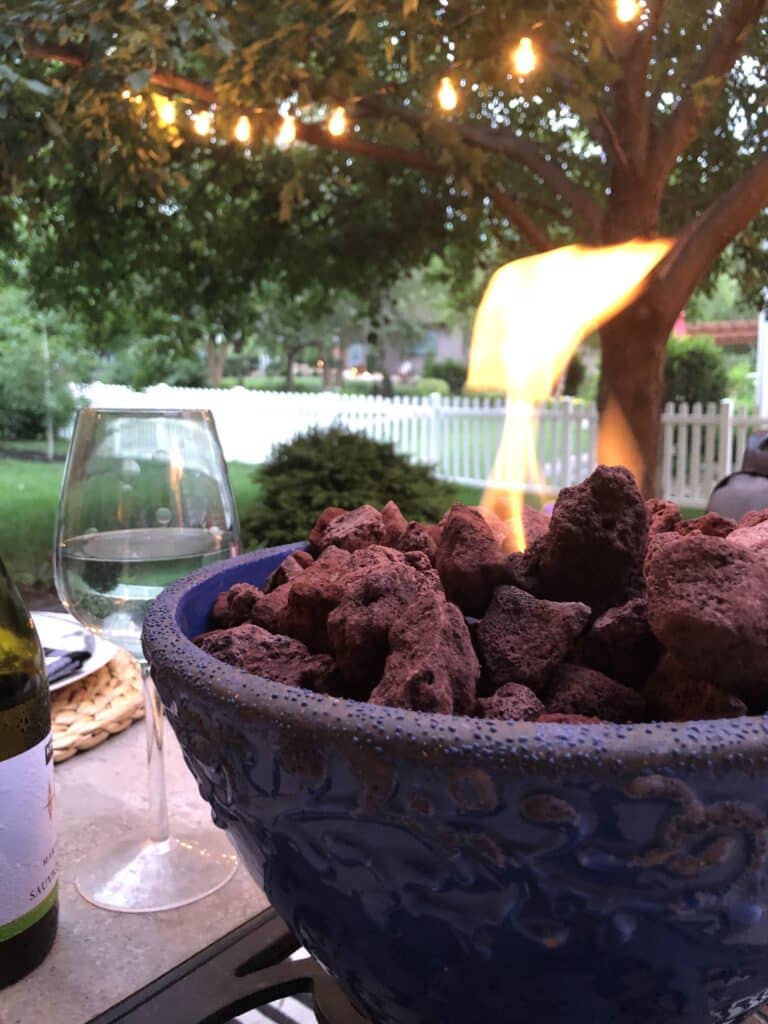
- Create a tabletop fire pit for a great addition to the center of the table.
- Place an outdoor table up against a patio wall and style it as an outdoor bar.
The magic of spray paint is real, my friends!
I find myself just staring at it…actually for quite some time!
Morning coffee, evening dinner, twilight wine…this table is now the best part of our back patio!
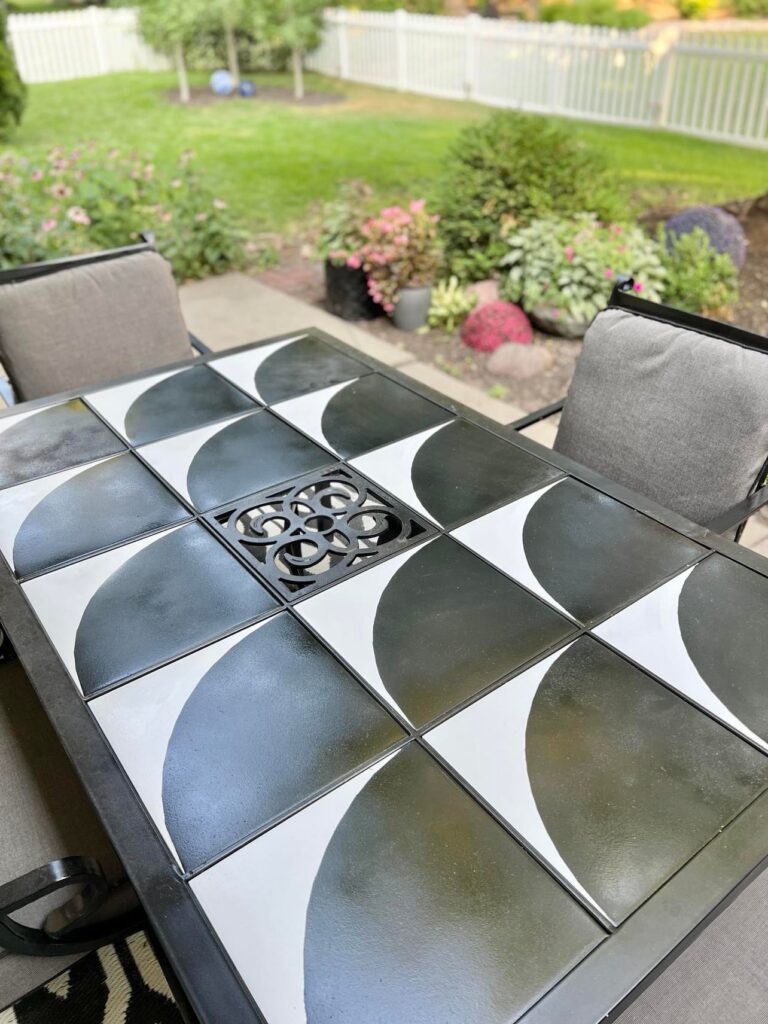
This was a table that had lived a few lives and was looking pretty shabby. We were so close to just ditching it.
Thank goodness we didn’t. We will be enjoying this table for a long time time to come!
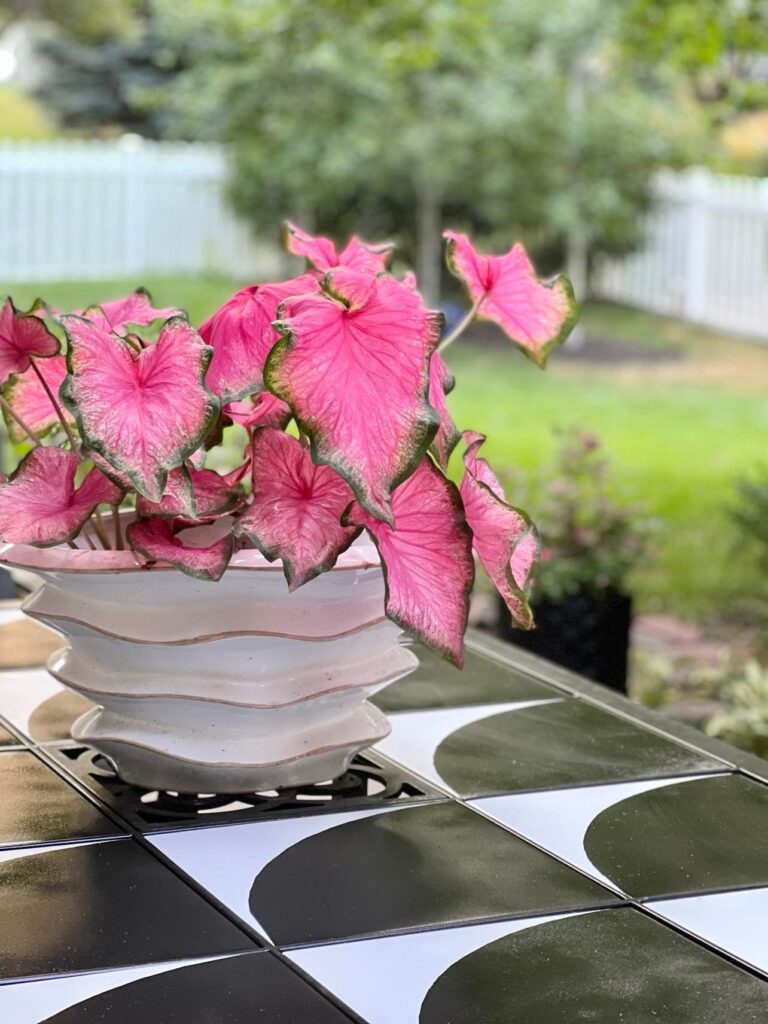
Cheers!

Don’t Forget to Pin It
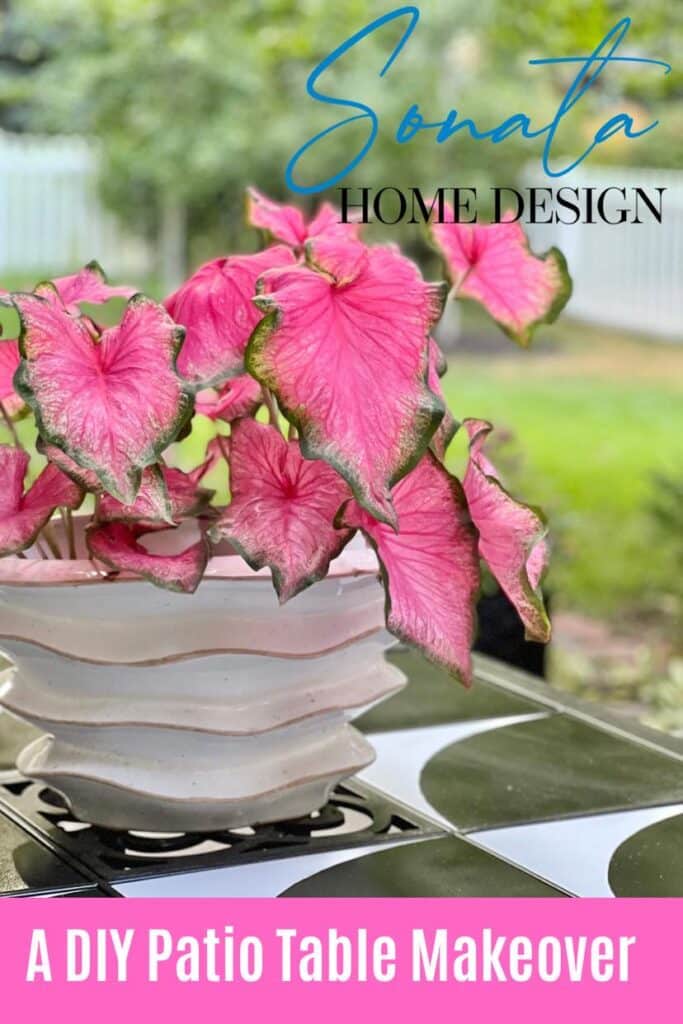
Pin the images in this post to your furniture or DIY boards on Pinterest (just click the Pin button in the top left corner). You can also follow along with me on Pinterest!
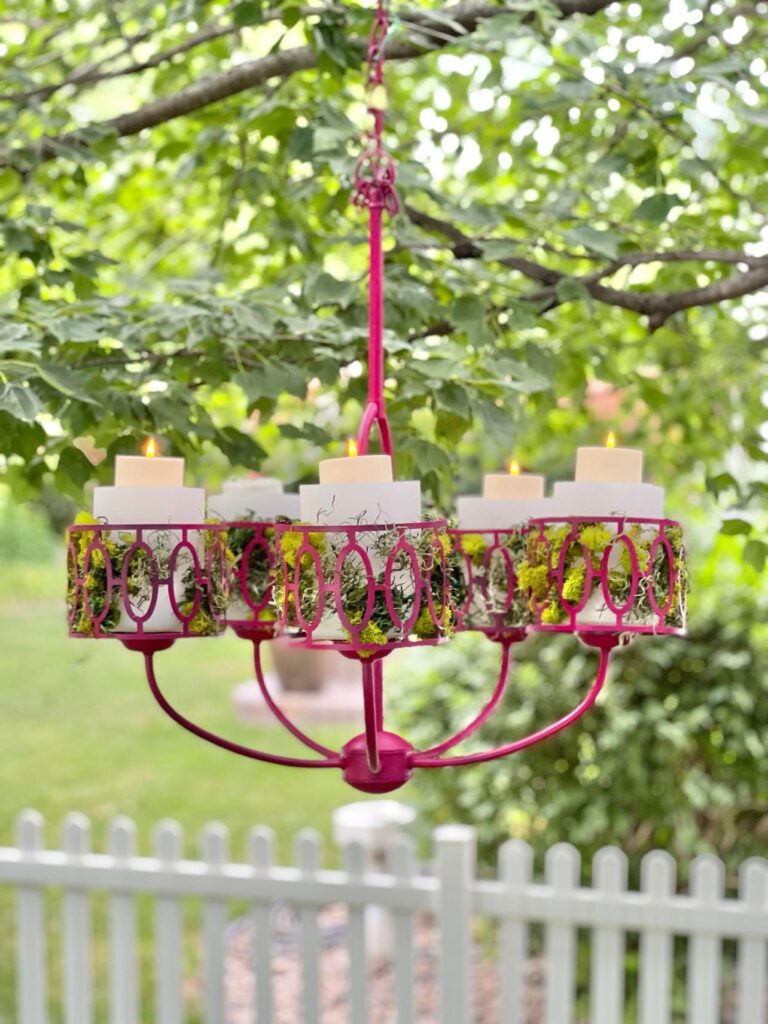
You Might Be Interested In These Outdoor Projects
A Tabletop Fire Pit in 3 Easy Steps
My Outdoor Favorite Finds
=”4814790″][show_shopthepost_w
idget id=”4814791″][show_shopthepost_widg
et id=”4814793″]


Missy, your table turned out beautiful!
Thank you so much, Tammy! I really appreciate that!
This is such an amazing makeover Missy. I love the pop it gives your table.
Thanks for linking up.
Thanks, Wendy! Always glad to link up! So happy that you are part of this!
Great Ideas!