

I Turned 4 IKEA Bowls Into This DIY Side Table (Hidden Storage!)
This DIY IKEA bowl side table hack is one of those projects that stops people in their tracks and makes you ask where you got it. Spoiler: the salad aisle…sort of!

This blog contains affiliate links. This means a small commission is earned if you make a purchase by using this link. The price you pay will be the same whether you use the affiliate link or go directly to the vendor’s website using a non-affiliate link. As an Amazon Influencer, I earn from qualifying purchases.
When I spotted the IKEA BLANDA MATT salad bowls online, I knew exactly what I was going to do with them. Stack them, glue them, and turn them into a sculptural side table that looks like it came from a boutique home decor shop.
I ordered four of them (no IKEA near me, but that’s what the internet is for), cleared off my work table, and got started!

Key Notes
- This DIY IKEA hack side table uses four BLANDA MATT salad bowls and a wood round.
- The top bowl doubles as a hidden storage compartment.
- Total hands-on time is about an hour; cure time is 24 hours.
- Choose to glue the wood round down for a permanent finish, or leave it loose to access the storage below.
What You’ll Need
- 4 IKEA BLANDA MATT salad bowls (11″ diameter)
- Wood round or lazy Susan
- E6000 adhesive glue
- Rubbing alcohol
- Optional: painter’s tape.
I’ll be honest with you about the cost. The BLANDA MATT bowls are a little more than I usually spend on a DIY project like this. But once you see the finished table, I think you’ll agree it was worth every penny.

Missy’s Note
Bowl selection matters here. The BLANDA MATT bowls from IKEA work so well for this project because of their shape and the way the rims sit flush when pressed together.
Prep the Bowls
Peel off every sticker. Then wipe each bowl down with rubbing alcohol to remove any residue left behind.
You might be tempted to skip this step. But don’t! Any grease or residue on the surface will interfere with the adhesive bond. A weak bond means a wobbly table.
Trust me, take the 5 minutes!

Build the Ball
This is my favorite part of the whole project. Yes, I am calling it a bowl ball!
Apply E6000 glue all the way around the rim of your first bowl. All the way! No gaps and no skipped sections.
Then take your second bowl, flip it upside down, and press it firmly onto the glued rim.
If you have any fear that the bowls will slip while drying, secure the two bowls with painter’s tape to hold the pressure while the glue sets.
This is the moment to make any small adjustments. Because once it cures, that’s the shape you’ve got!


Attach the Base
Now it’s time for the third salad bowl. Take this bowl and flip it upside down. This is going to be the “pedestal” base of your table.
Apply E6000 in a circle on the bottom of the bowl. Then take your ball and press it on top.

Hold it in place for a minute or two and then check for level. You want this to cure fully so the table doesn’t ever wobble. I left mine to cure overnight to be safe. 24 hours is ideal before you move it or add any weight.
Add the Top
Three bowls done and one to go!
Apply glue to the top of the bowl ball and press your fourth bowl on right-side-up. Press firmly, let it cure, and try not to peek for 24 hours.
Almost there!
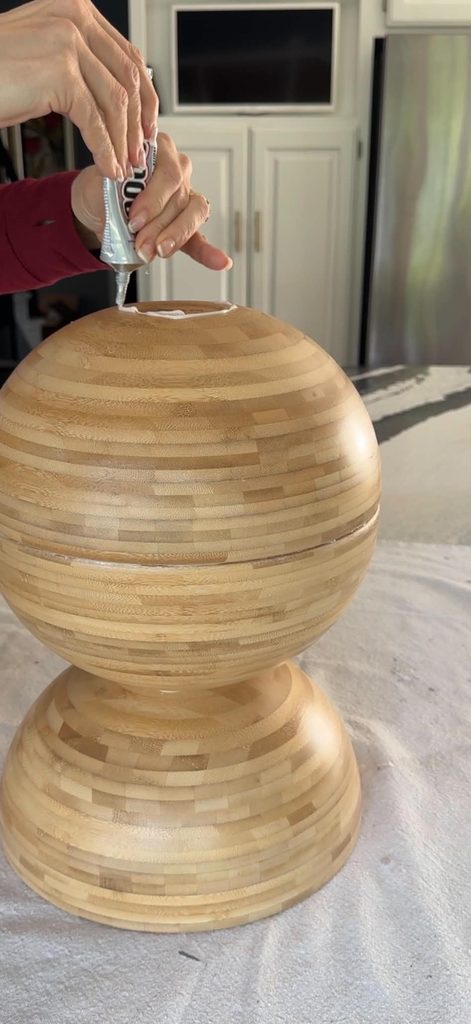

The Table Top – To Glue or Not to Glue?
Here’s where you get to decide how this table lives in your home!
Option A: Glue the wood round to the top of the table. Clean, permanent, polished. The top of the table looks intentional and finished. This is a great way to go if you want a more traditional side table look.

Option B: Leave the wood round unglued and just set it on top. Because here’s the best part of this whole project…that top bowl is a hidden storage compartment. Lift the wood round off, and you’ve got a perfectly sized bowl just waiting to hold things!

Missy’s Note
I went with option B. No hesitation! I store coasters, playing cards, the TV remote, and my reading glasses in mine. All the little things that migrate around the living room and never have a home. Now they do. Nobody knows they’re in there!
More Decor Hacks Worth Your Time
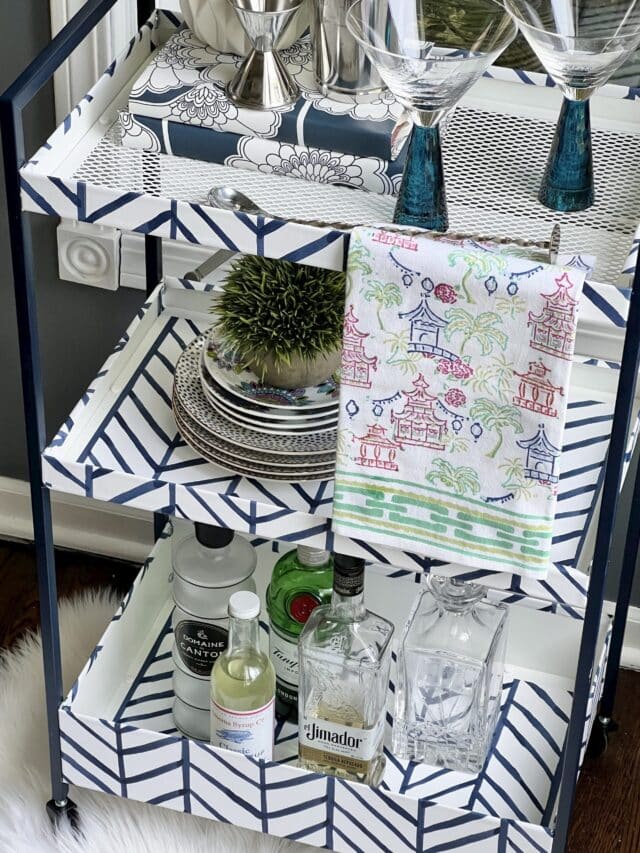
IKEA BAR CART HACK

Lampshade Side Table Hack

Designer grid mirror hack
Styling the Finished Table
This is a gorgeous piece! One of the things I love most about it is how well it plays with different ways of decorating.
The clean lines work in just about any room. Minimalist spaces, boho rooms, more traditional settings…this table will hold its own in all of them!

It works as a side table, obviously, but it would also be beautiful as one of a pair of bedside tables. Or even as a pedestal next to a sofa or armchair in place of end tables.
In my own home, surrounded by bold color and pattern, the table’s minimalist look is actually what makes it stand out.
It doesn’t compete with the room. It just sits there quietly…being quietly stunning!
Style the top of the table with a small plant, a candle, or a stack of coasters. Keep it simple. The table itself is doing plenty of work.
One Last Bowl
IKEA hacks have a well-earned reputation for being clever. But this one might be my favorite. Four salad bowls from IKEA became a side table with hidden storage. Who would have thought?

If you make one, I want to see it! Tag me or drop a photo in the comments. This is one of those projects that looks wildly impressive and is far more doable than it appears!
Cheers!

A Little About Me
Hi! I’m missy. So happy to meet you!
“Decorate with Joy! Live with Happiness”
I truly believe that your home should be a reflection of your personality, a space where you feel free to express yourself and create a sanctuary that feels uniquely yours.
I love creating mood boards, hunting down unique home décor treasures, tackling easy DIY projects, and gathering with family and friends. Homes are meant to be enjoyed, filled with laughter, and shared with the people you love!
– cheers –

Don’t Forget to Pin It!
Pin the image below to your boards on Pinterest (just click the Pin button in the top left corner). You can also follow along with me on Pinterest!




Finishing Touches Worth Having


This is such a clever hack! The finished table looks like high-end designer furniture, and the hidden storage inside is pure genius. Definitely trying this next weekend.
This is such a clever hack! I never would have guessed those were salad bowls, and having hidden storage inside makes it even better. Definitely trying this for my living room.
Stunning…really one ofthe best makeovers I’ve seen. I’m not a contemporary person, but I love the clean lines and textured wood tones which are timeless…great job! now patent it..lol.