

Decorating Throw Pillows with Yarn: A Woven Plaid Fall Makeover
Decorating throw pillows doesn’t have to mean buying a new one. With a needle and a few colors of yarn, you can turn any old pillow into a cozy woven plaid for fall.

This blog contains affiliate links. This means a small commission is earned if you make a purchase by using this link. The price you pay will be the same whether you use the affiliate link or go directly to the vendor’s website using a non-affiliate link. As an Amazon Influencer, I earn from qualifying purchases.
A Pillow Refresh with Yarn
Choosing pillows is the fun part of styling a room.
New pillows! New styles! A coffee and a shopping trip!
But sometimes the best pillow is the one you already own, and it just needs a little help.
Mine was a large lumbar pillow with leather lacing covering the entire front.
Fully-on fringe, wonderfully dramatic…until it started falling out.
Large bald spots appeared…on a pillow!

I didn’t know that was even possible!
The pillow itself was in great shape, though. I hated to get rid of it.
So I didn’t! Check out this throw pillow makeover!
What You’ll Need
- A throw pillow with a cover you don’t mind stitching into. (Mine is a large lumbar pillow.)
- Yarn in colors of your choice. One skein in each color is more than enough.
- Upholstery needle with a large head
- Scissors
- Fray Check
- Chalk (optional, for pillows with no obvious weave to follow)
- Seam ripper (optional, for removing trim)
- Link roller (optional, for prepping the surface)


Prep the Pillow
Before any yarn comes out, your pillow needs a clean surface. That means no loose thread, no fringe, and no embellishments in the way of your stitches.
Snip off any trim, tassels, buttons, or stray threads that you don’t want. Cut as close to the fabric as you can.
If your cover is removable and washable, give it a wash first, so you’re not weaving yarn into last year’s dust!
My pillow was a special case. All that leather lacing had to go.
So I plucked my pillow, one strand at a time!
I remember watching my grandma pluck a chicken when I was seven. I’ll be honest…it kind of freaked me out at the time.
A pillow is much less traumatic!

Once the surface is smooth, give it a quick pass with a lint roller. Now you’re ready to plan your plaid!
Pick Your Color Palette
With a bare pillow, I needed a plan.
I’m not known for my seamstress skills. My stitching falls somewhere between “enthusiastic” and “optimistic!”
So straight lines seemed like my best route. And what’s my favorite pattern made entirely of straight lines? PLAID!
For my color palette, I chose burnt orange, goldenrod yellow, deep sea blue, and olive green. They’re the colors of fall. Warm, vibrant, and they play so well together!

Stitch the Vertical Lines
Thread your upholstery needle and stitch all of the vertical lines first.
On my lumbar pillow, that meant running them up and down across the short width of the pillow.
Alternate your colors and vary the spacing. Every so often, I stitched two lines of the same color side by side for extra depth. At the beginning and end of each stitch line, tie a knot.

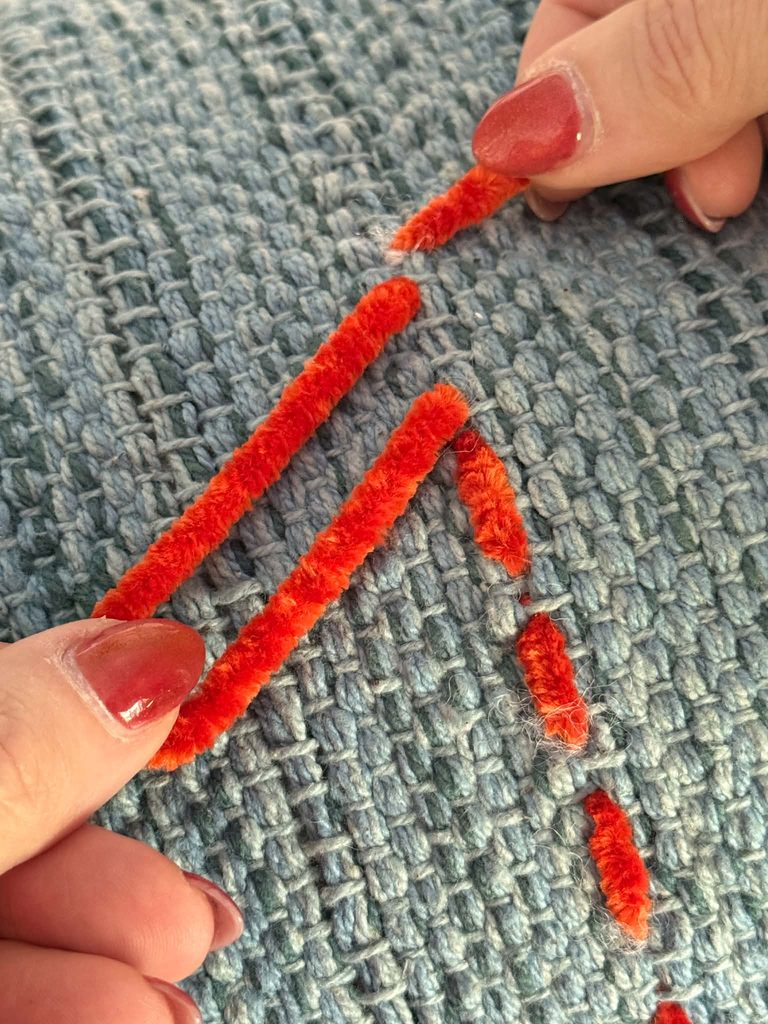
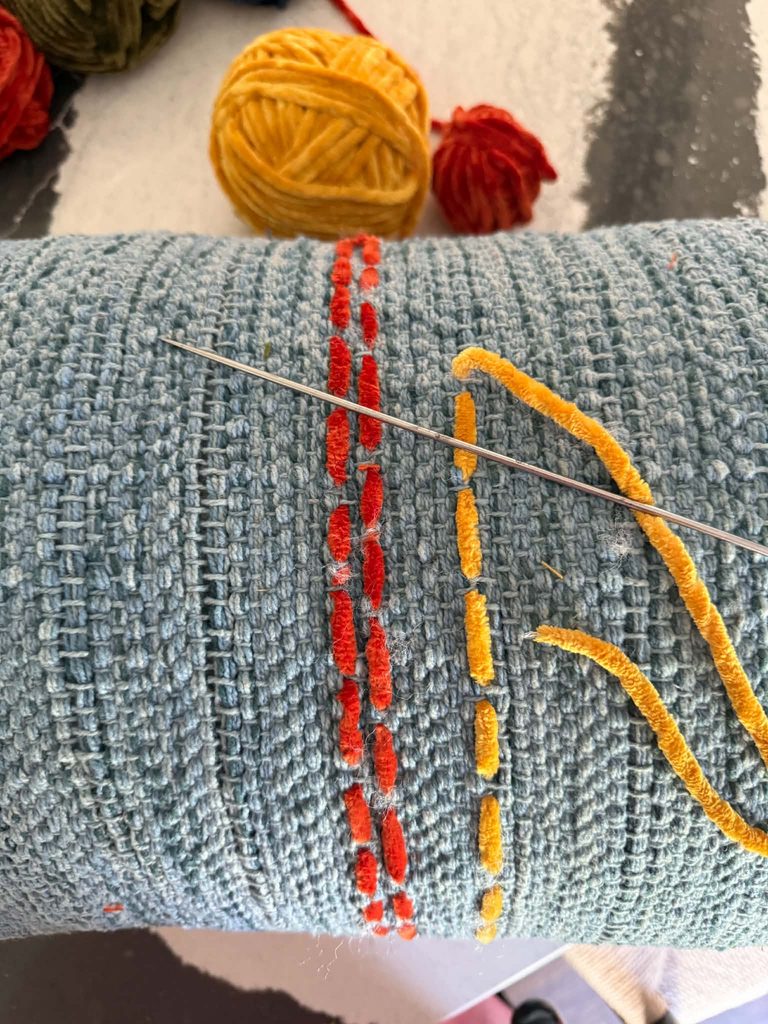
If you are an “I need a detailed plan!” type of person, lay out strands of the yarn so you know the order you want.
Or you can be like me and “wing it!” (It’s fun to live on the edge!)

My pillow had a strong weave. So I simply followed the vertical lines in the fabric to keep each line straight. But pillows curve, so keep an eye on your stitches as you go.
If your pillow has no weave to follow, draw straight lines with chalk first. Once your stitches are in, rub the chalk right off.

Honestly, I almost stopped here with the project. I love the pillow with only stripes. But “plaid” was calling my name…
Missy’s Notes
If you want to be able to remove the cover from your pillow, don’t stitch into the pillow itself. I knew my cover was staying put, so I caught a little of the actual pillow with my needle here and there. No worries on my part!
Weave the Horizontal Lines
Next, stitch the horizontal lines, weaving your yarn over and under the vertical ones.
That over-and-under is what creates the overlapping plaid.
It’s also oddly relaxing! Put on a podcast or a show you’ve already seen four times!


Once all the lines are stitched, check that all the knots are tight and snip off the excess.
A little Fray Check on each knot keeps it from unraveling later. Future you will be grateful!

Missy’s Notes
I chose chenille yarn because I love the touch, feel, and warmth of it. Would I choose it again? Absolutely! Would I recommend it as your first choice of yarn? Probably not. Chenille sheds while you work, and threading an upholstery needle with it is a little tricky. I don’t regret it for a second, but a smoother yarn will be kind to you!
Cozy Fall Pumpkin Projects
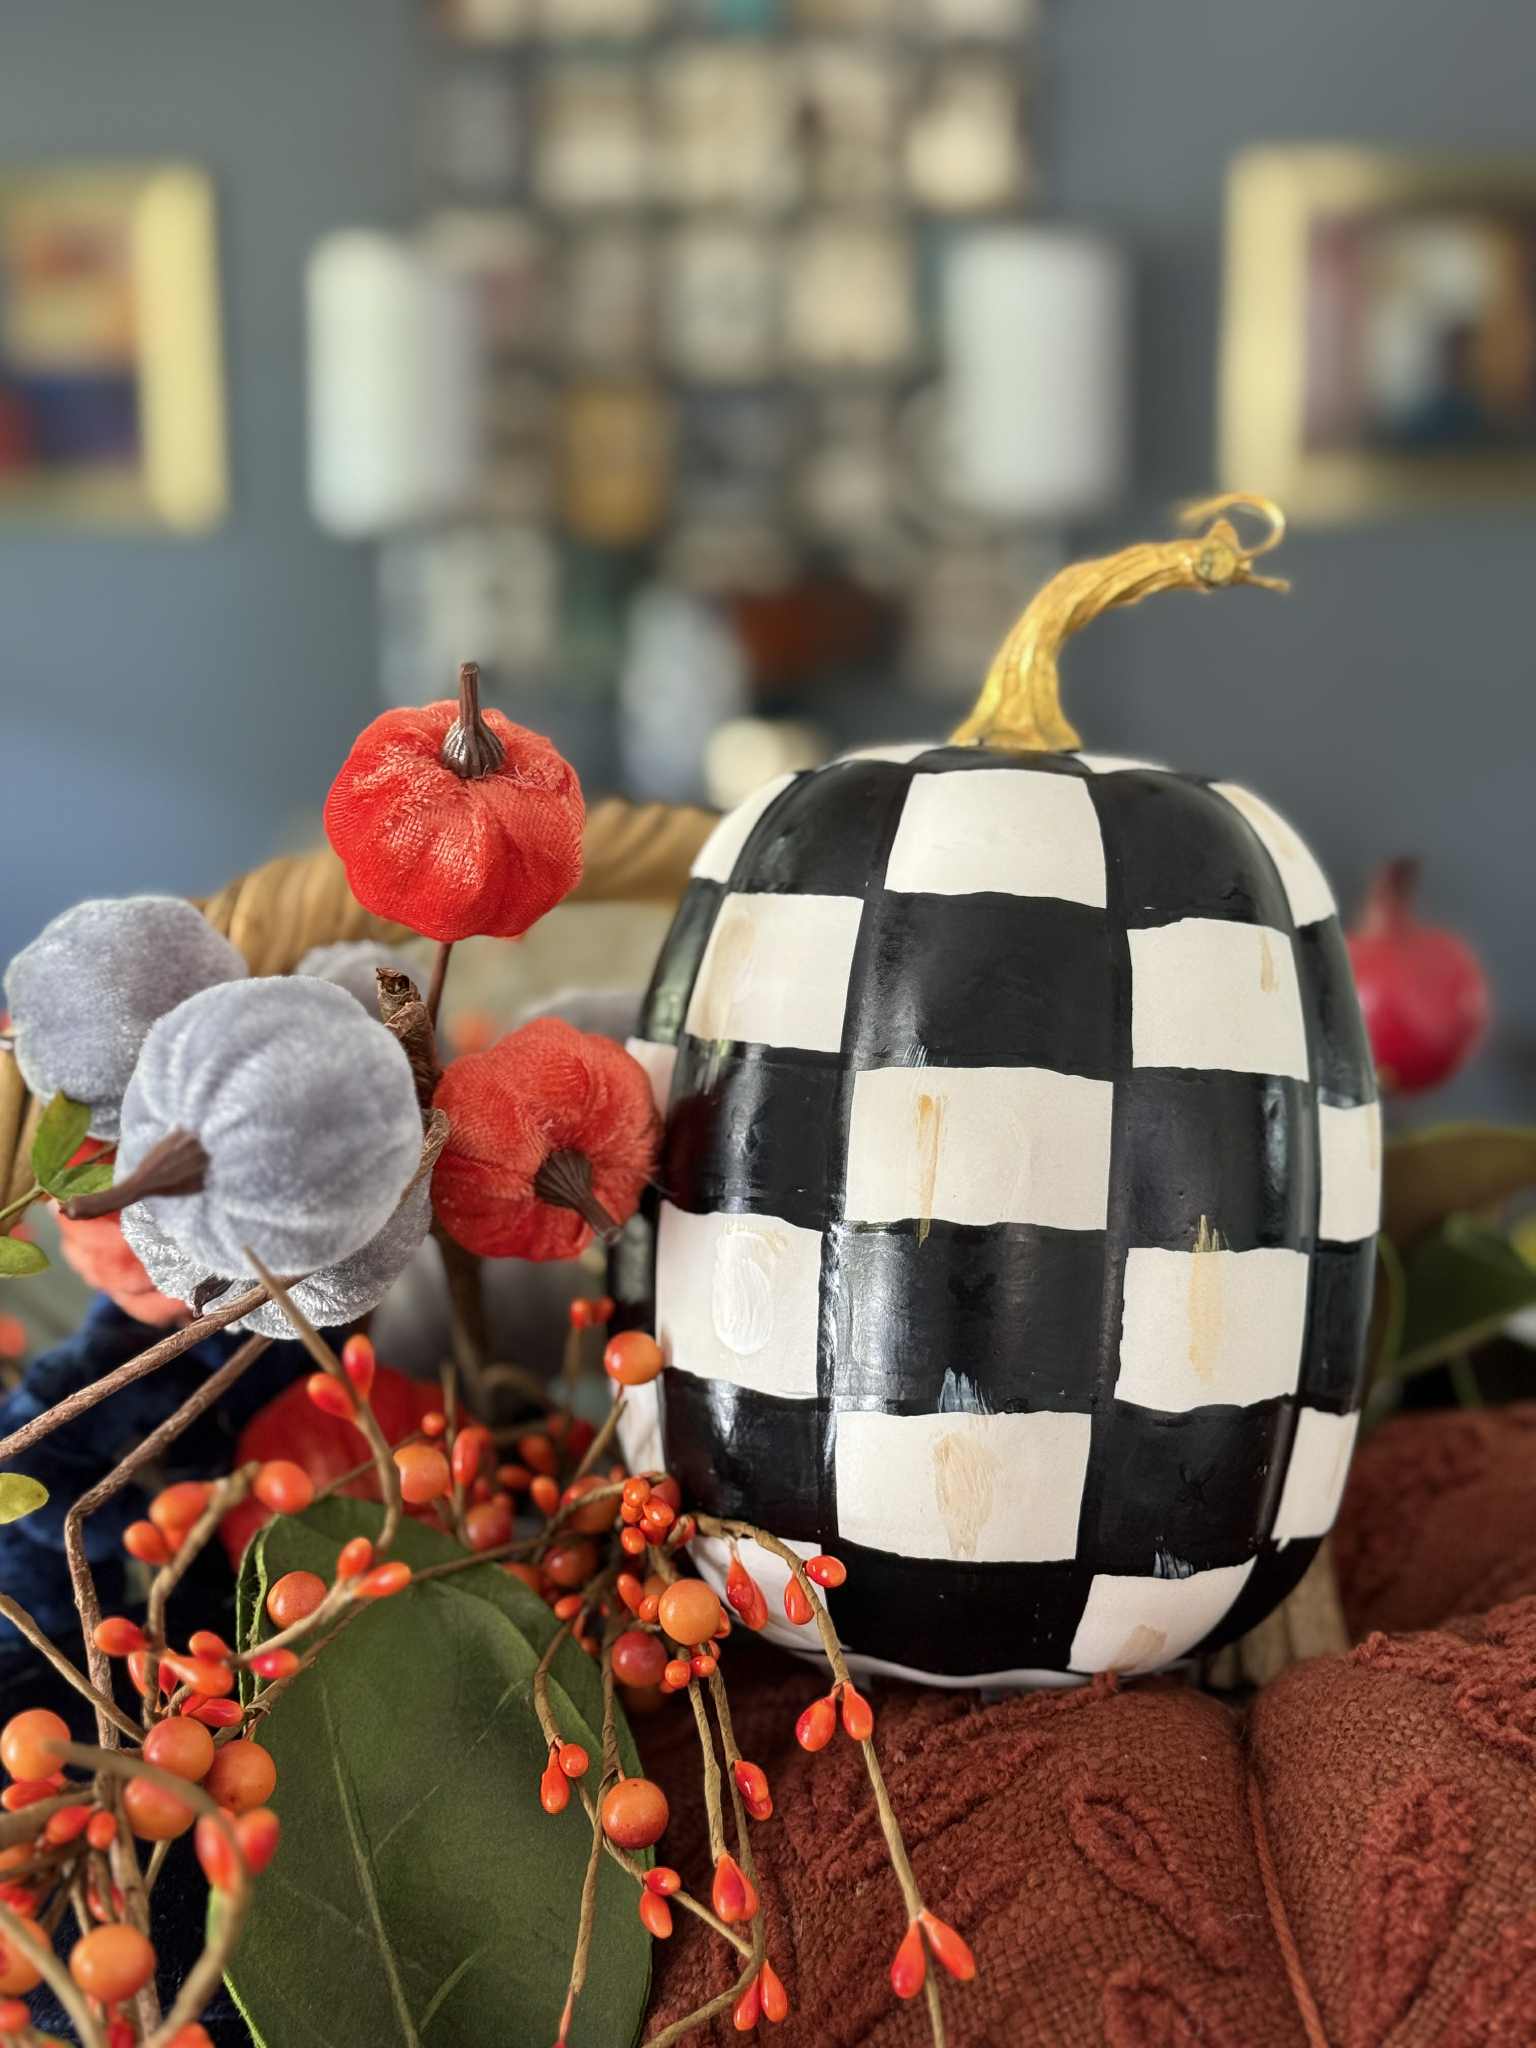
Checkerboard Pumpkin DIY

DIY Pumpkin kissing Ball
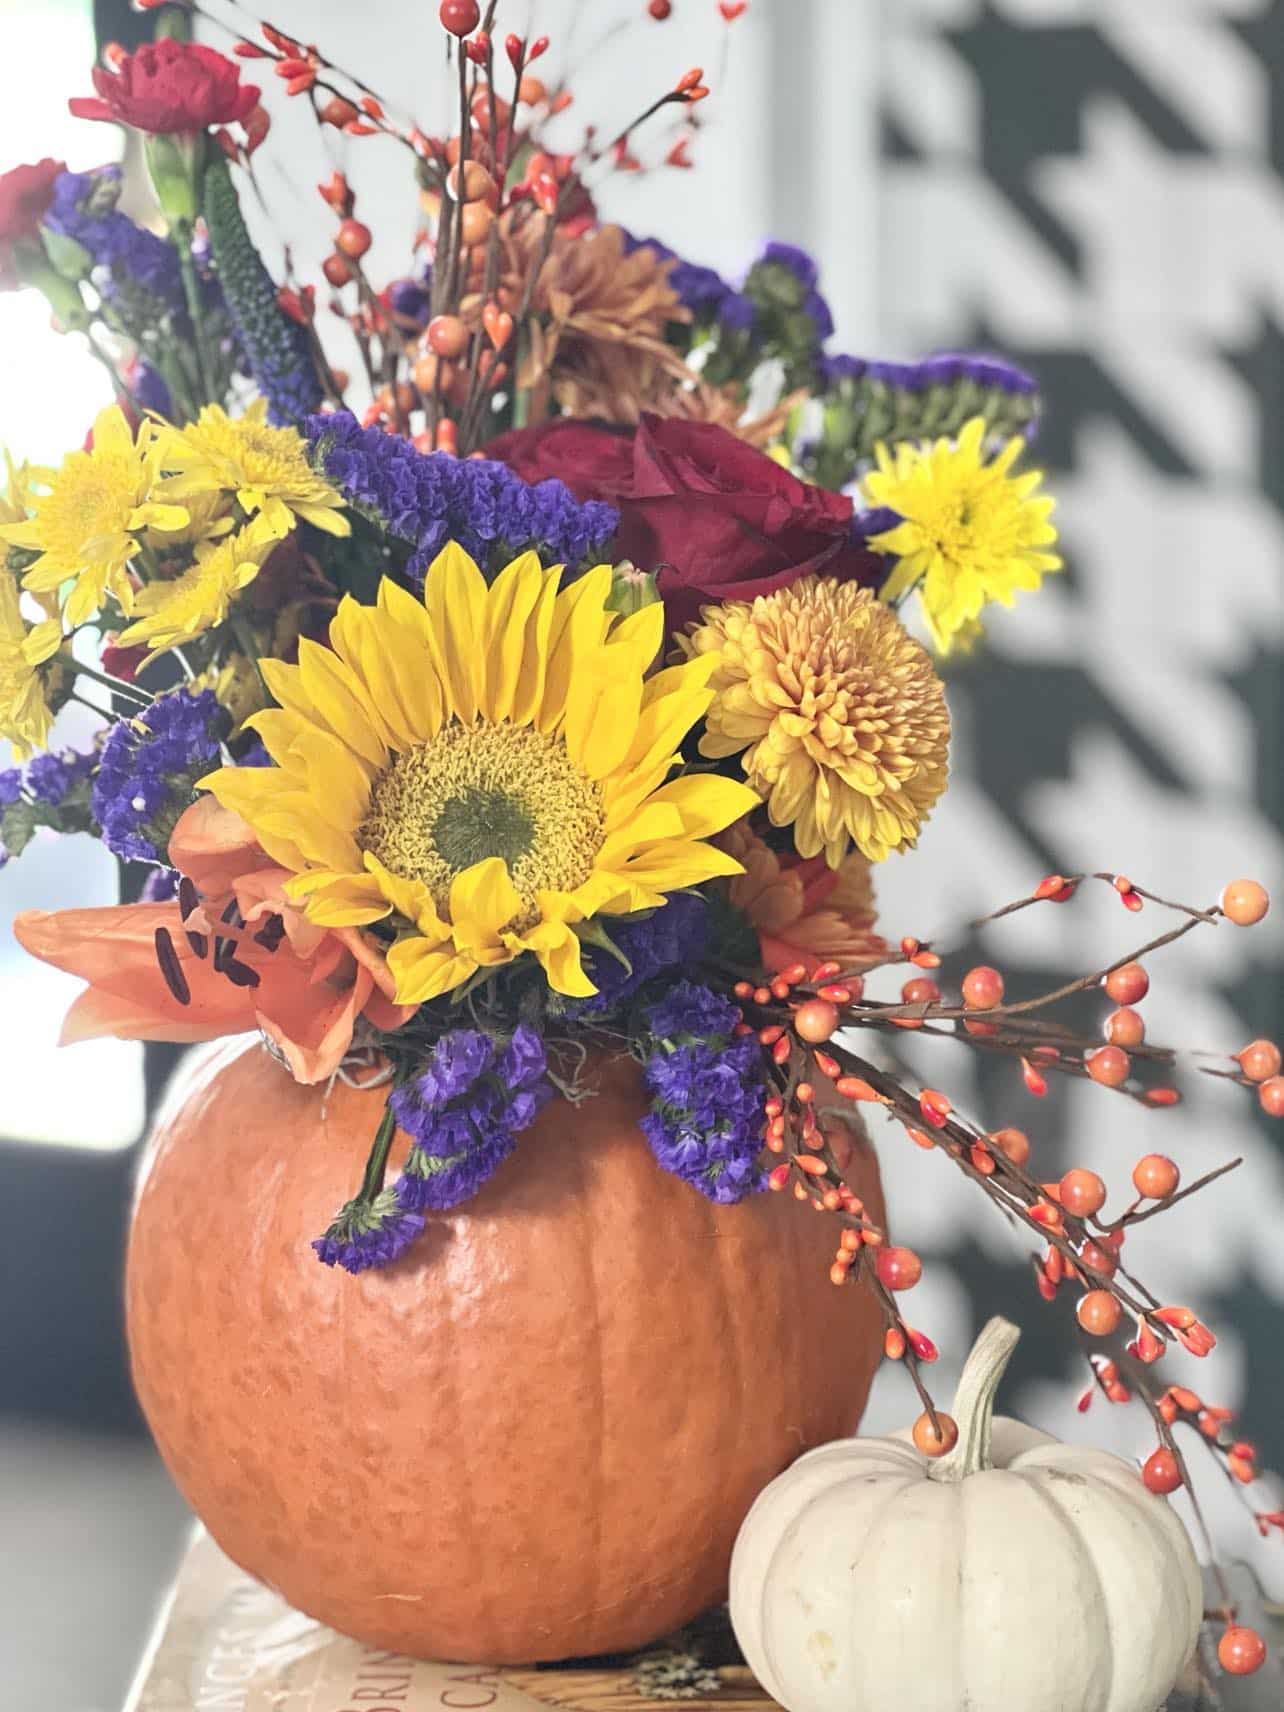
pumpkin floral arrangements
Decorating Throw Pillows for Fall: Styling the Finished Look
Now that your pillow has a brand new look, where does it go?
The good news about decorating throw pillows is that there is no wrong answer! You can let one large pillow take center stage, or you can build a whole pillow combination around it.
Let One Pillow Shine
My pillow is large, so I styled it by itself. A single lumbar pillow on a sofa with a cozy throw blanket is plenty.

On my bed, it works just as well. A pillow with this much texture doesn’t need help from other pillows!

Build a Pillow Combination
Have a few pillows to work with? Mix different sizes.
Put your largest pillows in the corners or at the back, layer square pillows in front of them, and tuck your new plaid pillow in the middle where all that texture can show off!
Make It Yours
Either way, the best part of the makeover is that you end up with custom pillows in your own color palette instead of settling for whatever’s on the shelf.
Swap your toss pillows with the season, try new styles, and rearrange them in different ways until your living space feels like you.
I think we can agree…a few beautiful throw pillows can change the look of a room. And decorative throw pillows don’t have to be new to do it!
More Knot & Fiber Inspiration
This month’s Handcrafted Society theme was all about knots and fibers, and my friends definitely came through! Grab your coffee and take a look at what they made.
Wendy at WMDesign House wraps jute rope around a simple base, tops it with a chunky leaf knot, and finishes each one with a dried orange slice and a jingle bell. Perfect for a natural holiday table!
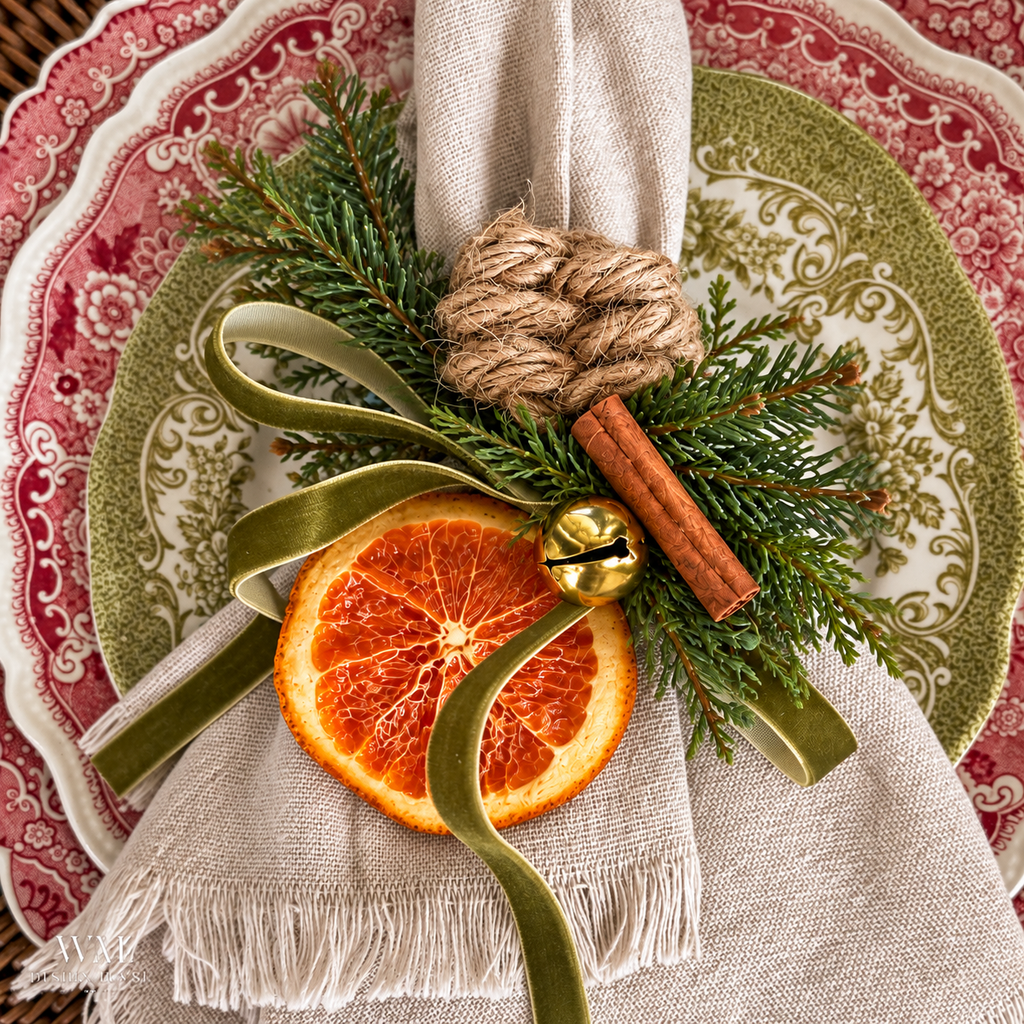

Diane at South House Designs shows how a thrifted lamp and a ball of twine slump into a craft room… and strut out radiating high-end style. Before & After fans, this one’s for you.
Michelle at Thistle Key Lane creates a bandana fall rag wreath with a sisal rope accent. This is the perfect seasonal project when you want to add a little color to your decor.


Donna at An Organized Season transforms a Dollar Tree tinsel cat into festive Halloween decor with macrame cord and eyelash yarn.
Tammy at White Lilac Farmhouse shares this DIY chair swag that hangs right on the back of a chair. So it’s perfect for your dining table, a front porch rocker, or even a few extra chairs set up for a fall get-together. It comes together fast, it’s budget friendly, and it adds that cozy farmhouse touch without much fuss.


Anna at Skylark House creates this beautiful fall wreath using sisal twine. This is an easy and affordable project anyone can make.
One Last Weave
Here’s what I love about this project: it works on almost any old pillow.
Faded? Fringe falling out? Just plain bored?
Don’t toss it. Give it a plaid makeover!

Cheers!

A Little About Me
Hi! I’m missy. So happy to meet you!
“Decorate with Joy! Live with Happiness”
I truly believe that your home should be a reflection of your personality, a space where you feel free to express yourself and create a sanctuary that feels uniquely yours.
I love creating mood boards, hunting down unique home décor treasures, tackling easy DIY projects, and gathering with family and friends. Homes are meant to be enjoyed, filled with laughter, and shared with the people you love!
– cheers –

Don’t Forget to Pin It!
Pin the image below to your boards on Pinterest (just click the Pin button in the top left corner). You can also follow along with me on Pinterest!



Cozy Fall Finds
Want to cozy up your own space? Here are some fall favorites!

