Create a Handmade Wool Felt Ball Trivet: A Fun and Easy DIY
Looking for a unique and functional addition to your kitchen? This handmade wool ball trivet craft is the perfect project! They’re easy to make, colorful, and a great way to protect your counters while adding a personal touch. Plus, they make fantastic holiday gifts for your friends and family.
This blog contains affiliate links. This means a small commission is earned if you make a purchase by using this link. The price you pay will be the same whether you use the affiliate link or go directly to the vendor’s website using a non-affiliate link. As an Amazon Influencer, I earn from qualifying purchases.
Wool Ball Trivet: When Handmade is Best
I would love to give you a gift.
A handmade gift.
Hopefully, a handmade gift that is stylish and functional at the same time.
I may not be able to give you a physical gift, but I can give you an idea for one to make yourself! (That’s still a gift, right?)
A handmade gift is always special because it’s filled with love. They show the thought, preparation, and effort you put into creating something just for someone. And let’s be honest, we love a little crafting challenge!
You’ve possibly seen those adorable wool ball trivets in stores. But why buy one when you can make your own? If you can thread a needle, you can totally make your own amazing handmade felt ball trivets!
How Are Wool Felt Balls Made?
Wool felt balls are crafted through a process called felting, which involves matting sheep’s wool fibers together.
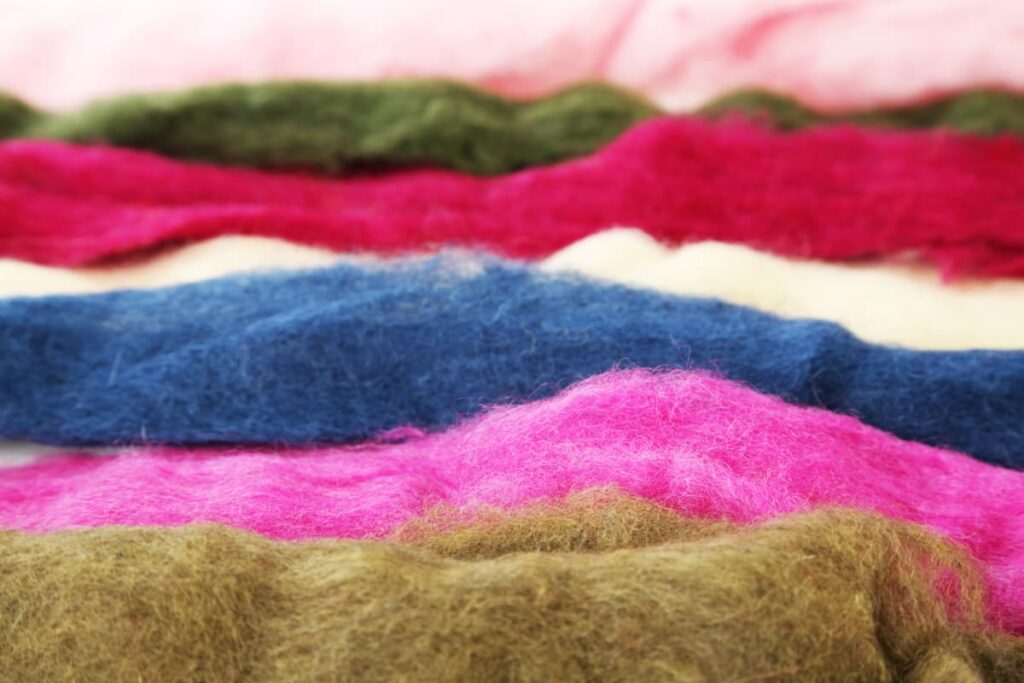
The process typically begins with wool roving, which is a loose mass of wool fibers. This roving is then rolled, agitated, and sometimes wetted with soapy water to cause the fibers to interlock and form a dense, compact ball.
There are several methods for felting wool balls, including hand felting, machine felting, and needle felting. Each method has its own unique techniques and tools, but the basic principle remains the same: to create a ball of wool by matting the fibers together.
Wool Ball Trivet Supply List
Here’s what you’ll need:
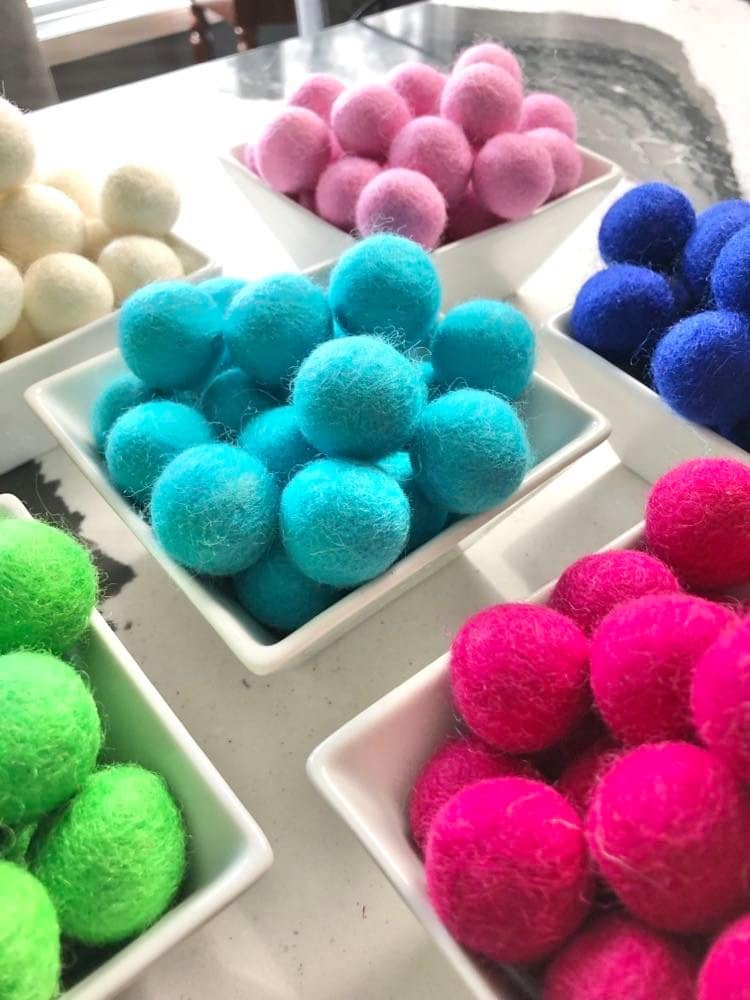
- Wool felted balls: These come in all sorts of different colors and sizes. Choose colors that fit your style or a specific theme. Here’s a tip: you need felted wool balls, not pom-poms.
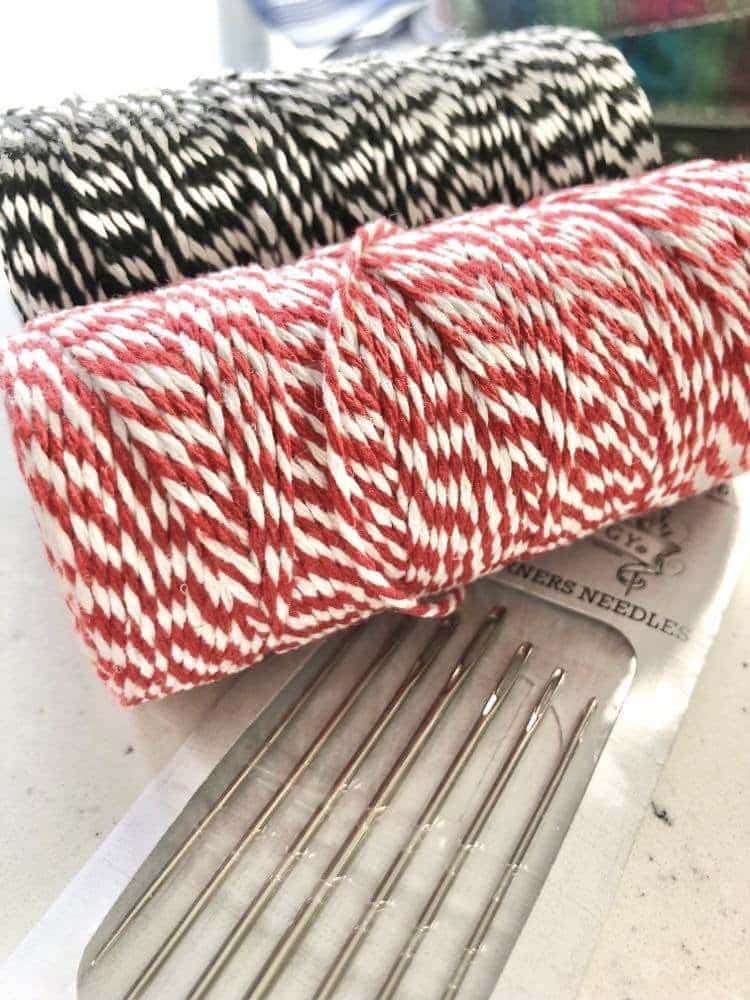
- Twine: Strong twine is best for holding everything together.
- Large-eye needle: This will make threading the wool balls much easier
How to Make a Wool Felt Ball Trivet
First, thread your needle with the twine. If you are like me, some reading glasses might help. Because that large eye needle is never quite large enough for me!
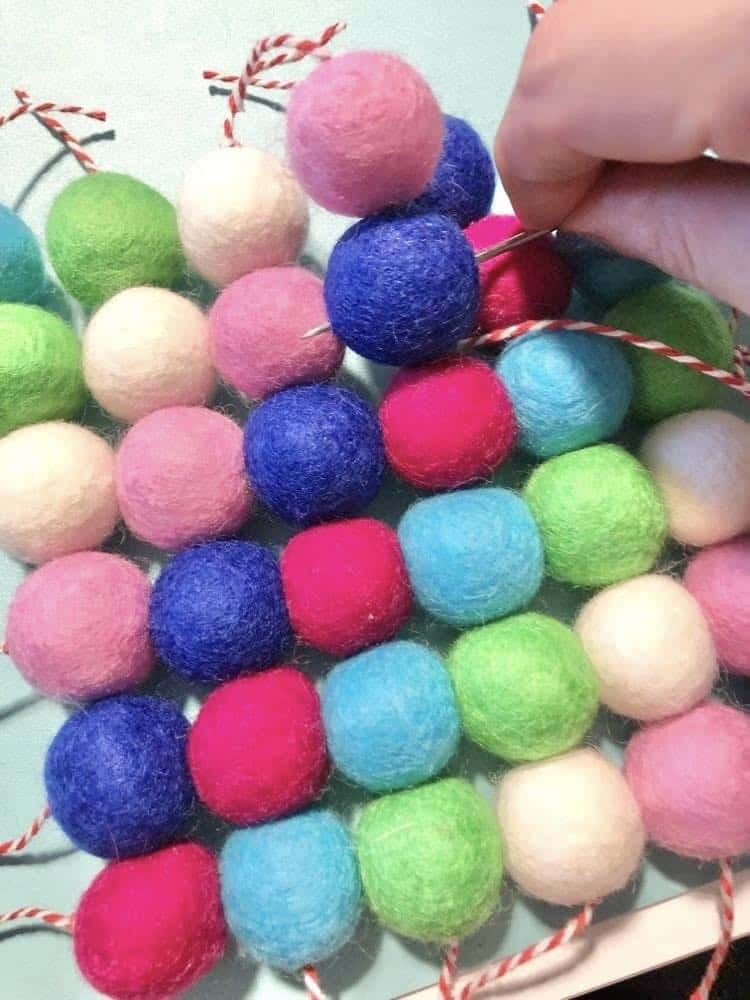
After your needle is threaded, pierce each wool ball through its center and start to string the balls onto the thread.
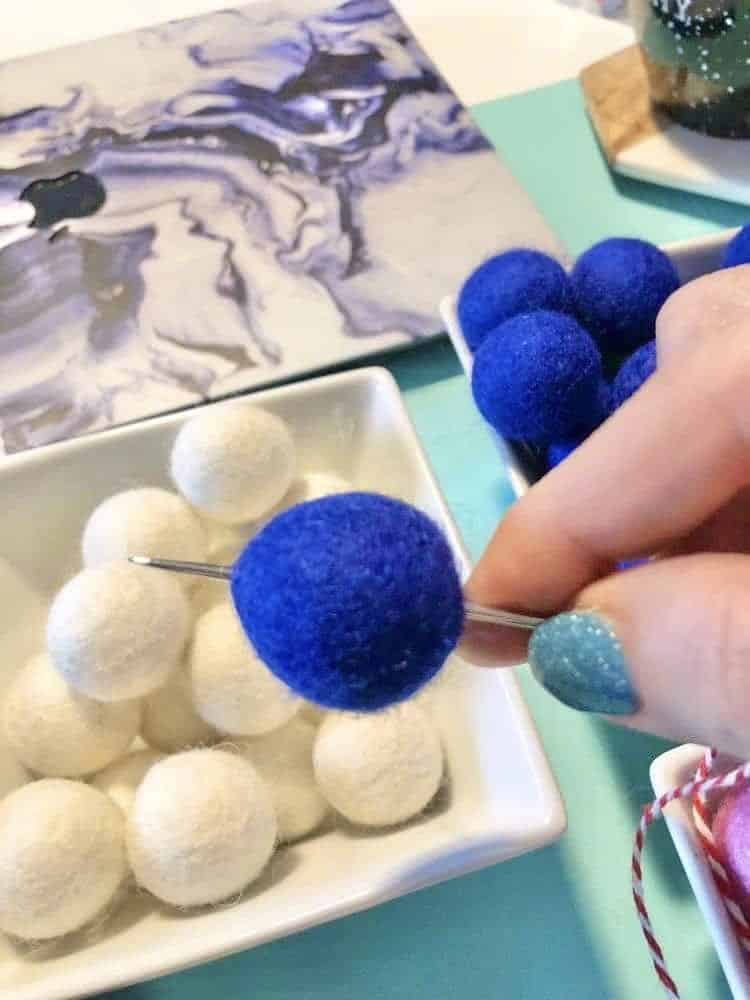
String together however many of the little felted balls you want for the height. A simple knot on each end is enough to secure them.
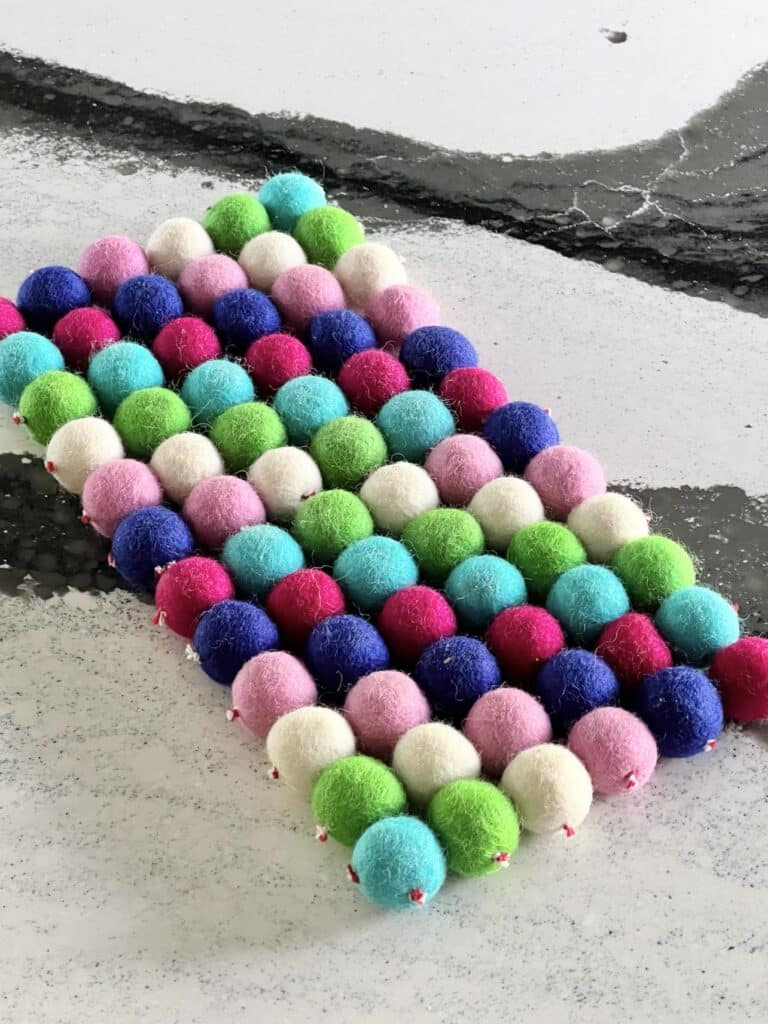
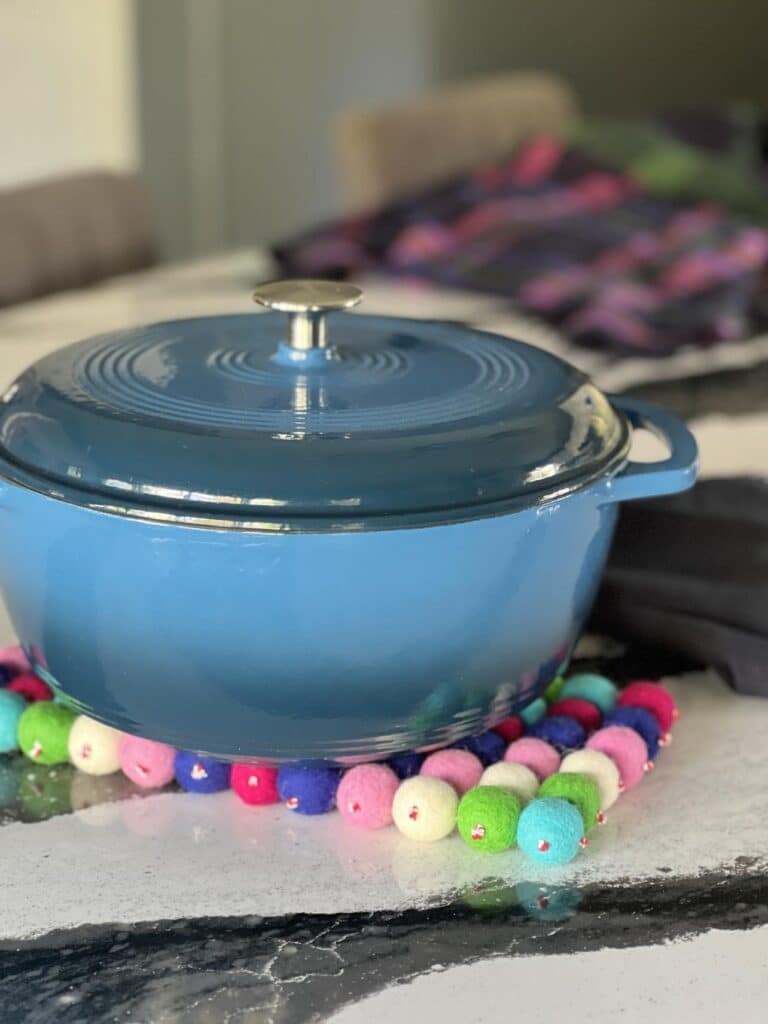
The size of your trivet is up to you. I decided on a 6 x 6 grid for my square trivet. Large enough to hold larger items, yet small enough to hold my cup of coffee.
The pattern is also up to you. You can design a colorful symmetrical pattern or go random with “popcorn” color!
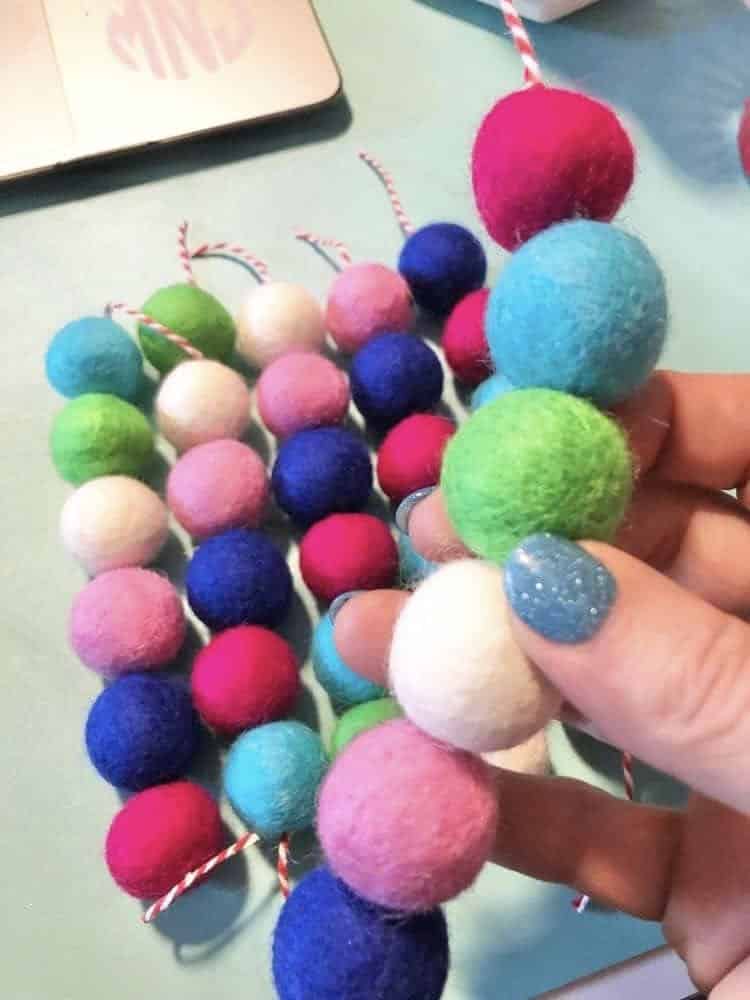
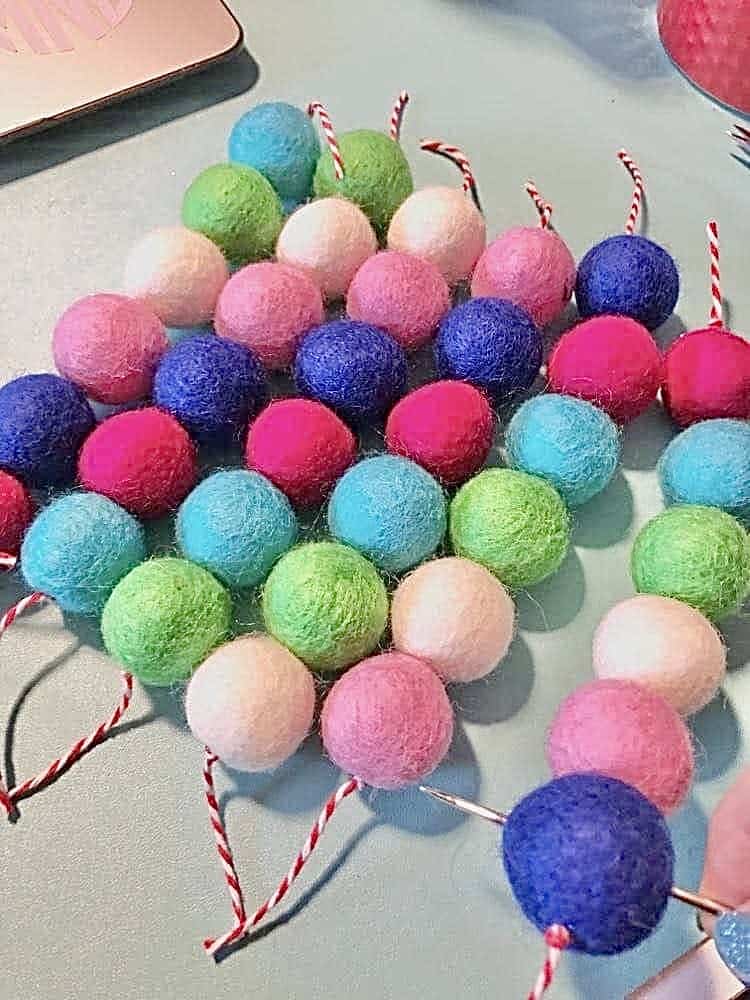
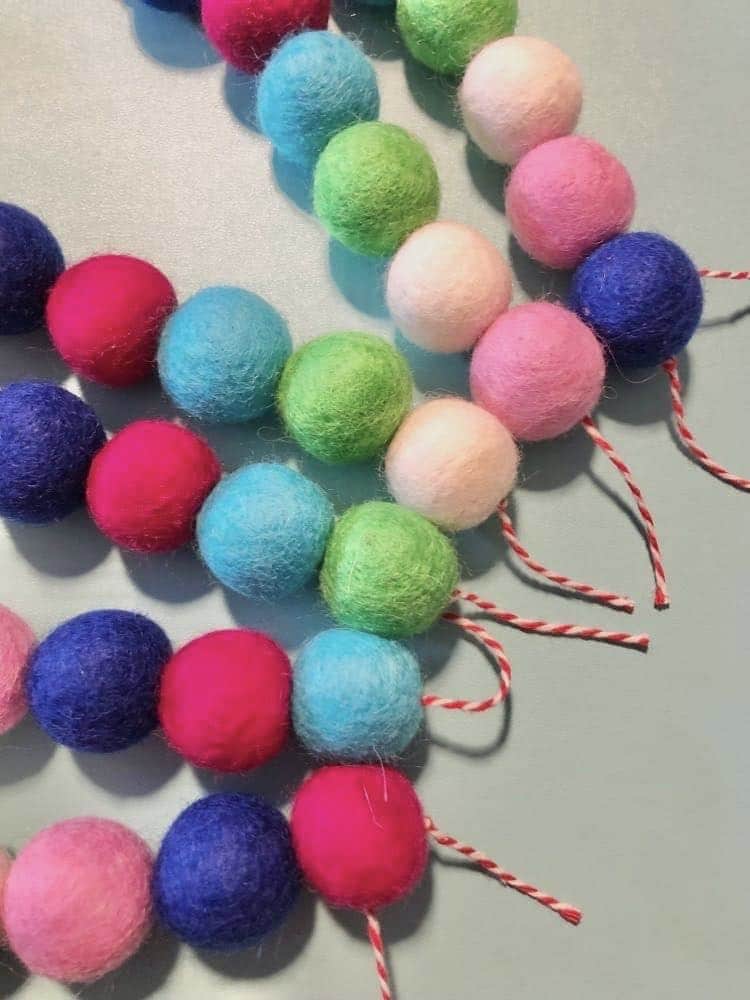
Once you have your grid figured out, start to sew the threaded pieces together horizontally. Start on one end of the grid and connect the strings of wool balls together one line at a time.
It goes pretty quickly and you will be amazed at how fast you can thread one of these trivets together.
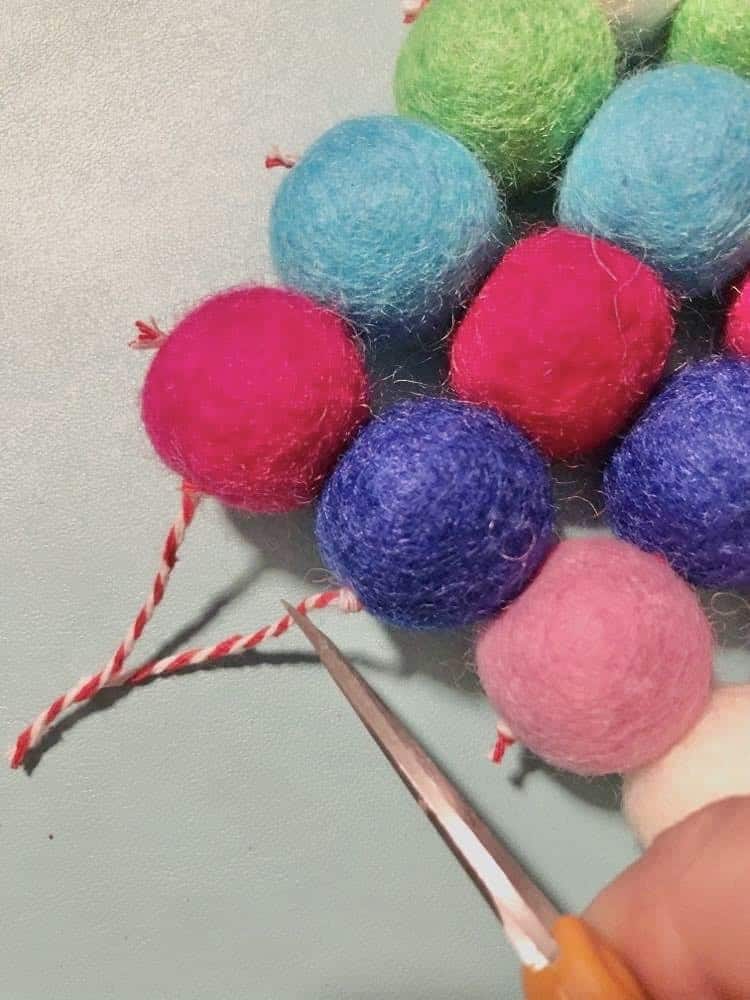
Tie little knots at the end of each row of felt balls and snip the excess twine off. The red and white twine now looks so cute as little knots on the end of each row! (It’s the little things that count, right?)
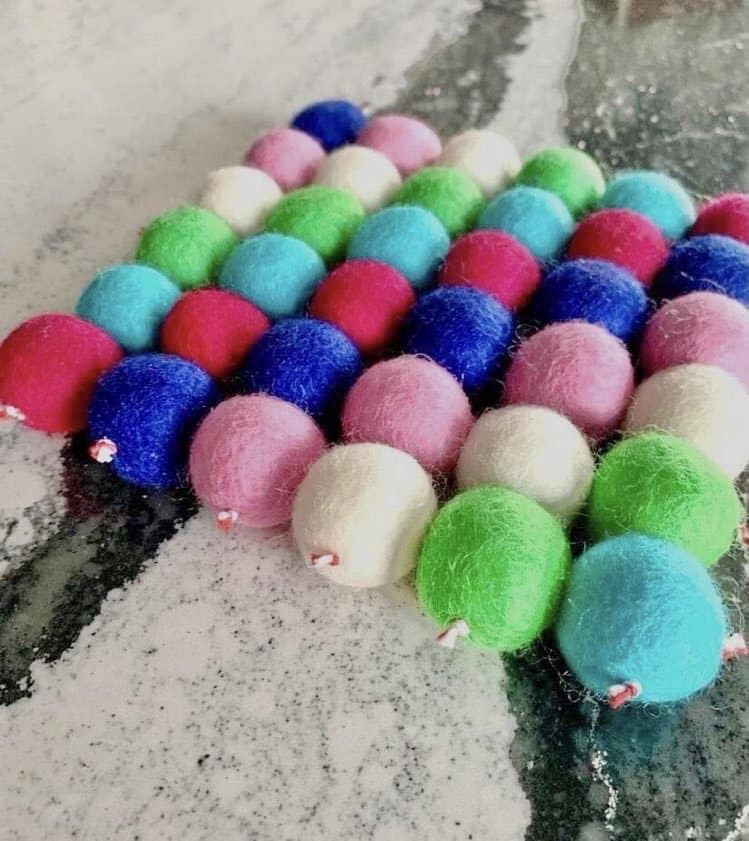
Voila! You’ve made a beautiful and functional wool felt trivet!
What to Do with a Wool Ball Trivet?
Here are some ideas for using your new trivet!
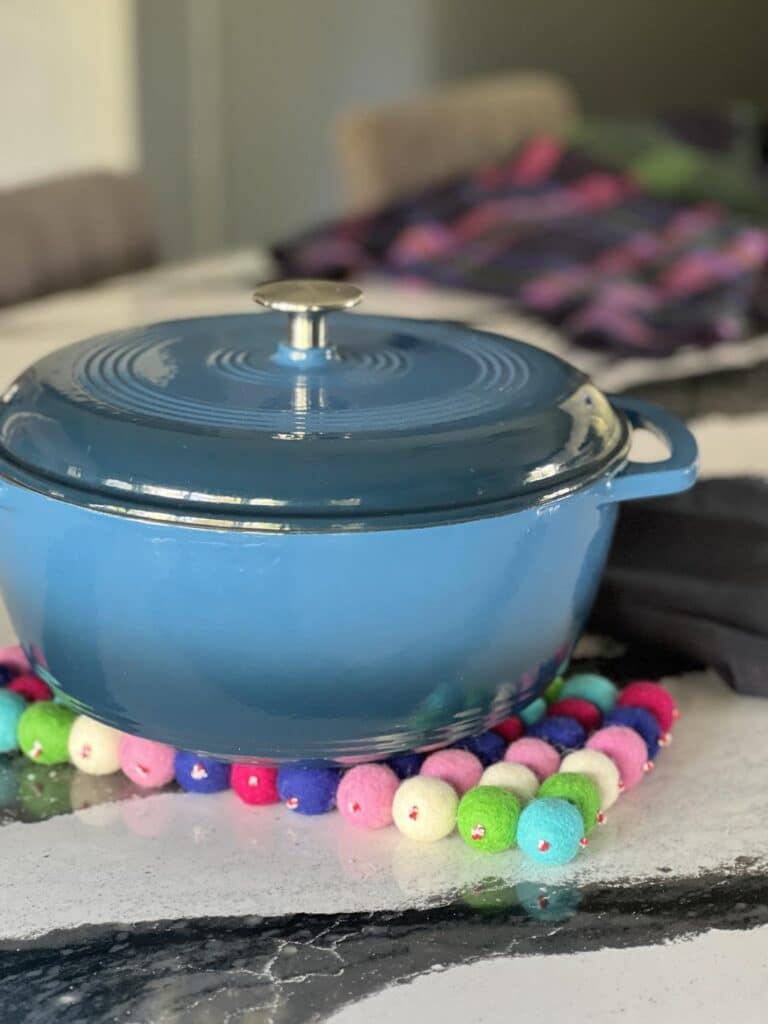
- Protect your surfaces: Place hot pots, dutch ovens, or teapots on your trivet to prevent scorching your countertops or dining tables. Plus, they are a great conversation starter at dinner parties!
- Gift it! These trivets make excellent handmade gifts for the holiday season or any occasion. Consider adding a gift card to a local coffee shop or restaurant for an extra special touch.
- Cozy coffee companion: Use your trivet to hold your mug of coffee, hot tea, or hot chocolate – perfect for those chilly mornings.
- Hot pad substitute: These trivets are actually quite flexible and can double as hot pads when taking something hot out of the oven.
How do you clean a wool trivet? To clean your wool trivet, simply hand wash it with mild soap and water. Avoid using harsh chemicals or machine washing, as this can damage the wool. To remove dirt, let the trivet air dry and then gently brush it off.

I really enjoyed making my wool ball trivet and hope you will try making one of your own. They’re a great way to add a touch of handmade charm to your kitchen or surprise your friends with a thoughtful gift!
Cheers!

Don’t Forget to Pin It
Pin the image below to your boards on Pinterest (just click the Pin button in the top left corner). You can also follow along with me on Pinterest!
When DIY is the Way to Go
Easy Concrete Cement Bowl Planter
Pressed Flower Tissue Paper Lantern



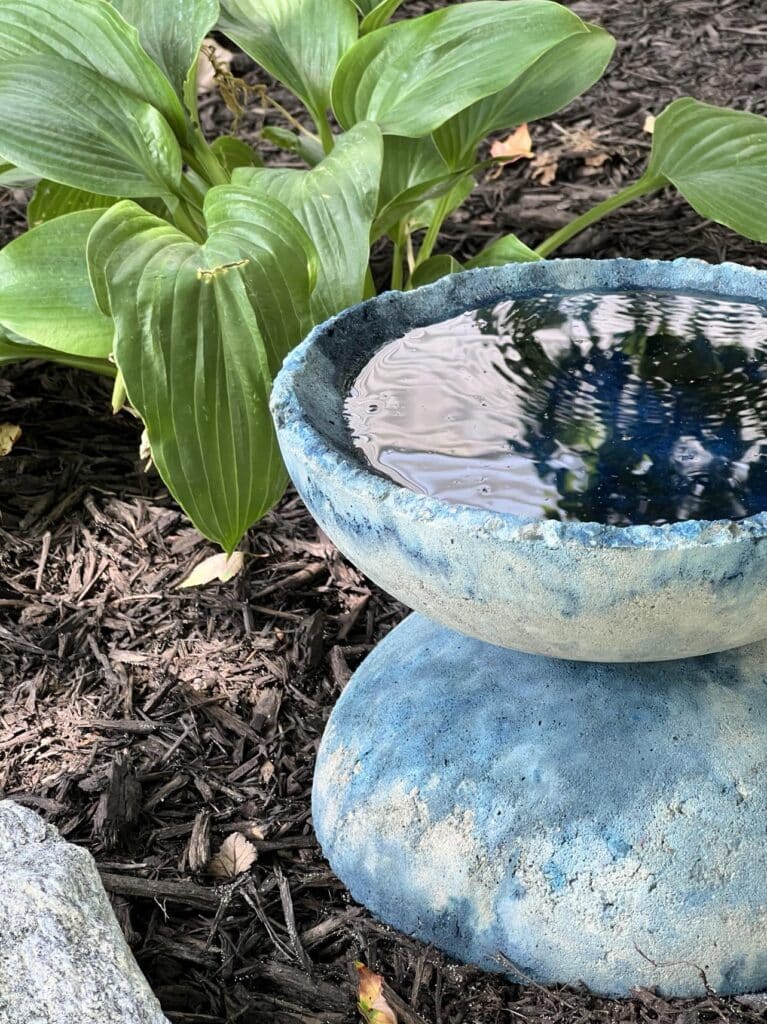
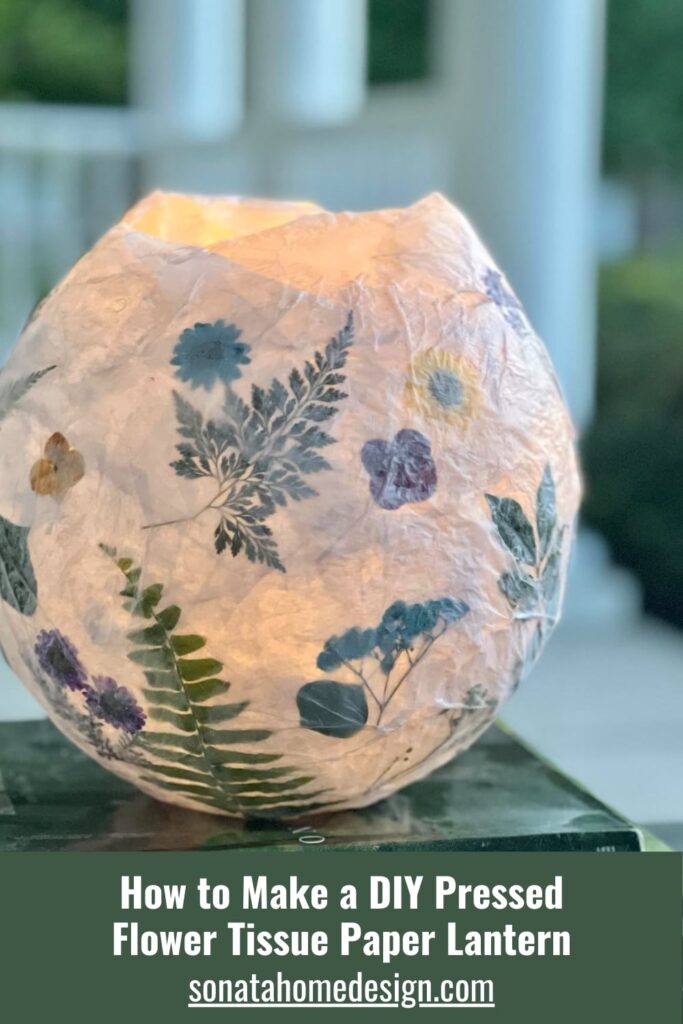

Great DIY project for a wool felt ball trivet! Your detailed tutorial is incredibly helpful, and the end result looks both stylish and functional. This is definitely a project I’ll be adding to my crafting list.
I’m so glad you like it! It is a fun project and one that I can do while I watch TV at night! Enjoy!
How fun is this?! It’s darling. Visiting from the Love Your Creativity linkup.
Thank you so much, Jennifer!
LOVE these bright and vibrant colors, Missy!
Don’t forget to join us over at the Creatively Crafty Linky Party every Wednesday through Sunday
https://creativelybeth.com/creative-crafts-linky-party/
Followed and Pinned!
Creatively, Beth
I never miss your link party! Thanks so much, Beth!
This is beautiful, what a lovely housewarming gift it would make 🙂
That is a great idea! Thanks for taking a look, Julie!
I consider myself an avid fan of your blog at this point, Missy. I will say, when I started reading this post, all I could think is, “what the heck is a trivet?” At first, it sounded like something my husband would throw away in our dumpster rental, never to be seen again. But, as I finished the article, I found myself wanting to make a trivet. I guess I will have to gift my trivets or my husband will throw them away. What a fun holiday gift this will be.
Hi Brooke! Your message made my day! I need to go back to the post and define “trivet!” I guess I use them so much that I forgot! I’m so glad you like the project and hope you give it a try. I use these DIY trivets throughout the house…anytime I don’t want heat or water to get on the surface. Have fun making your trivets!