

DIY Luggage Rack for Your Guest Room, Made from a TV Tray
This DIY luggage rack started life as a $5 TV tray table from the Salvation Army. Dark wood, lots of scratches, zero glamour, but sturdy? Oh yes. And the folding frame was already built, so all I had to do was give it a new job!

This blog contains affiliate links. This means a small commission is earned if you make a purchase by using this link. The price you pay will be the same whether you use the affiliate link or go directly to the vendor’s website using a non-affiliate link. As an Amazon Influencer, I earn from qualifying purchases.
Here’s the problem, my friend. I have one luggage rack, and it lives in one of the upstairs bedrooms. It is ready and waiting when one of my adult daughters pays a visit and stays overnight.
However, when both girls are here, there is a bit of a battle for the luggage rack. One of the bedrooms has nowhere for a suitcase to land.
Buying a second luggage stand felt silly when I could make one. And you know how I love to repurpose a thrift find!
I borrowed the legs of the tray table and gave it an upcycle with a little paint and a surprise material.
Now, my daughters, my sister, or anyone who comes to visit has a real spot for her suitcase when spending the night. Let me show you how I did it!
Why Every Guest Bedroom Needs a Luggage Rack
Have you ever had to live out of a suitcase while it lays on a bed? Or the floor?
Placing a suitcase stand in a guest room is a fantastic hotel knockoff idea.
A luggage rack keeps suitcases off the bed and off the floor.
Guests can unpack, find other things, and not feel like they’re living out of a bag on your carpet.
Plus, a suitcase stand helps keeps beloved fur babies out!

Store-bought racks can be pricey or plain. With this DIY, I was able to create one that actually matched my room!
Why a TV Tray Makes a Great Luggage Rack Base
The folding mechanism is already there!That’s the hard part, and it’s done.
Tray tables are also easy to find at thrift stores, garage sales, and on Facebook Marketplace. And, they usually cost very little. I got mine for $5!

Missy’s Notes
Look for a tray table with sturdy legs and a fold that works. Scratches don’t matter. You’re going to paint them anyway!
Thrifty Finds and Guest Room Style

what to put in a thrifted glass decanter

Guest bedroom makeover ideas + free printable
thrift store lampshade side table hack
The Shopping List
Here’s everything I used. Most of it you can grab at a thrift store or hardware store.
- TV tray table. I found mine at Salvation Army for $5 (or check thrift stores, garage sales, and Marketplace).
- Spray paint (I used Rust-Oleum 2X spray paint.)
- Larger wooden dowel rod (the thickness of the dowel rod should be similar to the top rod support of one of the tray table legs.)
- E6000 glue
- Three guitar-style purse straps, 2″ wide, with attachment clips on each end
- Upholstery tacks
- Small hammer, screwdriver, or other tools that work to pry off hardware

How to Make a DIY Luggage Rack from a TV Tray
Remove the legs
I started to remove the legs from the top tray with a screwdriver.
That worked for a bit, and then it didn’t.
The bolt was so stubborn! So I ended up using a paint scraper and a hammer to release it.
Every tray table is going to be a little different. My advice? Use whatever tool works to unscrew, unhinge, or pry away!


Add the Top Rod
The purse straps need something to wrap around. I added a larger dowel rod to one side of the folding legs to make a top support piece. I used E6000 glue to make sure it was really secure.
And this is important…Let the glue cure before you move on!

Missy’s Notes
Here’s where I messed up. I painted the legs first, and then attached the dowel rod separately afterward. If I did it again, I would glue the rod in place first, and then spray-paint the whole thing. Learn from my mistake!
Spray Paint the Base
If you love a wood finish and your tray table legs are in good shape, by all means keep the wood finish.
Mine, however, was not in great shape. So I used Rust-Oleum 2X spray paint in a royal blue shade. I pulled this color from the purse strap pattern, and it also coordinates with my guest room.

Several light coats of spray paint worked better than one heavy one (hello, no drips), and I let it dry overnight.
Wrap the Straps
Wrap each guitar-style purse strap around the top of the folding legs and hook the clips together on the underside.
The straps are adjustable, so you can open the rack to exactly the width you want.
I put two straps on the outer edge, and one in the middle, so any piece of luggage gets full support. Once the straps were in place, I placed a heavy book on top and let it sit for a few hours. This helps to straighten and relax the straps before the next step.


Tack the Purse Straps Down
I added one brass upholstery tack at each connection point of the purse strap to the wood rod, using a small hammer. It keeps everything in place and looks pretty too.


Open It Up and Load It
Unfold it, set it in the guest room, and test it with a suitcase. I tested small and large pieces of luggage, and this DIY luggage rack passed the assignment with flying colors!


Where to Find Guitar-Style Purse Straps
I spent a good while searching Amazon for guitar-style straps. So many choices!
Then I found these in a clearance basket in a hospital gift shop hallway. Royal blue with a coral embroidered pattern. They had three. Three!
One of those straps would look so good on one of my purses, but I sacrificed fashion for guestroom style… No regrets… Mostly.
If you want something similar, here are a few options.

Putting It to Work in the Guest Room
Guest bedrooms are special places for special people…so you want it to function well and look good. This suitcase stand does the trick!
The best part? Your new luggage rack folds flat when it’s not in use.
I tuck mine behind the headboard until someone needs it. Right now, it lives in our large guest room with its bright blues, corals, yellows, and reds. Perfect for any overnight visitors!

Missy’s Notes
This rack is made for suitcases, not for sitting! It isn’t strong enough to hold a person, even a small one. So keep a chair nearby for your guests.
One Last Guest Room Detail
$5, a can of spray paint, a clearance basket find, and a very stubborn bolt….That’s all it took to give my guests a place to land their luggage.

Sometimes the best guest room upgrade is the one you build yourself!
Cheers!

A Little About Me
Hi! I’m missy. So happy to meet you!
“Decorate with Joy! Live with Happiness”
I truly believe that your home should be a reflection of your personality, a space where you feel free to express yourself and create a sanctuary that feels uniquely yours.
I love creating mood boards, hunting down unique home décor treasures, tackling easy DIY projects, and gathering with family and friends. Homes are meant to be enjoyed, filled with laughter, and shared with the people you love!
– cheers –

Don’t Forget to Pin It!
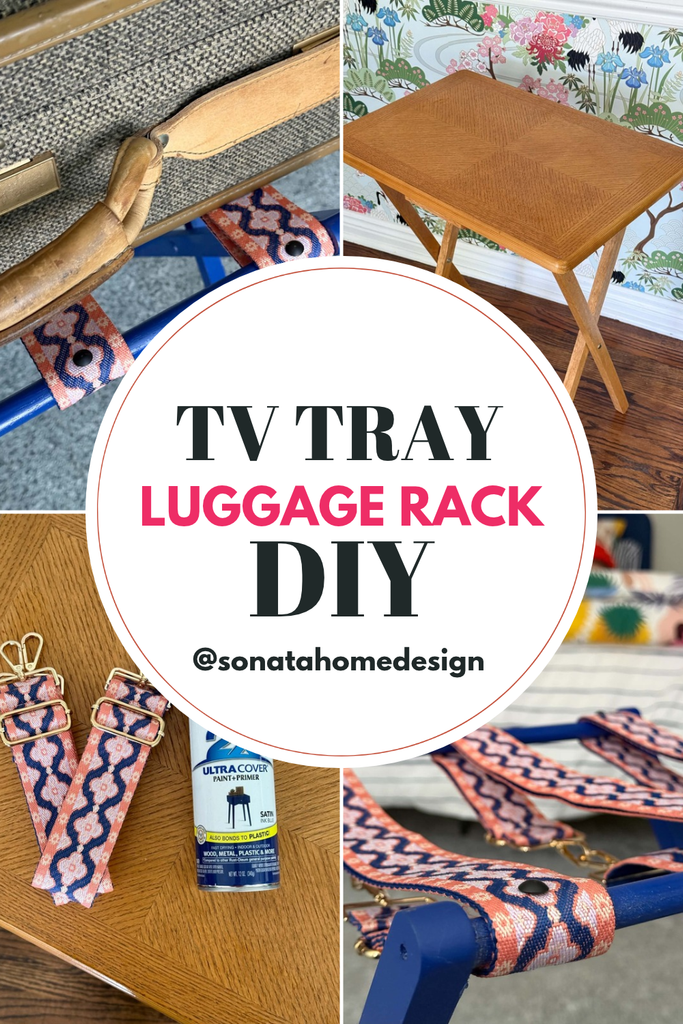
Pin the image below to your boards on Pinterest (just click the Pin button in the top left corner). You can also follow along with me on Pinterest!


Guest Room Shopping
