How to Make an Artificial Christmas Tree Look Fuller
Do you have a small Christmas tree that looks a little sad and tired… or maybe even like a Charlie Brown tree? Don’t worry—there’s no need to toss that old tree or invest in a new one. You can give your artificial Christmas tree a fresh, fuller look with just a few easy tricks.
Whether you’re working with a fake Christmas tree, a flocked tree, or even a pre-lit tree with skimpy branches, there are lots of ways to give it a lush look that feels as festive and magical as the real thing.
The Tradition Lives On
The tradition of decorating a Christmas tree is one of my family’s favorite parts of the festive season. Real or faux, green or white, balsam or spruce, the options are endless—and so are the Christmas tree ideas!
While getting a newer tree can be fun, sometimes your budget, storage space, or sentimental attachment says, “Keep the old one.”
And honestly? With the right techniques, that faux tree can look better than ever.
Case in point…this tree.
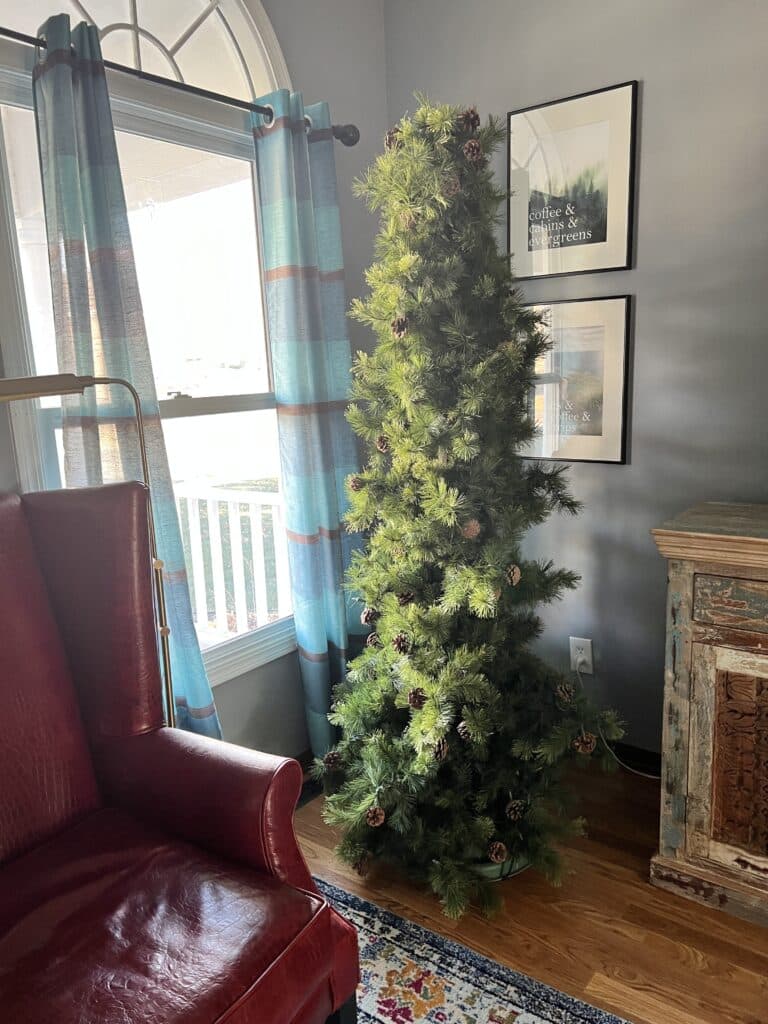
It’s not terrible. But it’s not great either.
Skinny. (This is often desired depending on your space. This particular tree needs to fill up a larger corner in our family room.)
Shorter than desired. This is a 6 ft. tree but I would like it to fill a 9 ft. space.
Missing branches.
Dead lights. (Ugh!)
Tired.
Let’s give it a tree spa day—and create the look of a fuller tree that fills the room with joy!
Decorating an Artificial Tree so It Looks
Decorating an artificial tree doesn’t mean settling for a flat or skimpy look. Here’s how to transform your Christmas tree into a stunning showstopper!
Elevate the Tree (Literally!)
We all love a soaring Christmas tree!
The first step in transforming a short or small tree into a taller, more prominent presence is to give it a lift—literally!
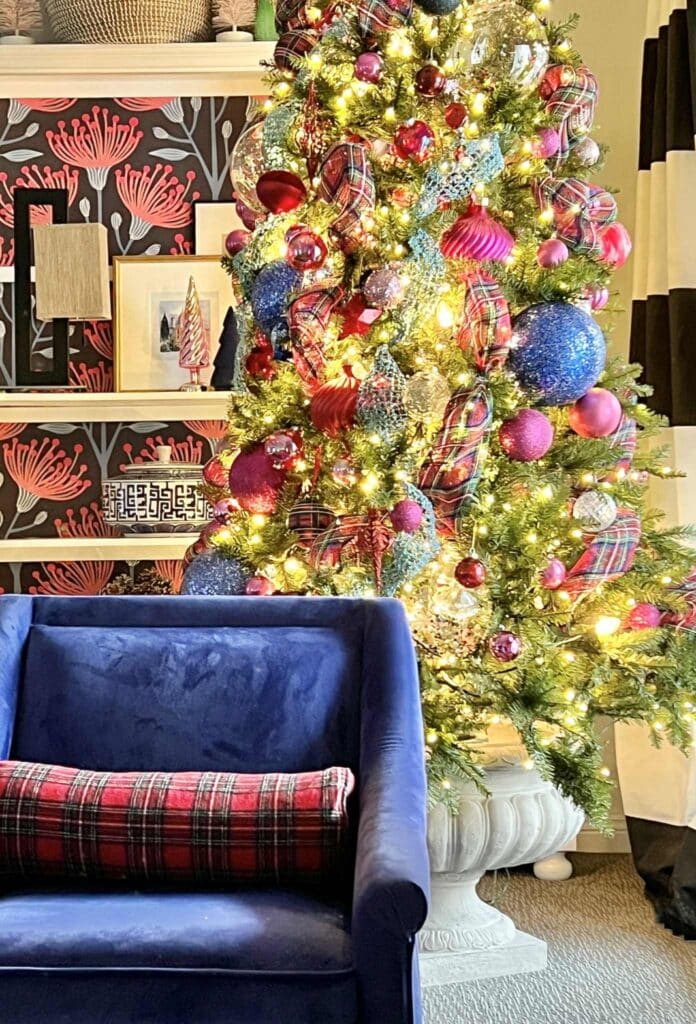
Elevate your tree by placing it on a box, in a garden urn, or on a small table.
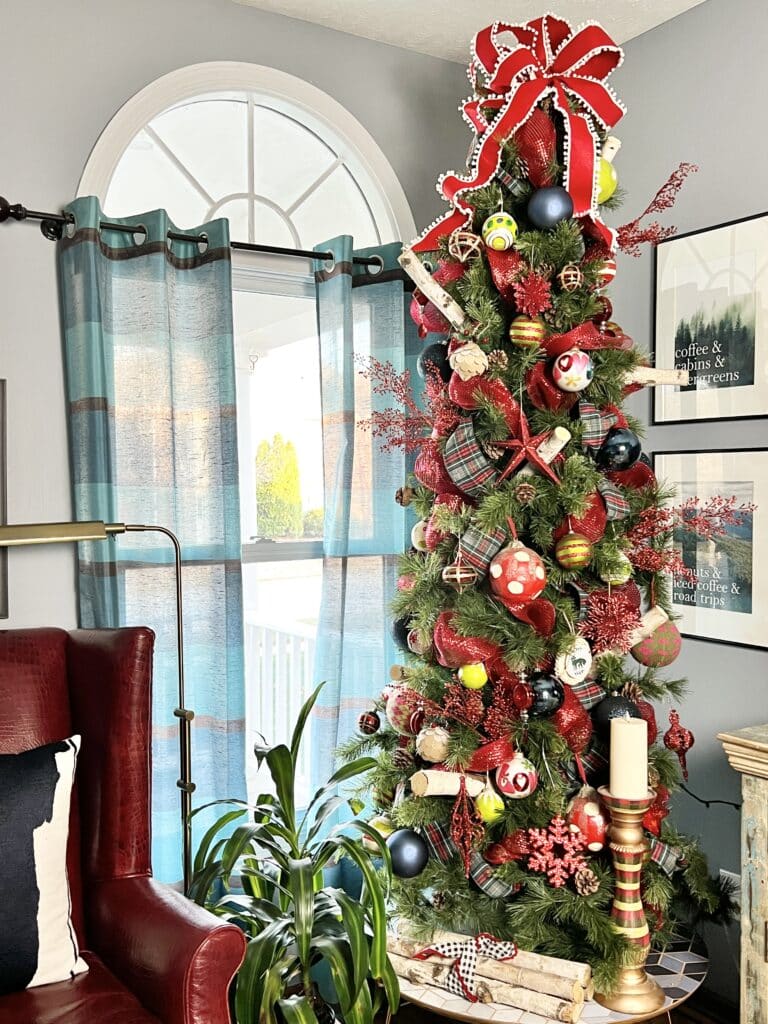
Here, I used a small coffee table to lift this tree by a couple of feet.
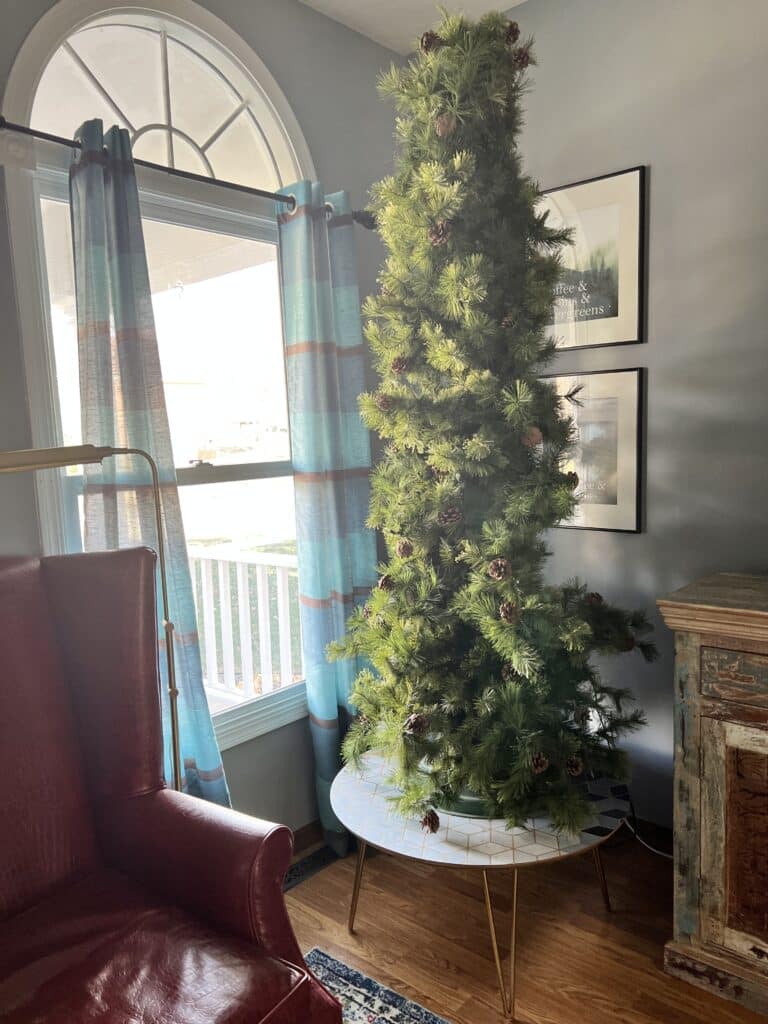
Whatever you use, leave about a foot of space between the top of your tree and the ceiling so you can add some sort of topper to your tree.
Easy ways to elevate your tree:
- Set the tree stand on a sturdy box, crate, or even a small coffee table.
- Place it in a large garden urn or decorative basket to add height and interest.
- Leave about a foot of space between the top of the tree and the ceiling to allow room for a fabulous tree topper.
This is a great way to give your fake tree the visual impact of a larger tree—perfect for those high ceilings or open living room corners!
Fluff Like a Pro
Fluffing your faux Christmas tree is hands-down the easiest way to improve the fullness of your tree.
I’ll be honest… this is not my favorite task.
It takes time…and it can make my hands itch.
But it makes a HUGE difference in making an artificial tree look fuller.
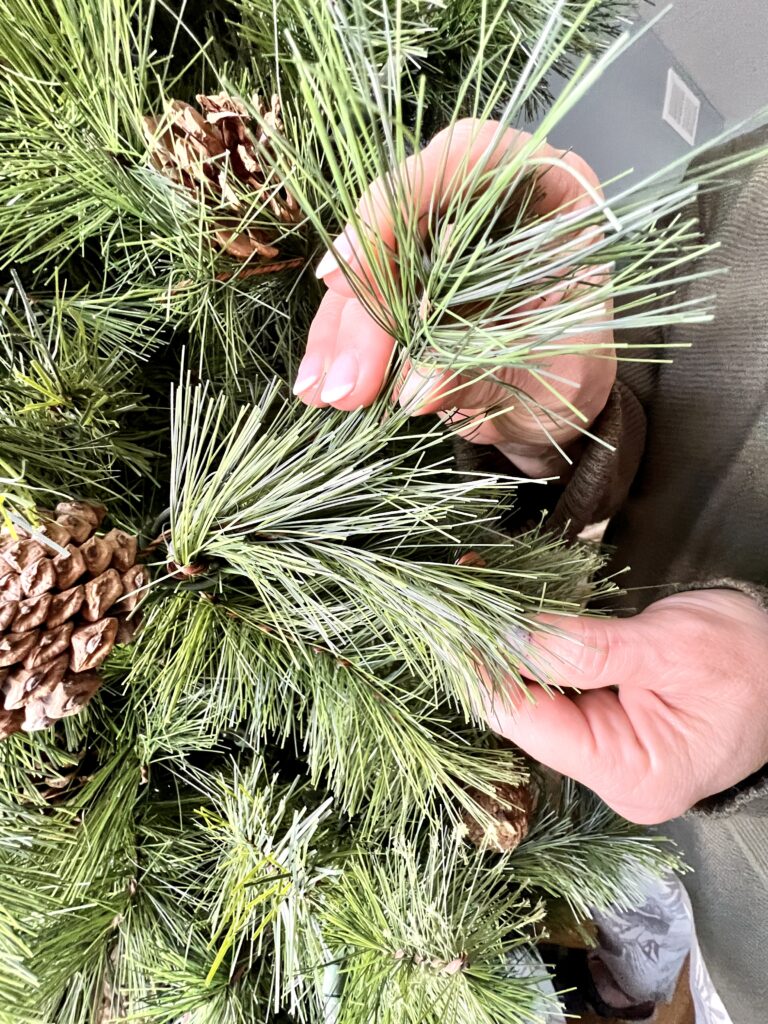
Start at the bottom and work your way up:
- Separate and shape individual branches to fan out like a natural pine tree.
- Fill bare spots by bending faux branches upward and outward to mimic the way real pine needles grow.
- If you see a bare spot in your tree, twist nearby branches into the space to fill up open space.
- If your hands itch like mine…wear some gloves!
Though tricky at first, with some patience and practice, you’ll be able to turn that unassuming Christmas tree into a majestic sight fit for any holiday gathering.
Pro tip: Add extra branches or pine picks to really boost volume, especially in larger gaps or empty spaces near the back of the tree.
Replace or Add Christmas Lights
Although choosing festive baubles and tinsel may be the most exciting part, no tree is complete without lights!
Twinkling lamps bring an extra touch of magic to your holiday decorations and create a beautiful evening atmosphere.
Tips for adding lights:
- Check every string of lights before adding them. (Make sure they work!)
- Use fairy lights or LED strands and tuck them deep into the center of the tree.
- Wrap the branches from the trunk outward to create dimension.
- Layer some lights closer to the trunk and others near the tips of the faux needles.
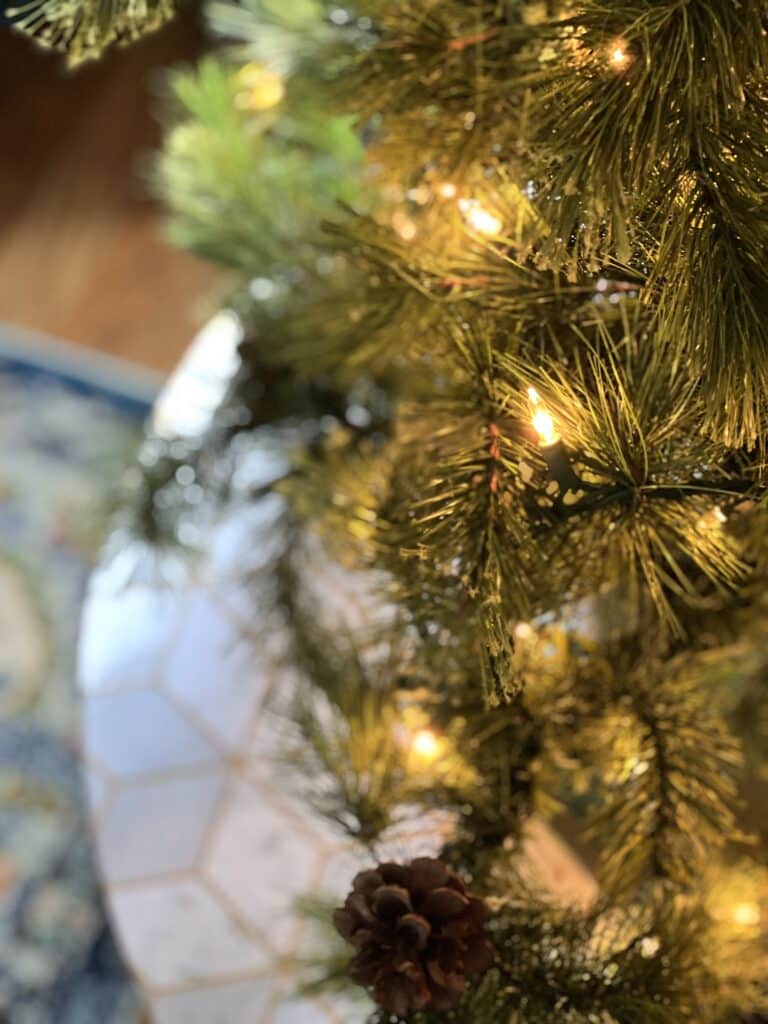
Start at the top and work down one branch at a time, making sure each light is wrapped snuggly against the branch. Continue wrapping until you reach either the bottom of the branch or the solid trunk of the Christmas tree.
Have a pre-lit tree?
Add more lights!
I know, I know…you bought a pre-lit tree so you wouldn’t have to wrestle with lights!
BUT…
Adding lights to a pre-lit tree gives the illusion of a fuller tree and creates that magical holiday glow we all love.
Ribbon for the Win
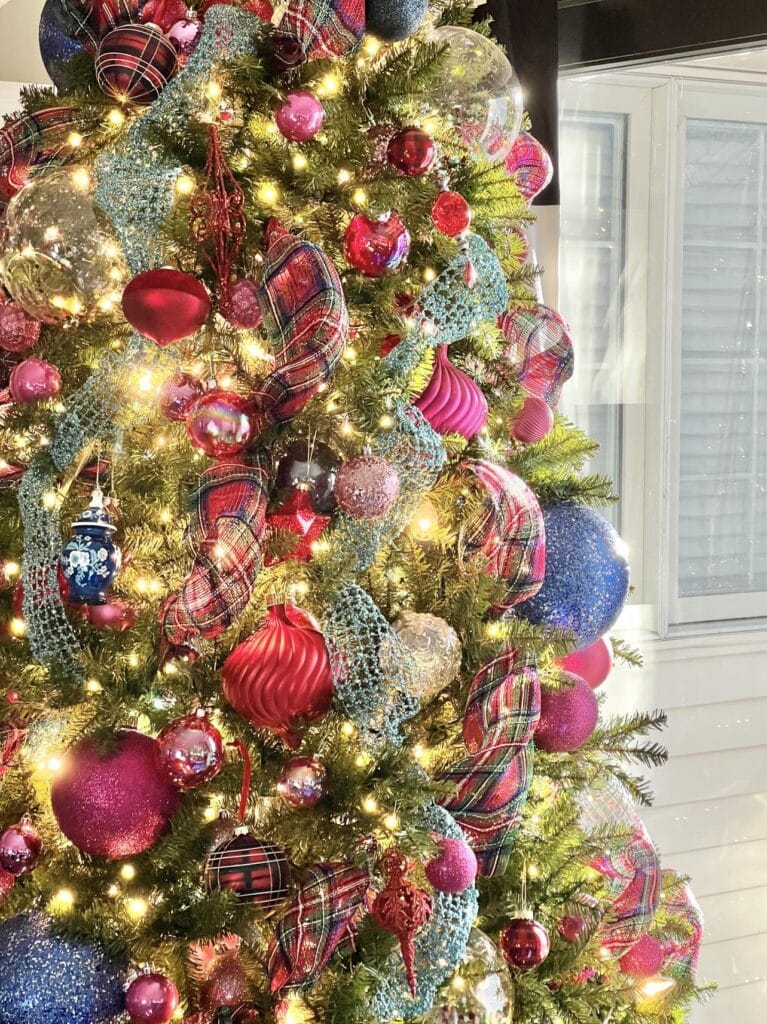
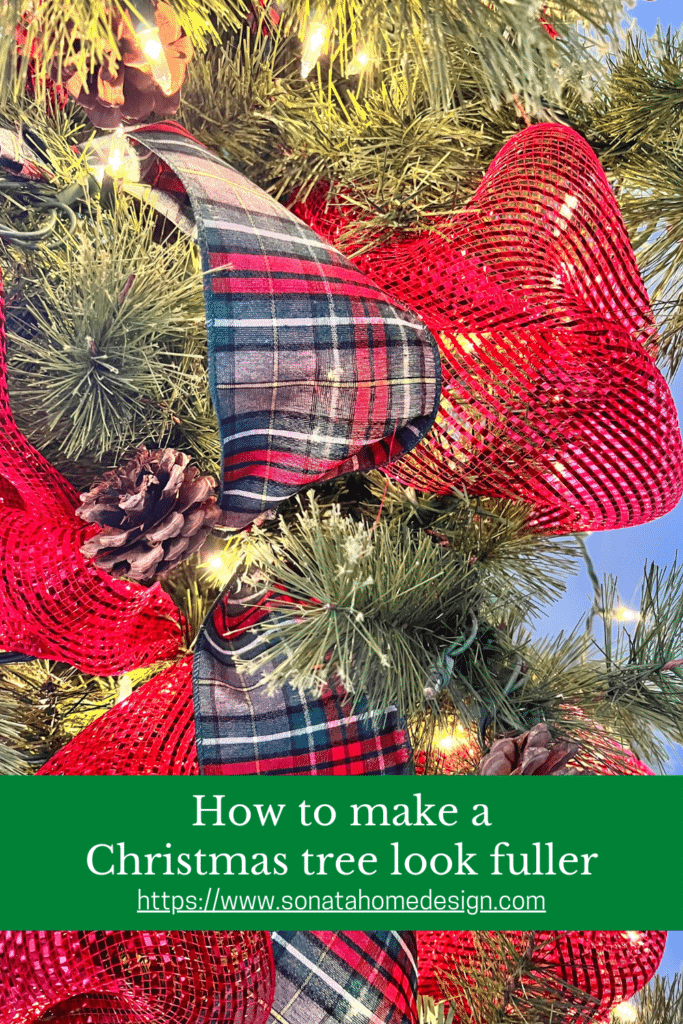
Ribbon is the perfect way to add texture, shape, and a little heft to a fake tree. It also adds color and ties into your color scheme for a cohesive look.
There are lots of ways to do it but I love to add big loops to a tree.
How to add wide ribbon loops:
I like to use 2-3 inch wide ribbon in 2-3 foot sections. Make it easier on yourself and work with smaller sections of ribbon…I use sections about 2-3 ft. long.
Take one end of the ribbon and tuck it into the back of a branch.
Create a loop and then pinch along the ribbon. Tuck this pinched area of the ribbon into the back of a different branch. Twist a small inner branch around the pinched area to secure.
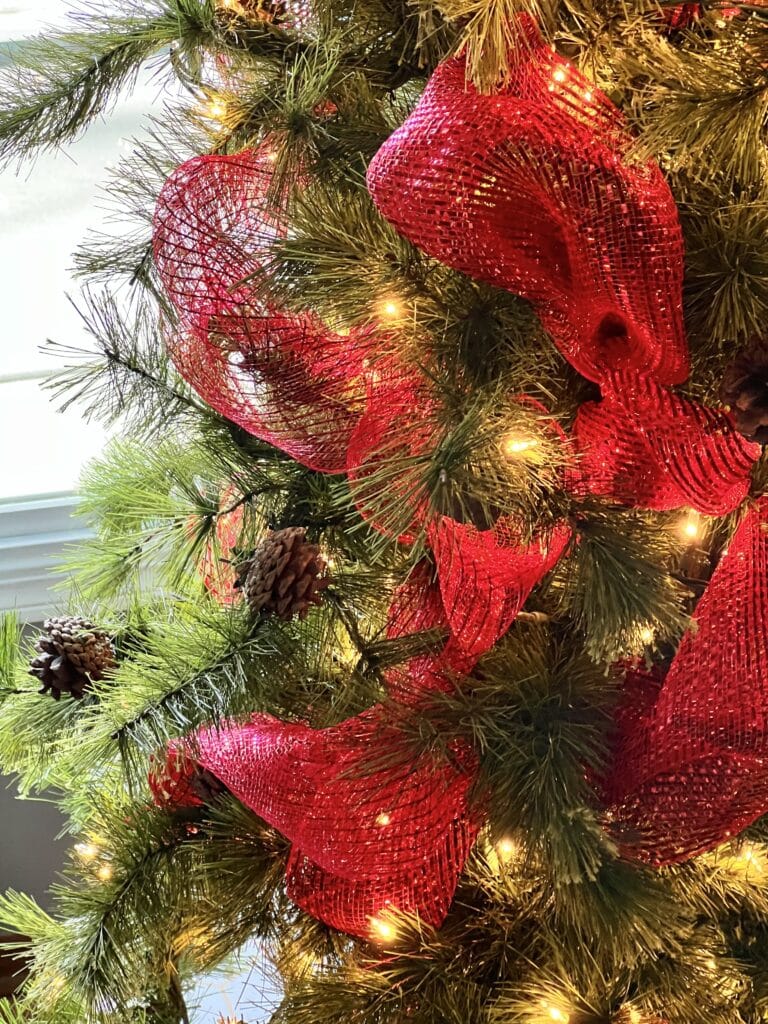
Take a new length of ribbon and start a new loop where you ended with the previous loop.
Keep pinching and looping the short sections of ribbons into the desired pattern. (or non-pattern)
Voila! Cascading ribbon!
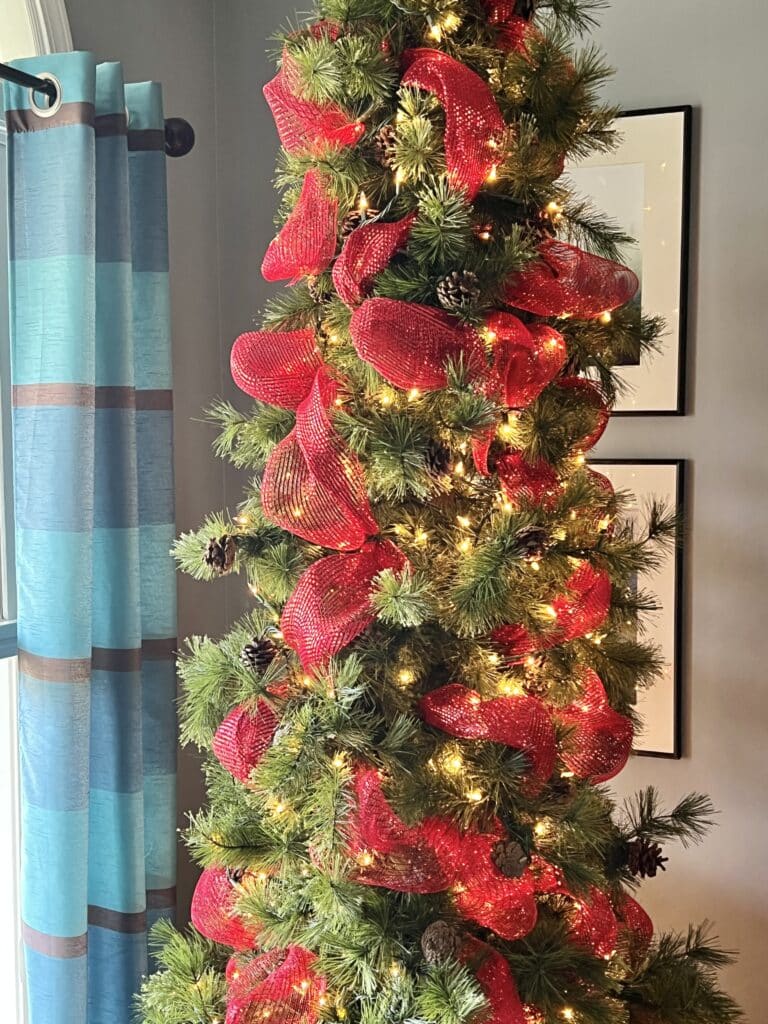
Try layering a solid-colored ribbon with a patterned ribbon for contrast and extra dimension.
How about some mesh ribbon? It adds drama while keeping things light and airy.
Coordinating ribbons can fill in unsightly gaps and sparse areas with lush patterns and colors!

Go Big with Ornaments
Here comes the fun part! Ornament time!
Whether you have chosen a theme for your tree or are going with a general festive free-for-all, grab a mug of chocolate and play some holiday music as you hang the ornaments.
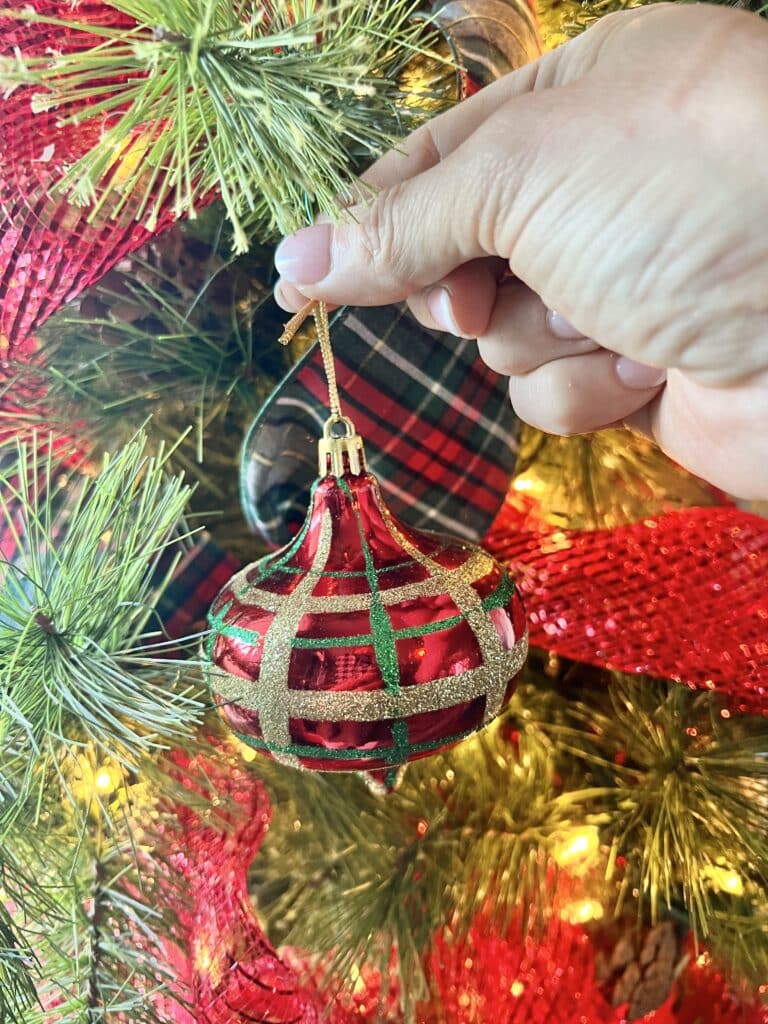
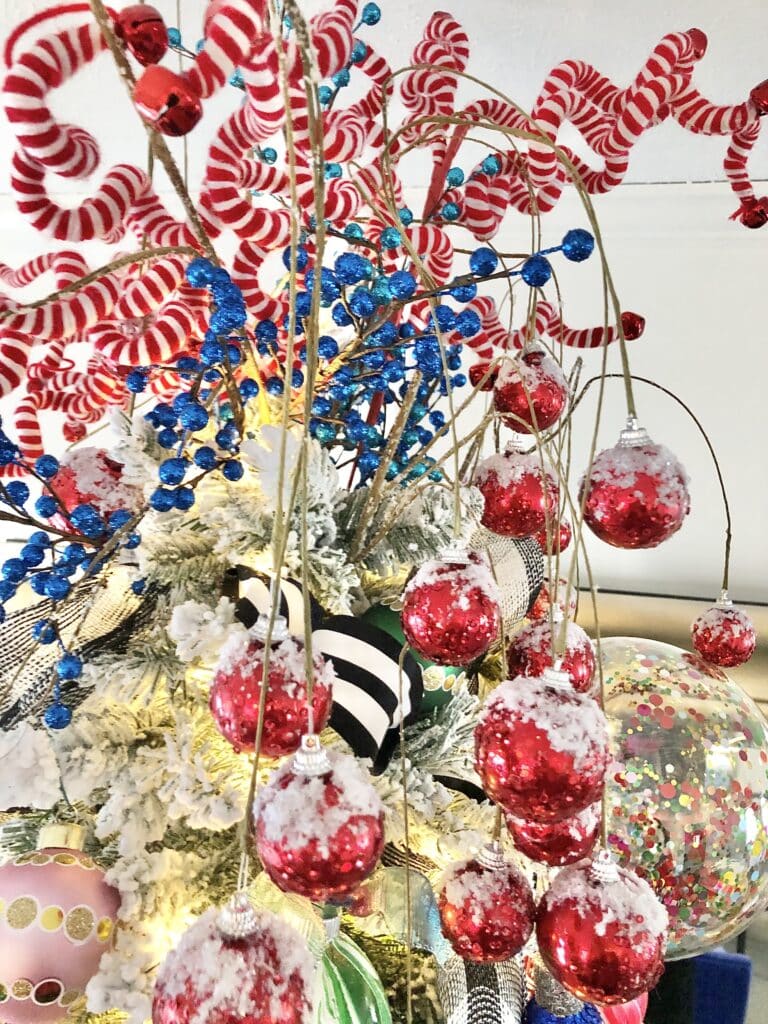
To fill in your tree and create that fuller appearance, mix in large ornaments and reflective ornaments with smaller pieces. Place reflective ornaments close to lights for added sparkle and shine!
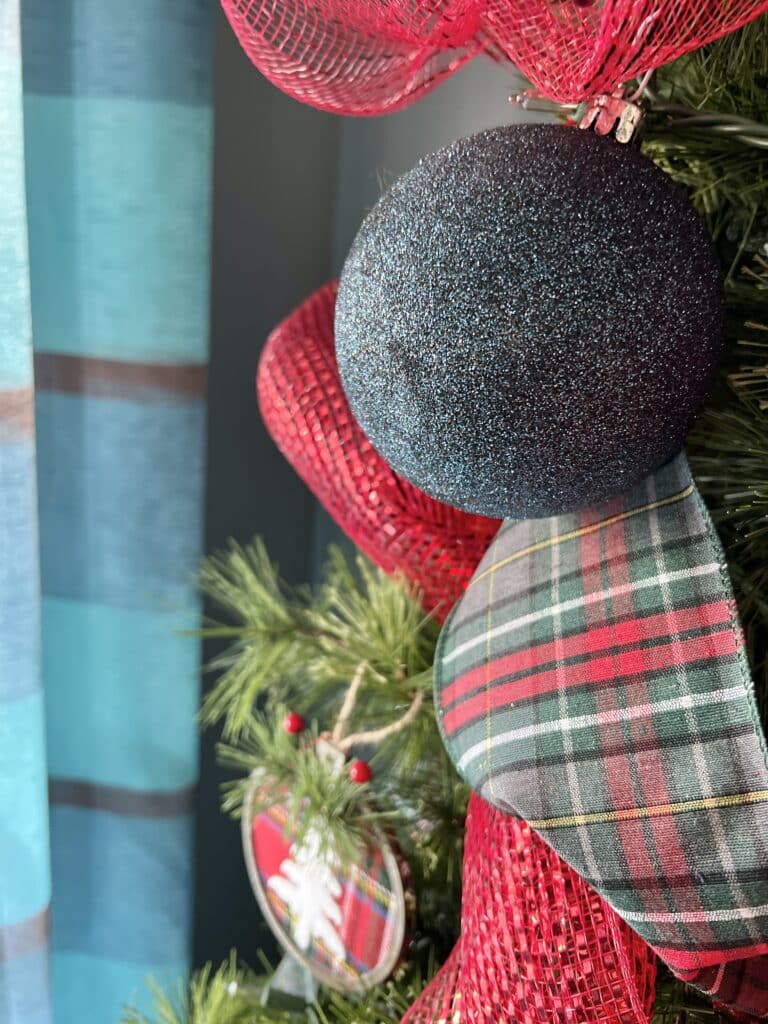
Tips for impactful decorating:
- Tuck basic filler ornaments (think shiny ball ornaments in coordinating colors) toward the back of the tree to add depth.
- Use ornaments in different sizes to give visual interest and a layered effect.
- Reflective and metallic ornaments help bounce light and add sparkle!
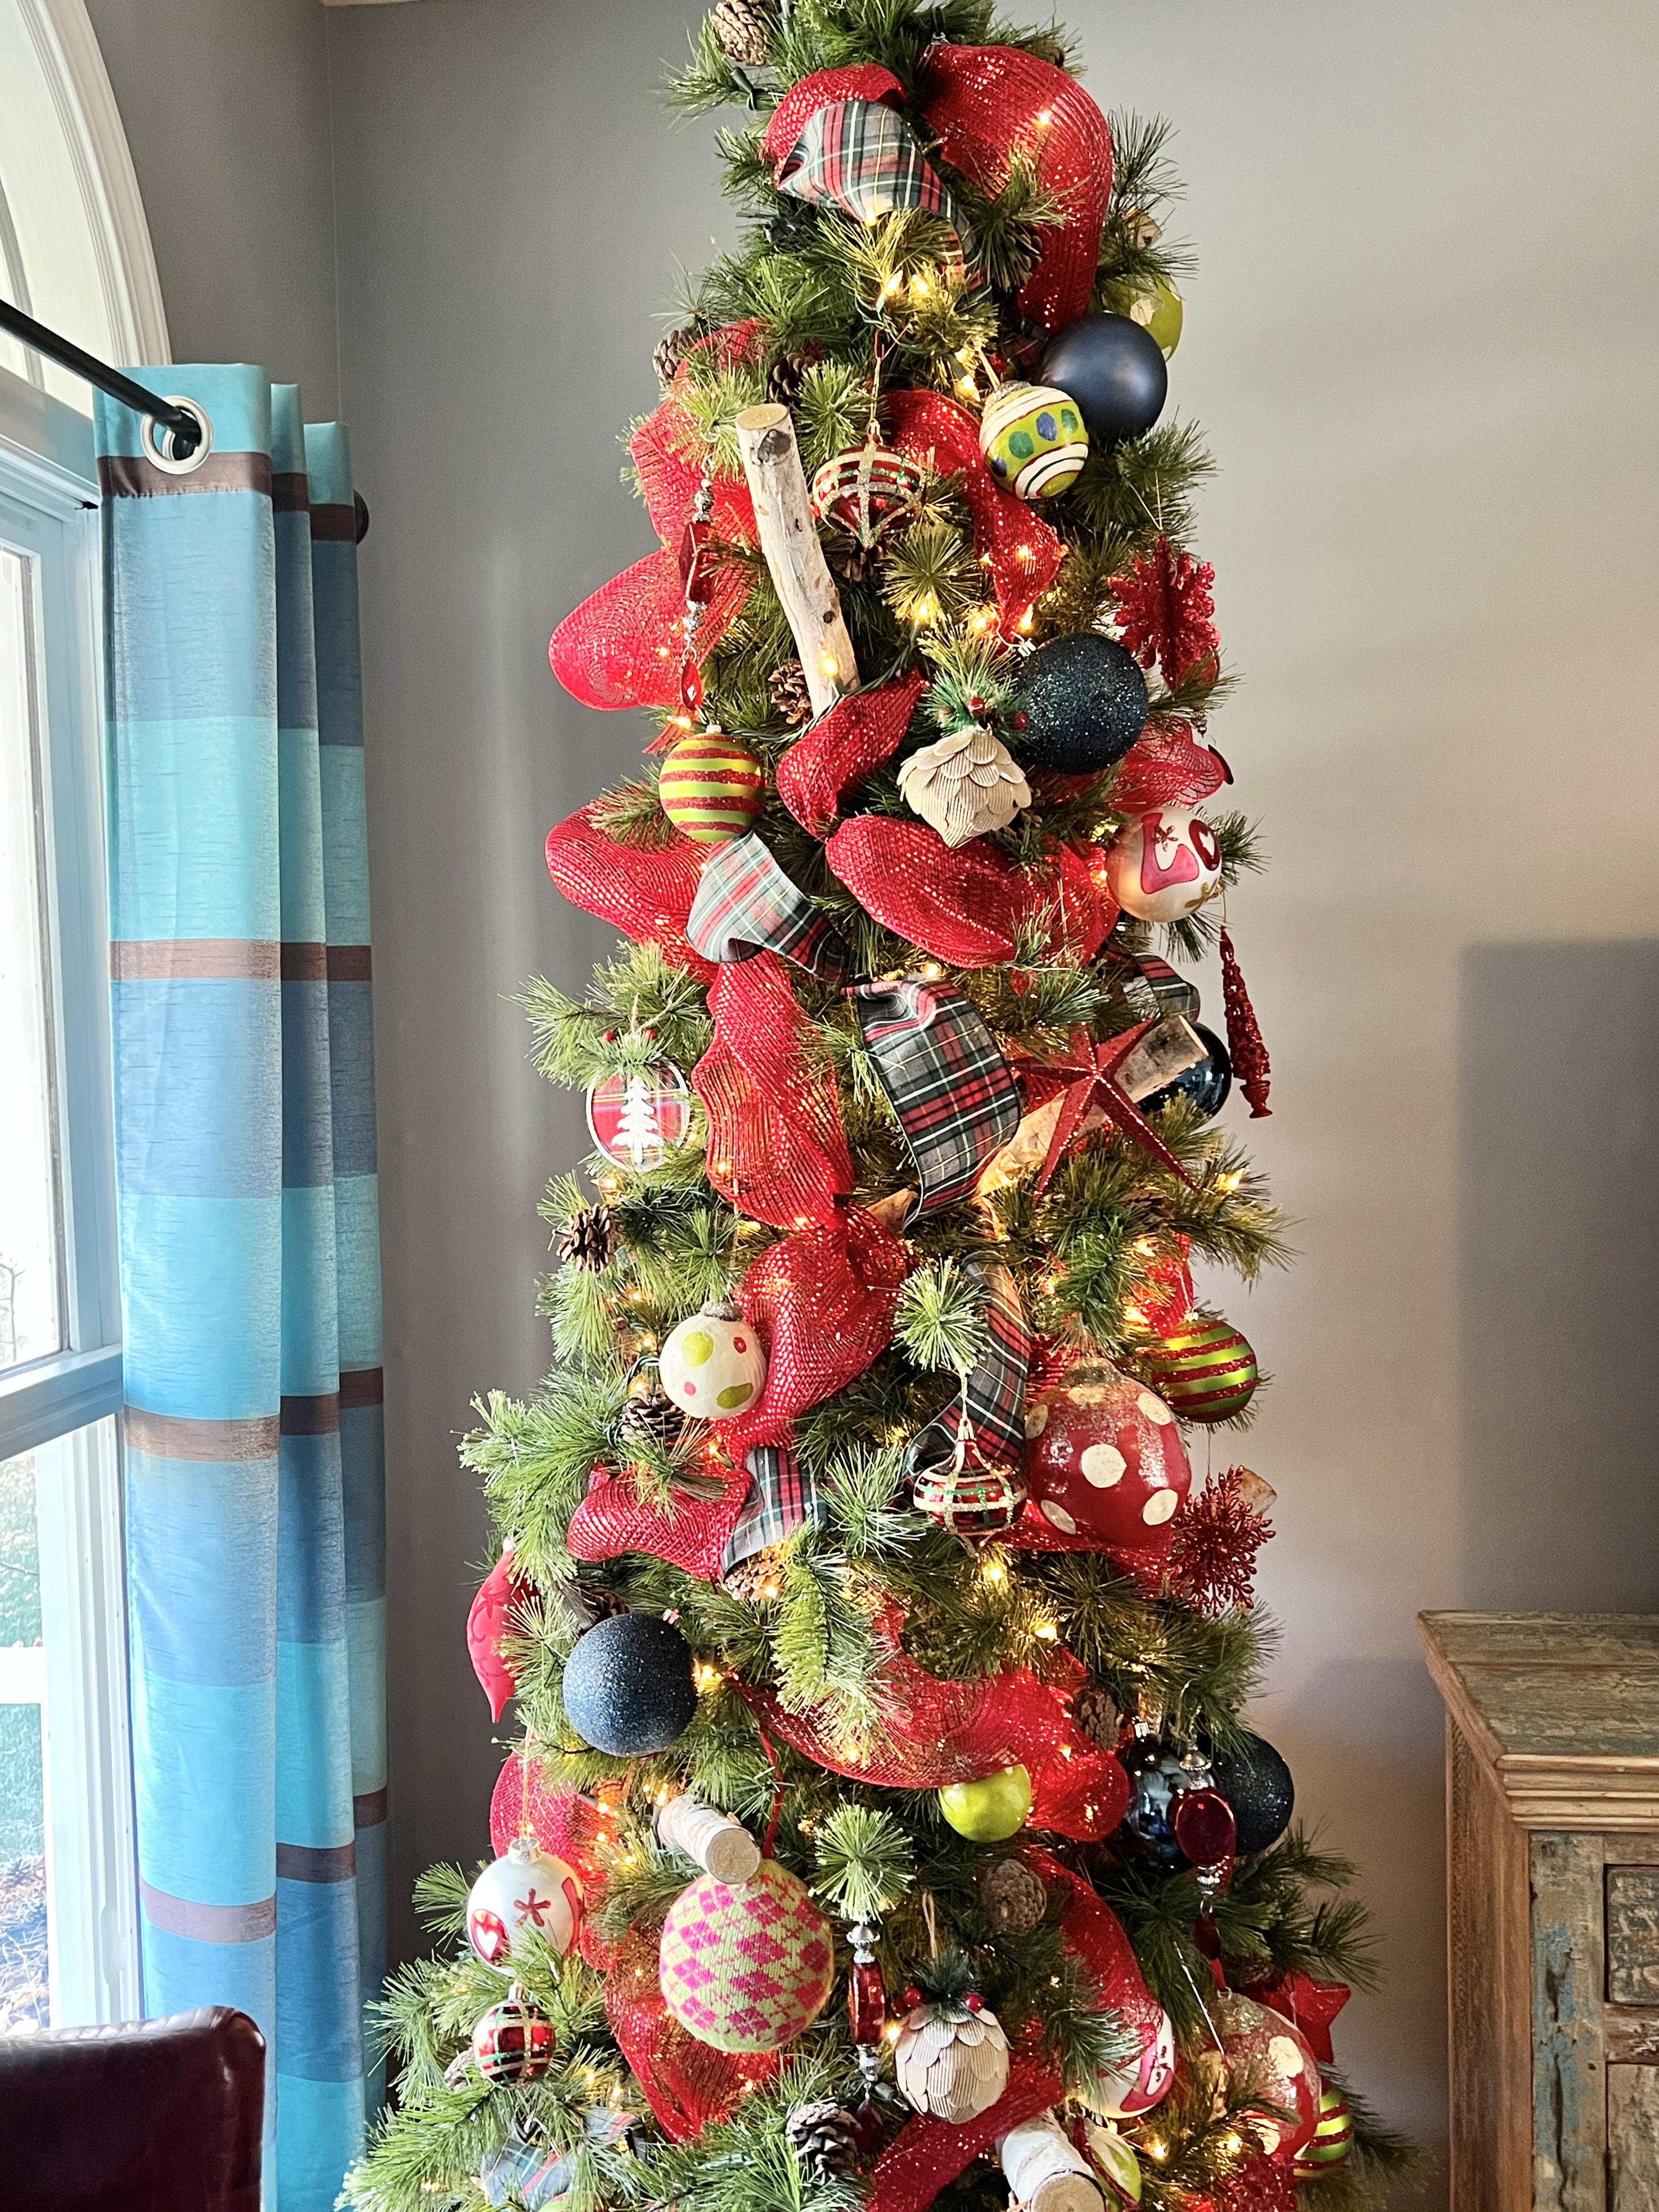
This is your moment to show your personality. Plaid, stripes, vintage, whimsical—whatever your holiday heart desires!
Picks and Extra Foliage
Floral picks and pine picks are your secret weapon for a fuller effect. They’re like mini tree branches you can pop in to make your fake Christmas tree look like the real deal.
Add them to:
- Fill in larger branch gaps or empty spaces.
- Extend out past the tree for added volume.
- Create texture and contrast with natural materials like pinecones, berries, or faux eucalyptus.
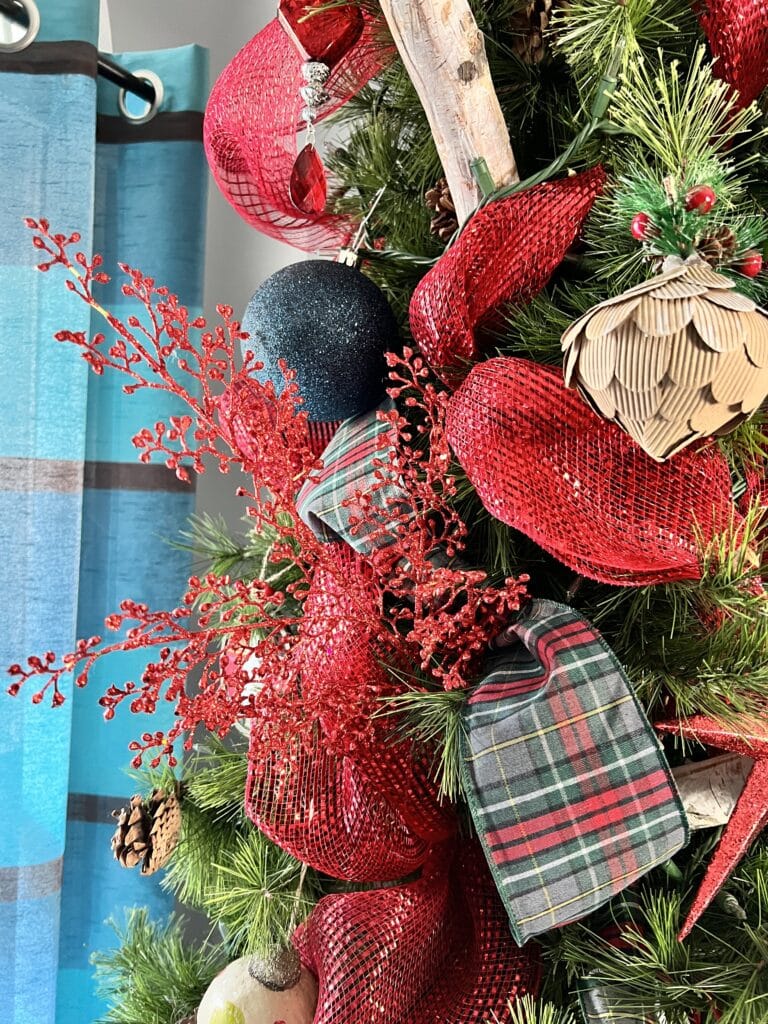
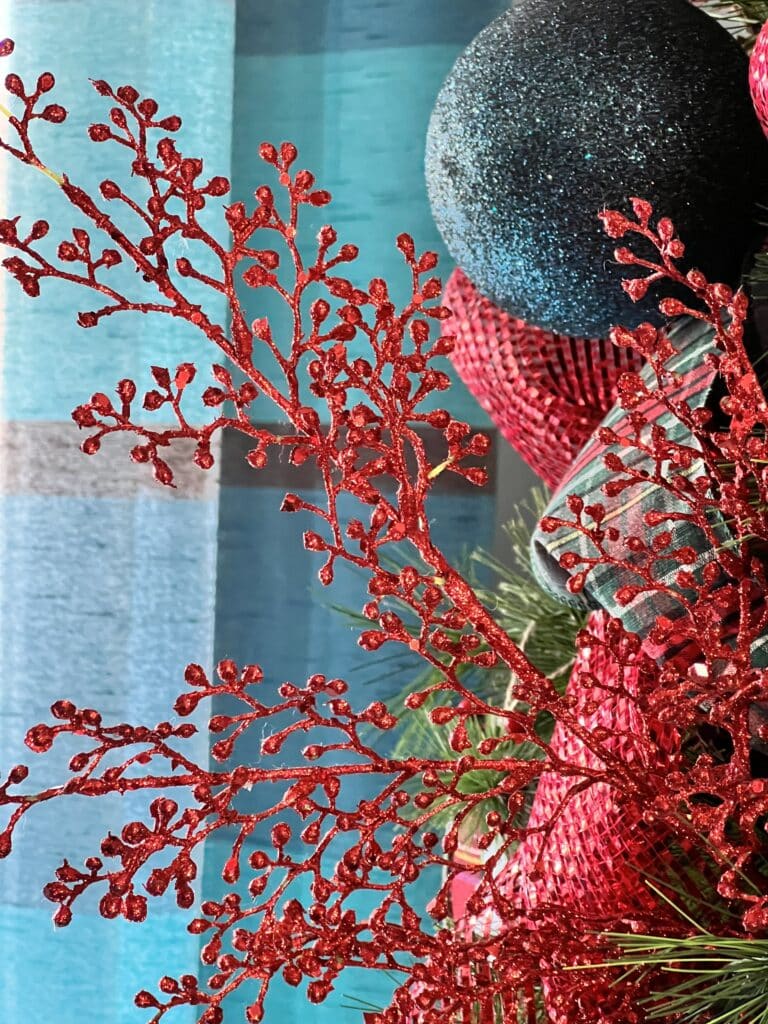
They’re especially great for covering up bare spots or helping transition between ribbons and ornaments.
Don’t hesitate to let them stick out from the tree a little bit…this makes your tree look bigger!
Add Something Unexpected
Want a new way to catch everyone’s eye?
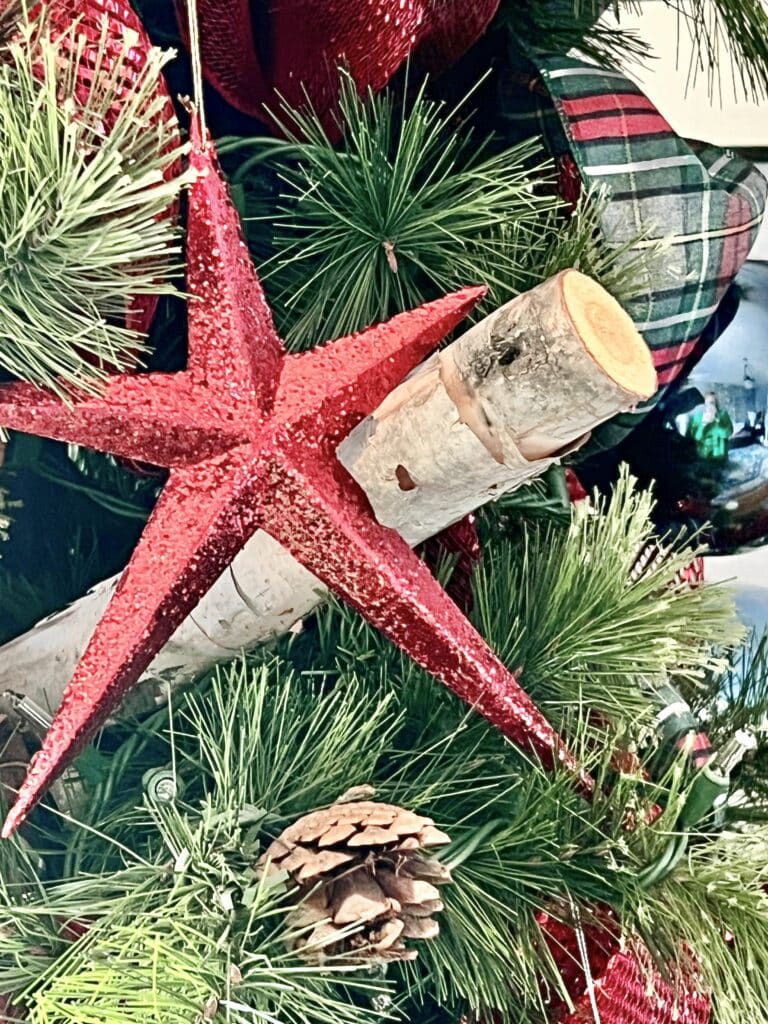
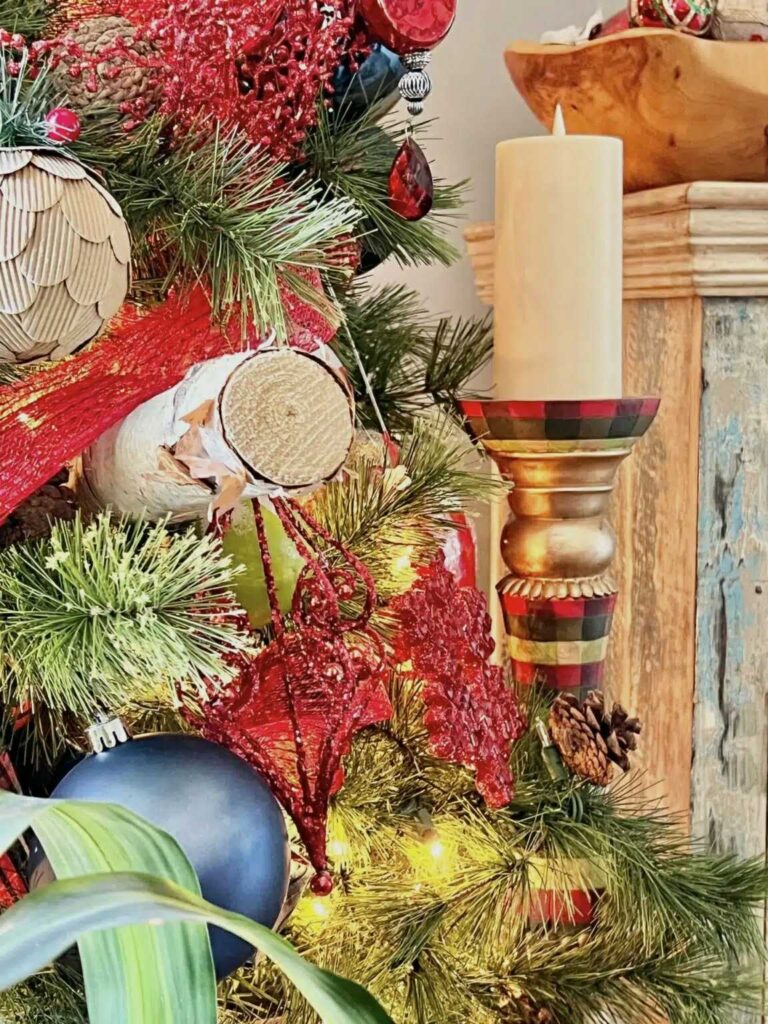
Tuck in something unexpected—like birch logs, mini wrapped presents, or even plush holiday figures. You can even match it to your Christmas garland ideas around the house for a consistent theme.
Surprise elements make your Christmas decorations feel curated and special—and they draw guests in for a closer look.
To complement the red plaids and polka dots in this tree, I tucked some birch logs into the tree.
It is a subtle addition, but it always takes people by surprise when they look at the tree.
Decorate the Base of the Tree
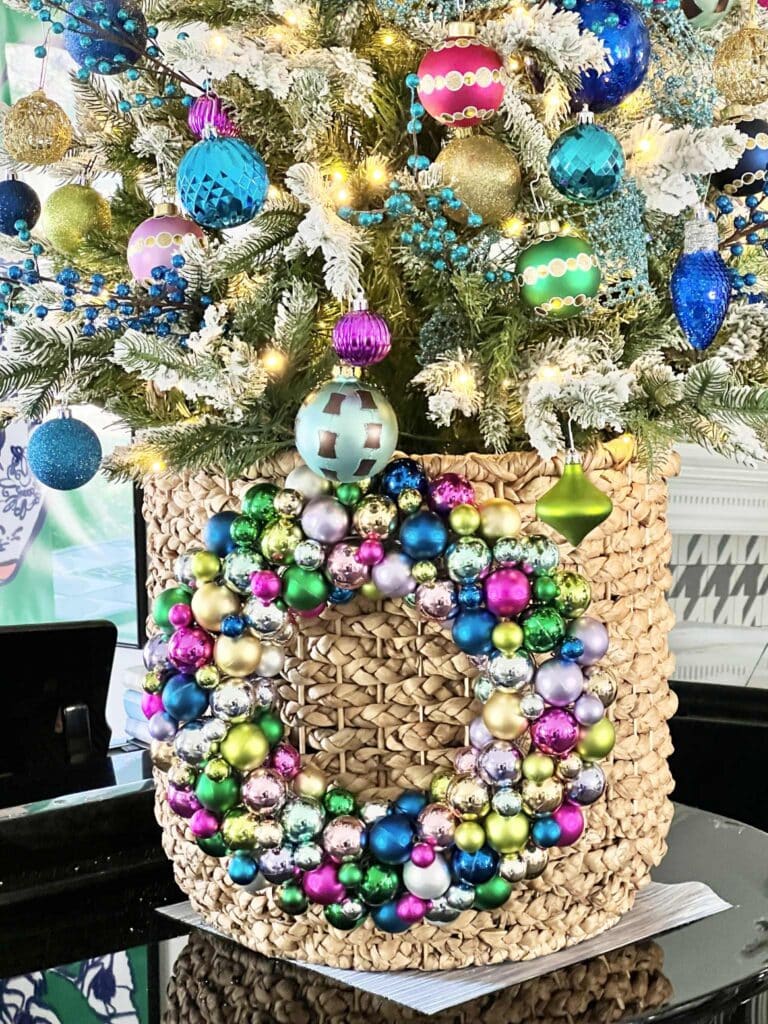
Let’s not forget the bottom of your tree! Whether you’re using a classic tree skirt, a woven basket, or placing it on a riser, styling the base of the tree completes the look.
A finished base helps “ground” the entire tree and brings balance.
Ideas to dress it up:
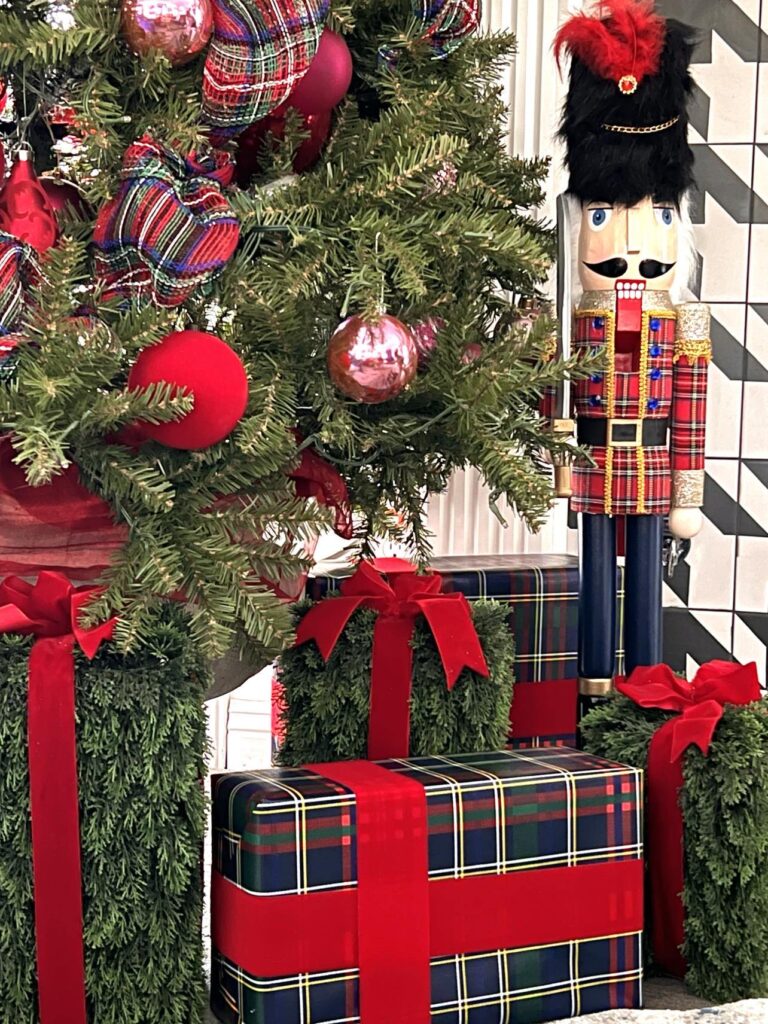
- Add wrapped faux gifts in a contrasting color to your theme.
- Display candle holders, winter greenery, or even a lantern for a wintery look.
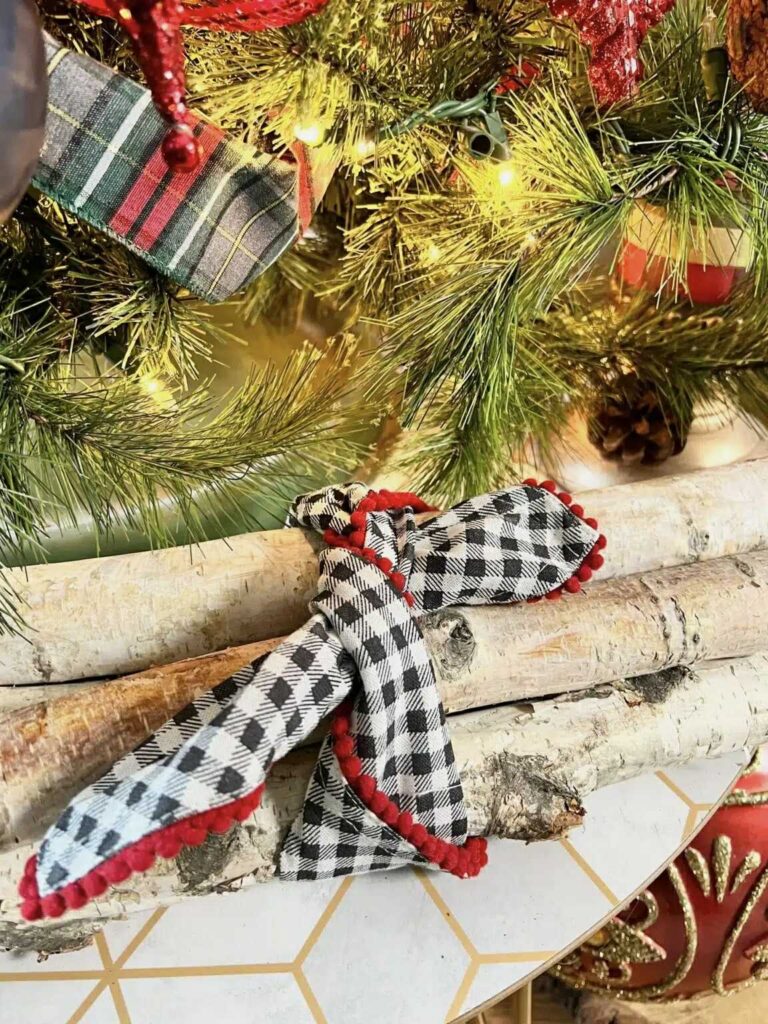
- Bundle logs or add a tree collar for rustic charm.
- Create this inexpensive DIY tree collar using photo frames and fabric!
- Add some nutcracker friends to stand “on guard” by Christmas packages.
Because this tree sits on a coffee table with some space, I added a candle on a candle holder and a small bundle of wrapped birch logs to the top of the table.
Crown It With a Fabulous Tree Topper
Your tree topper is like the finishing accessory—bold, fun, and essential.
It pulls the whole tree together and draws the eye to the top of your Christmas tree.
You can go traditional…
or unexpected!
Here are some Christmas tree topper ideas:
- Big loopy bow with wide ribbon
- Star or angel
- Santa hat
- Picks, Sprays, and Branches
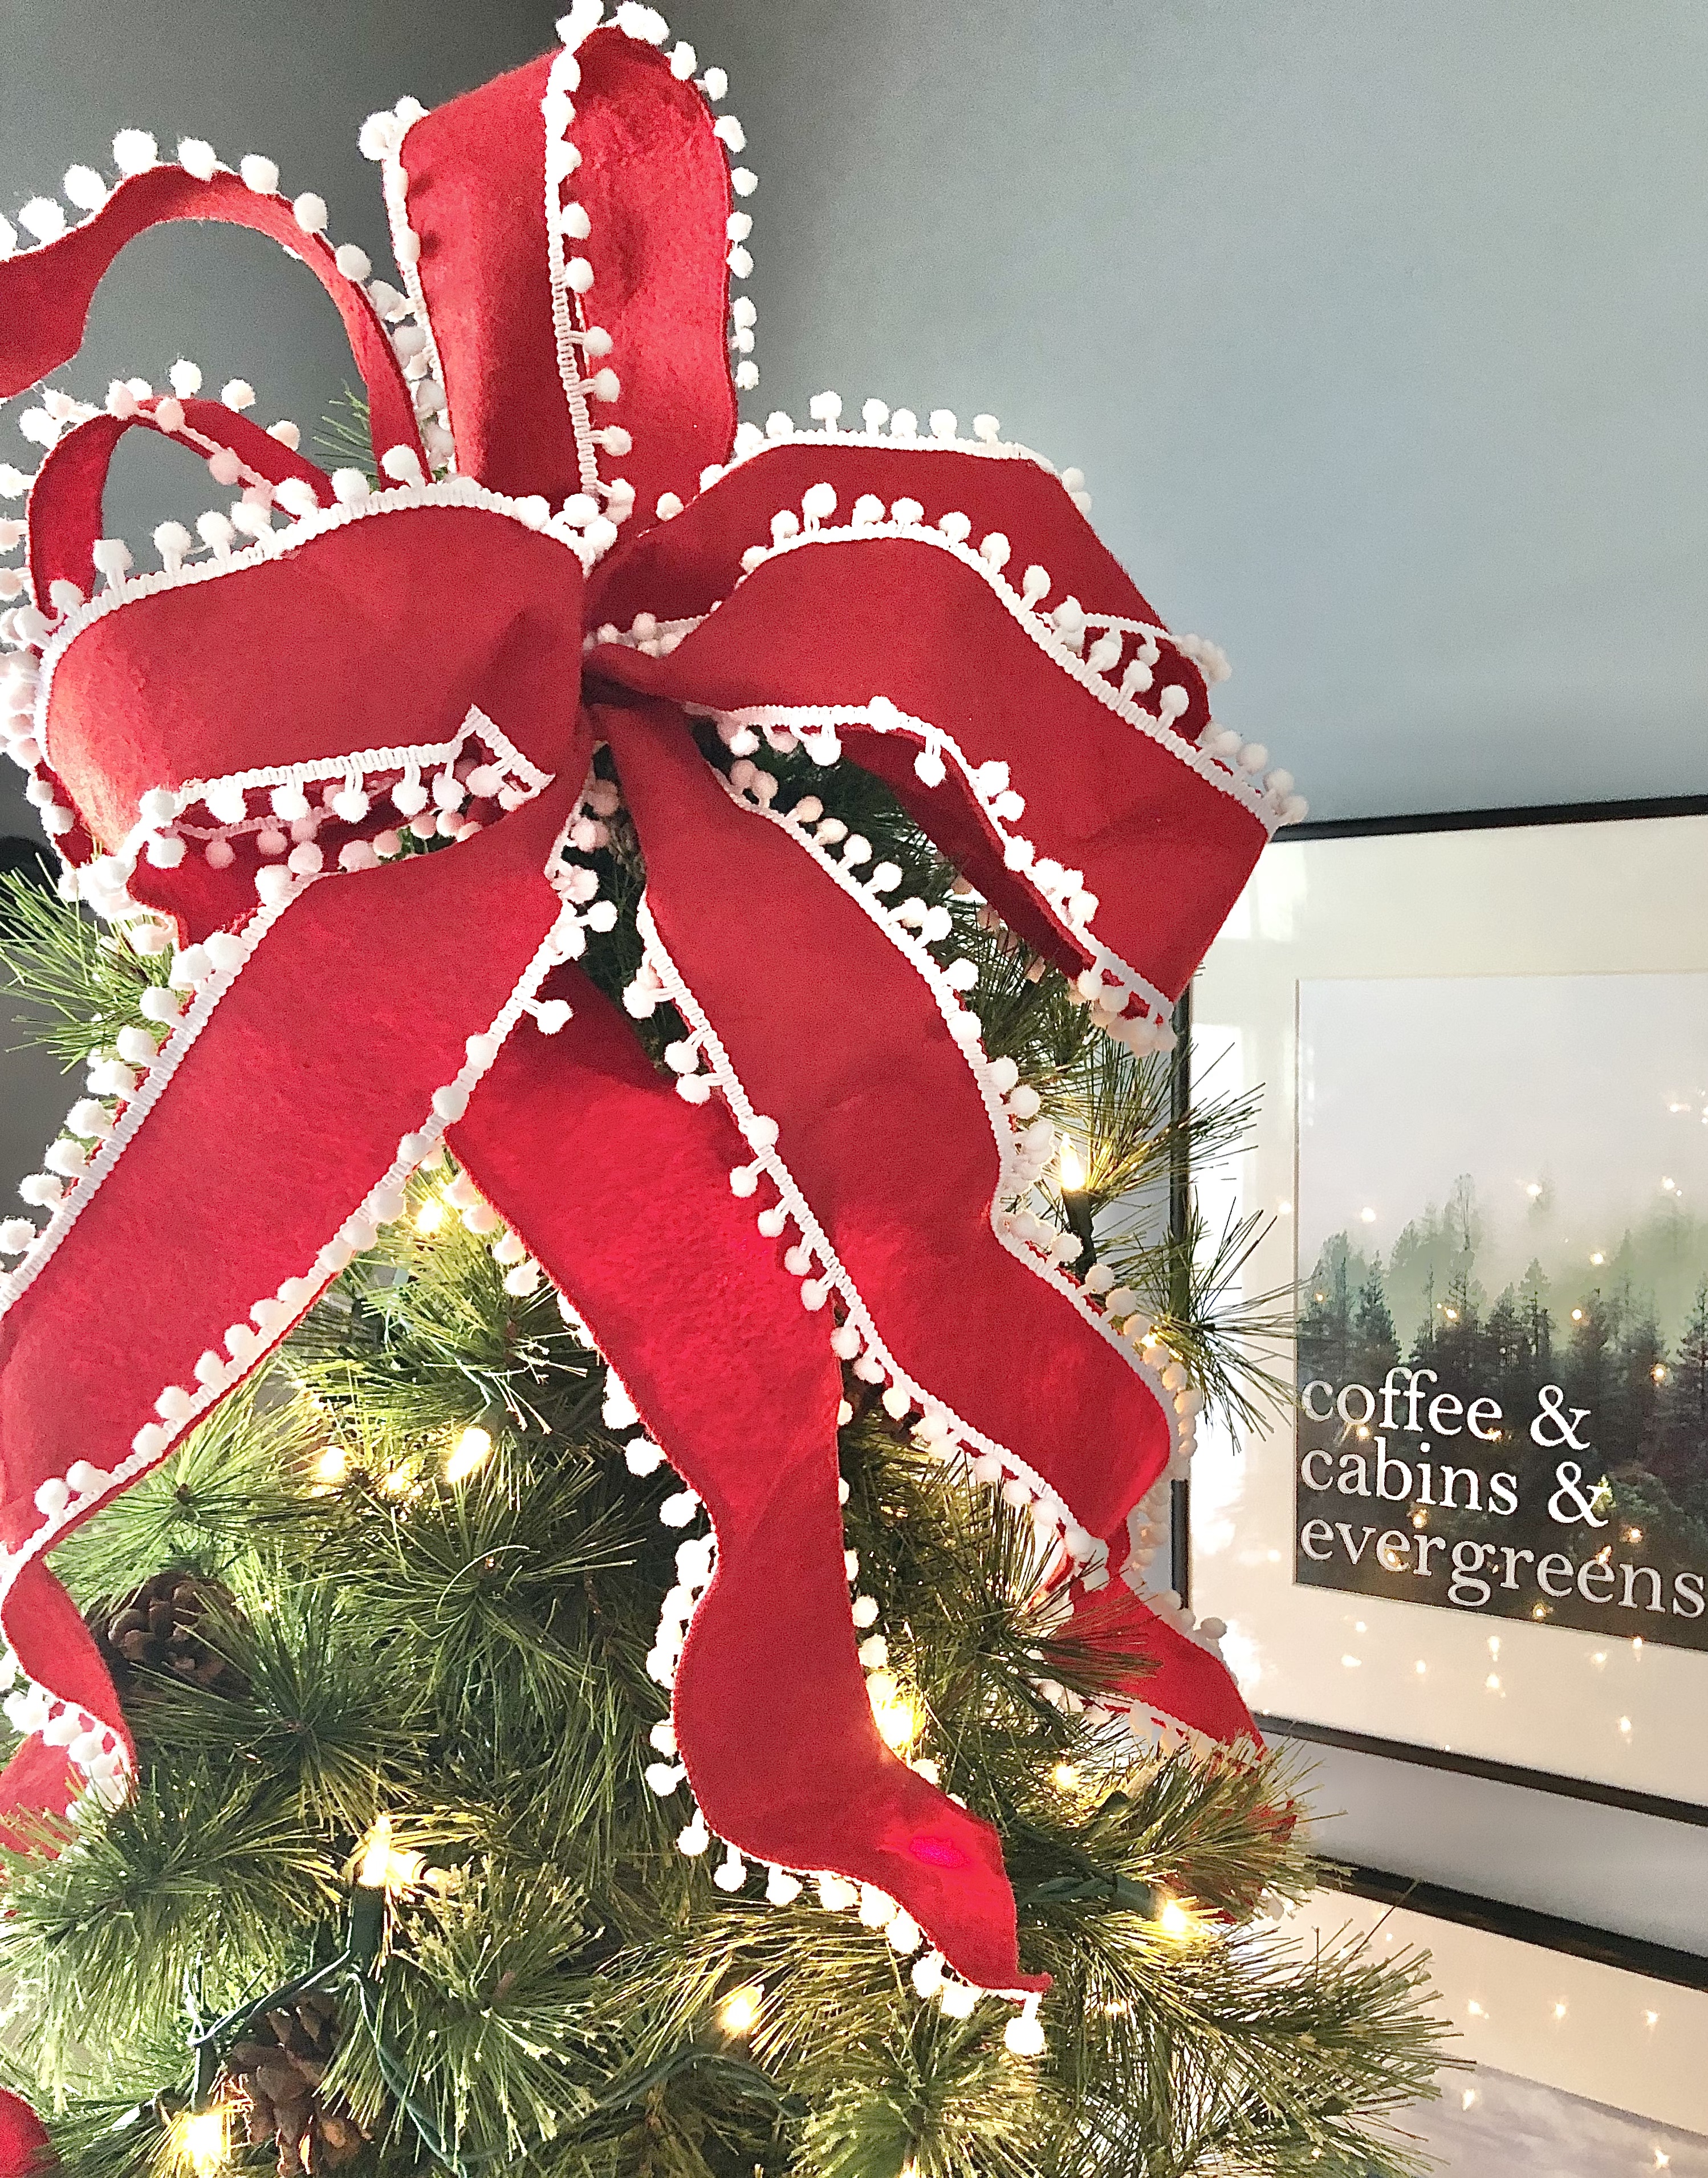
Adding a topper to your Christmas tree is the perfect way to give your tree its final accessory.
Kind of like an exclamation point that says, “Hey! Look at me!”
From Sad to Spectacular
Let’s take a look at the transformation…
That old tree may have started with sparse areas, skimpy branches, and dead lights, but now?

It’s tall, lush, and absolutely holiday-ready—with a fuller appearance from top of the tree to bottom of the tree!
So before you head to the store in search of a new real Christmas tree, consider giving your fake tree a little TLC.
With these easy tricks and budget-friendly ideas, you can transform your artificial tree into a showstopping centerpiece for the most magical time of year.
Cheers!
Missy

A Little About Me
Hi! I’m missy. So happy to meet you!
“Decorate with Joy! Live with Happiness”
I truly believe that your home should be a reflection of your personality, a space where you feel free to express yourself and create a sanctuary that feels uniquely yours.
I love creating mood boards, hunting down unique home décor treasures, tackling easy DIY projects, and gathering with family and friends. Homes are meant to be enjoyed, filled with laughter, and shared with the people you love!
– cheers –
Don’t Forget to Pin It!
More Christmas Decorating Ideas
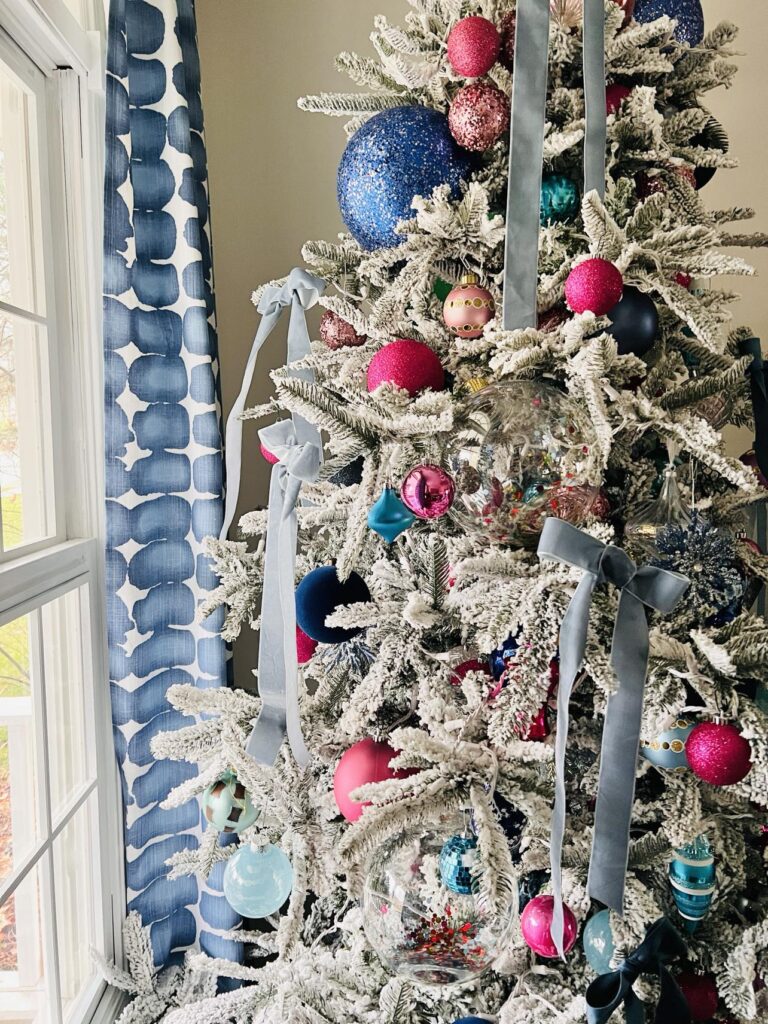
Brighten your Holiday with a New Color Scheme




Beautiful job! What a great transformation! Happy Thanksgiving!
Thank you, Leslie! It was a bit of a challenge but it turned out pretty well. I have a hard time throwing things away…I would rather give makeovers! Happy Thanksgiving to you and your family!
Wow! You made your “scrawny” tree look amazing! The art of “fluffing” a tree is key!! I also love how you added ribbon! So pretty!
Hi Donna! You are right…fluffing is key! It is not one of my favorite things to do but it makes such a huge difference! Thanks for reading, my friend!
Your tree looks lovely! Growing up my step-father always bought and brought home some of the saddest looking trees from wherever he bought them. I can remember us all complaining about another Charlie Brown tree when he responded that he felt bad for the sad trees since no one else would buy them but they always looked lovely and full and just fine by the time we put on the ornaments, garland/ribbon, tinsel, etc. I once knew a family that put lighted green garland around some bare spots of their tree to fill it out!
What a nice man your step father sounds!