

Vintage Thrift: Easy Tissue Decoupage Glass Plates
Looking for a thoughtful and creative Mother’s Day gift that Mom will cherish? Look no further than a decoupage glass plate! This easy and budget-friendly DIY project lets you transform plain glass plates into stunning decorative pieces that hold special meaning.
I’ll walk you through the entire process, from gathering supplies to decoupage technique, so you can create a one-of-a-kind gift that celebrates Mom and your treasured memories.

This blog contains affiliate links. This means a small commission is earned if you make a purchase by using this link. The price you pay will be the same whether you use the affiliate link or go directly to the vendor’s website using a non-affiliate link. As an Amazon Influencer, I earn from qualifying purchases.
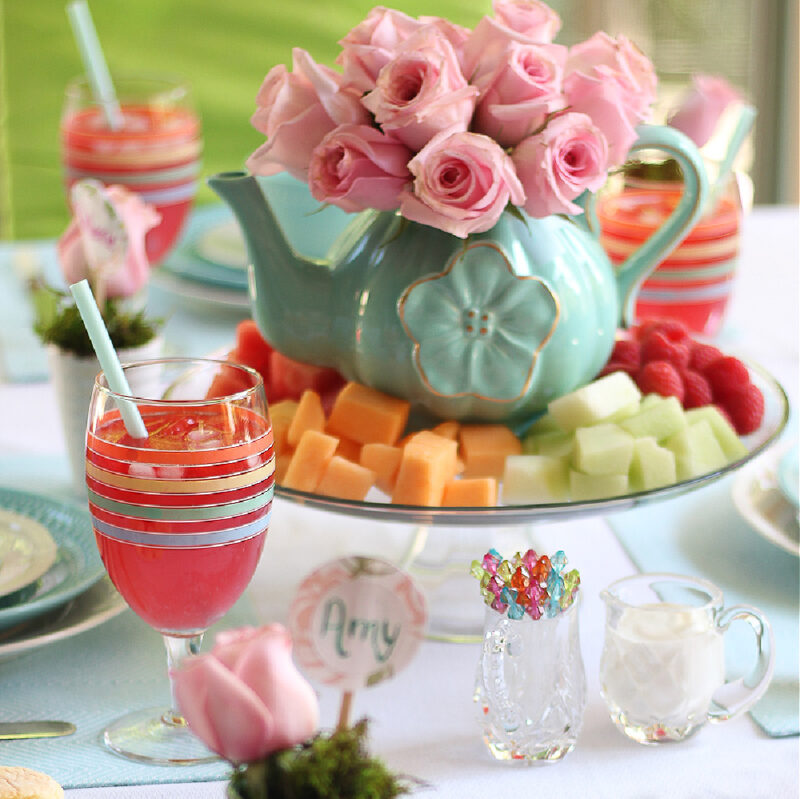
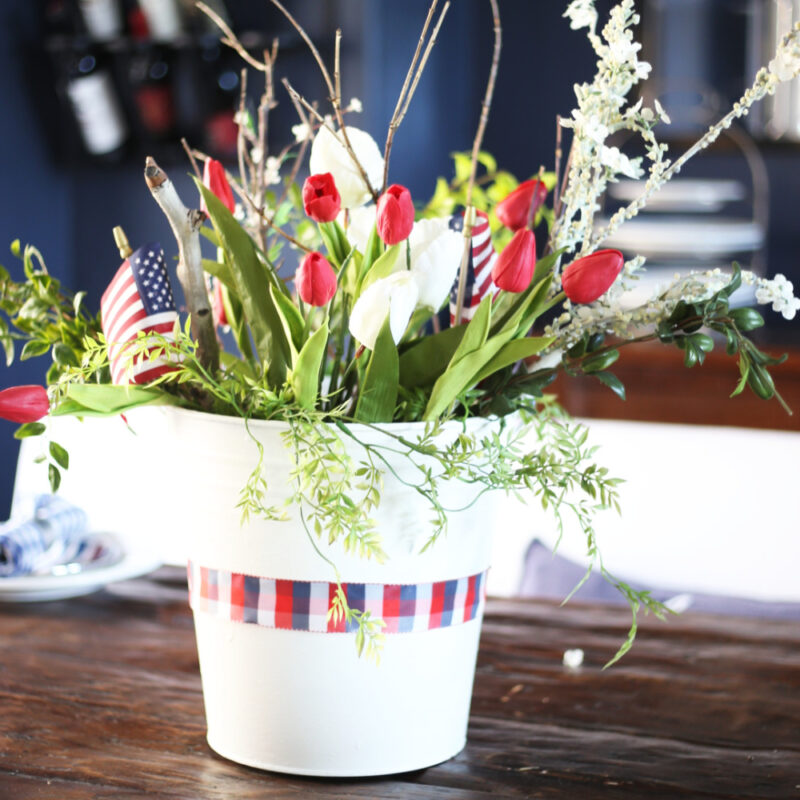
Welcome to Sonata Home Design! If you are visiting from Thistle Key Lane, you just discovered some very fun ways to decorate with red, white, and blue! Perfect for patriotic and summertime decorating!

They must have been MASSIVELY mass-produced…individual glass serving trays.
These lovely cut glass luncheon plates with matching cups were, at one time, the standard for serving “a light lunch” on special occasions. Baby showers, wedding showers, church meetings, bridge club…these were standard at all of the “Ladies Who Lunch” events.

These are still in use today. However, more and more, I see them at garage sales, listed on marketplace pages, or included in an “I’m downsizing, please take these for free” social media post.
My mother had boxes of them. She didn’t need them anymore after she downsized.
I asked around the family…”Anyone want these?”
Crickets.
So I am the recipient of LOTS of these glass plates!
Can You Decoupage on Glass Plates?
In a word, “YES!”
Glass plates are perfect for a decoupage project and a perfect DIY project to give as a gift!
Since my mother had given me these plates, I wanted to create something out of the glass plates that I could use to celebrate her and Mother’s Day. I’ll call it a “tidbit tray treasure?”

Something beautiful, yet personal, that brought back warm memories of entertaining in style. And then it hit me – decoupaged glass plates!
Now, I’m no artist, but the beauty of decoupage is that it lets anyone use their creativity. Plus, the idea of taking a simple plate and turning it into a one-of-a-kind piece for my mother just felt perfect.
So, grab a cup of coffee (or tea, if that’s more your mom’s style!), and let’s get started on this easy and heartfelt project!
Craft Supplies You’ll Need
Before we decoupage plates, let’s gather our supplies:
- Clear glass plates: Remember those snack plates? This is their time to shine (or, well, be transformed)! There are various sizes of glass plates, but think about what your Mom uses most – dessert plates, salad plates, or maybe even a larger platter for serving. A thrift store is a great place to look for vintage treasures, or you can grab some inexpensive glass plates at Dollar Tree.
- Decoupage paper: You can find all sorts of beautiful decorative paper specifically made for decoupage, or you can get creative with tissue paper, wrapping paper, or even magazine clippings with stunning florals or patterns.
- Mod Podge: This special glue will hold everything together. Remember, dishwasher safe is key if you want Mom to be able to use these plates!
- Paint brush: A simple flat brush will do the trick.
- Scissors: Sharp scissors are your friend for precise cuts.
- Damp cloth: For cleaning and smoothing out any wrinkles.
- Optional: Razor blade (for super clean edges), sandpaper (for smoothing rough edges on plates), and a plate stand (to display Mom’s masterpiece if you want!).
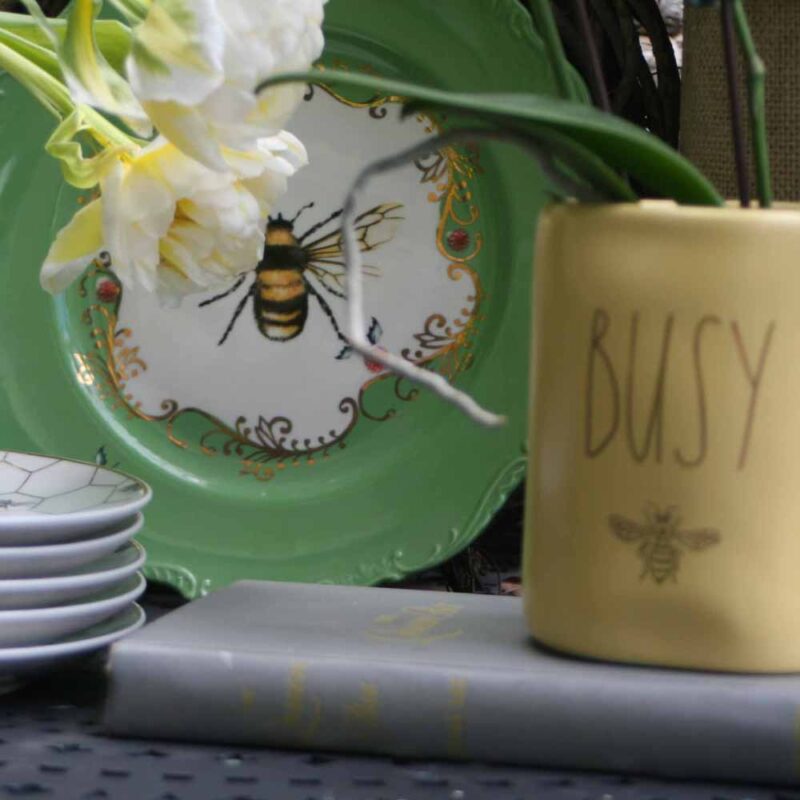
Because of the intricacy of decoupaging a plate with glass cuts, it works better if you use a paper with BUSY pattern.
That’s right! The busier the better. The pattern helps to disguise any of the glass cuts that are not totally covered by the tissue paper.

This Jillson & Roberts tissue paper sports a cool combination of oranges and greenery. The leafy background ties in perfectly with the cut glass leaves on the plates. (You can find all sorts of Jillson & Roberts tissues paper here.)
Now that we have everything we need, let’s get decoupaging!
How Do You Decoupage Glass Plates?
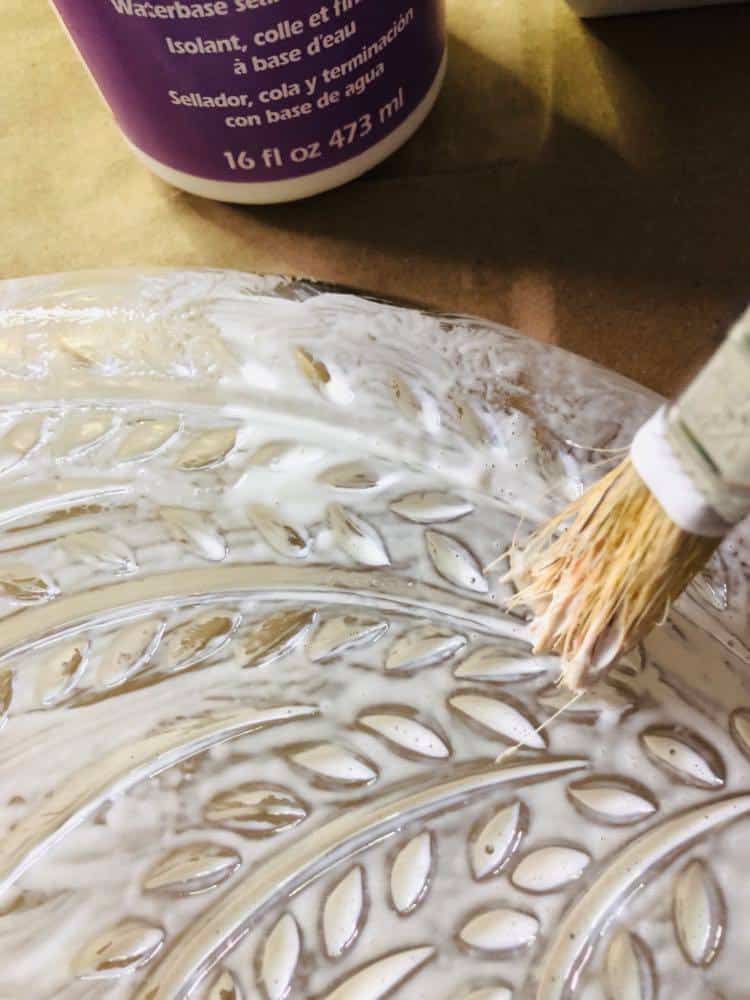
First things first, give your glass plates a good wash with some soapy water and dry them completely.
Then wipe down the plate with rubbing alcohol. This will help the Mod Podge to adhere to the plate most effectively.
Prep your work surface by having all of your supplies in one spot. You don’t want to be looking for something when you are working with glue!
Now comes the fun part! Here’s where you can truly personalize this gift for Mom.
Maybe there’s vintage sheet music with a melody from her favorite song? Maybe you have some beautiful floral patterned paper that reminds you of Mom’s garden? Or perhaps you have leftover paper napkins that fit within your mother’s decor (or yours!).


Let the paper be a visual representation of your love and memories. I am my mother’s daughter and come by my love of color naturally. The paper I am using is a beautiful orange and green citrus tissue paper. My mother has always loved anything citrus so this seems perfect for her glass plates!
Pro Tip: If you’re using paper napkins, remember to separate the layers carefully – you only want the top, most printed layer.
Next, place your plate upside down on the tissue paper. Trace around the plate at least an inch from the plate edge and cut out your traced paper.

Take your paintbrush and apply a thin layer of Mod Podge to the back of the plate. Brush a thin layer of glue onto the back of the glass plate. Don’t worry if the glue pools a little in the glass cuts. This will dry clear!
Then brush a thin layer of glue onto the front side of the tissue paper. The best way is to start in the middle and brush the glue to the edge of the paper.

Halfway There!
Gently lay the tissue paper with the pattern side face down on the back of the plate. Starting in the middle of the plate, carefully begin to press the paper against the plate. Smooth the paper onto the plate with a damp rag or your fingers to remove any air bubbles.

While you should press GENTLY into any cuts in the glass, there is no need to press completely down. (Remember: the glue dries clear.) There will be wrinkles! This is where the magic of the pattern helps to disguise those wrinkles!
Once you’re happy with the placement, grab your Mod Podge again and brush a thin layer over the entire surface of the paper, sealing it onto the plate.
Perfecting Details
Trim excess paper from the edge of the plate with very sharp scissors. You could also use a razor blade (be careful!), an exact knife, or even sandpaper. Let dry for several hours or overnight.
Once the original coat has dried, a great way to add extra protection and shine is to add one more coat of Mod Podge to the entire back of the plate.
You know…Seal the Deal! If the plate is tacky to the touch, wait a bit more for it to fully dry.
The hardest part now? Letting your masterpiece dry completely. This can take anywhere from 30 minutes to an hour, depending on the thickness of your Mod Podge layer.

There you have it! A beautiful, one-of-a-kind decorative plate that’s sure to bring a smile to Mom’s face.
Imagine her surprise when she sees a piece of her favorite flower pattern or a pattern from a cherished memory adorning a plate (or plates!) she’ll use for years to come.

Let’s Make Another!
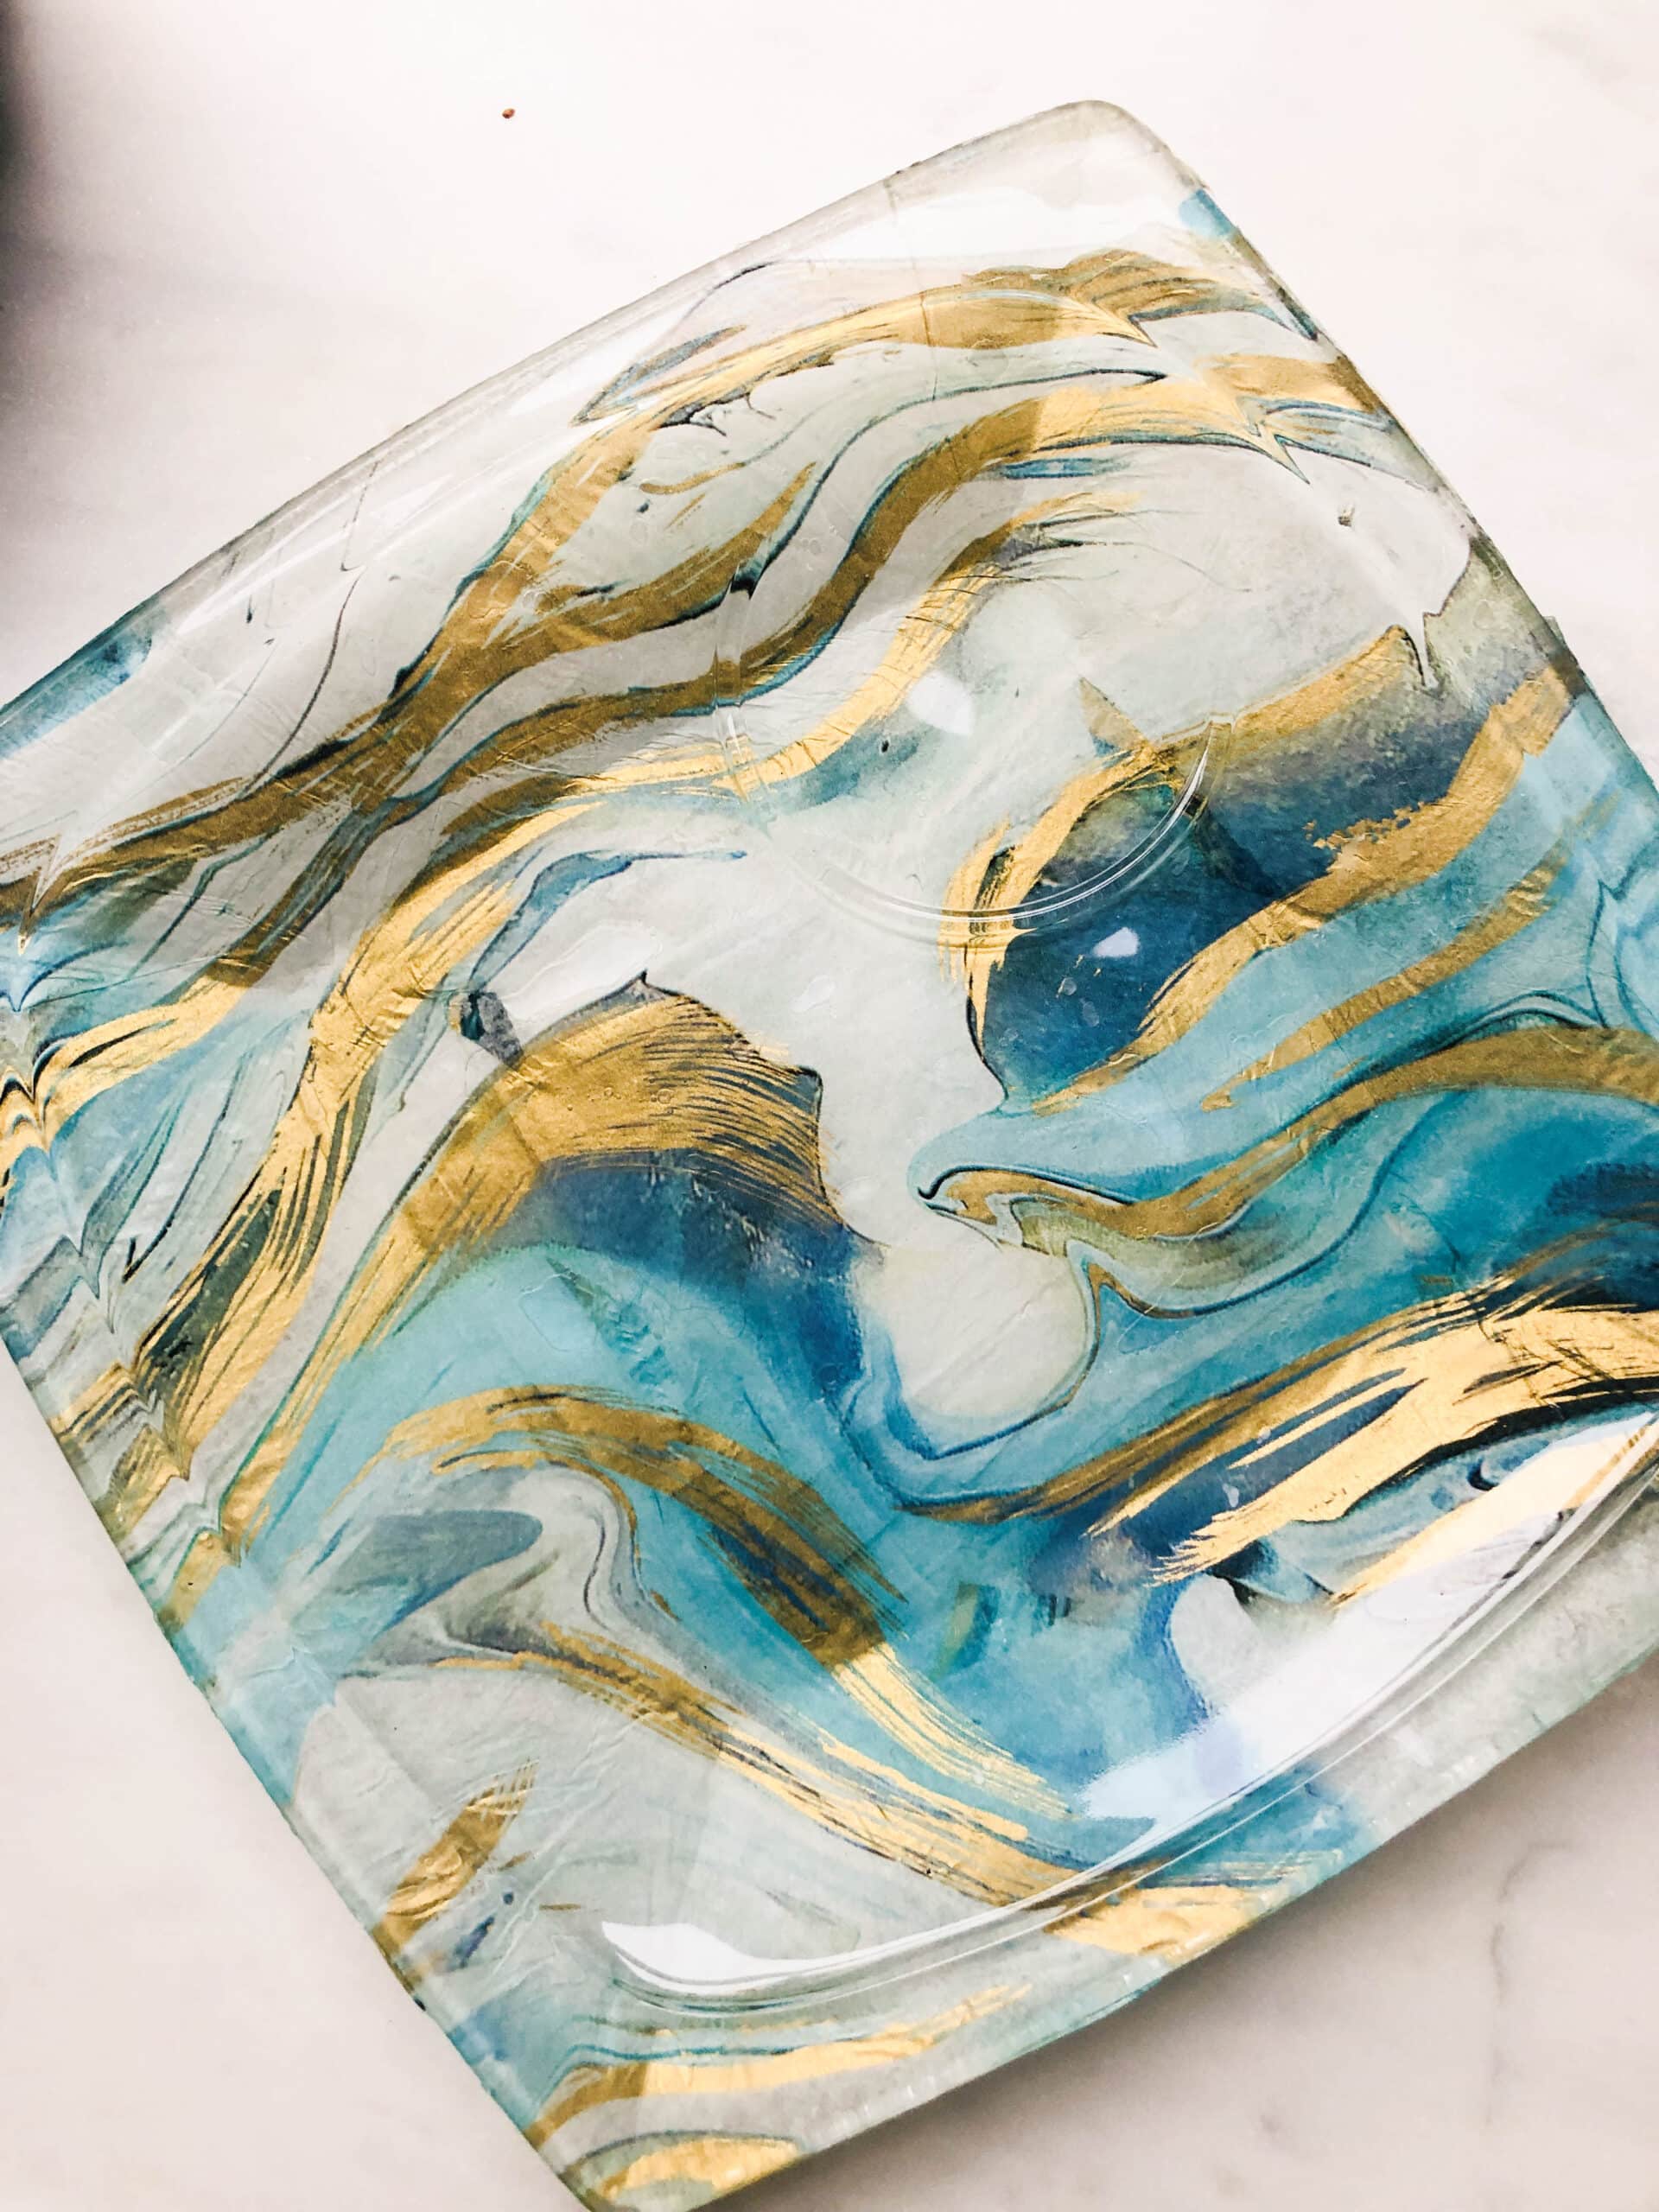
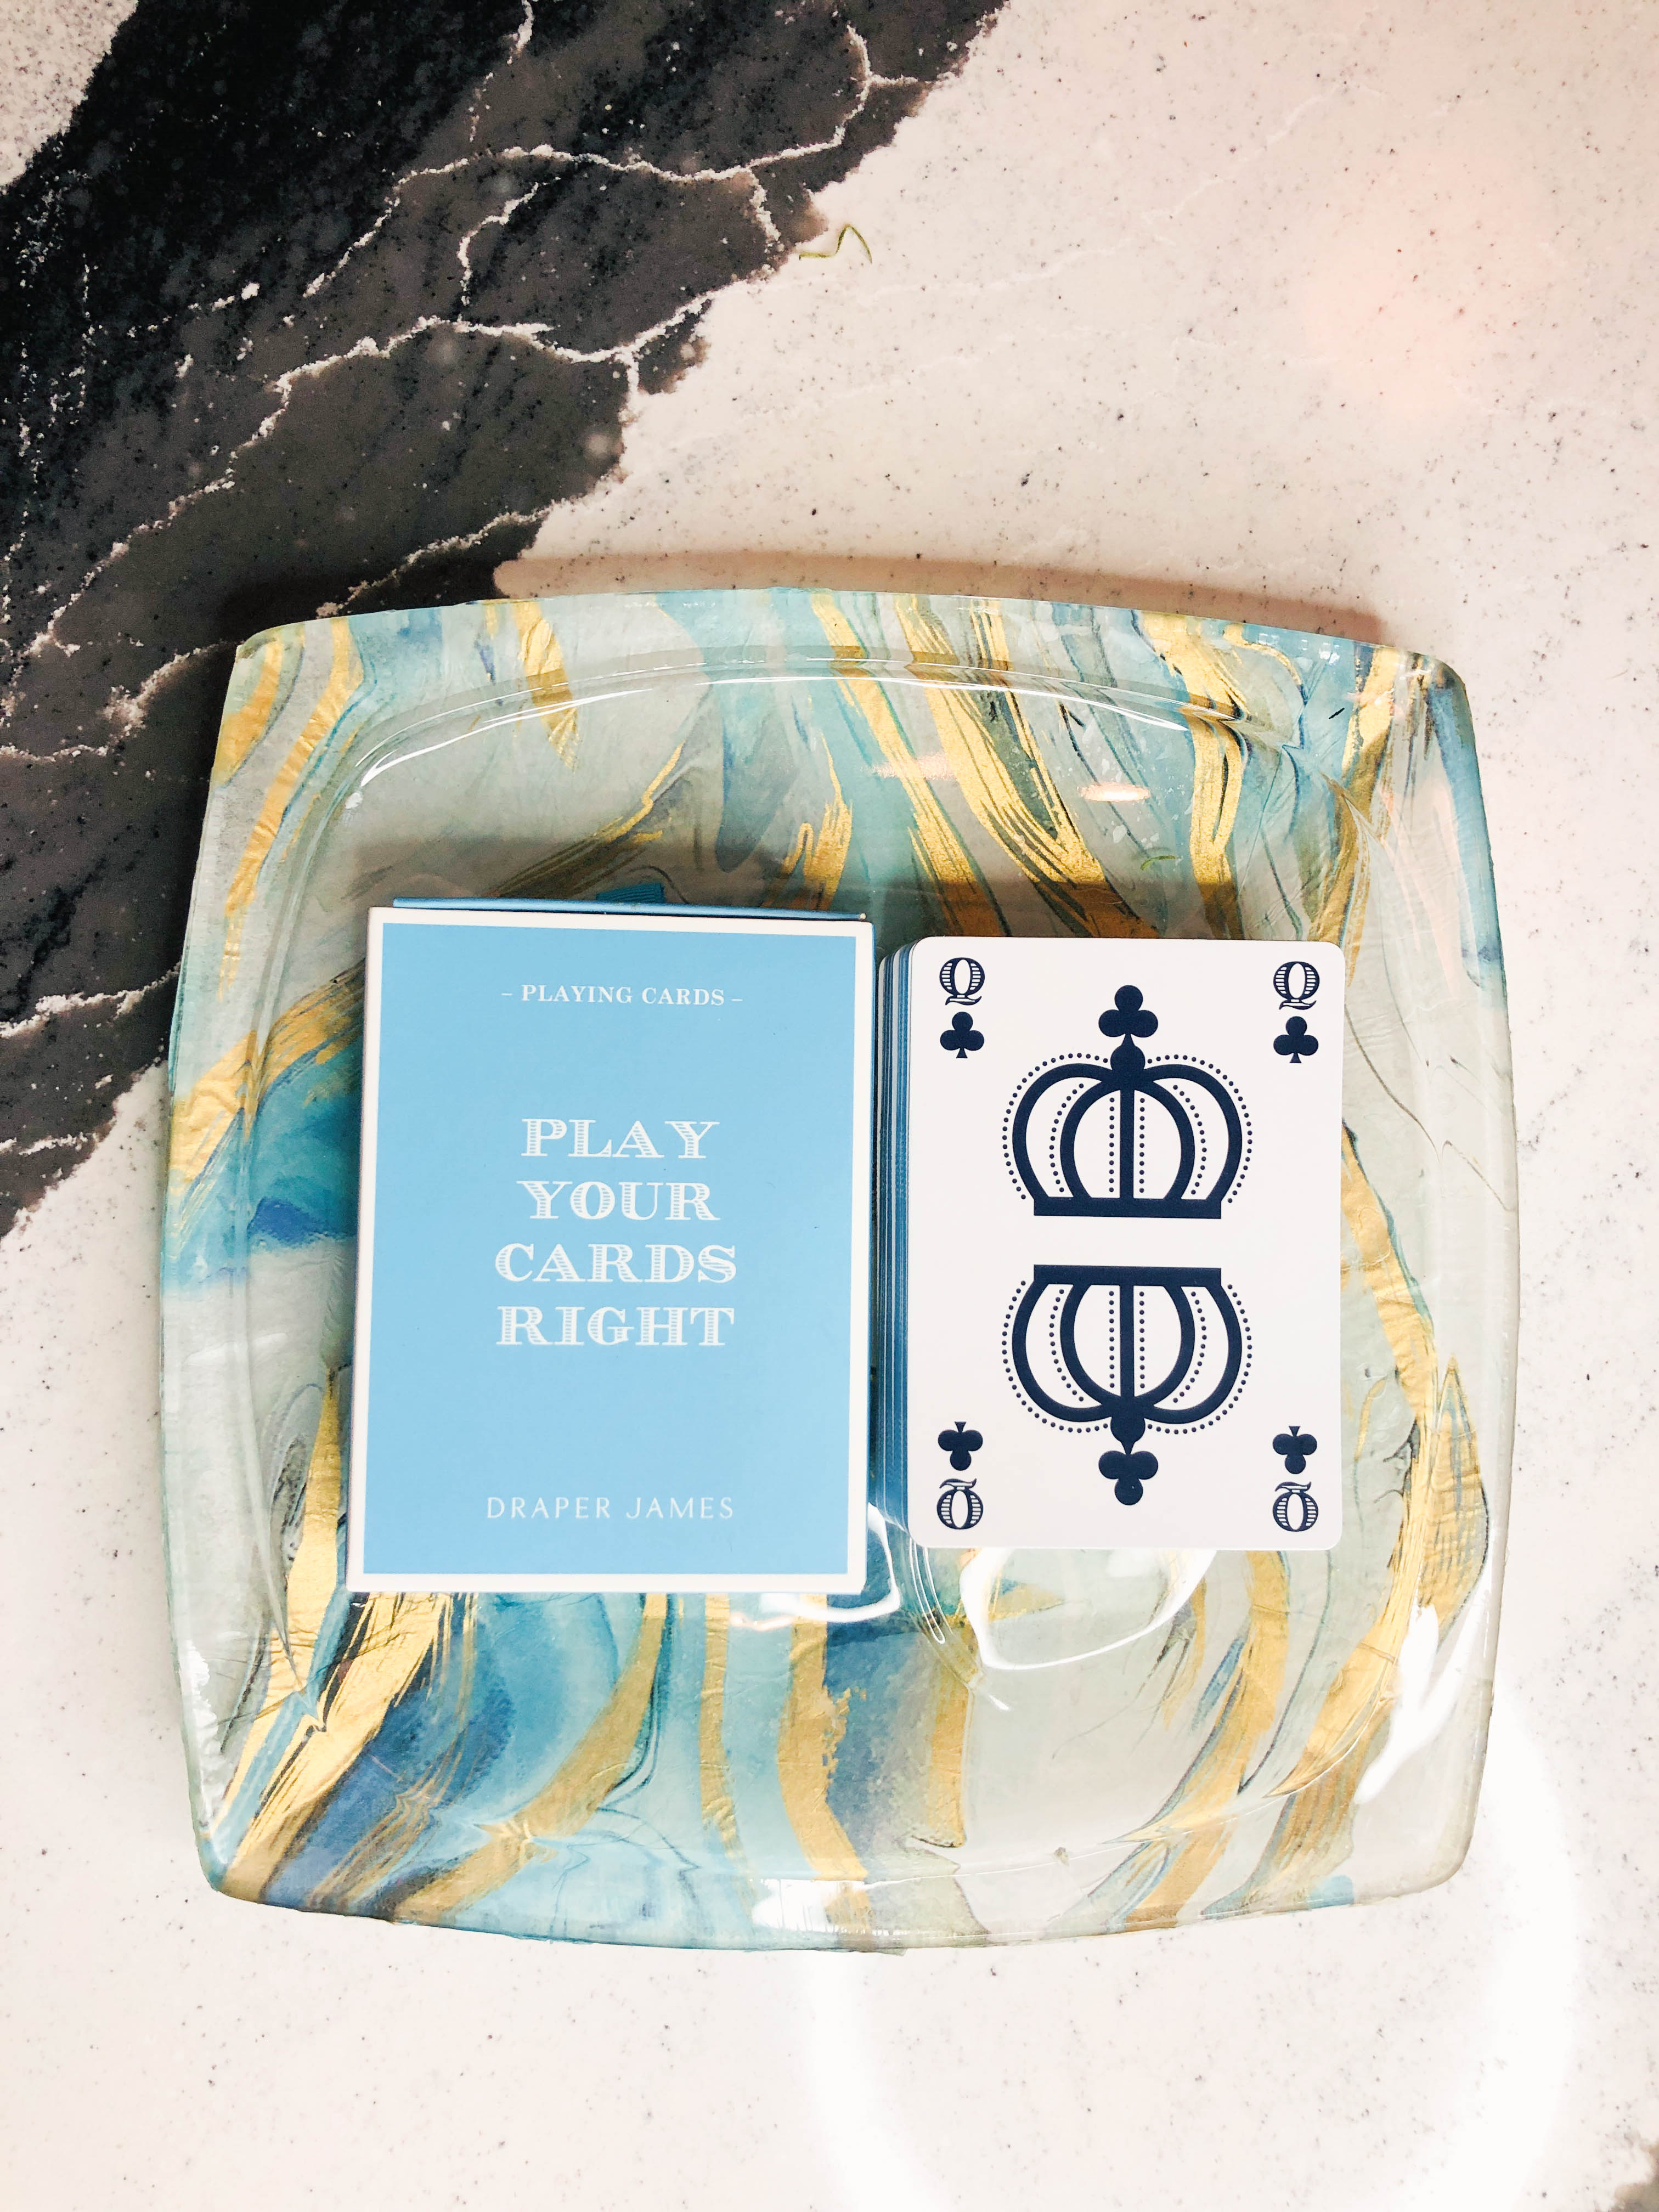
Here is another example of decoupage crafts using a square glass luncheon plate. I used another Jillson & Roberts tissue paper in an amazing blue and gold marble pattern.
I love how these turned out! I was blown away by how cool these plates can be. No kidding, I would absolutely buy something like this in a favorite store like Anthropologie or an Etsy shop.

Now that these are all dolled up, there are other uses for the plates other than serving food. (Note: These plates would be considered food safe because I used Dishwasher Safe Mod Podge on the bottom of the plate. Handwash and avoid soaking.)
Styling Ideas for Decoupaged Glass Snack Plates
- A Trinket Tray – Keep a plate on your nightstand, dresser, or in the closet as a fun way to gather your frequently used jewelry, glasses, perfume bottles, etc.

- Plant Tray – Keep water at bay by using the plate as a tray under a plant.
- A Warm Welcome – Keep a welcoming flame burning by placing a candle on a plate in the front entry to welcome guests.


- Objet d’arte – Decoupage a larger glass platter and display a beautiful home decor item to give it focus and importance.
- Tea Party for One – Add a charming teapot and you have a delightful tea tray to set on a side table while you read a favorite book. (Treat yourself like a Queen!)
- Desk Accessories – One of these decoupage projects is a great addition to your home office desk. What a perfect way to corral business cards, pens, reading glasses, and more.

- A Bird Feeder – That’s right! Our feathered friends will appreciate some handy birdseed and one of these plates sitting on an outside table or bench.
- Santa Cookie Tray – Use holiday tissue paper and give Santa a stylish cookie plate!
- Playing Card Station – Whether playing Solitaire or Pitch, you will never be at a loss for the cards!
Decoupage glass plates are a lovely idea to give to anyone as a gift. Because I have such strong memories of my mother’s glass plates, I think she is the appropriate person to receive it as a Mother’s Day gift!

Pair your decoupaged plate with some breakfast goodies for a Mom’s Day treat to your mom with love and appreciation. It’s the little touches that truly make Mother’s Day special.

DIY projects can be so rewarding, especially when you see the joy they bring to someone you love.
This handmade piece is sure to become a treasured part of Mom’s collection, a reminder of your love and creativity long after Mother’s Day is over!
Now head over to Masterpieces of My Life and have fun celebrating National Bee Day with MaryJo!
Cheers!

Pin the image below to your boards on Pinterest (just click the Pin button in the top left corner). You can also follow along with me on Pinterest!

Celebrate with Style
Please take some time to explore all of these fantastic projects for May celebrations!
Other Easy Crafts Projects with Decoupage
A Simple Decoupage Bottle Idea


A Twinkling Decoupage Oyster Chandelier

Shop Some of My Favorite Things

These are FANTASTIC!! So unique and what a great way to revitalize glass dinnerware! I especially love the blue swirling pattern. ❤️
Thanks, Madeline! The fun of this project is that you can choose from so many tissue paper colors and patterns. Permission to go a little crazy! Thanks for reading!
Hi Madeline! The great thing about this project is that there are so many great tissue paper patterns out there! Thanks for reading. Have a great day!
I love this idea. I’m going to have to try it.
Hi Shelli! Let me know how it goes. It really is a fun (and easy!) project! Have a great day! ~Missy
The tissue paper is amazing! The plates look so pretty.
Hi Renae, I’m kind of obsessed with tissue paper now! LOL! Thanks for reading. Have a great weekend! ~Missy
Love this idea!! Can’t wait to try it out!🌺
Hi Tracey! I’m so glad you like the idea. Give it a try and let me know how it turns out! Have a great day! ~Missy
Missy. Love these! So cute. The flower tissue is my fave. Wondering if I have time to do for a baby shower next weekend!
HI Regina, I got so I could cut and glue a plate in about 10 minutes! Go for it! ~Missy
Missy, I love decoupage and have done a glass platter. I love all your ideas for different uses for decoupage glass. I’m sure your mom is proud of how you have used all her glass plates. Thanks so much for sharing.
Thank you for hosting, Carol!
This is such a cute project Missy. I have just the glass plates to try this on. By the way I love the photo of you and your mom!! 😊
Thank you, Michelle! This is so sweet of you!
What a fabulous gift for your mom. Decoupage is such a fabulous medium. I love all the ways you styled it. Happy May. XO- MaryJo
Thank you MaryJo!
What a darling idea, Missy! I love how you used them not only for serving food but also for decorating. It is a great way to add a pop of color in the right place. And that picture of you and your mom is precious!
Thank you, Wendy! I appreciate it! My mother loved the project too!
oh, my goodness! I have these luncheon plates that are screaming for your inspiration. These are stunning! Sharing them on my blog, sweet friend.
LOL! I think everyone might have a few of these plates! I’m so glad you liked this idea. Thank you so much for sharing, Leslie!
Super cute, Missy!! Love the pattern on those napkins. Great way to up-cycle those old plates!!
I have stacks of these plates so it was a good option! Thank you, Rachel!
Pretty! I’ve done this with plain plates but I really love the textured plates too. Featuring when my link party opens!
Oh, thank you, Carol! This is so nice of you! I always look forward to your link party!