

How to Wallpaper a Refrigerator (No Tools, No Damage!)
Wallpaper a refrigerator? Yes, really! It sounds like a wild idea until you see the finished result!

This blog contains affiliate links. This means a small commission is earned if you make a purchase by using this link. The price you pay will be the same whether you use the affiliate link or go directly to the vendor’s website using a non-affiliate link. As an Amazon Influencer, I earn from qualifying purchases.
If your fridge is perfectly fine but you would like a change, this is for you.
If your fridge has seen better days and you’re not quite ready to buy a new fridge, this is really for you.
Peel-and-stick wallpaper is one of those ideas that sounds a little wild until you do it. Then you wonder why you waited!

This is no fear decorating at its best. You don’t need experience. You don’t need to commit.
You just need an afternoon, a good pattern, and the confidence to add a little personality to a place no one thinks to decorate.
No paste and no mess. If you change your mind next year (or even next week), it peels right off.
Let’s do this!
Why a Wallpaper Fridge Makeover Actually Works
Removable wallpaper has come a long way. The peel-and-stick versions available now are smooth, forgiving, and surprisingly easy to work with, even on large surfaces like appliances.
Here’s why this project works so well.
Peel-and-stick wallpaper adheres beautifully to the smooth surface of most refrigerators without damaging the finish underneath.
It will cover rust spots, scratches, and beautify even the most “loved” refrigerators.
It’s also repositionable while you’re working, which means if your first attempt goes a little wonky, you just lift and re-press.
It’s budget-friendly in a way that appliance paint or a replacement refrigerator simply isn’t. The bus part: the whole kitchen shifts! You’ll be amazed at what one bold pattern does for the energy of a room.
I also did the dishwasher! (But we’ll get to that.)

What You’ll Need
This is a beautifully short list!
Peel and Stick Wallpaper Choose a pattern and scale that works with your kitchen.
- Bold florals
- Vintage botanicals
- Classic stripes
- Soft geometrics
There is no wrong answer here.
- Scissors for your main cuts
- Small scissors for detail work around hardware
- Measuring tape
- Allen wrench for removing handles
- Carpenter square or T-square
That’s it! Your fingers do the smoothing. No other tools required!

Stick with Me: Shop This Project

How to measure your refrigerator for wallpaper
You will want to measure each panel separately. Fridge doors are not always perfectly uniform, and mine certainly wasn’t. Even a small variance matters when you’re trying to get clean edges.
My refrigerator has two doors on top and a freezer drawer panel on the bottom. I measured the height and width of each one individually before I cut a single piece of paper.

A few things to keep in mind…
If you’re using a patterned wallpaper, account for the pattern repeat. You’ll need a little extra to match things up, especially on main panels or a freezer section where two pieces might need to join.
Always cut a little long unless you are absolutely sure. You can trim, but you cannot add paper back.
Missy’s Note
My refrigerator doors were close in measurement but not identical. “Measure twice, cut once” is not just a saying. It’s DIY gold!
How to wallpaper a refrigerator step-by-step
Here’s the whole process from start to finish. It flows more naturally than you might expect, and once you get going, you’ll find your rhythm quickly.
Remove the Handles
This is non-negotiable, and I say that with love.
Grab an Allen wrench and take the handles off before you do anything else. It takes two minutes.
What it gives you is clean, uninterrupted access to the entire surface of each door. You’ll thank yourself when you see how crisp everything looks when the handles go back on over the finished panel.
Crisp, intentional, and no awkward papering around hardware handles!

Clean the Surface
Grease, fingerprints, and any residue at all will mess with adhesion. Wipe down the fridge doors thoroughly and let them dry completely before you start.
A good wipe down now saves a lot of frustration later. I speak from experience.
What I Learned
Learn from my mistake! I cleaned my fridge with a stainless steel cleaner right before this project. Turns out, oily residue and peel and stick wallpaper are not friends. Not even acquaintances! Skip the specialty cleaner and use mild dish soap, water, or a degreaser. Squeaky clean. No oil. No drama!
Mark and cut your panels
Mark your measurements directly on the backing paper of the wallpaper. Use a long straight edge if you have one. Take your time here and be precise.
Follow your guideline and cut precisely for your wallpaper piece.
Take your time. Rushed cuts show. Patient cuts don’t!


Start at the Top and Work Down
Peel back just the top few inches of the backing to begin. Don’t pull the whole thing off at once. You want to work in sections so you can control placement as you go.
Press the top edge into place first. If you get that right, the rest will follow beautifully.


Here’s the rhythm of hanging peel and stick wallpaper:
- Peel a few inches of backing.
- Press firmly from the center outward, smooth, and peel a little more.
- Your fingers work beautifully for smoothing. (You can use a credit card if you want but I felt more in control smoothing with my hand.)
- Press out air bubbles as you go, working from the center of the paper toward the edges.
- If a bubble shows up further down, lift the paper gently and re-press.
Peel and stick wallpaper is forgiving. It wants to cooperate!


Cut Around Any Remaining Hardware
This is where your small scissors come in handy. Make a small, careful snip in an X shape right over the bolt spot. Fold the little flaps back and trim them away neatly.
It sounds fiddly, but it goes much faster than you think.


Joining Pieces and Matching the Pattern
For wider fridge panels where you need two pieces of wallpaper to meet, take your time lining up the pattern repeat before you commit.

When you start to apply the paper, press the paper down on the side where the two pieces will meet and the pattern lines up. Then smooth outward from that seam toward the center of the paper. This keeps the pattern aligned and gives you a seamless look across the panel.
It’s satisfying when it comes together. Really satisfying!
Trim the Excess
For any excess paper along the edges, you will want to trim it. You can, of course, use scissors or a utility knife.
But I like a little guidance when I’m cutting close to my stainless steel fridge!
I found it was really easy to create a guideline for cutting.
Fold the excess paper backwards onto itself and press firmly with your fingernail to create a crease. That crease becomes your cutting guide.
Peel the paper back slightly from the panel and cut along the line with your scissors for a clean, confident trim.

Reattach the Handles
The handles go back on right over the paper. Simply reaffix them with your Allen wrench.
Stand back and take a look!
I knew I would like this project. Little did I know how much I would LOVE it!

Tips for a Smooth Finish: Lessons from My Fridge
A few things I learned along the way that I thought I would share:
Work slowly on the first panel. Once you get the feel of it, the rest goes quickly, but the first door is where you learn the rhythm.
Don’t skip the pattern matching. If your wallpaper has a print, the extra time spent lining up the repeat is completely invisible in the finished project. It’s worth it!
Smooth continuously as you peel. Don’t wait until the whole piece is down to address air bubbles. Catch them as you go. Just lift what you have already pressed and smooth out the bubbles as you re-press.
Water dispenser areas are easy. Since this space is basically a box, cut the space out just like you would an outlet if you were wallpapering a wall. Press the paper to the top edge of the box. Then snip an “X” in the area below and slowly cut your way to the corners of the box. Once you reach the corners, you can cut the paper along the sides and bottom of the dispenser area.
Keep your room warm. Peel and stick adheres better when it isn’t cold. If your kitchen runs cool, give it time to warm up first. (Not my favorite tip as I like working in icebox conditions!)

Missy’s Note
My biggest surprise was how forgiving the wallpaper was when I needed to reposition it. I lifted and repressed more than once on the freezer panel while matching the pattern, and it went right back down without any trouble!
Bonus Round: Don’t Forget the Dishwasher
Here’s the thing: once your refrigerator makeover is done, you’re going to look at your dishwasher and feel a very specific kind of dissatisfaction.
Mine was standing right there waiting to join the party. So I let it!

I used the same exact process. Honestly, this was even easier since there were no handles to deal with.
Measure, cut, peel, press, smooth, trim the excess…
Done!
The result? My refrigerator and dishwasher are now coordinated BFFs!
And this is the kind of kitchen moment that stops people mid-conversation!
Wallpaper Ideas for Your Refrigerator Makeover
Not sure where to start with pattern? Here are a few directions that work beautifully on appliances:
Bold botanical florals – Big graphic blooms in rich colors look stunning on fridge doors. Maximalist and unafraid!
Vintage toile– classic, charming, and endlessly elegant. A great choice if your kitchen leans traditional.
Soft geometric – understated but interesting. Good for kitchens that already have a lot going on visually.
Classic stripe – clean, timeless, and very forgiving when it comes to pattern matching
Retro novelty prints – lemons, mushrooms, cherries, botanicals. Playful, personal, and very grand- millennial.
My Favorite Wallpaper Projects
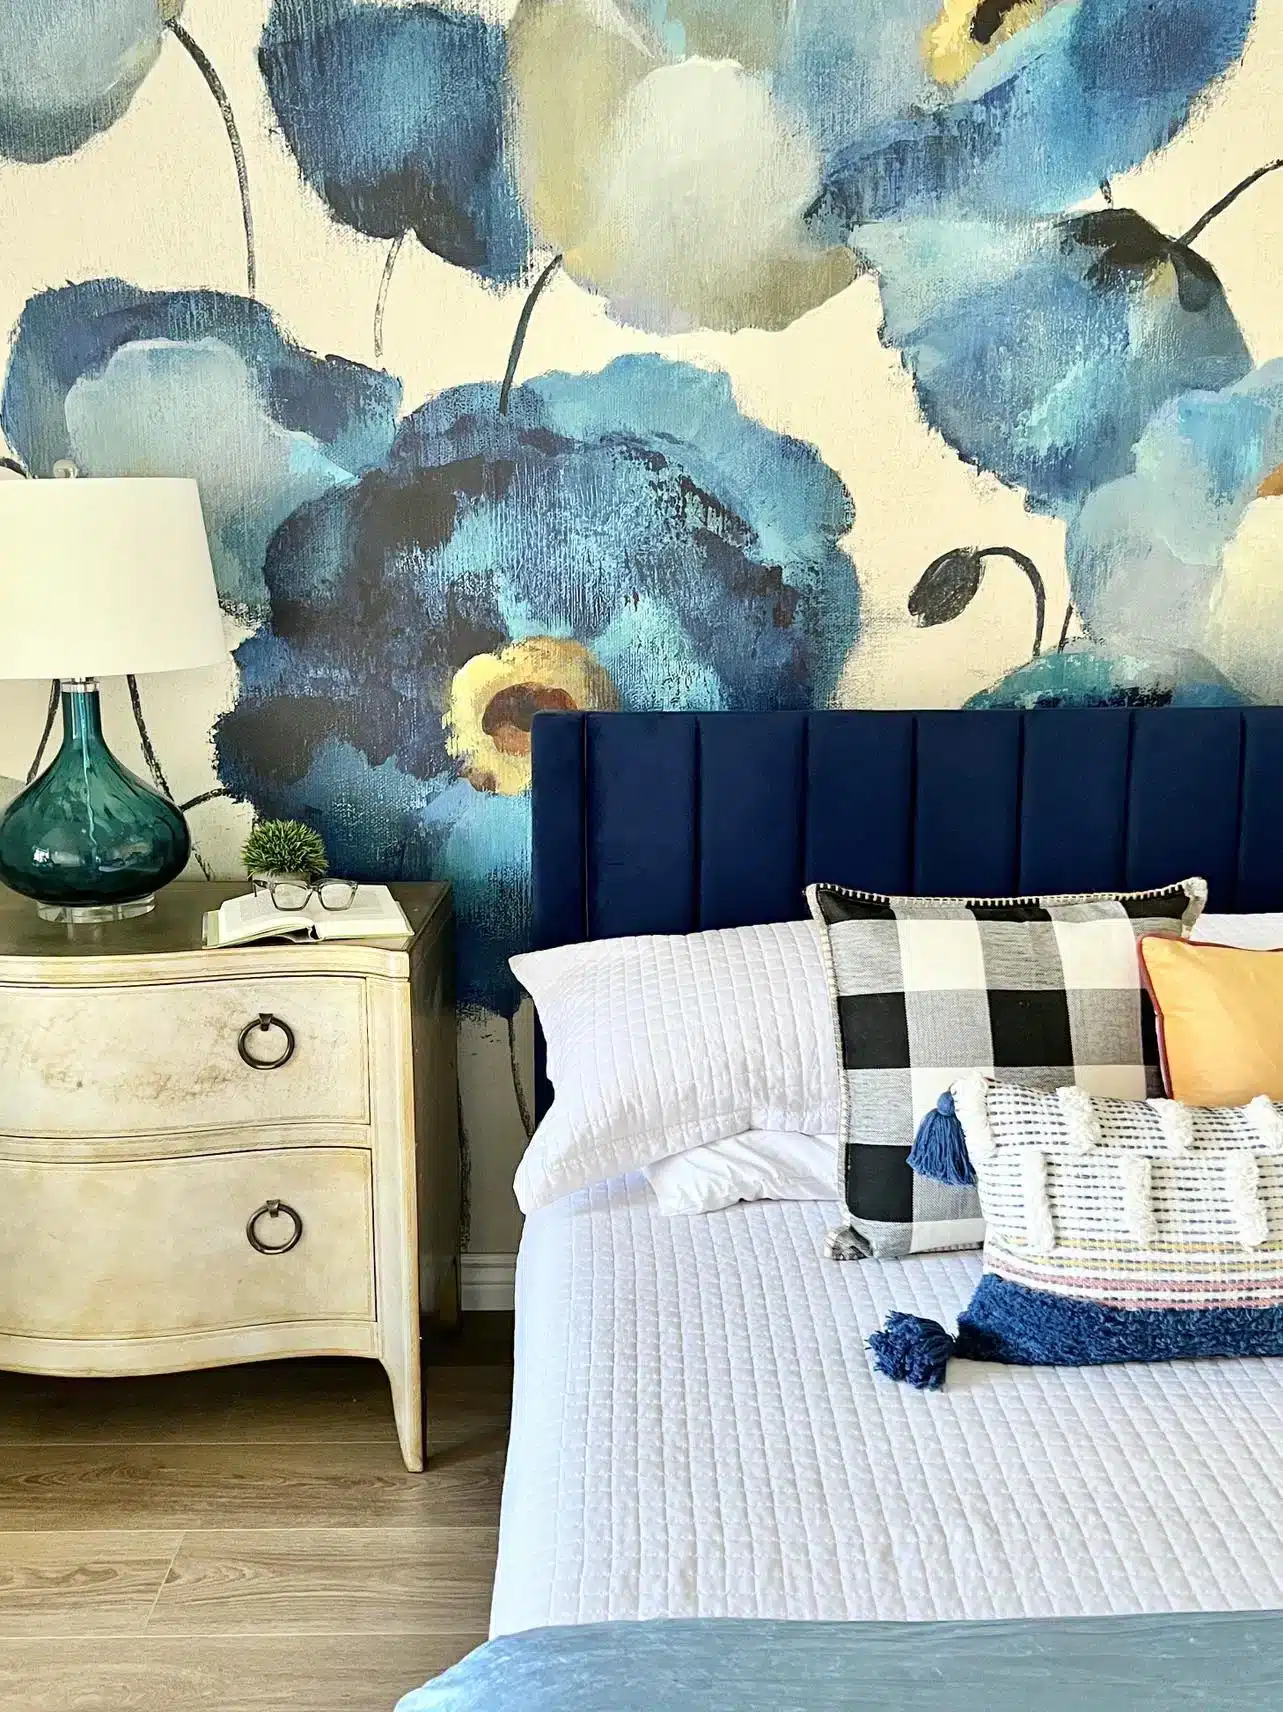
How to hang a wallpaper mural

wallpaper scrap decorative bowl
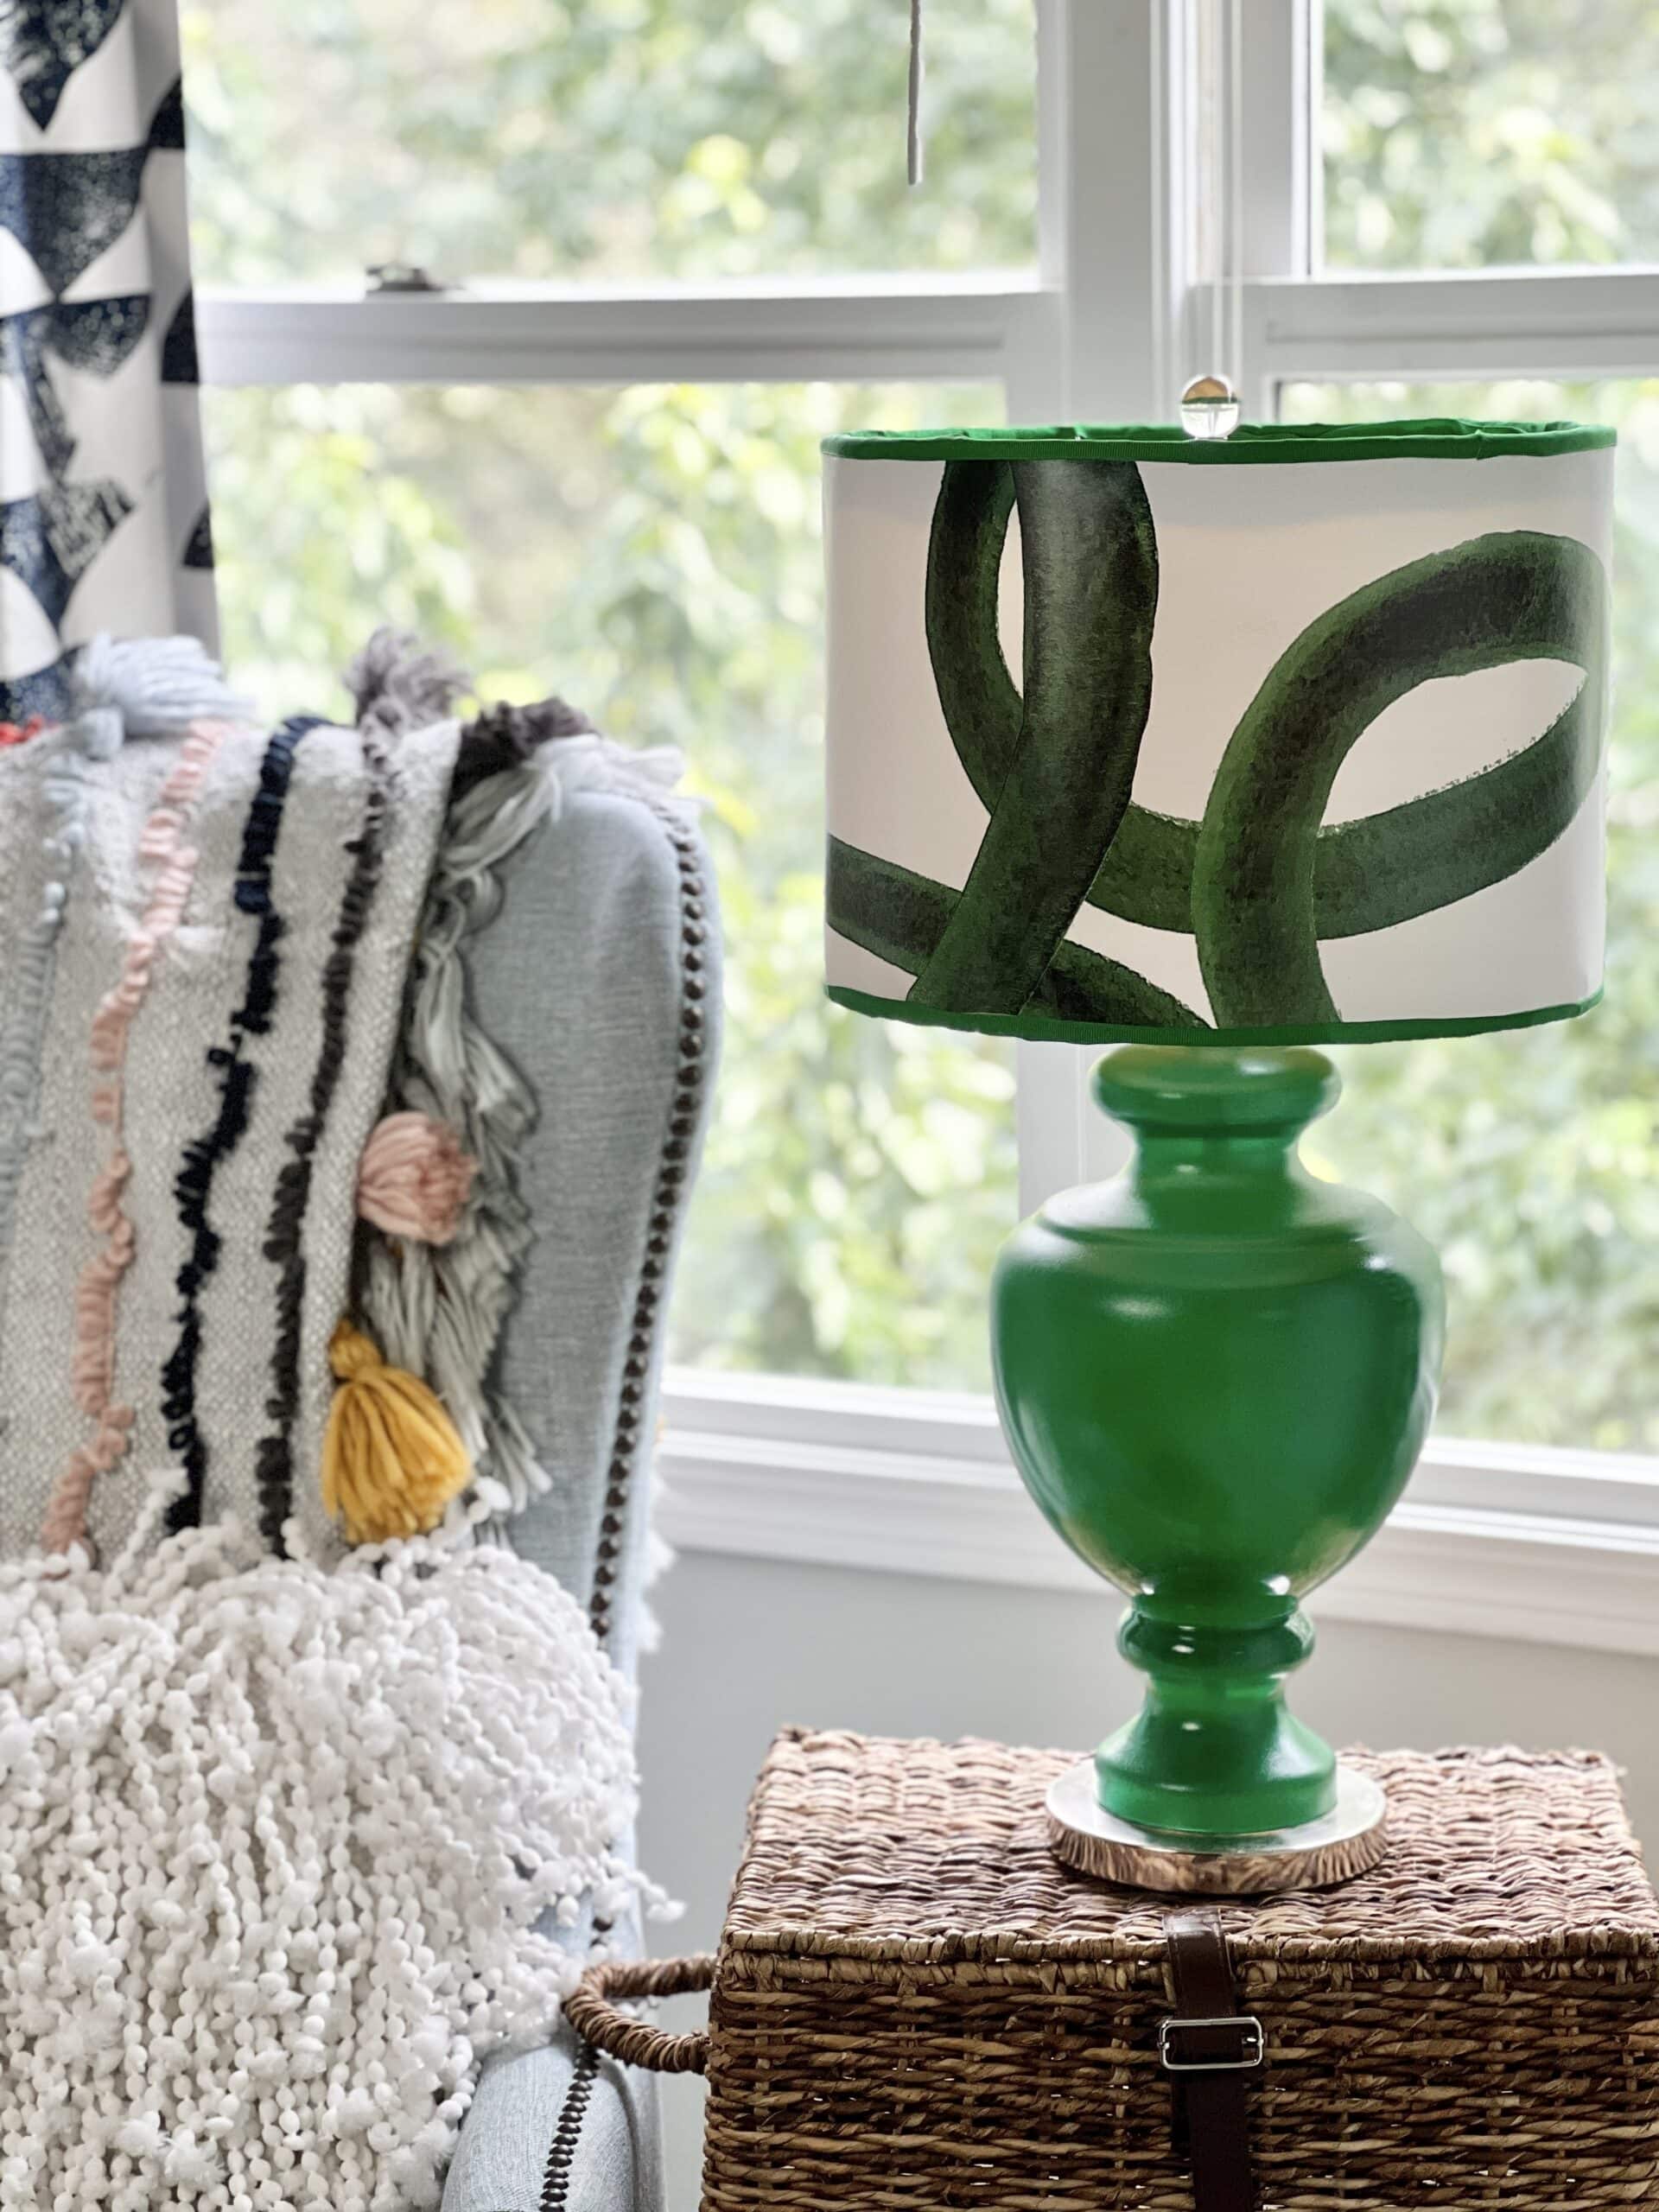
How to wallpaper a lampshade
One Last Peel
Here’s what I want you to take away from this project…
Your home should feel like you. All of it.
Even the appliances. Especially the appliances, honestly, because nobody expects it.
And that’s exactly what makes it so delightful!

This is what no fear decorating looks like in practice.
You pick a pattern that makes you happy and you follow a few simple steps, and you end up with a kitchen that has some real personality!
Let me know in the comments if you give this a try. Photos encouraged!
Cheers!

A Little About Me
Hi! I’m missy. So happy to meet you!
“Decorate with Joy! Live with Happiness”
I truly believe that your home should be a reflection of your personality, a space where you feel free to express yourself and create a sanctuary that feels uniquely yours.
I love creating mood boards, hunting down unique home décor treasures, tackling easy DIY projects, and gathering with family and friends. Homes are meant to be enjoyed, filled with laughter, and shared with the people you love!
– cheers –

Don’t Forget to Pin It!
Pin the image below to your boards on Pinterest (just click the Pin button in the top left corner). You can also follow along with me on Pinterest!



Oh my goodness, I love this idea so much! My kitchen is the next room that needs a makeover and I might try this! I absolutely hate my black appliances and this is such a great inexpensive way to change them. I am always adding more color to my house so I’ll definitely be stopping in to see what ideas you share! I hopped over from Weekend Traffic Jam Reboot, by the way.
Shelbee
Hi Shelbee! Thanks so much for stopping by. This is a perfect way to add color and change up your appliances. I would love to see your end result if you decide to try this. Photos always loved! Have a great week, my friend!
Wow, pretty impressive Missy. Such a pretty look. I have a cabinet front on my fridge, so I don’t need a cover. I am pleased to feature your lovely project at Love Your Creativity.
Thank you so much, Linda! I love your link party so much, so this is truly an honor!
Ridiculously gorgeous. My favorite for the next Funtastic Friday.
My mind is ticking over with this post Missy. Off to look at wallpaper (lol).
I’m delighted to be featuring your DIY wallpapered refrigerator at Create, Bake, Grow & Gather this week and pinning too.
Hi Missy!
Wow 🤩! All I have to say is you are awesome, and so creative. Love, love, love this nice way to cover appliances. Have a nice weekend, and I really like your hair color 👍
You are so sweet! Thank you so much for such a kind message. I’m so glad you like the appliance ideas! (And my hair thanks you too!) Have a great day!