

An Easy DIY Pom Pom Yarn Wall Art Decor Idea
Something as simple as a piece of yarn can be used to decorate your home! I’ve got a super fun yarn wall decor DIY project lined up that’ll bring a whole lot of cozy vibes to your home.
Seriously, with just some strands of yarn and a sprinkle of creativity, you’ll be amazed at how you can jazz up your walls!
Jump to DIY Project Instructions
This blog contains affiliate links. This means a small commission is earned if you make a purchase by using this link. The price you pay will be the same whether you use the affiliate link or go directly to the vendor’s website using a non-affiliate link. As an Amazon Influencer, I earn from qualifying purchases.
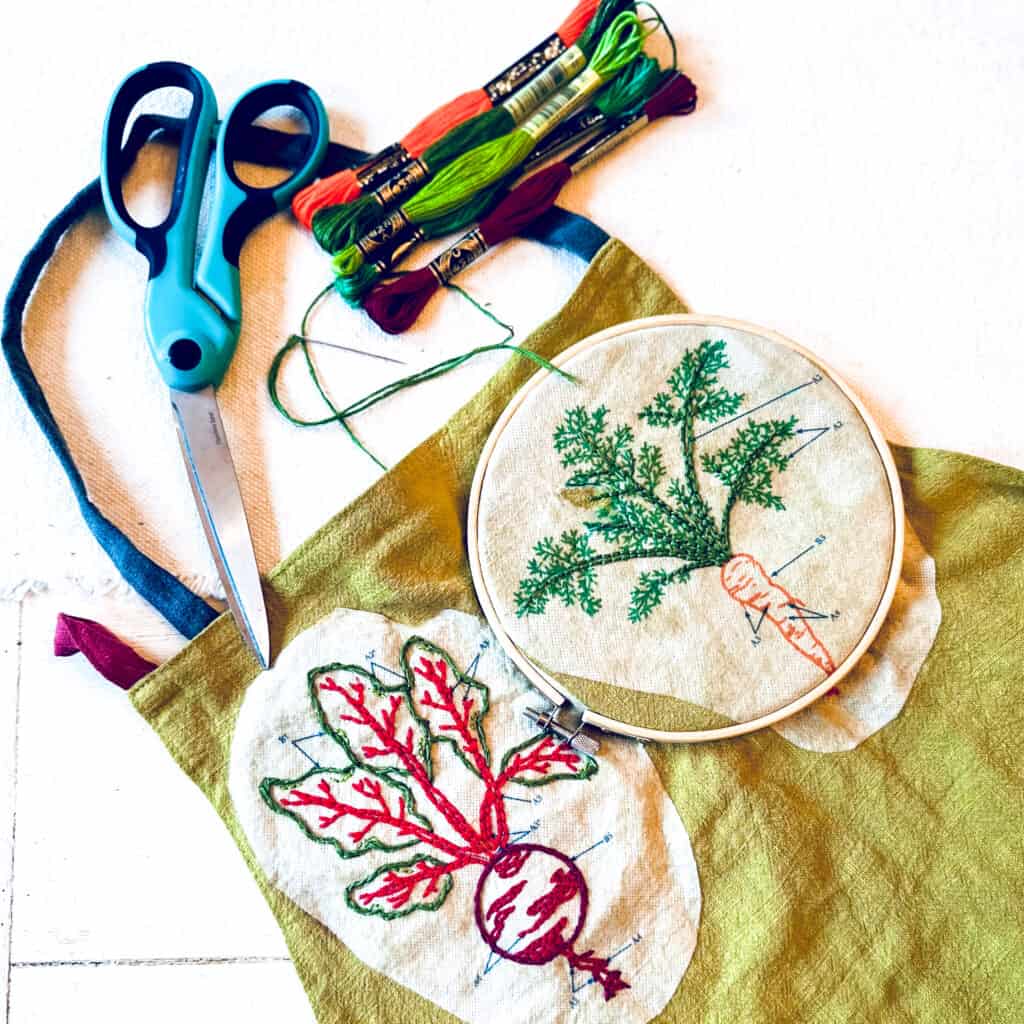
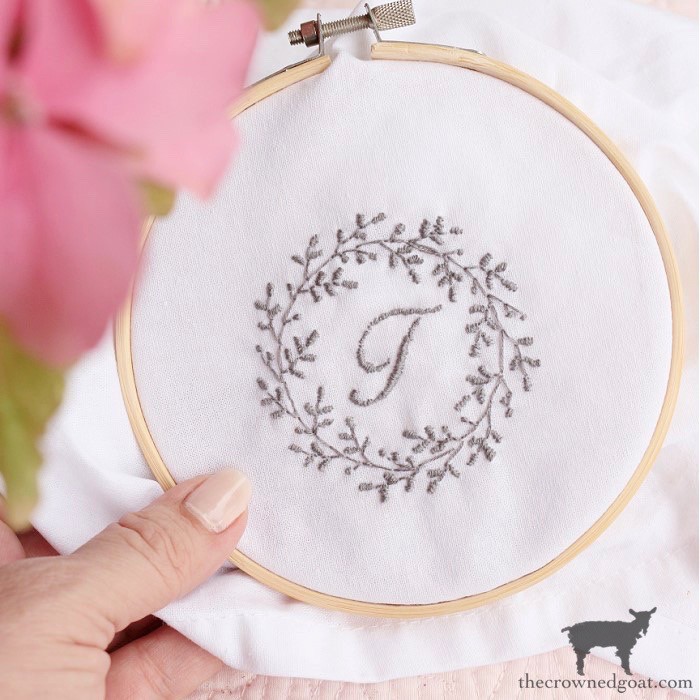
I’m joining my Handcrafted Society peeps again to bring you loads of crafting inspiration. This month’s challenge is to use yarn or thread to create something beautiful. Be sure to see all of the other bloggers’ links and images at the end of this post.

Since I have baskets of yarn, this seemed the obvious choice for my project!
I love to create interesting artwork. So I combined my love of yarn and artwork to create a beautiful wall art piece.
DIY yarn wall hangings are very popular now so I thought I would tweak the yarn art idea and share my own room wall decor inspiration!
So, grab some yarn, and let’s craft some easy DIY yarn wall art!
DIY Yarn Wall Decor Supply List
Well, of course, you will need yarn for this project. You might choose one that has different colors already woven into the pieces of yarn.


Here are the other items you will need. All of these items can be found at your local craft store, hardware store, or thrift store.
- Yarn – You can use one color or use yarn in different colors. There are so many fun options to choose from!
- Artwork with pictured flowers or the “potential” for flowers
- Tray or artwork frame
- Spray adhesive
- Pom pom maker
- Scissors
- Hot glue gun and glue sticks
Let’s Start with an Art Print
My art piece starts with…an art print!
Ok, this is cheating a little bit. But I figure if I can bake a cake using a box mix, I can use an art print to create my own unique yarn wall art!
Of course, you can draw or paint your own true work of art for your base print!
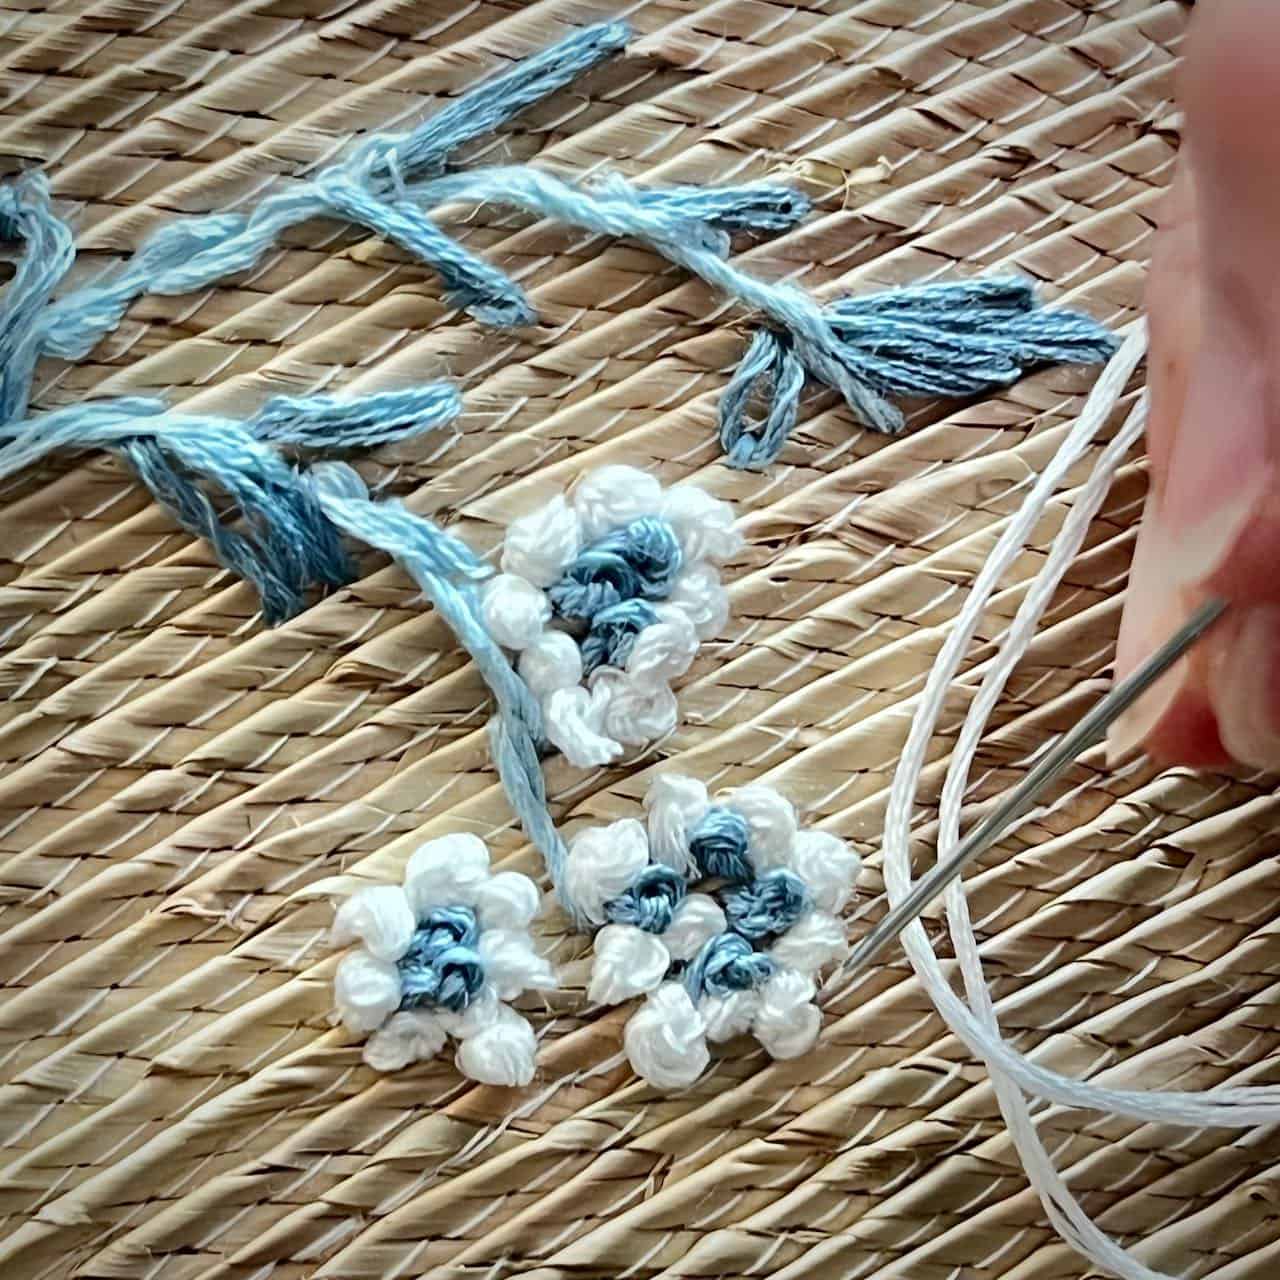
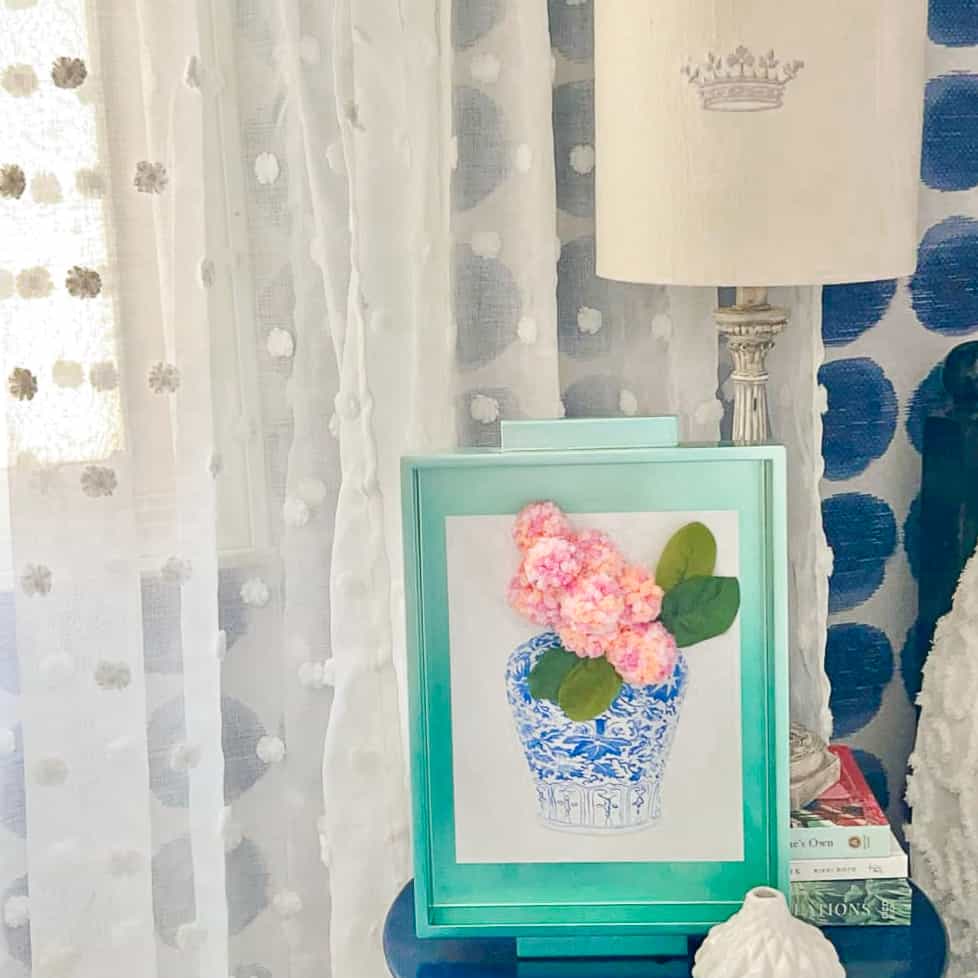
I was given a set of blue and white chinoiserie art prints and love them so much. I chose one from the set to be the base for my yarn art.


Rather than a traditional frame, I decided to mount the art print onto an ombre green tray that I bought at a thrift store.
Using some spray adhesive, it was super easy to attach the print to the bottom of the tray. You could certainly do the same thing using an empty frame.


I have always thought this print would be so pretty with some added 3-D flowers.
So let’s add some flowers!
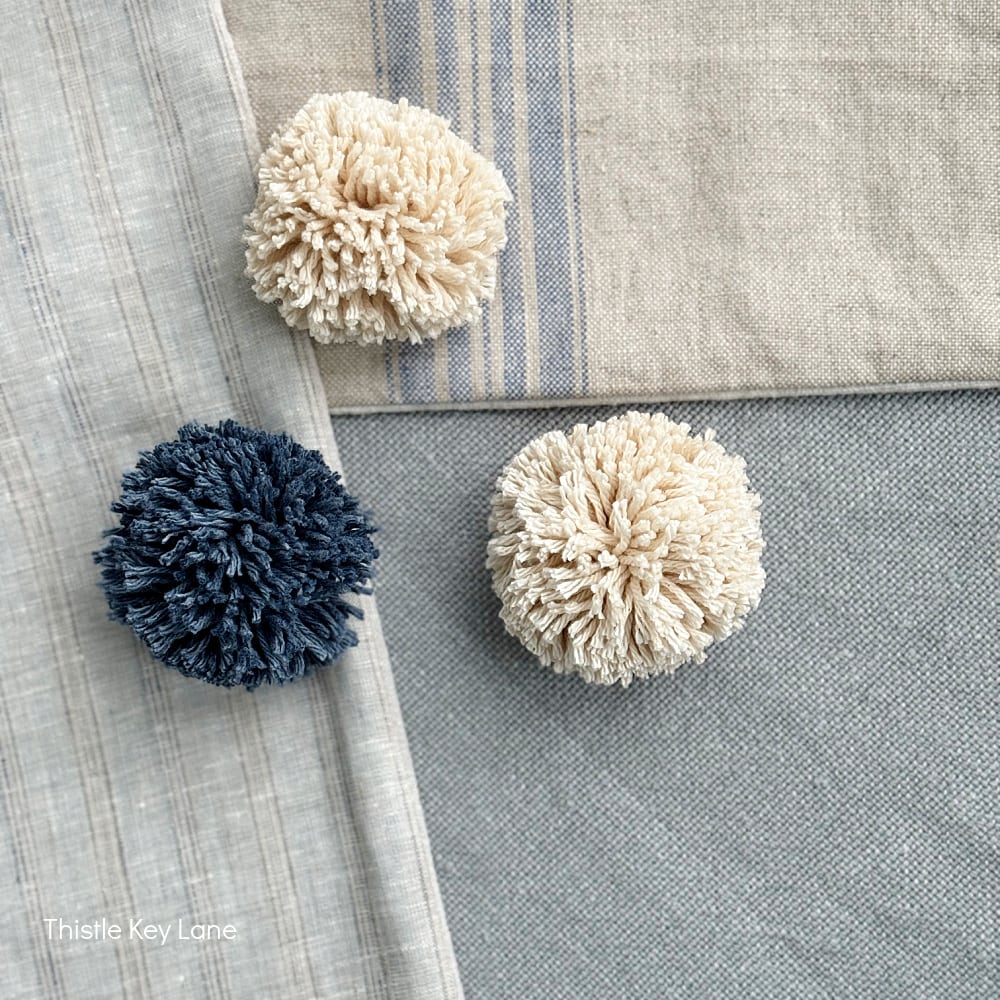
How to Make Yarn Pom Poms
The flowers for this wall art are pom poms!
Fresh, fluffy, and full of vibrant color!
Pom poms are so easy and quick to make once you get the hang of it.
A great way to make pom poms is while watching TV. I learned how to make pom poms while watching Downtown Abbey episodes. I got a lot of pom poms made!
Pom-making kits do come with instructions but, as a visual learner myself, I thought a quick visual DIY tutorial might be helpful.
Choose a pom-maker in a size that will be appropriate for your artwork. My pom-making kit came with three different sizes and I chose the smallest size.
Start Winding the Wings
Open both “wings” of the pom pom maker. Holding the loose end of the yarn, start to wind the yarn around one of the extended arms until it is completely covered with several layers.


Once one side is full, continue to wind yarn onto the other arm until it is full. Cut the yarn to separate the pom from the skein.
Making the Cut
With some very sharp scissors, start to cut through the center of the wrapped yarn around the entire pom-maker. There is a small “trough” down the center of the pom-maker that serves as a guide. You will have a couple of yarn pieces that are hanging on the side but you will trim that later.


With a separate bit of yarn, wrap it around the center trough of the pom make and tie a solid knot with a yarn loop. (I double-knot for added security!)
I Hold My Breath Every Time!
Pull apart the two pieces of the pom-maker. Even though this process is pretty foolproof, I always hold my breath at this moment. Then I realized, it worked! I made a pom pom and it holds together perfectly!


The last step is to trim the pom pom. There will be obvious yarn strands to trim with your scissors.
I also like to fluff the rest of the yarn with my hand and continue to trim to the size that I want.
A perfect pom!


Pro-tip: Work with a good-sized ball of yarn. You might be making small pom-poms but, depending on how many you are making, this can take lots of yarn!
When Poms Become Flowers
Next, I laid the pom-poms into an arrangement on the art print that looks like a tumbling profusion of flowers in a vase.
Using a hot glue gun, I simply glued the poms onto the print.

Once I glued the initial asymmetrical placement I liked, I added a couple more poms as a second layer of “flowers.”

All flowers have leaves!
So I glued a few green faux leaves onto the print by tucking them slightly under the pom flowers.

I love the outward dimension of the flowers, the texture of the poms, and (always!) the vibrancy of some of my favorite colors!


DIY Pom Pom Yarn Wall Decor
Equipment
- 1 pom pom maker
- 1 sharp scissors
- 1 hot glue gun
Materials
- 1 piece art print flower theme
- 1 ball yarn
- 1 tray or empty frame
- 1 can spray adhesive
Instructions
- Spray adhesive to the back of the floral motif art print and press onto the center of the tray or frame.
- Make 5-7 pom poms using a pom maker.
- Hot glue the pom poms to pre-existing flower images on the print or glue to spaces where flowers make sense.
- Tuck faux green leaves under the pom "flowers" and secure with a touch of hot glue.
- If needed, add a picture hanger to the back of the tray.
Where to Hang Your DIY Yarn Art
My new piece of home decor is currently sitting propped on a side table in my craft room.
But I could easily see this DIY wall hanging decorating many areas of your home!
- Hanging on a living room wall
- Sitting on a bookcase shelf,
- Tucked among other works of art on a gallery wall
- Hanging as a personal touch in a guest bathroom.

And there you have it – your very own DIY wall hanging, ready to take pride of place in your home!
What a great way to breathe life into a basic art print as well as those empty walls and spaces, right?

So, hang it up, admire your handiwork, and enjoy the cozy vibes it brings to your home!
Check out the awesome images and links below for a dose of inspiration! Dive into a world of beautiful yarn ideas crafted by our talented group of bloggers.
Happy Crafting!
Cheers!

Don’t Forget to Pin It!
Pin the image below to your boards on Pinterest (just click the Pin button in the top left corner). You can also follow along with me on Pinterest!

The Handcrafted Society
Let’s Go Shopping!

Such a clever, clever way to use pompoms! And of course, since it’s you Missy, we know gorgeous bright colors will be involved — and a FUN attitude! This is a winner all around.
Thank you, Diane! It is always so fun to be part of the Handcrafted Society each month!
You are such a creative thinking, Missy, I seriously adore your projects because they’re so unique and different. I love the way this came together and how it instantly adds a pop of color to any room, wall or vingnette. It’s fabulous and would be such a fun gift idea too! Hugs, CoCo
You are so sweet, Coco! I think it is SO fun to see what each person does each month! I’m so amazed by everyone! Thank you for being part of the group!
Missy you did it again, and came up with another brilliant project! Love these pretty mix of colors, and the 3D effect! Go pom-poms!
Between my art piece and your pillows, we are the pom pom QUEENS! Fun month for both of us!
LOVE this, Missy!! The 3D poms look SO adorable coming out of that vase! Super clever and creative, as always!
You are so sweet, Rachel! Thank you!
Aren’t those pom pom makers the greatest invention? I love how you used the pom poms for a 3D look in a vase. The colors in the yarn are perfect, too. Thanks for the inspiration.
Thanks so much, Kelly! I have had that ball of yarn for a while and I’ve always thought of the colors like flowers!
Such a clever way to make some art pop! Love it Missy!!!
Thank you, Tammy!
Hi Missy! I am obsessed with pom poms, so I love this creative idea! I would never have thought to make 3-D art with them! So cute and I love how you used such fun and bright colors! Thanks for showing us a new way to use pom poms! Pinning now!
Thank you so much, Donna! Happy handcrafting!
This is darling. I love the softness of the yarn you used, too. Visiting from the Love Your Creativity linkup.
Thank you, Jennifer! I love this yarn and it was a fun project to put together!
Missy, you always share the most AMAZING tutorials and projects! Love how you turned these pom poms into FLOWERS!
You are so sweet, Beth! Thank you so much!
What a great way to use pompoms! I love making them, but don’t always know what to use them for!! This makes a pretty and unique decoration… I will be featuring your post this week! #HomeMattersParty xx
Thank you so much, Joy! I appreciate it so much!
When I was a kid I made the little Pom Pom’s and tied them to my roller skates and tennis shoes! Never considered making wall art. Thanks for sharing.
I remember pom pom on skates! What a great memory!
Thank you so much, Debra!
Such a fun idea, “Pom pom all the things” I say! This is a feature over at Handmade Monday this week 🙂
Love your saying! Perfect! Thank you so much for the feature!