DIY Decoupage Christmas Ornaments Made Easy: Here’s How I Do It!
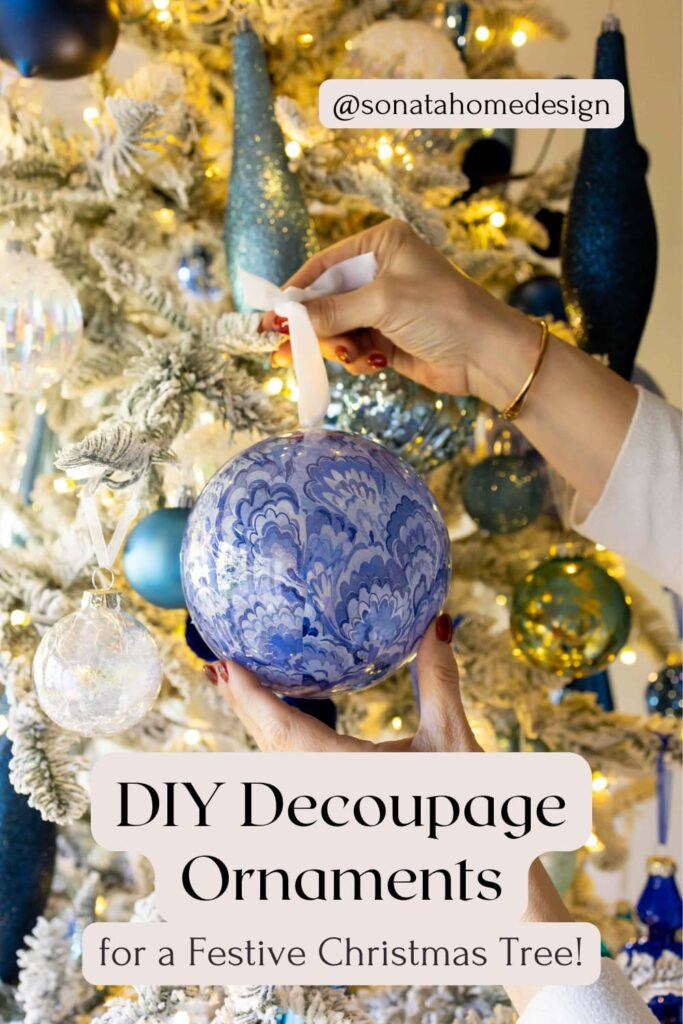
Easy DIY Decoupage Christmas Ornaments are perfect for adding a little extra cheer to your tree! Grab some paper napkins and glue, and you’ll have beautiful ornaments in a flash!
This blog contains affiliate links. This means a small commission is earned if you make a purchase by using this link. The price you pay will be the same whether you use the affiliate link or go directly to the vendor’s website using a non-affiliate link. As an Amazon Influencer, I earn from qualifying purchases.
Christmas Tree Ornaments…Never Enough!
I’ll admit it.
I love to decorate for Christmas.
Not just one tree… but several!
Because honestly, why stop at one when twinkling lights make everything better?
Each tree has its own personality, color theme, and story to tell.
The only problem? New ornaments can get pricey fast, especially when you’re decking out multiple trees.
At some point, I realized my Christmas tree budget might rival my grocery bill!
Instead of buying new ones every year, I’ve discovered the best way to create beautiful, handmade ornaments for just pennies by making decoupage Christmas ornaments!
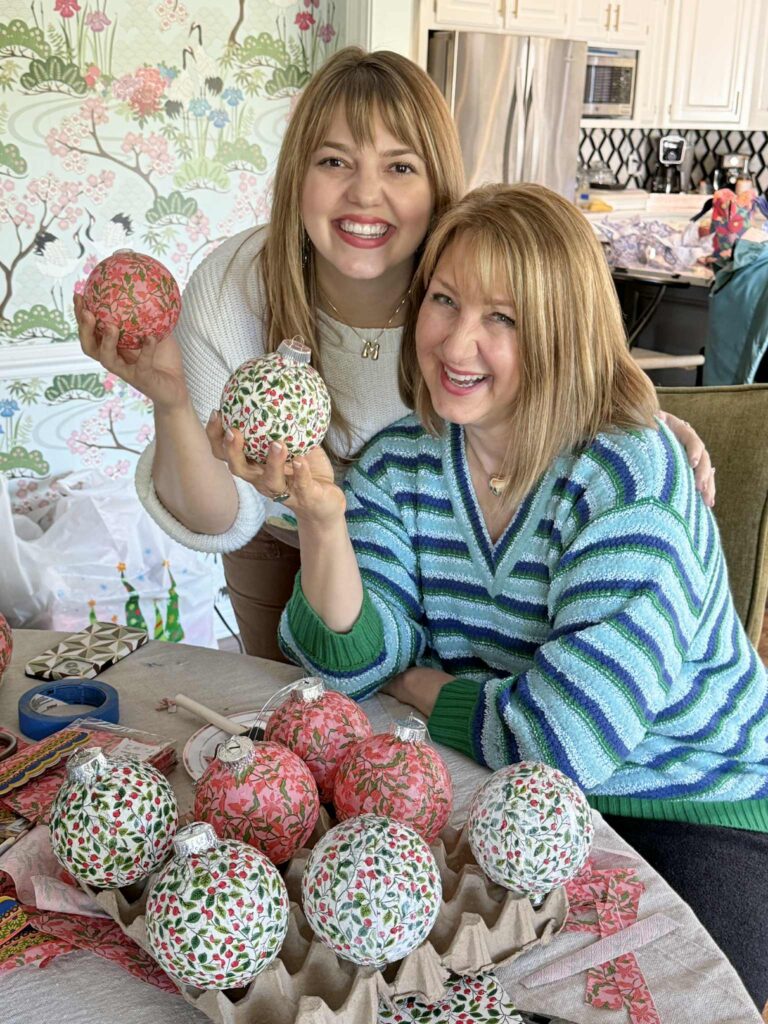
With a few simple supplies, I can create dozens of handmade ornaments that perfectly match my holiday decor, and for a fraction of what new ones would cost.
Plus, I get to sip hot cocoa, listen to my favorite Pentatonix Christmas playlist, and call it “work!”
If you’ve ever wanted to try easy decoupage ornaments, the good news is that this is truly an easy Christmas craft idea, even for your first time.
I’ll walk you through two different techniques that both turn plain, clear ornaments into stunning holiday decorations.
Related: Thrift Store Decor Ideas: Creative Upcycles with Decoupage
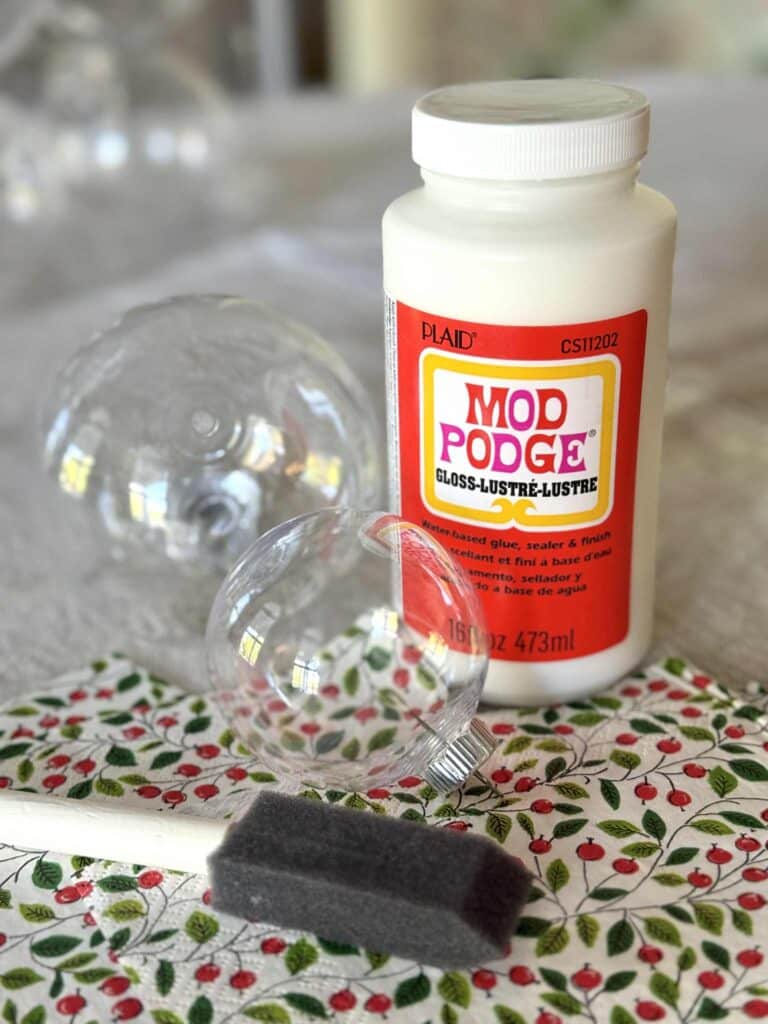
Supplies You’ll Need
- Clear plastic or glass ornaments (as much as I love glass ornaments, shatterproof plastic ornaments work beautifully!)
- Paper napkins or cocktail napkins with a pretty Christmas design
- Decoupage glue (like Mod Podge) or craft glue thinned with a bit of water
- Foam brush or soft paintbrush
- Small scissors
- Optional: Diamond Dust or faux snow for a little sparkle
- Ornament hooks or ribbon
Step-by-Step Instructions for Decoupage Christmas Ornaments
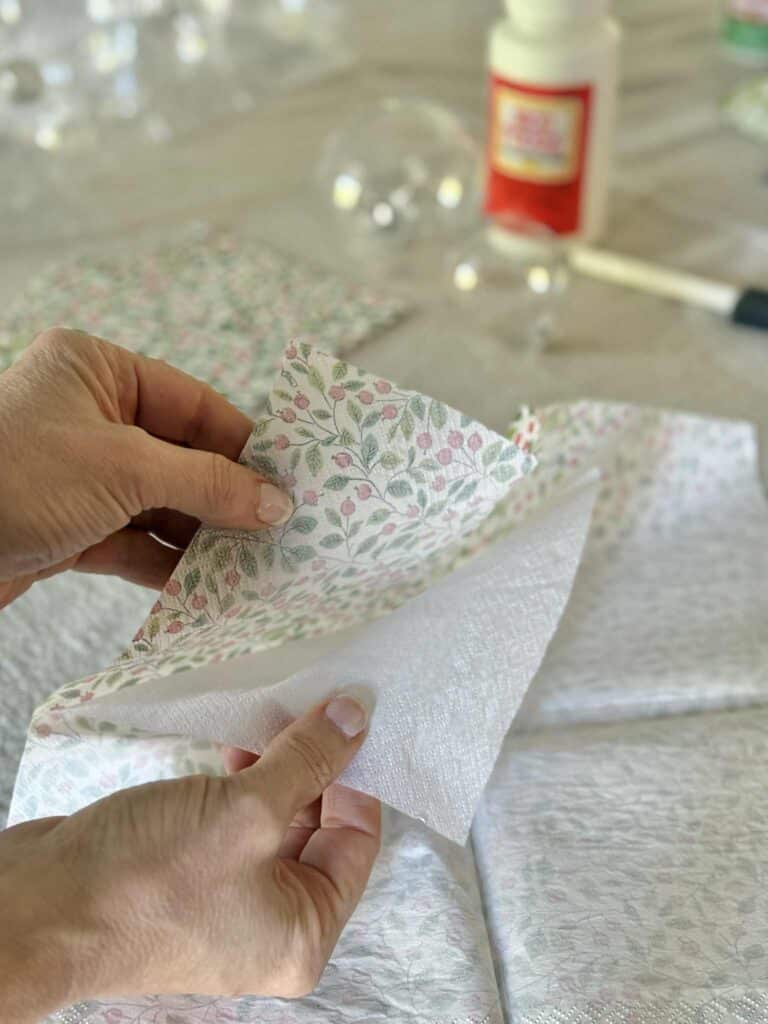
Step #1 – Prepare your napkin.
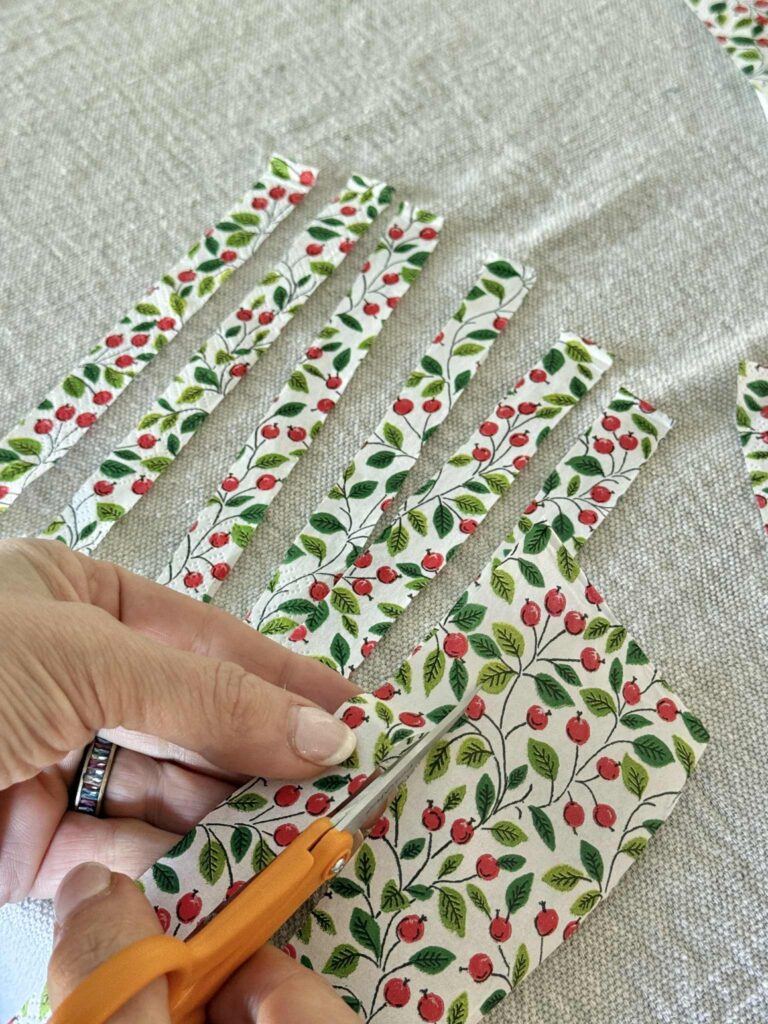
Separate the printed top layer of your paper napkin from the plain back layers. You’ll only use the thin printed layer for this project.
The next step is to cut the paper napkin into thin strips that will wrap easily around the ornament.
The size of these strips depends on the size of your ornament. I found that for a 4″ ornament, cutting the strips about 1/2″ wide works best when applying the pieces to the ornament.
Step #2 – Apply a thin layer of Mod Podge.
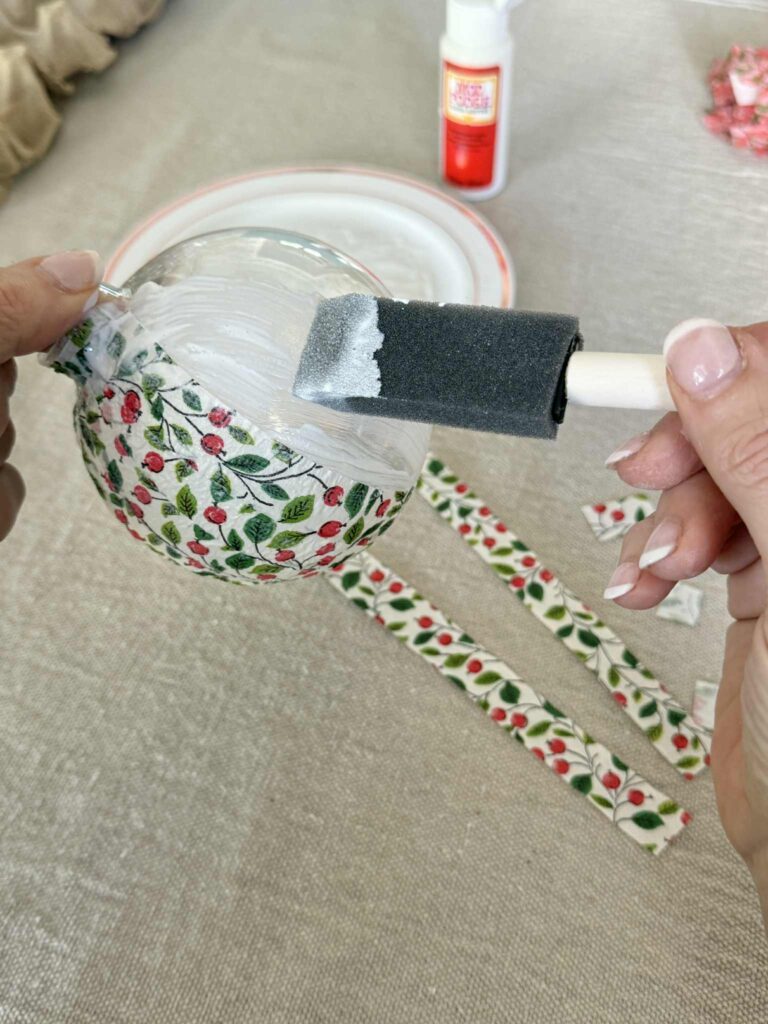
Using a foam brush, apply a thin layer of Mod Podge (or other decoupage glue) to a section of the ornament.
I like to remove the ornament tip (where you hang the ornament) so I can easily hold the ornament while I brush on the sticky glue.
Step #3 – Apply your napkin strips to the outside of the ornament.
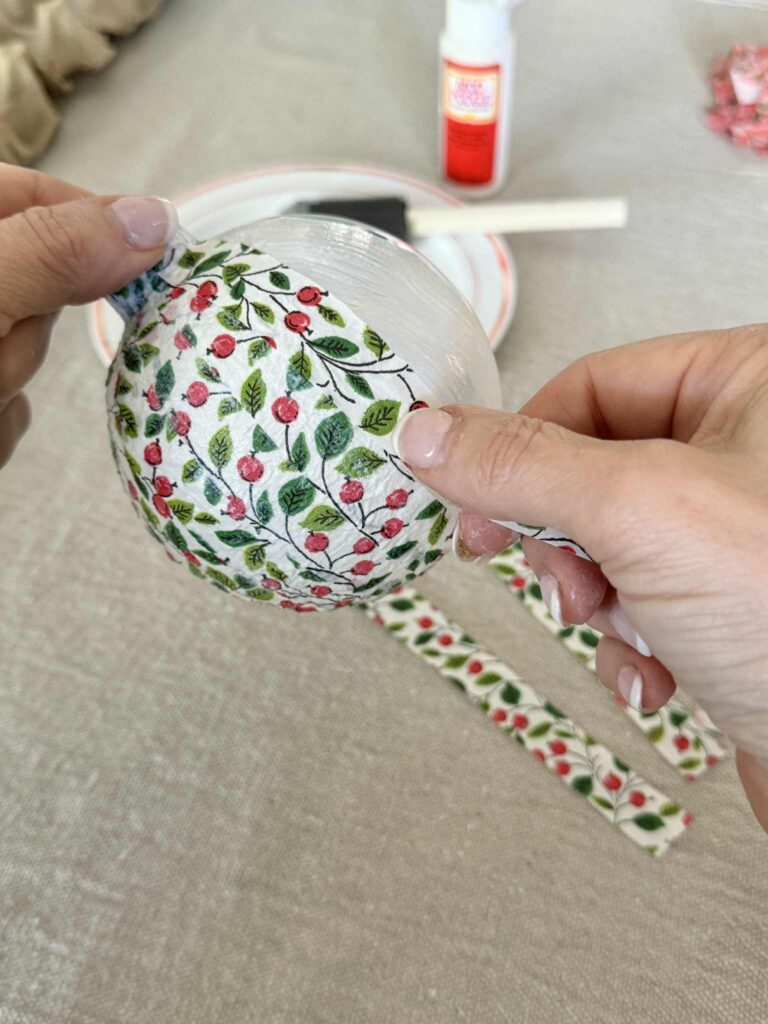
Carefully press a napkin strip onto the glued area from the top of the ornament to the bottom, smoothing it gently with your brush or fingertip.
Don’t worry if it wrinkles a bit. Wrinkles give it character!
Continue adding strips, overlapping slightly, until the entire ornament is covered.
Step #4 – Seal it.
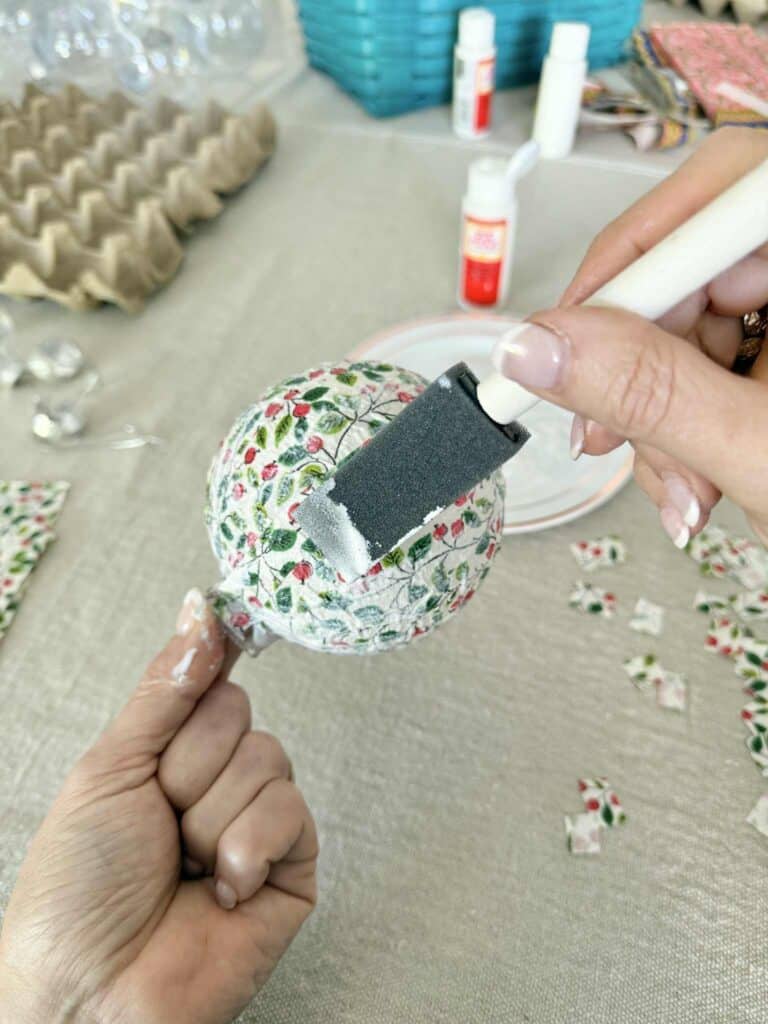
Brush another coat of Mod Podge over the top of the napkin to seal everything in place. You will want to let it sit and dry for at least an hour.
I like to take an old egg carton and set the ornaments in the egg cups. They dry quickly and don’t get the counter dirty.
Step #5 – Optional – Add sparkle!
Once the ornament is dry, you can hang it on your Christmas tree as is. But if, like me, you like a little “extra”…
Brush a little decoupage glue over the ornament and sprinkle Diamond Dust or faux snow for a frosty finish.
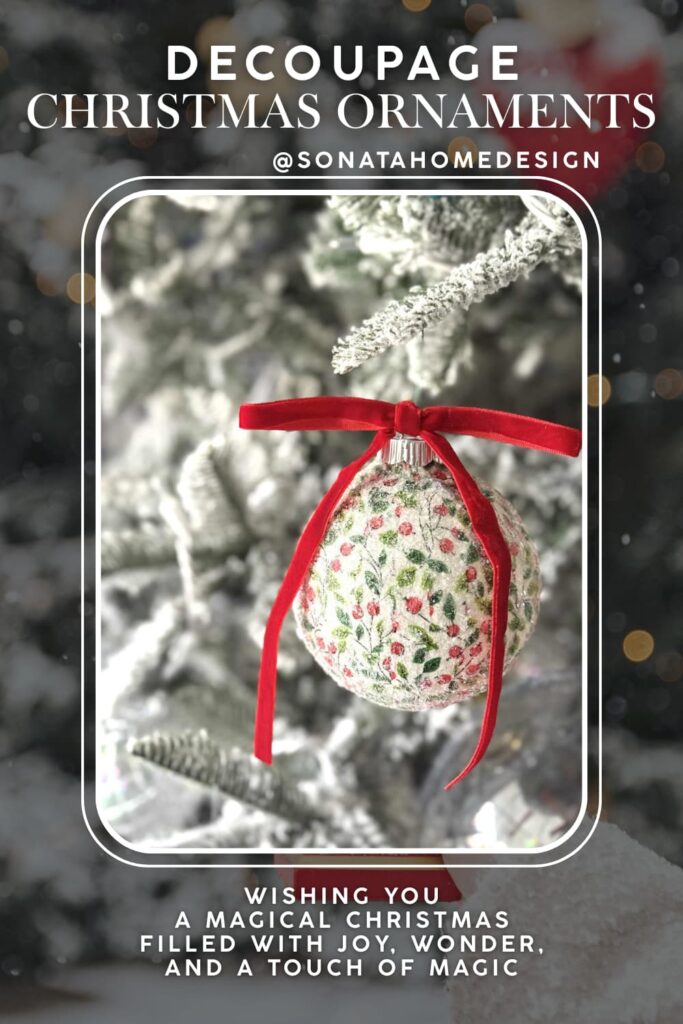
Add a cheerful velvet bow, and it’s ready for your Christmas tree!
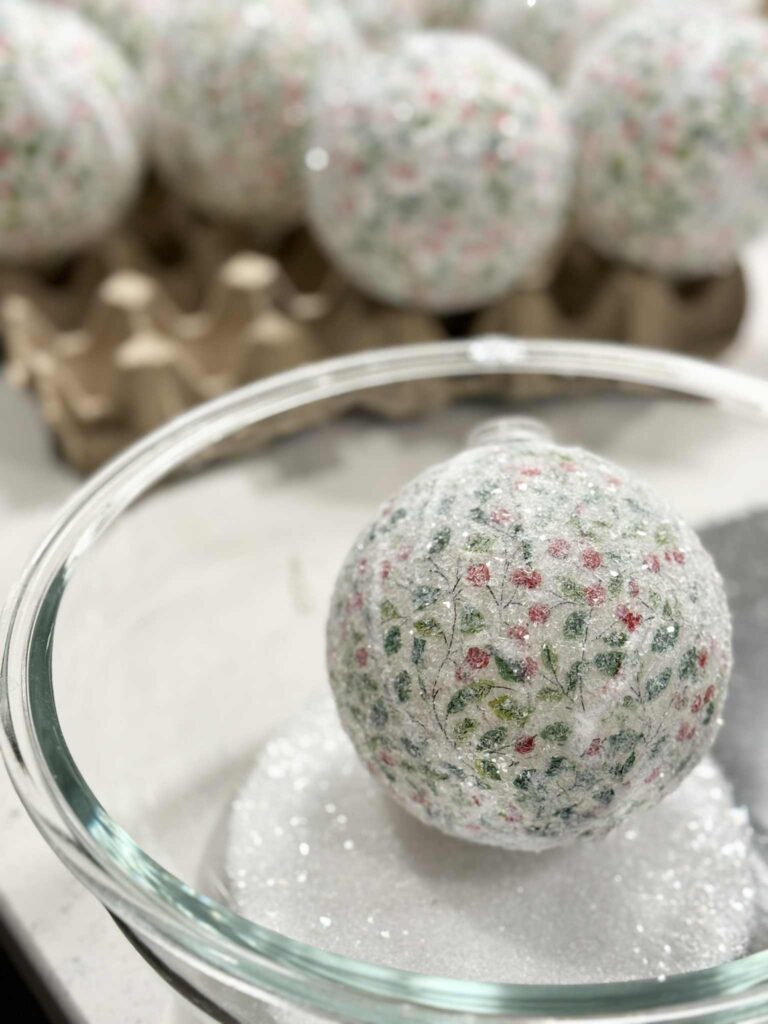
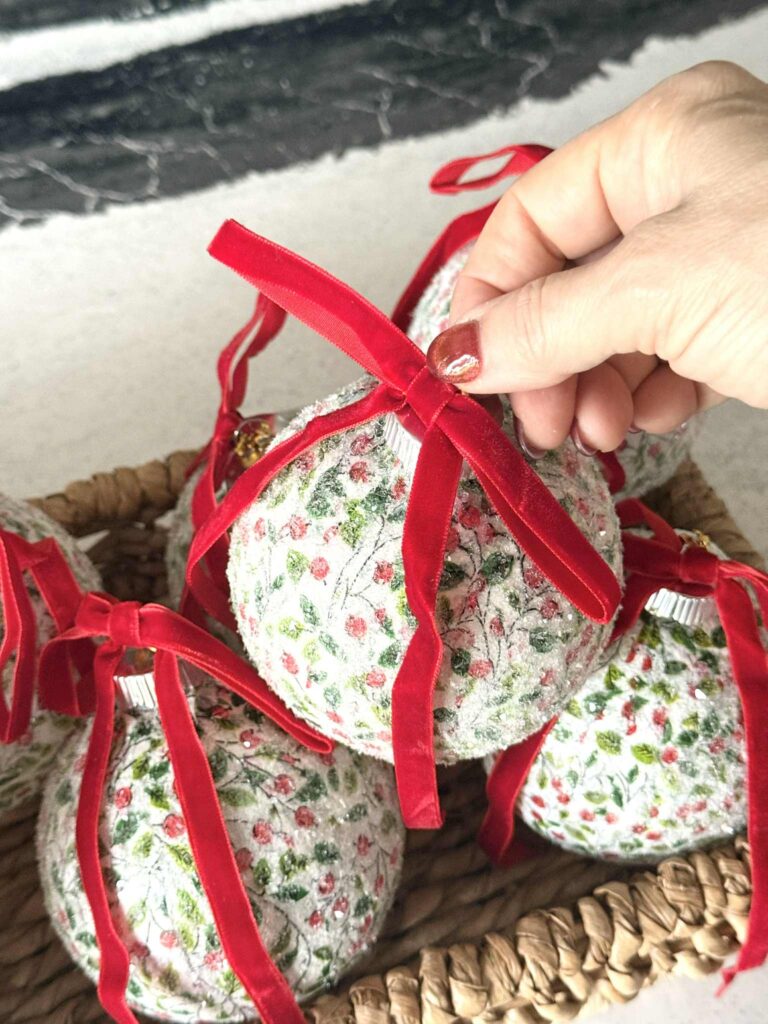
These pretty ornaments are so cheerful on a Christmas tree and make wonderful gifts for family, friends, and neighbors!
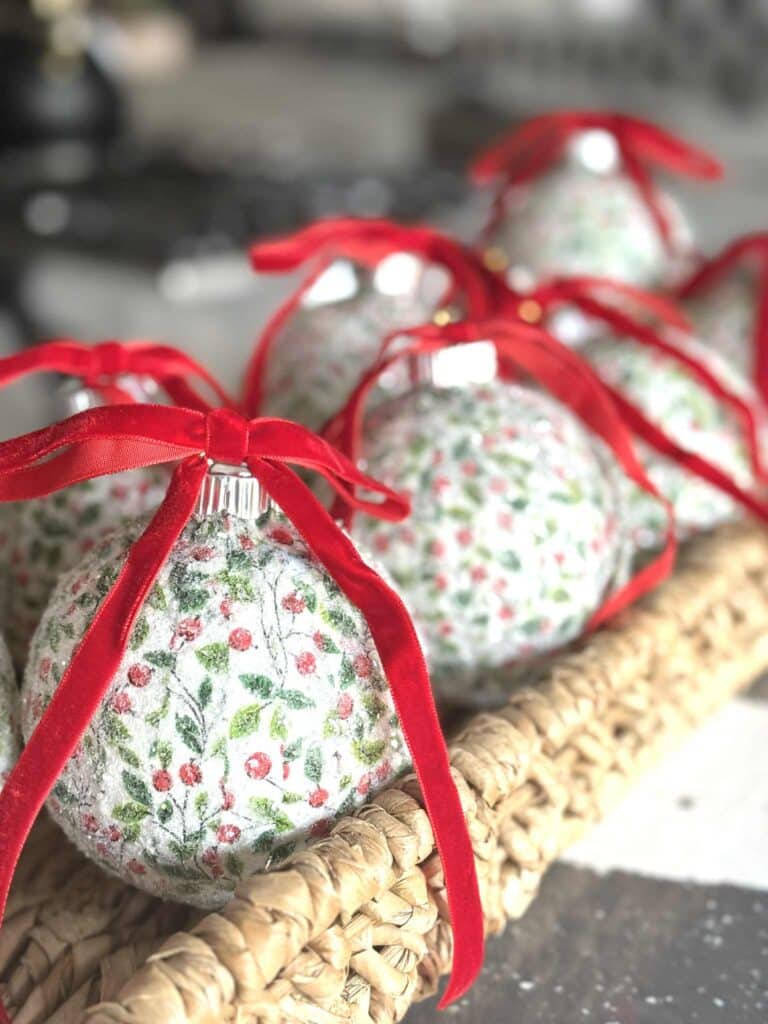
While I used clear ornaments for this project, this method works perfectly if you want to repurpose old ornaments. Just cover them right up with your favorite napkin pattern for a fresh new look.
Method 2: Decoupage on the Inside of an Ornament Half
If you’ve got large, clear ornament halves to work with (you can find them HERE), this technique gives a softer, reverse-painted look that’s elegant and unique.
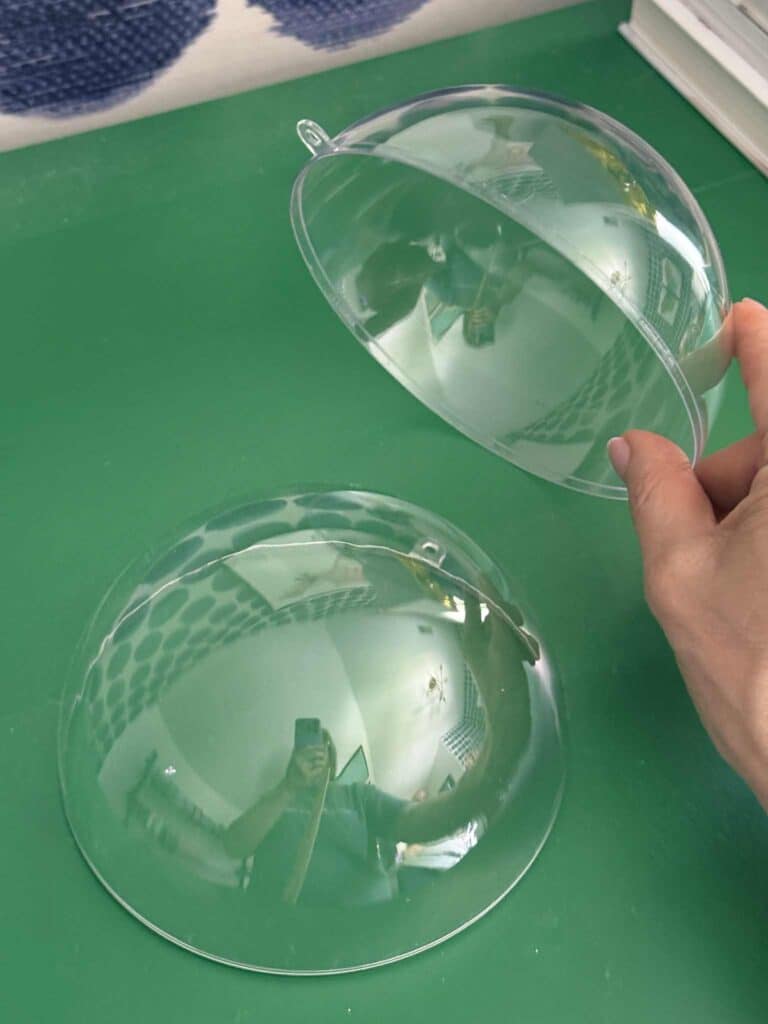
Step 1: Prepare your napkin.
Just like before, separate the printed layer of your napkin and cut it to fit roughly inside the ornament half.
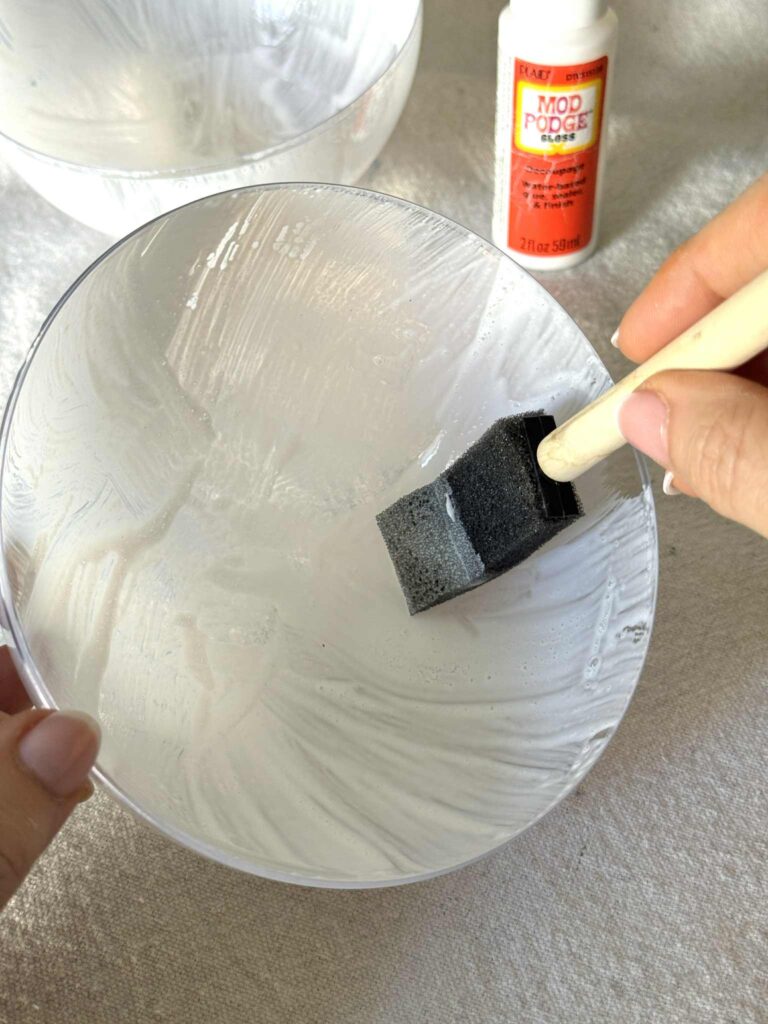
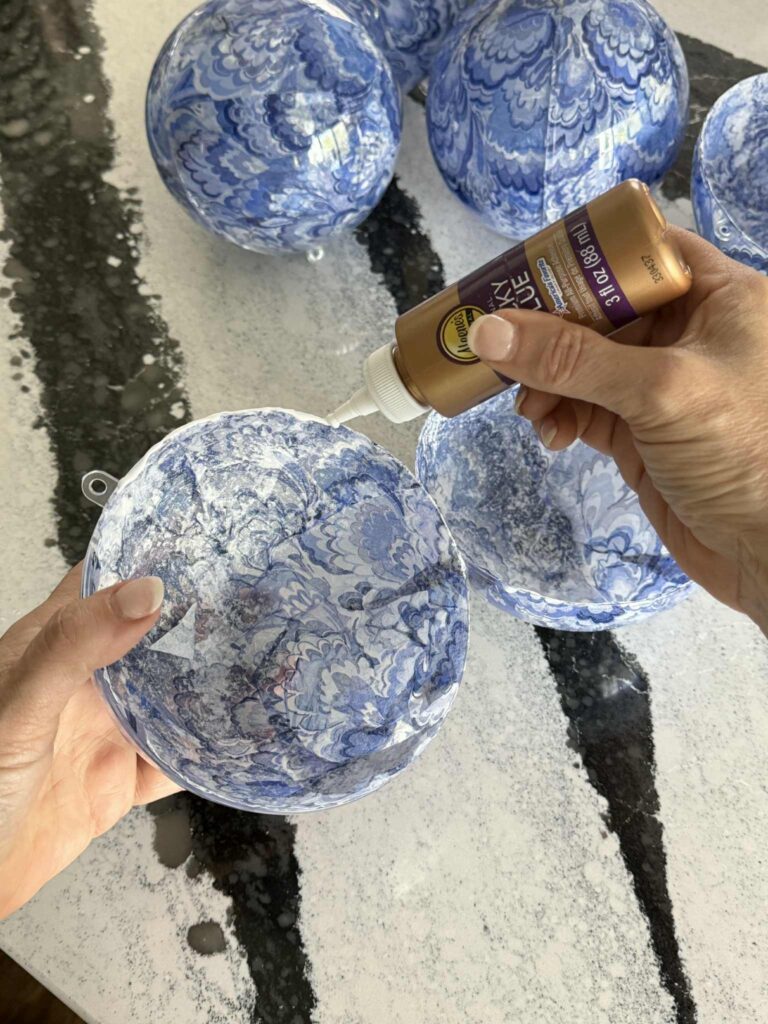
Step 2: Apply glue inside the ornament.
Brush a thin, even coat of decoupage glue on the inside of the ornament half.
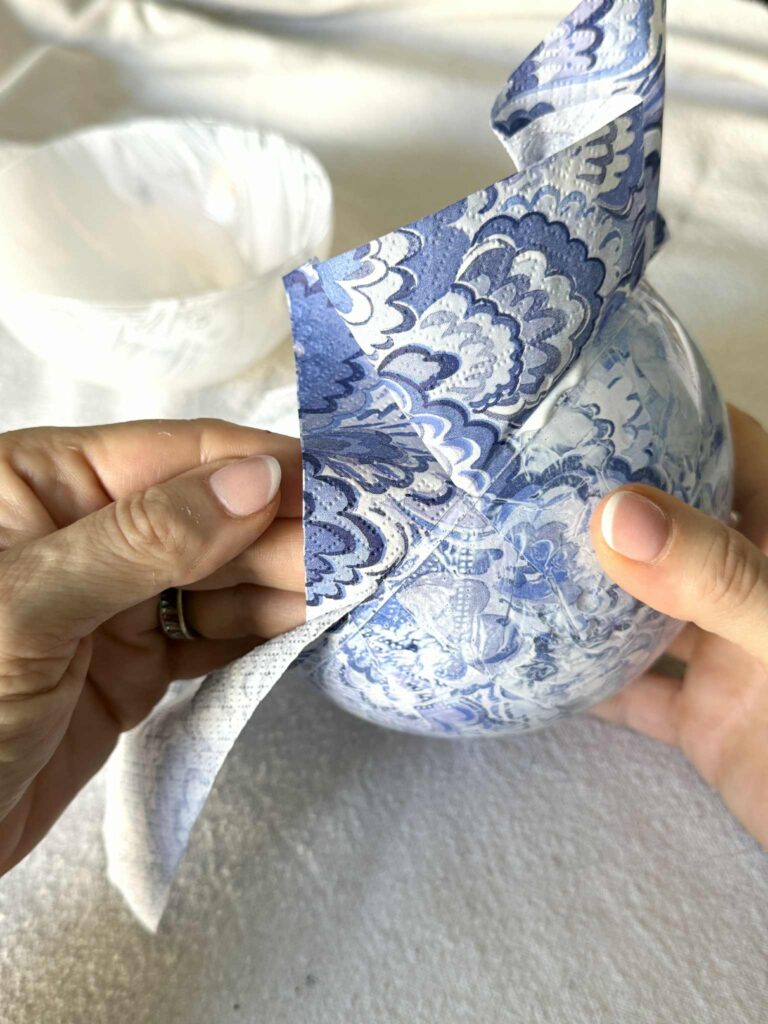
Step 3: Apply the napkin to the ornament.
Gently press the napkin’s printed side facing out into the glued surface of the ornament. Smooth out wrinkles as best you can with your fingers.
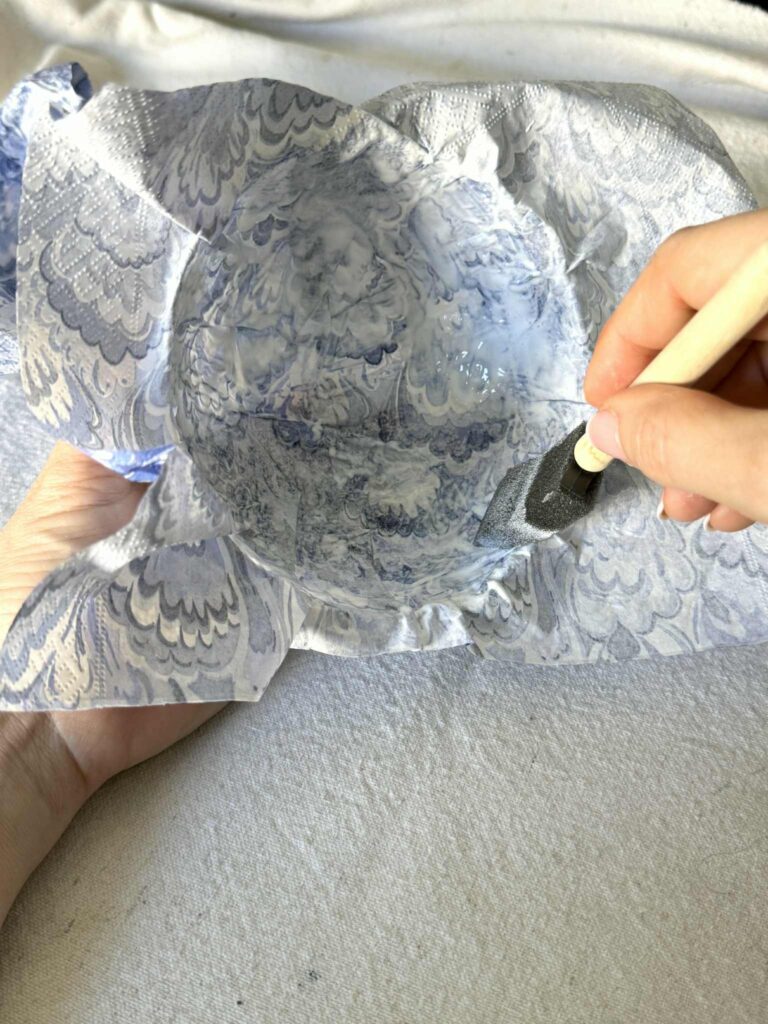
There will be some overlap with the paper napkin. Simply create neat folds in the paper and apply glue on top to seal.
Brush a thin layer of glue over the entire inside of the ornament. Pay particular attention to the edge so the napkin adheres to the entire inside.
Step 4: Assemble your ornament.
After the ornament dries completely, trim the excess napkin from the ornament half.
At this point, it would be lovely if the ornaments just snap back together…but they don’t!
No worries! Take a little craft glue and apply it to the rim of one of the halves.
Press the two halves together and secure them with a bit of painter’s tape until the glue dries.
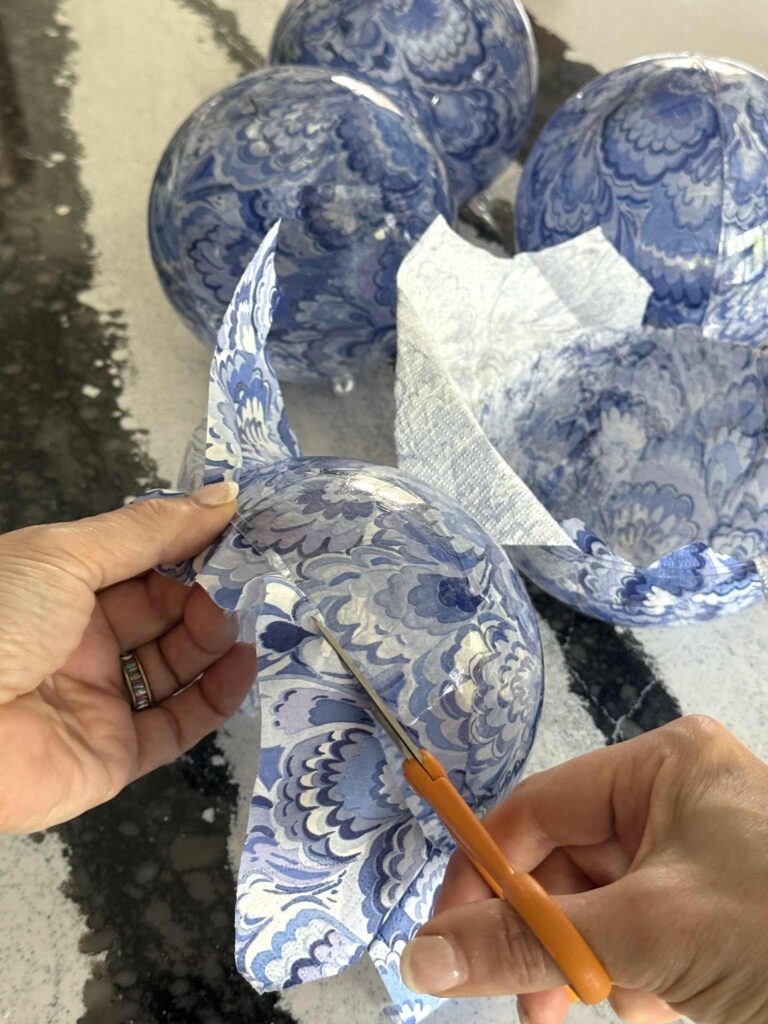
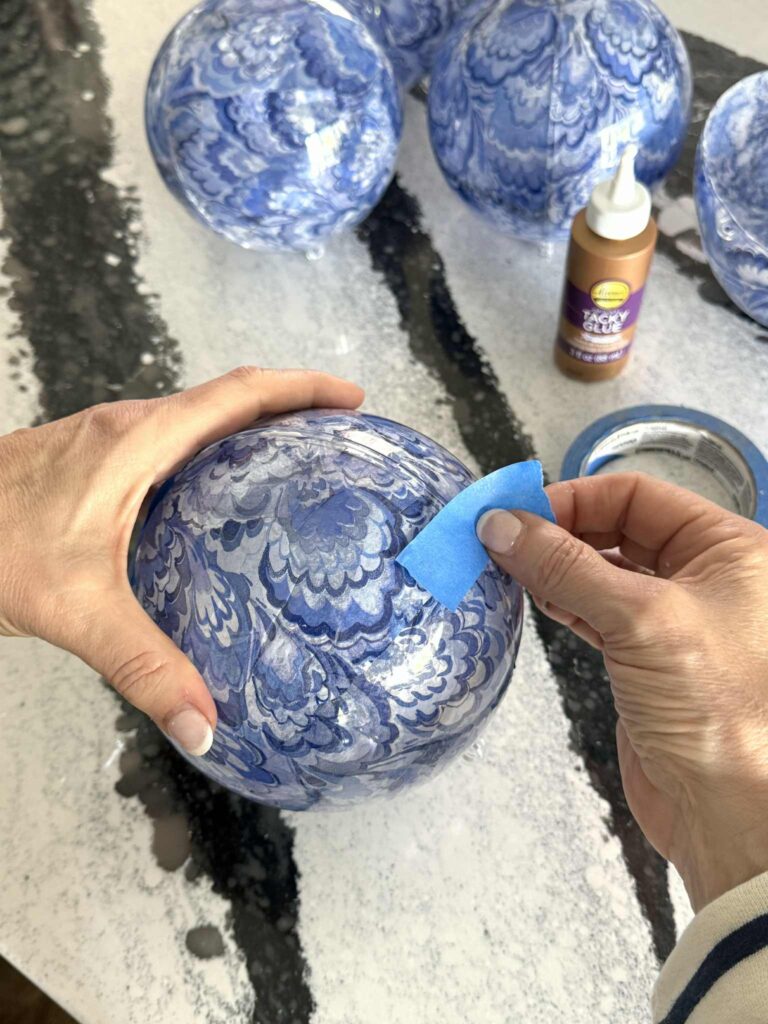
Attach the ornament hanger and some ribbon…you’ve got yourself a showstopper!

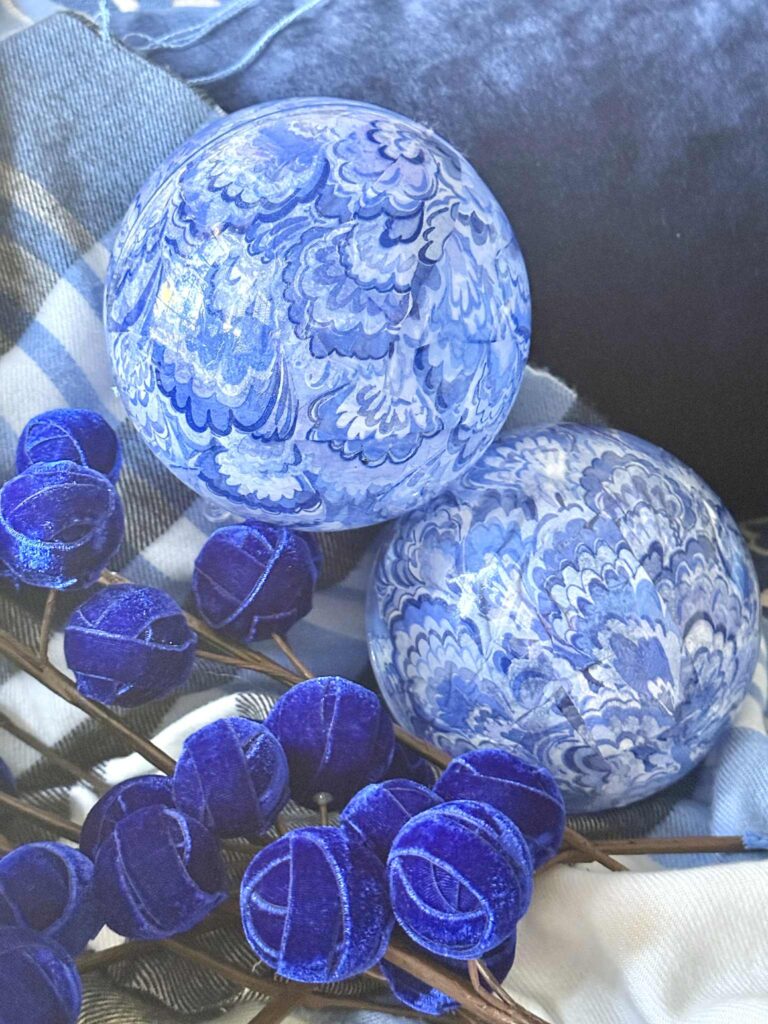
These ornaments play well with other decorative elements for your tree.
Sometimes, that shot of pattern is just what your Christmas tree needs!
Why I Love This Project
I love my new Mod Podge ornaments!
Besides saving money, these DIY ornaments give me the freedom to match every color theme in my home.
Whether I want cozy plaid for my family tree or soft blues and silvers for my bedroom tree, I can make as many as I want using leftover fabric scraps or paper napkins that fit my home decor style.

It’s also a great way to spend a chilly afternoon when you’re craving a little creative time. Once you start, you might find yourself looking for more decoupage projects around the house!
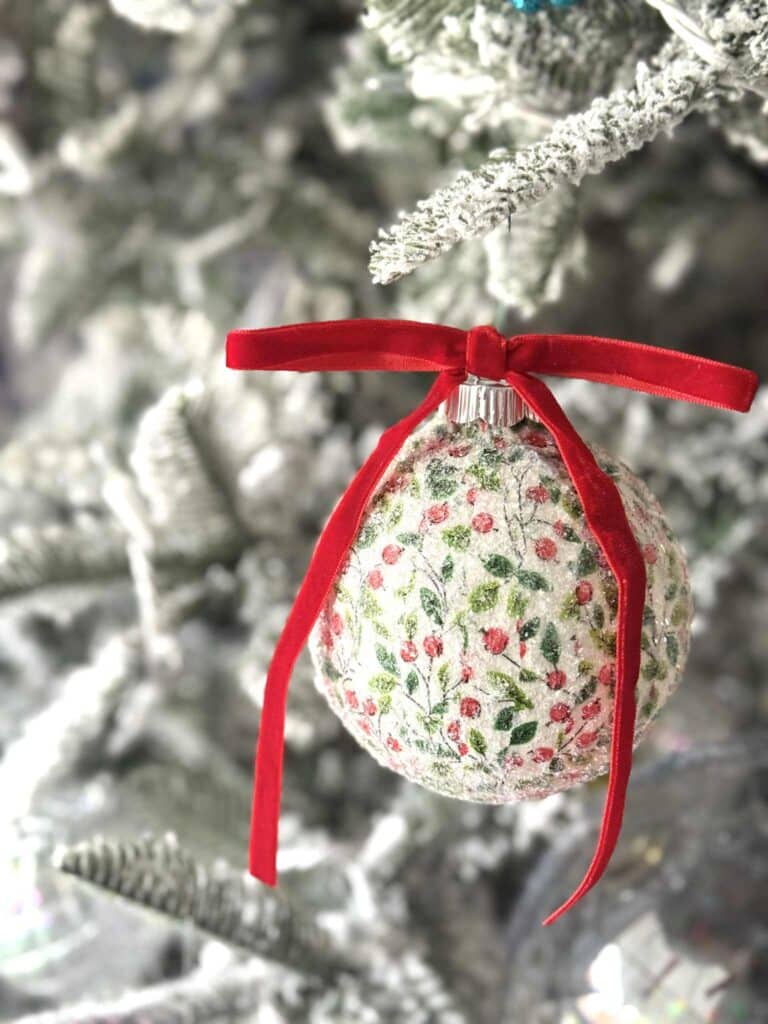
The best way to sum it up? This is a simple craft that looks anything but simple.
You get custom, handmade ornaments that add heart and personality to your Christmas decorations…without breaking the bank!
With these easy decoupage ornaments, your holiday season will sparkle with style!
Cheers!

A Little About Me
Hi! I’m missy. So happy to meet you!
“Decorate with Joy! Live with Happiness”
I truly believe that your home should be a reflection of your personality, a space where you feel free to express yourself and create a sanctuary that feels uniquely yours.
I love creating mood boards, hunting down unique home décor treasures, tackling easy DIY projects, and gathering with family and friends. Homes are meant to be enjoyed, filled with laughter, and shared with the people you love!
– cheers –
Don’t Forget to Pin It!
Pin the image below to your boards on Pinterest (just click the Pin button in the top left corner). You can also follow along with me on Pinterest!




Wow, these are incredible, Missy. I love to decorate for Christmas, too. These are just gorgeous. Visiting from the Funtastic Friday link party.
Thank you, Jennifer! Have fun decorating for Christmas!
I wish I had the crafting gene in my body, because these look awesome! Stopping in from MMBC, I hope that you have an amazing week!
No crafting gene needed! These are super simple! Merry Christmas, friend!
Oh my golly! I love these and so need to do this, but I hate crafting! How about I send you some napkins and you just make me some or a hundred?! LOL! Thank you for sharing them with us on Farmhouse Friday! I love this and look forward to featuring it tomorrow. pinned
Thank you so much, Cindy! I’ve made so many…what’s a hundred more! LOL! Merry Christmas friend!
To start, kudos my creative friend, for maintaining more than one Christmas tree! But now I see how… your decoupage ornaments are stunning! You can’t even see the paper joins! The strips are genius, and the way you frosted them sure seals the deal! Just gorgeous! And happy decorating all those trees… haha
Thanks, Donna! We are all busy Christmas elves these days, aren’t we? Merry Christmas!
How pretty, I love upcycling old Christmas baubles so this idea would be great for them. Thank you for sharing with us at Handmade Monday 🙂
Thank you, Julie!
Love the Christmas ideas
Thank you, Betsy! Wishing you a very merry holiday season!
These are so pretty! I love the ones with the frosty finish, beautiful!
You’ve inspired me to have a go at these, Missy. 💕 #MMBC
Have fun with them, Jayne!
Missy, these turned out so darn cute and were the perfect addition to our holiday party swag bags. Everyone commented on how beautiful they are. I’m excited to share a link to your post in my weekly recap this weekend.
We put together a pretty awesome swag bag, didn’t we! Thank you so much for sharing the link. You are such an amazing friend!
I love making Christmas decor and gifts and these are beautiful! Featuring when my link party opens. Wishing you a Happy Thanksgiving.
Thank you, Carol! I always appreciate your link party!
Wow, these decoupage ornaments are so beautiful. Congratulations, You are being featured on TFT. I hope you stop by. https://eclecticredbarn.blogspot.com/2025/12/creating-christmas-decor-on-tft.html
Hugs,
Bev
Those are absolutely glorious! I love ethat there are different techniques. I’ll be featuring this post at Thursday Favorite Things today. 🙂