

My Go-To Christmas Tree Napkin Fold for the Holidays
If I want to add a little festive magic to my holiday table, this Christmas tree napkin fold is always my go-to.
It’s simple, it looks adorable, and it’s much easier than it seems. I’m going to walk you through exactly how I fold it, step by step, so it can become your go-to too!

This blog contains affiliate links. This means a small commission is earned if you make a purchase by using this link. The price you pay will be the same whether you use the affiliate link or go directly to the vendor’s website using a non-affiliate link. As an Amazon Influencer, I earn from qualifying purchases.
Do you remember the fanciest restaurant you’ve ever been to?
I was fifteen and my parents took me to a really fancy restaurant.
REALLY fancy!
As in, there were waiters standing there watching us eat…ready to pick up any crumb we dropped. (just a little unnerving)
It was the first time I ate a meal in courses…
And the first time my napkin was folded in the most complicated yet beautiful origami swan.
Nestled into the back of the fabric swan was a small bowl of sorbet…to “cleanse my palette!”
Oo La La!
It was so beautiful…I hated to even touch it!
(This photo’s napkin fold doesn’t even come close to the intricacy I saw. But you get the idea!)

Given that I have never eaten at this fancy a restaurant again,(Maybe I’m old enough to treat myself again?) I do love to try creative ways to jazz up my holiday table.
And while I love pulling out my vintage napkin rings…
For my Christmas table…I love to fold the cutest napkin Christmas tree for each table setting!
All you need are square cloth napkins and a flat surface.
Let’s start folding!
How to Fold a Napkin into a Christmas Tree
Start with a folded square napkin.
(Don’t you love an easy start?)

- Lay your square napkin on a flat surface and fold it in half to make a rectangle.
- Fold it again to create a smaller square.
- Turn the napkin so it forms a diamond shape, with the layered corners closest to you and the top point facing the opposite corner.
- See how I turned it so the open, fringed edges are facing downward?


Fold up the napkin layer by layer.
- Lift the first layer and fold the point upward, stopping about ½–1 inch from the top point.
- Continue folding each layer upward with the same spacing. As the layers stack, you’ll start seeing that iconic little tree shape appear.


Now, flip the napkin over carefully
- Hold the folds in place and flip the napkin over so the back side faces up.
- I like to place on hand on top so all those lovely folds stay in place as I flip it.


Fold the left and right sides inward
- Fold the left side of the napkin diagonally toward the opposite side of the napkin.
- Then fold the right side in the same way so the edges overlap slightly. This narrows the shape and gives your tree a nice, tapered silhouette.


Flip the napkin back over.
I know…it seems like a lot of flipping. But we almost done!
- Turn the napkin right-side up again. Now it truly looks like a little tree waiting for its final branches.

Tuck the tips down to form branches


- Starting at the top of the tree, fold each small tip upward and tuck it under the layer above it.
- Then, continue tucking each fabric tip until you reach the bottom.
I see a tree!

Add a top and a bottom!
This is where you can get creative!
- Tuck a cinnamon stick under the bottom of your tree to create a trunk.
- And then place a tiny star anise on the top for the all-important tree topper!

Then nestle your folded napkin onto each dinner plate for the cutest festive touch to your Christmas table.

This Christmas tree napkin fold works with napkins of any color or pattern!
I used a red and white striped straw for this buffalo check napkin fold.
Cute!

I will always remember that fancy origami napkin swan…
But the memories created around the table each Christmas will include these fun folded Christmas trees!

Merry Christmas and Cheers!

A Little About Me
Hi! I’m missy. So happy to meet you!
“Decorate with Joy! Live with Happiness”
I truly believe that your home should be a reflection of your personality, a space where you feel free to express yourself and create a sanctuary that feels uniquely yours.
I love creating mood boards, hunting down unique home décor treasures, tackling easy DIY projects, and gathering with family and friends for a delicioHomes are meant to be enjoyed, filled with laughter, and shared with the people you love!
– cheers –

Don’t Forget to Pin It!
Pin the image below to your boards on Pinterest (just click the Pin button in the top left corner). You can also follow along with me on Pinterest!


More For Your Christmas Table

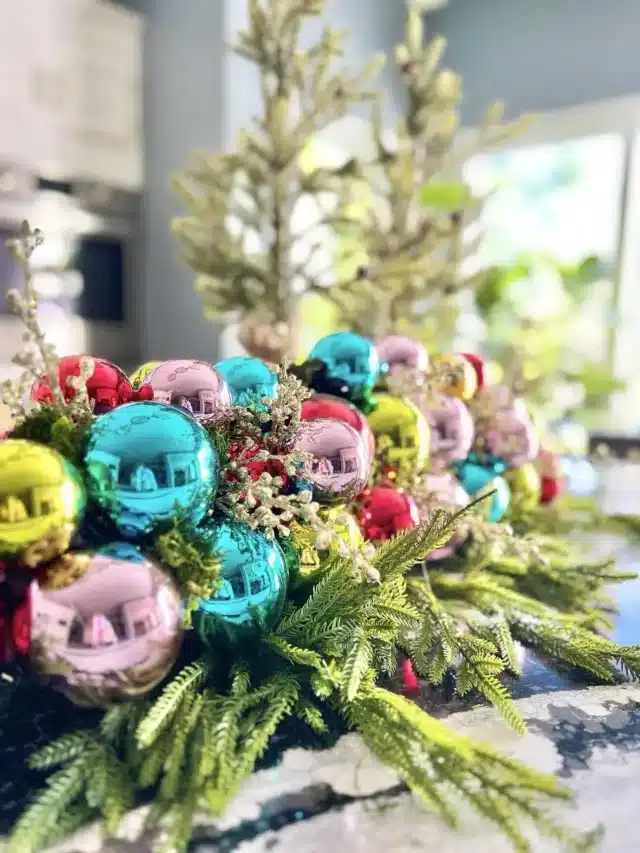
Ornament Ball Christmas Centerpiece
Chocolate Truffle Recipe + Truffle Tree Idea

You’ll Love These Napkins!

This is such a cute idea, Missy. I love how simple it is but looks really festive. The little cinnamon stick and star anise are such a nice finishing touch too.
Merry Christmas to you and yours! 😊 🎄
Ohh! I might have to try this! It looks so pretty and so festive!
Missy, I’m glad you linked this post as I was able to share it on Christmas Eve at Share Your Style #481 for you. Just in case anyone wanted to use this special napkin on their holiday tables! 🙂
I hope you had a wonderful Christmas! My son and grandson are here now (since Saturday) and our daughter drives in tonight. Excited to have both of our adult kids here for New Year’s!!!
Have a great week and Happy New Year,
Barb 🙂
What a stunning result! I’d probably just wipe my hands on my lap because I wouldn’t want to ruin this masterpiece! haha! Love your folded napkin Christmas tree, Missy! And how perfect on those forest tree plates… swoon!