Decoupage Shells as Wall Art: DIY Oyster Shell Flowers
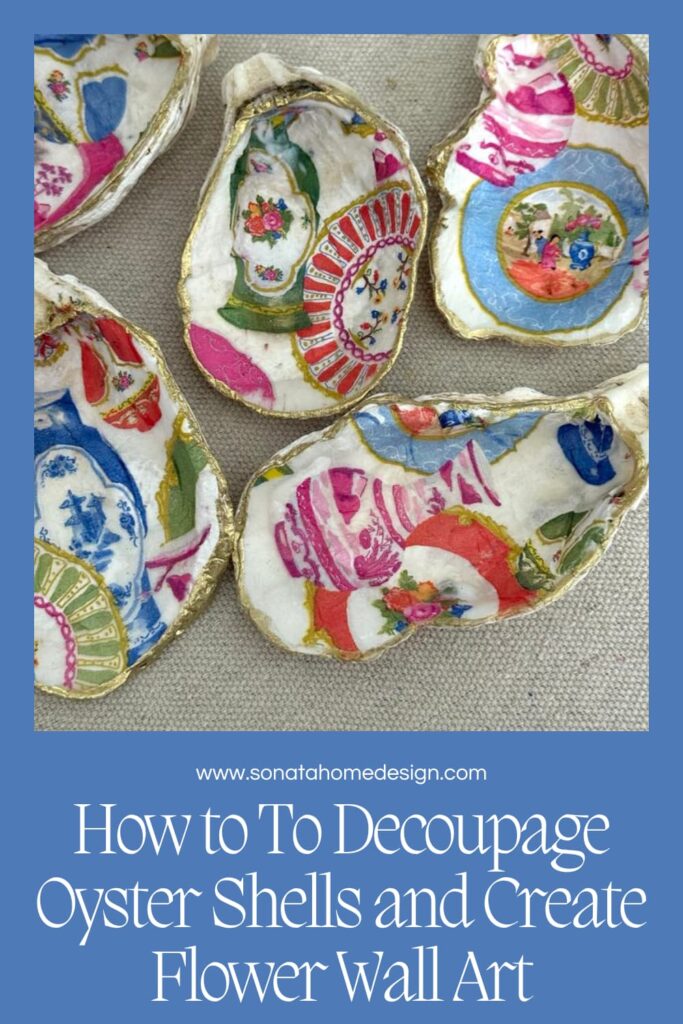
Want to bring a little coastal charm into your home? In this tutorial, I’ll show you how to decoupage oyster shells with beautiful patterns and then turn them into stunning flower wall art.
It’s an easy DIY project that combines creativity and elegance…perfect for crafting something truly unique for your home decor.
This blog contains affiliate links. This means a small commission is earned if you make a purchase by using this link. The price you pay will be the same whether you use the affiliate link or go directly to the vendor’s website using a non-affiliate link. As an Amazon Influencer, I earn from qualifying purchases.
Bringing the Coast Home with Decoupage Shells
Ever since my trip to Charleston, I’ve had a bit of a love affair with decoupage shells.
There’s just something magical about turning ordinary seashells into beautiful, decorative pieces with a simple layer of paper and glue.
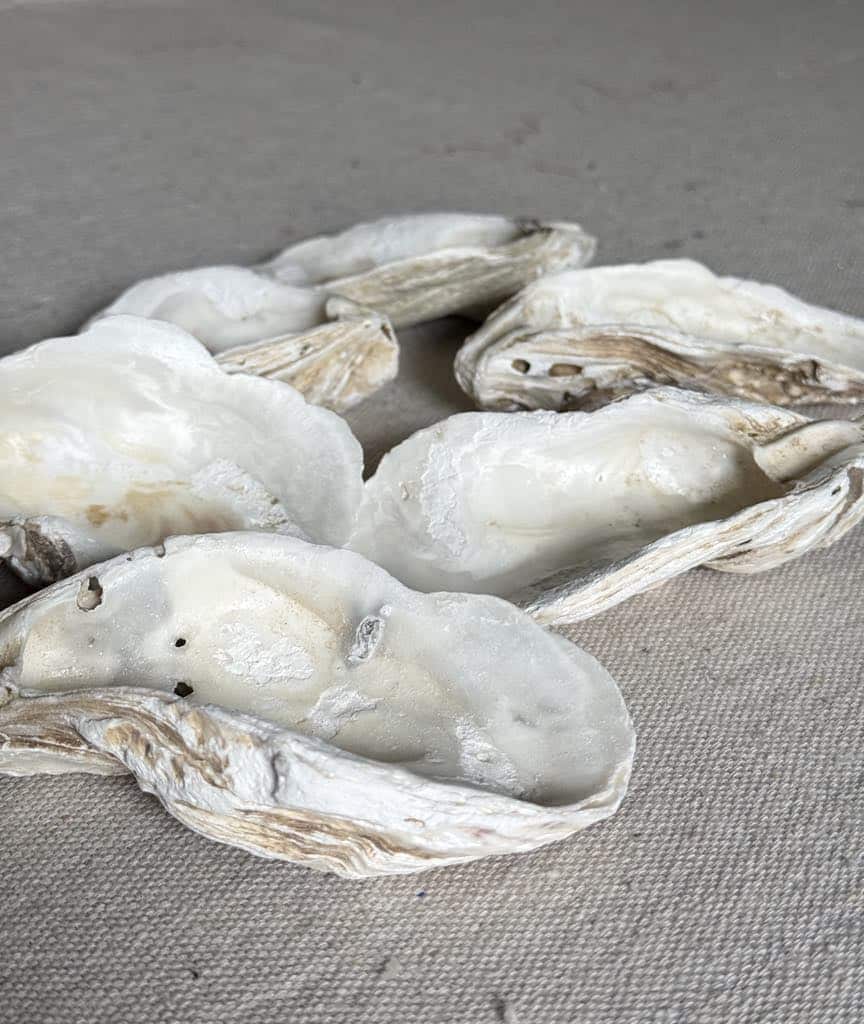
And since I live in the landlocked Midwest with nary an oyster in sight, crafting my own decoupage seashells helps bring a little coastal flair into my home. It’s a great way to relive oceanside memories while creating something lovely for your space.
In this post, I’ll show you how to decoupage oyster shells and then use them to create stunning wall art.
Whether you’re new to decoupage or a seasoned pro, this is an easy, fun craft project that adds charm and color to any room!
Supplies You’ll Need
For the decoupage shells:
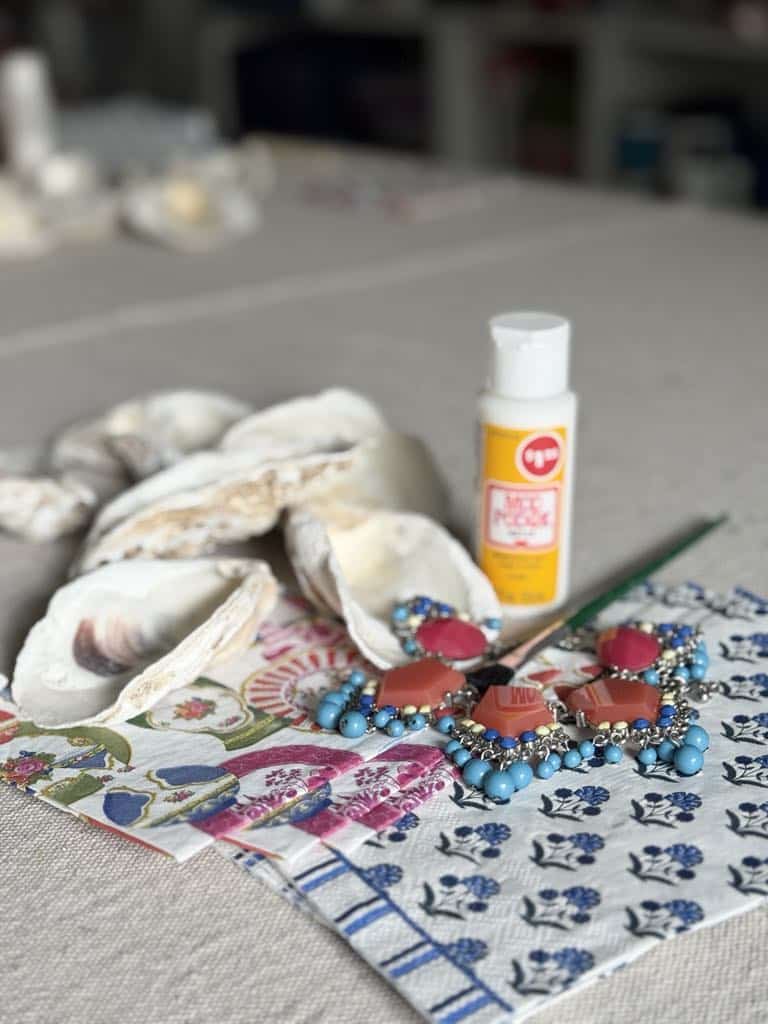
- Oyster shells (I order the most beautiful oysters shells from Amazon since I have no ocean nearby!)
- Mod Podge decoupage glue
- Small paintbrush
- Paper napkins or cocktail napkins in a fun pattern (you can also use patterned tissue paper)
- Sandpaper or sand block
- Gold paint pen
For the wall art:
- Wrapped canvas (any size you like)
- Coordinating paper napkin or decorative paper
- Foam brush
- Colorful beads or stones (I found a garage sale necklace with the perfect beads!)
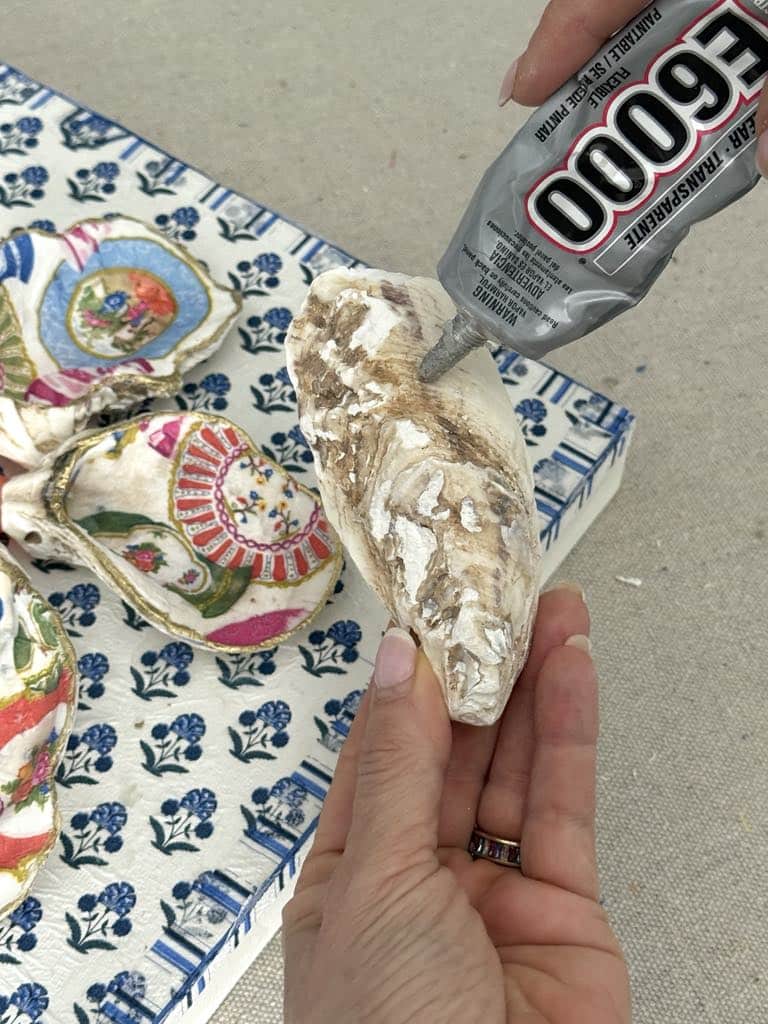
- E6000 glue (because oyster shells are heavy!)
How to Decoupage Oyster Shells
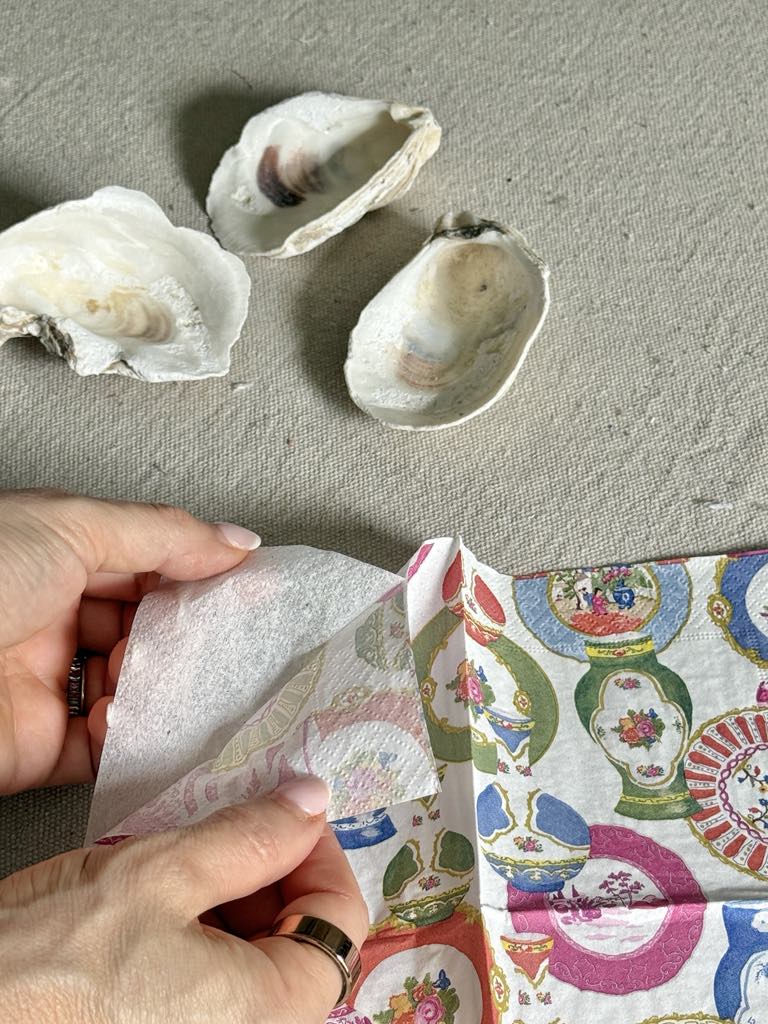
To get started, you will need to separate the top layer of your paper napkin from the other plies—you’ll only use the top of the napkin, where the pattern is printed.
Then, decide what part of the napkin pattern you want on the inside of the oyster shell. Place the shell upside down on top of the desired pattern and roughly cut around the shell, leaving at least an inch of the napkin around the shell.
Brush a thin layer of decoupage glue onto the inside of the shell using a small, clean paintbrush.
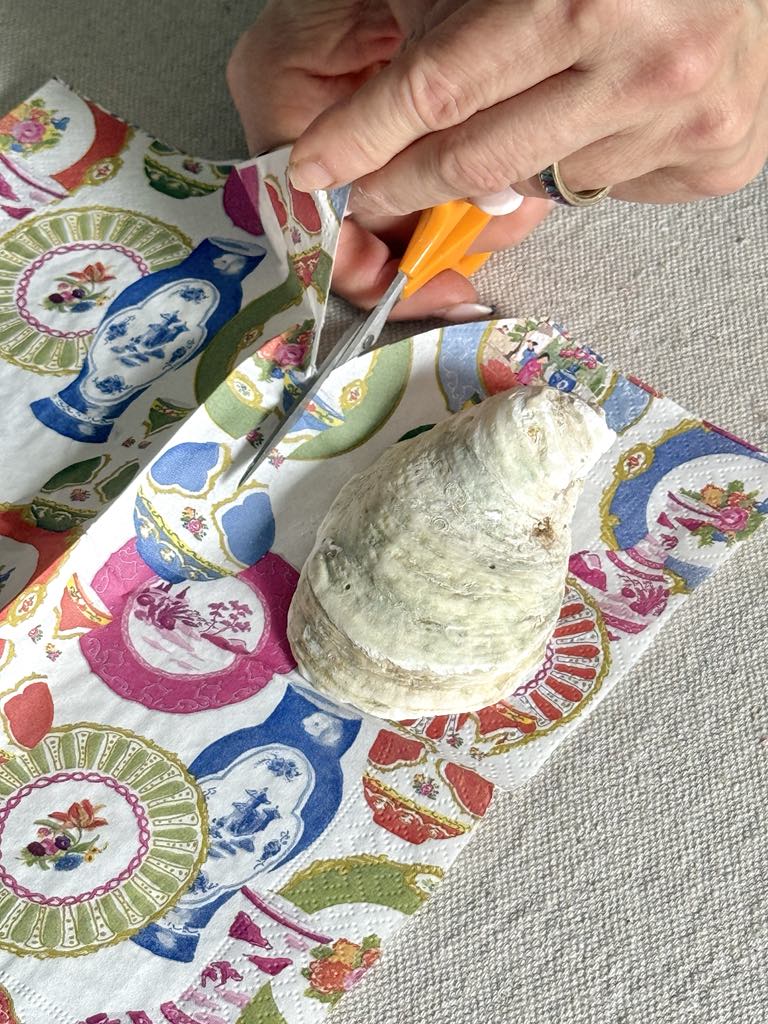
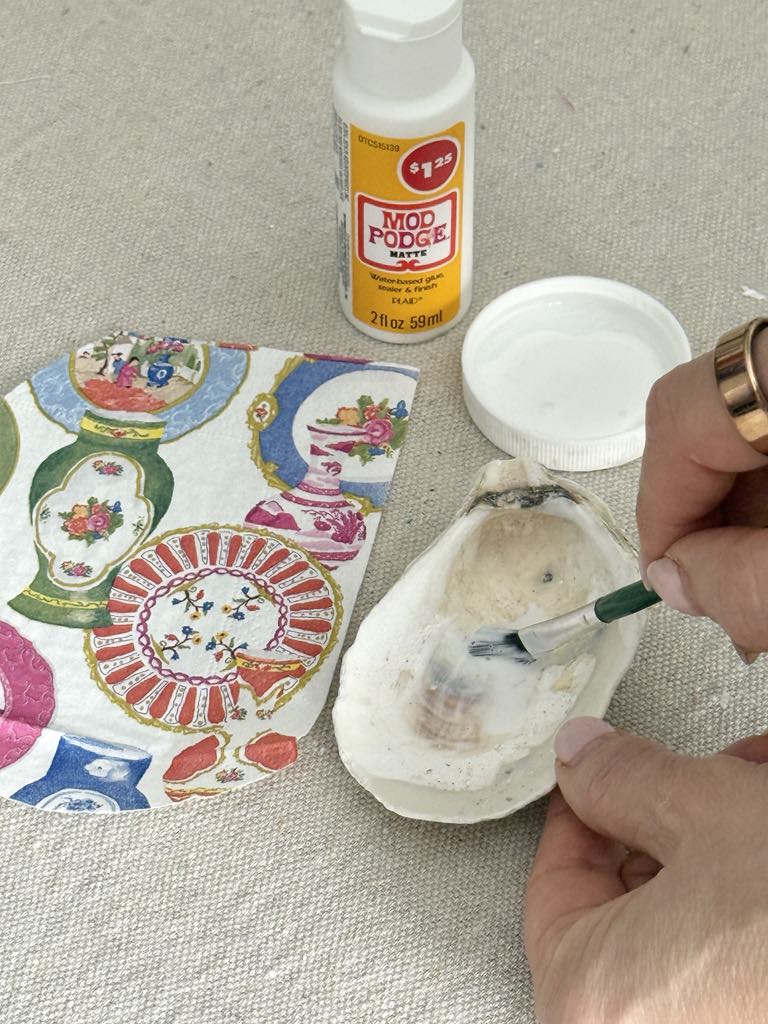
Carefully place your napkin piece on top of the glue, gently pressing it first in the center of the shell and then into the curve of the shell.
Use your fingers to smooth out any air bubbles, but don’t stress over perfection—a few little imperfections add character!
To get rid of the excess napkin, dab some water along the edge of the shell and tear off what is not glued to the shell.
Once the napkin is in place, brush another layer of Mod Podge over the top and edges of the paper to seal it. Let it dry completely.
For a finished look, trace the outer edges of the shell with a gold paint pen. This simple touch adds a little elegance and polish.
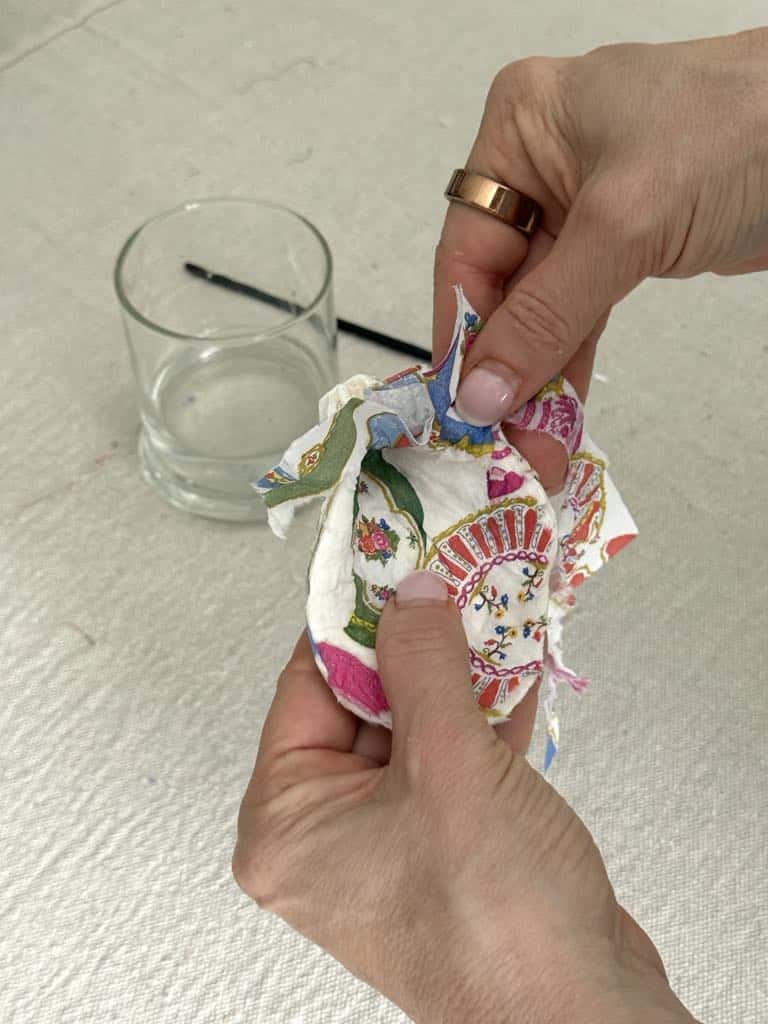
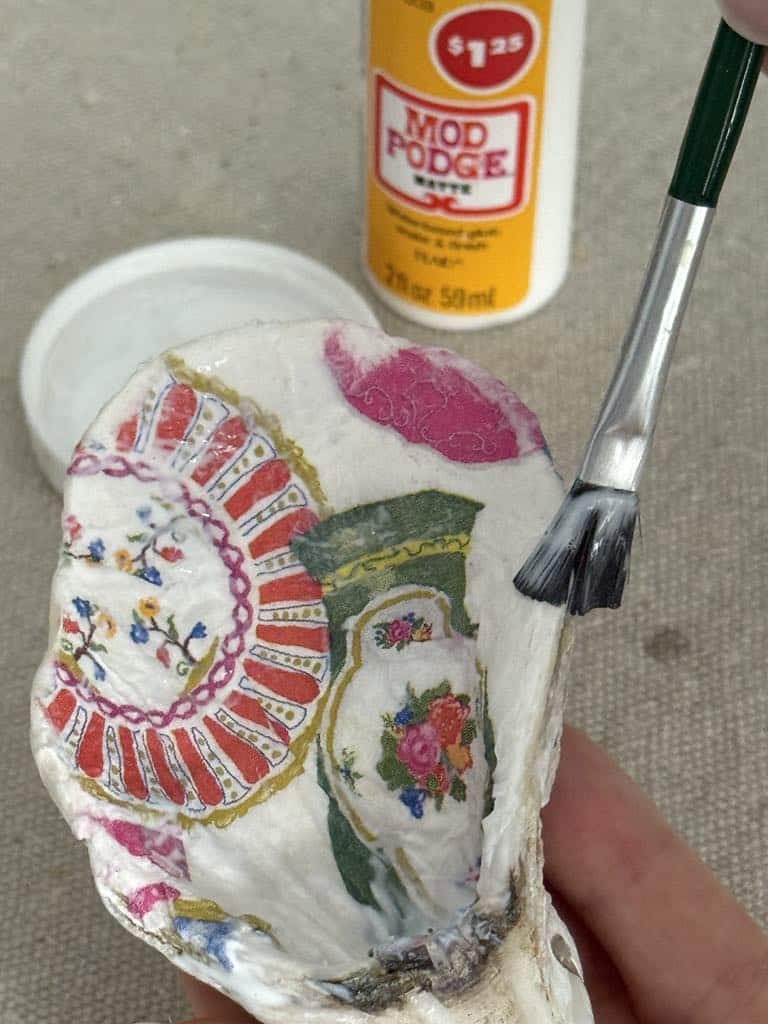
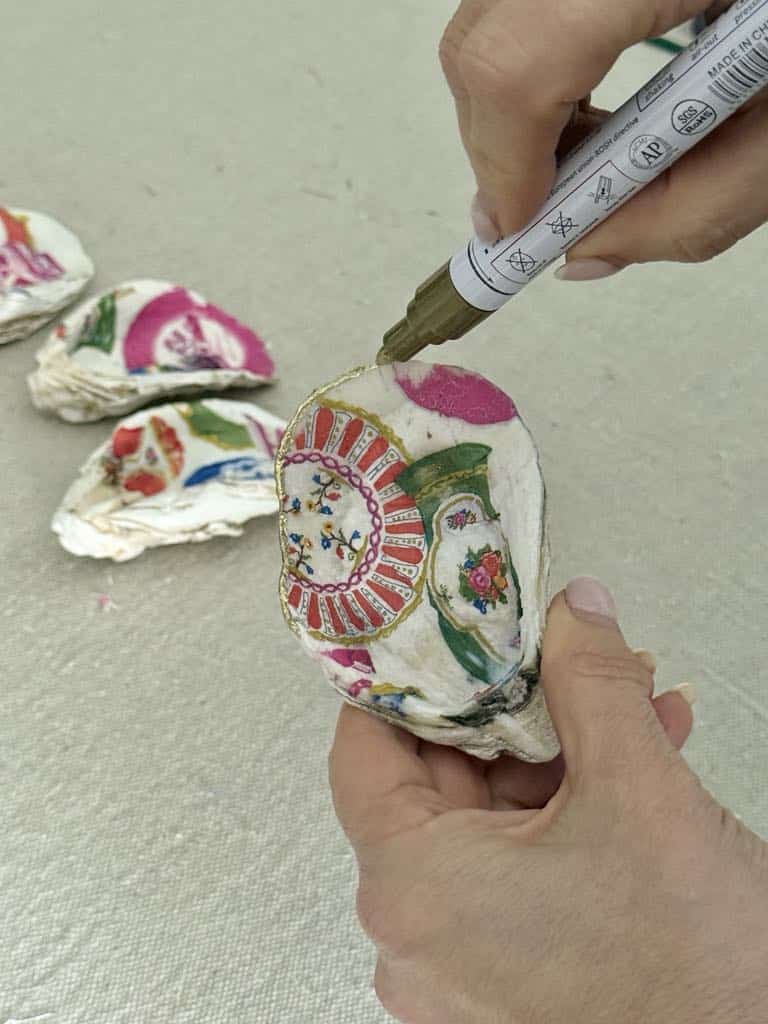
And there you have it—beautiful decoupage oyster shells ready for whatever creative ways you can dream up to use them!
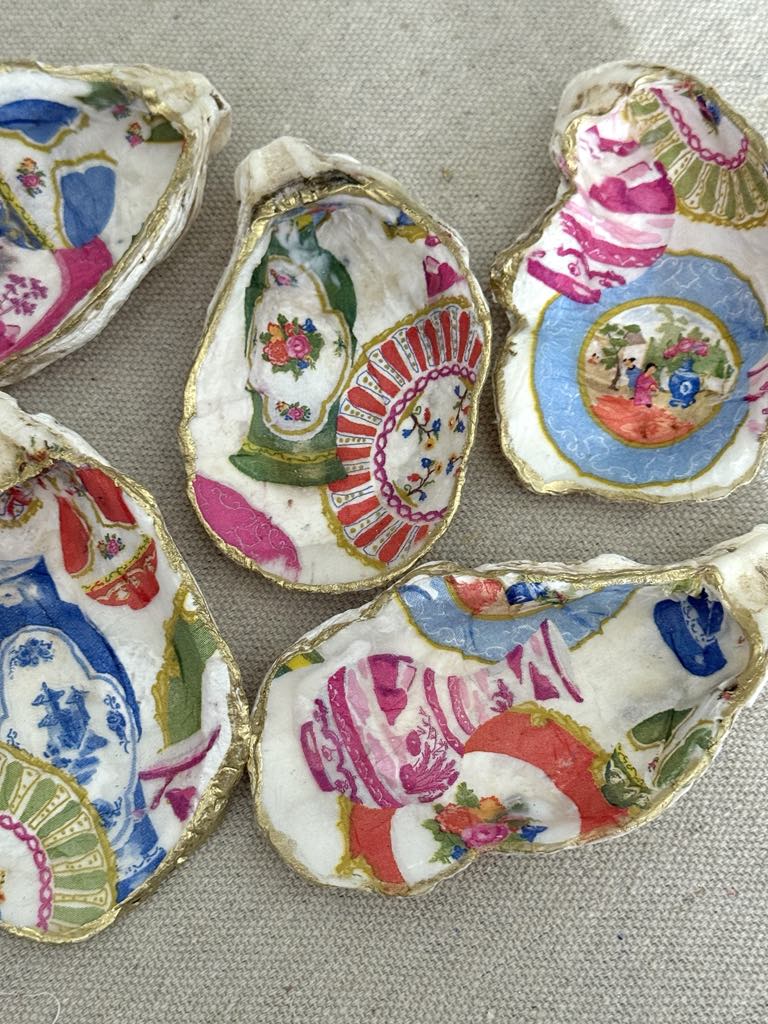
Turning Your Decoupage Shells into Wall Art
This is where the fun really takes off!
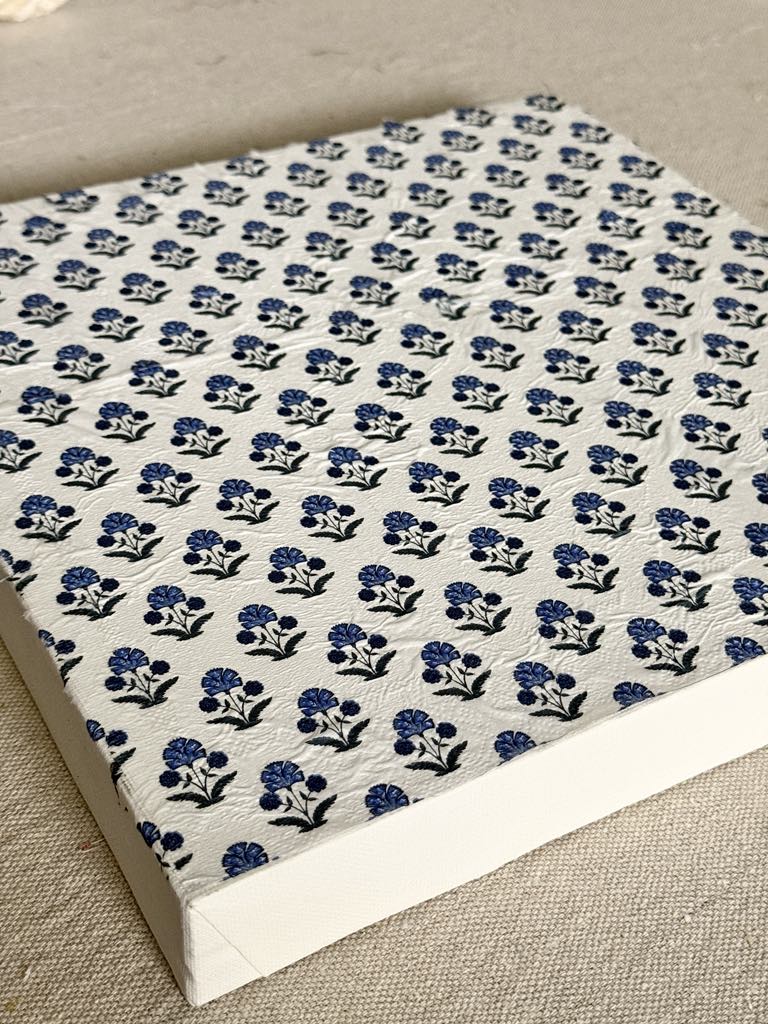
I used a wrapped canvas as the base for my artwork and decoupaged it using a coordinating cocktail napkin.
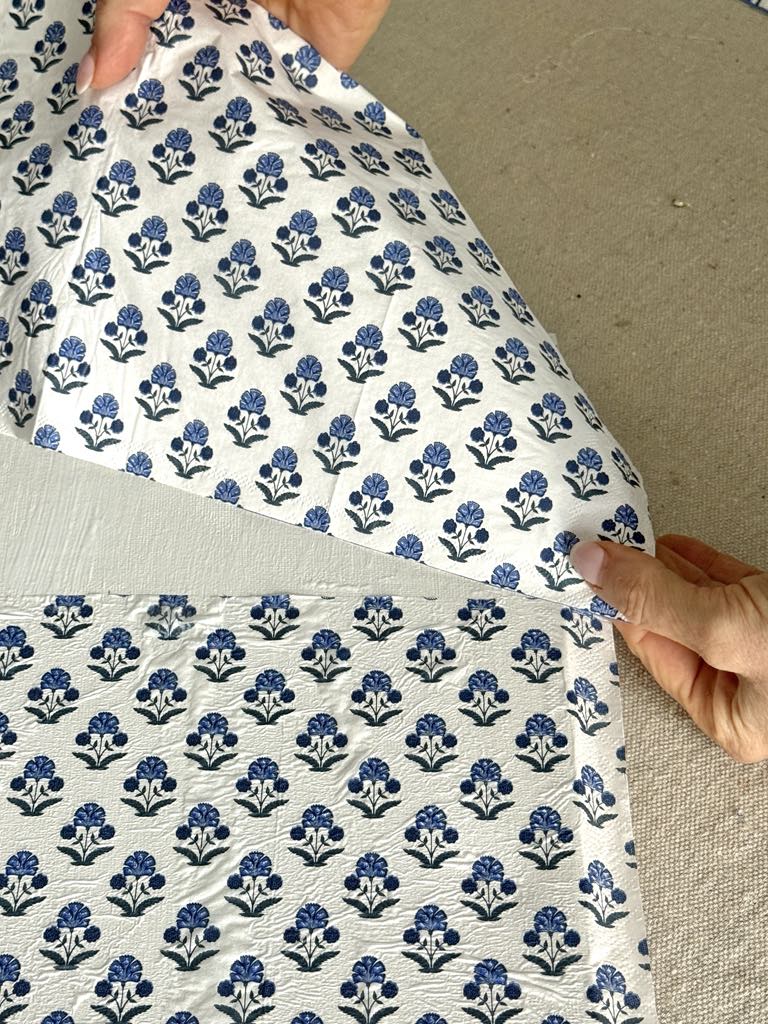
Since this coordinating pattern is serving as the background, I lightly ironed the napkin piece to take out the thick fold lines. Don’t worry about ironing out the wrinkles completely. The decoupage glue will take care of faint wrinkles.
Because the pattern on my napkin reversed itself on the other half, I cut it in two and spliced the napkin pieces together to create a background pattern that is going in the same direction.
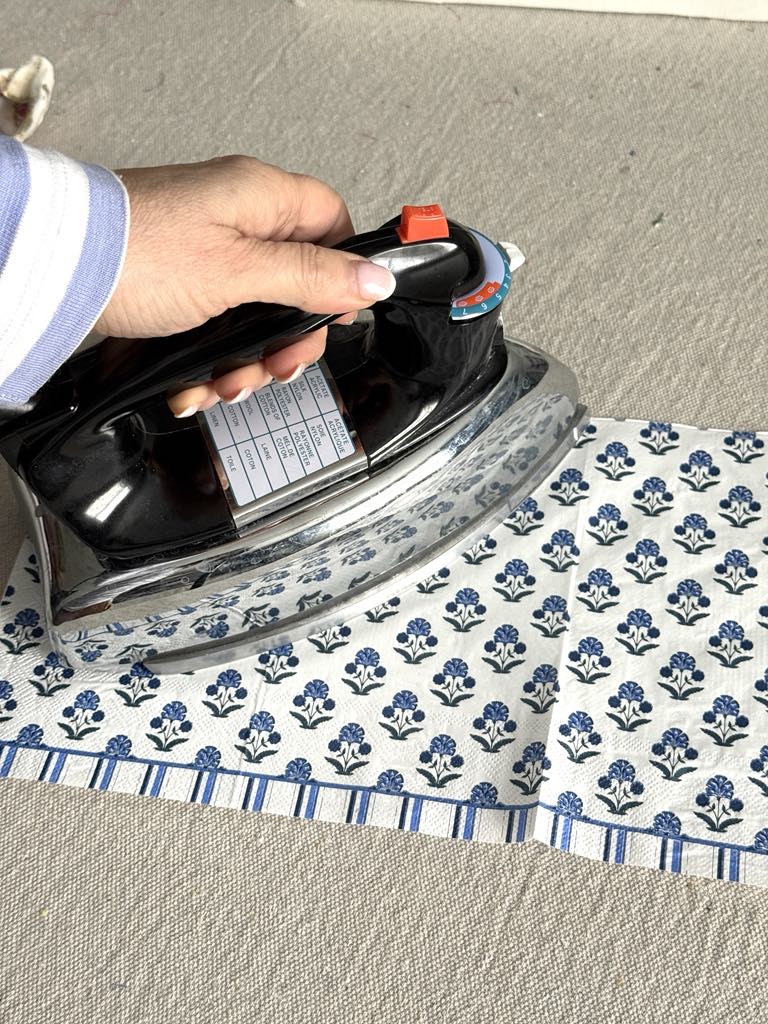
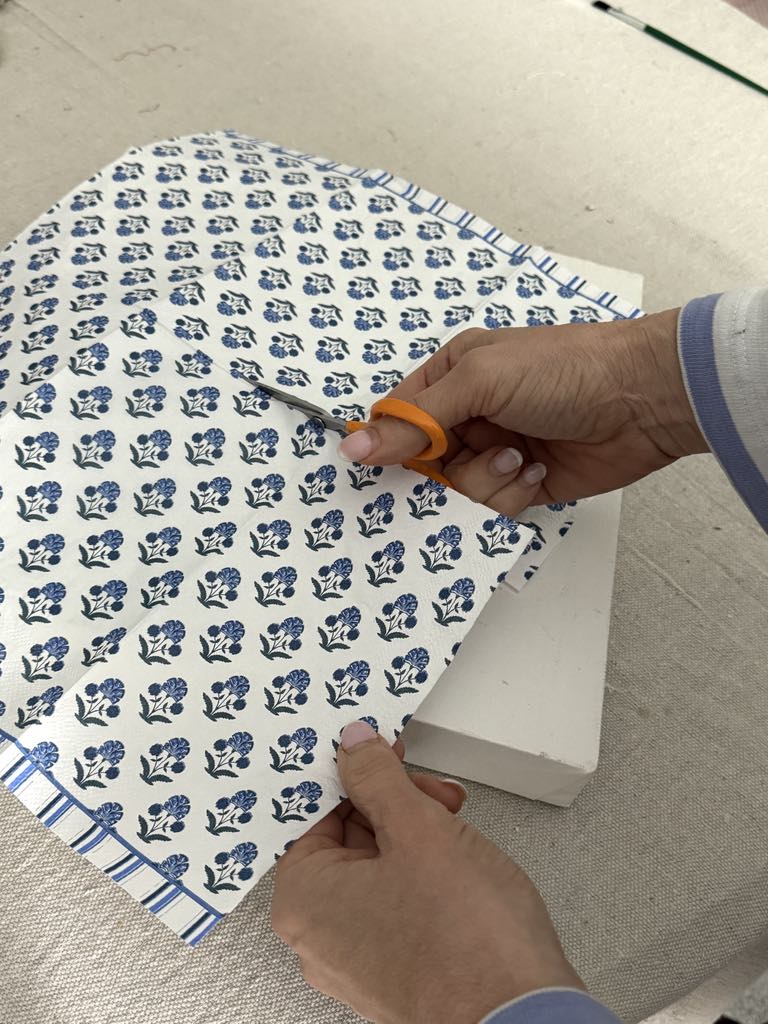
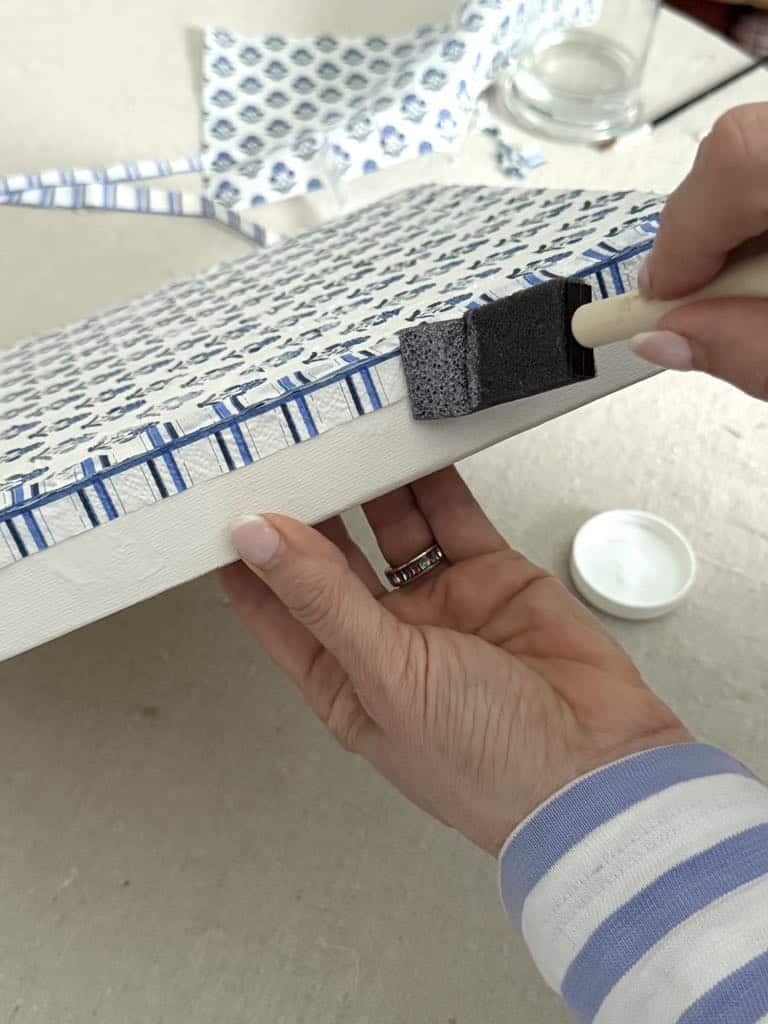
To adhere the napkin to the canvas, use a foam brush to apply a thin layer of Mod Podge, then gently smooth the napkin over it.
Since the napkin is so thin, I used my fingers to help smooth it out. And yes, I embraced the little air bubbles that popped up—it’s all part of the handmade charm!
I also used the striped border of the napkin to create a “frame” around the top and sides of the canvas, which added a lovely finishing touch.
Assembling the Shell Artwork
Once the canvas was dry, I glued some colorful beads (thank you, garage sale necklace!) into the center of the canvas.
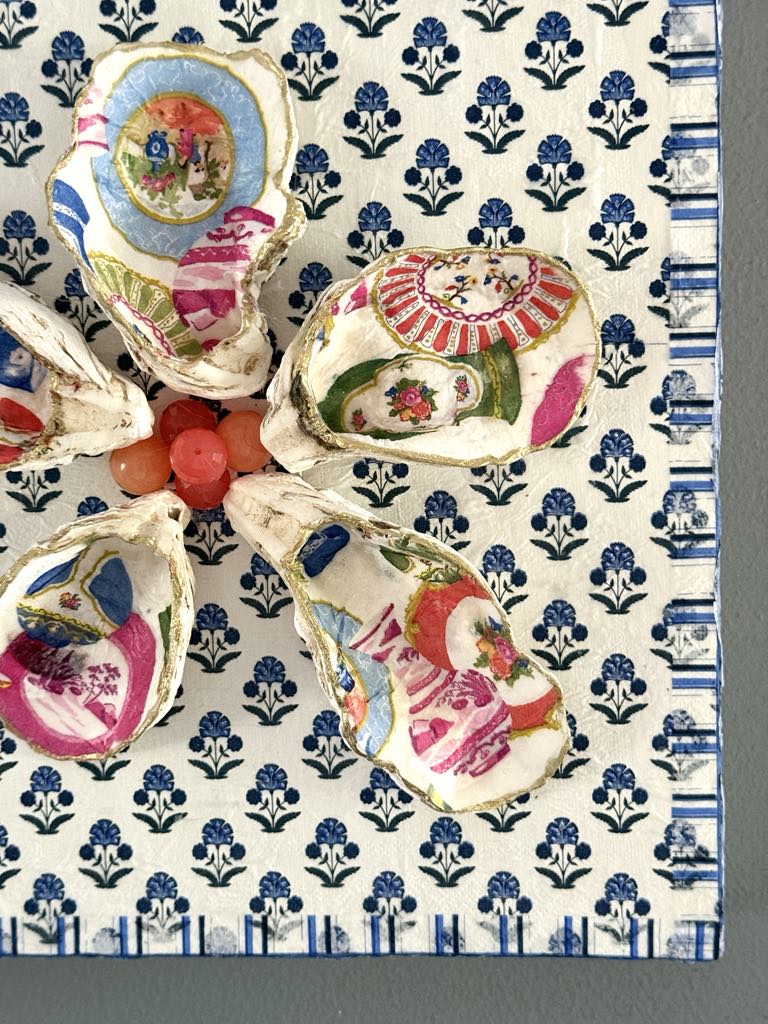
Then, I arranged my decoupage shells in the shape of flower petals around the center and used E6000 glue to attach them firmly.
Since decoupage shells—especially oyster shells—can be heavy, make sure to use a strong adhesive and give it plenty of drying time.
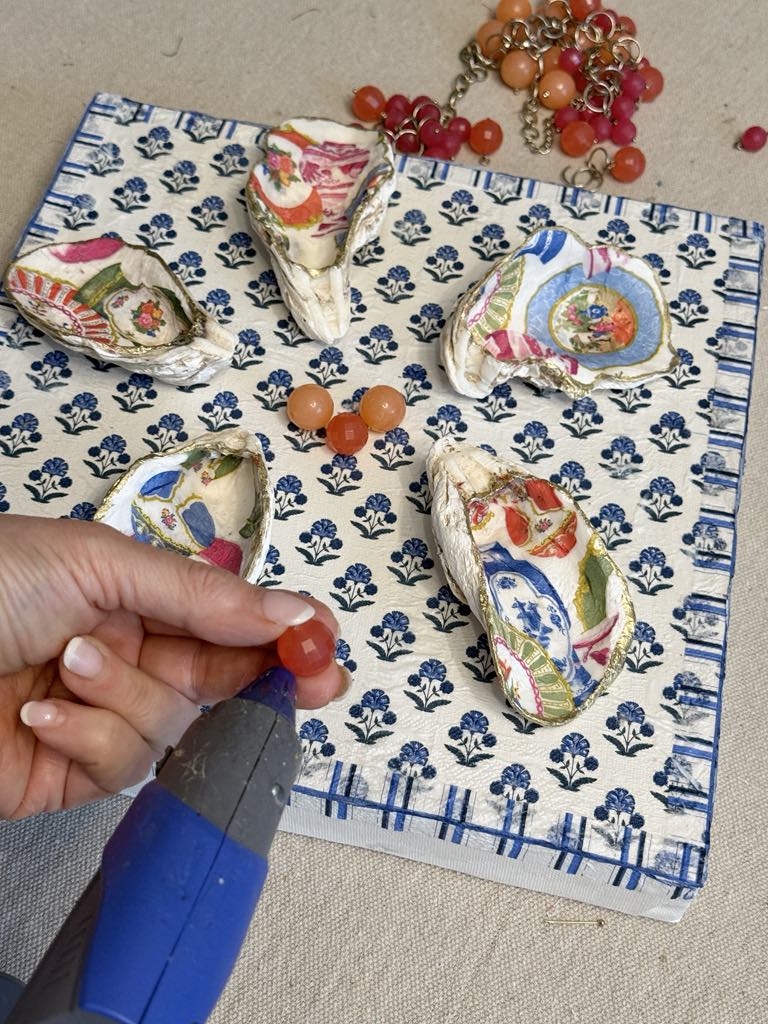
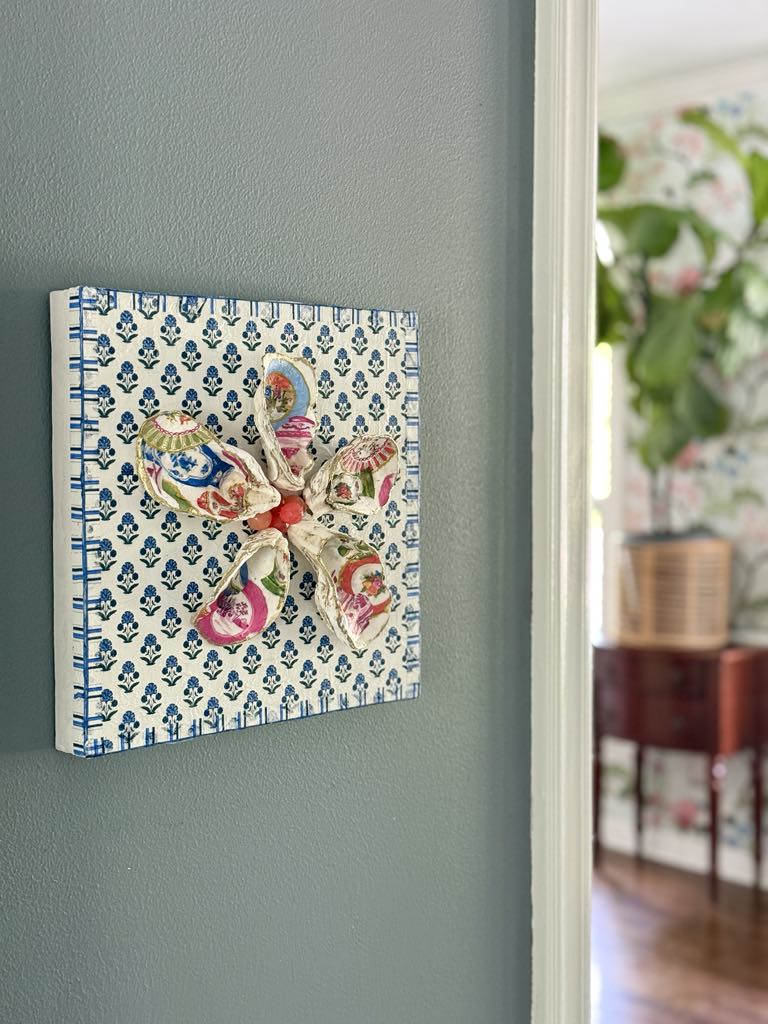
I love how my new decoupage shell wall art turned out! It is such a playful combination of colors and patterns.
There are two spots in my home where I’m loving the new piece. Can you help me decide where to keep it?
The first spot is in our front entryway. The decoupage shells really pop against the dark grey wall and tie in with the colors in the dining room beyond.
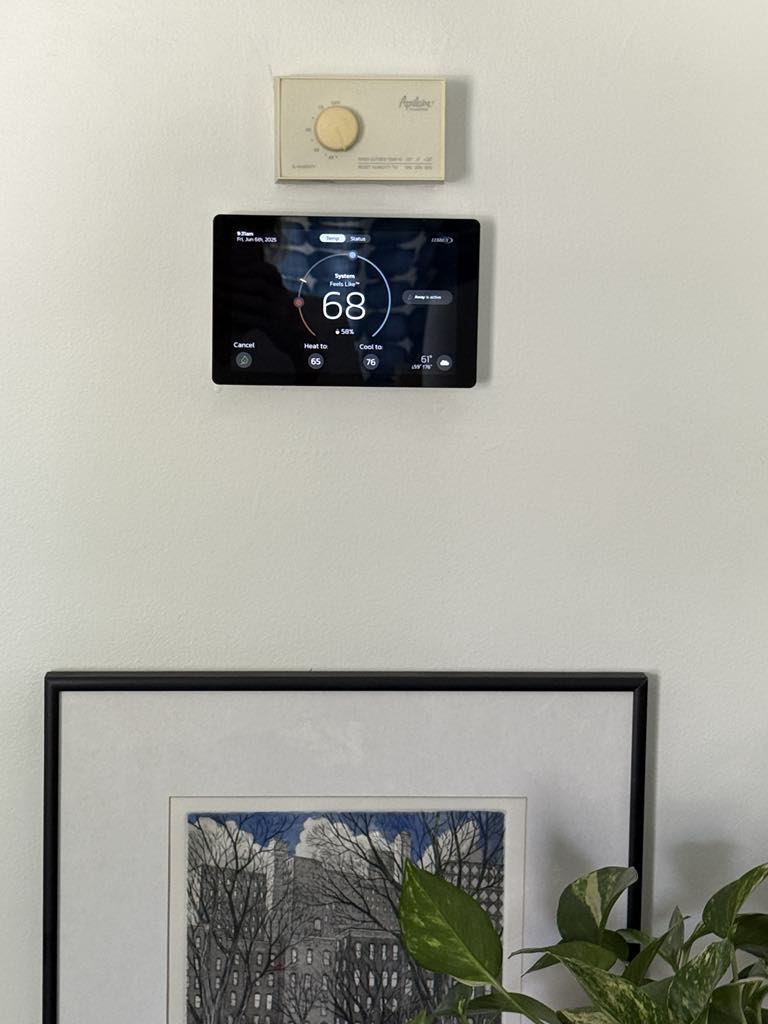
The other spot is in our TV room. Notice the thermostat and house humidifier controls?
I know they are necessary, but I just hate looking at them every day.
Well, no more control panel view!
The fact that this art piece is a wrapped canvas means that I can hang the shell flower directly on top of the wall control unit. No nails!
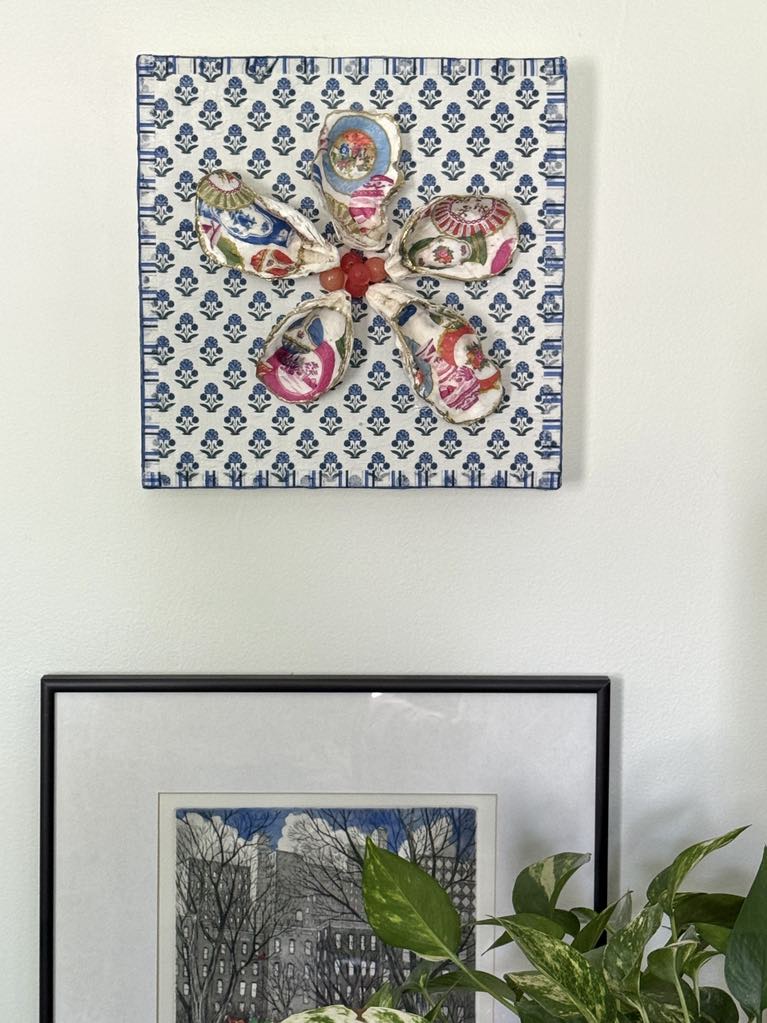
Let me know which spot you like!
Regardless of its place, it reminds me of ocean breezes, oyster tastings, and all the charm of coastal living!
More Creative Ways to Use Your Decoupage Shells
If you’re not quite ready to commit your shells to a canvas, don’t worry—there are plenty of other beautiful ways to style your decoupage shells as home decor. Here are a few favorites:
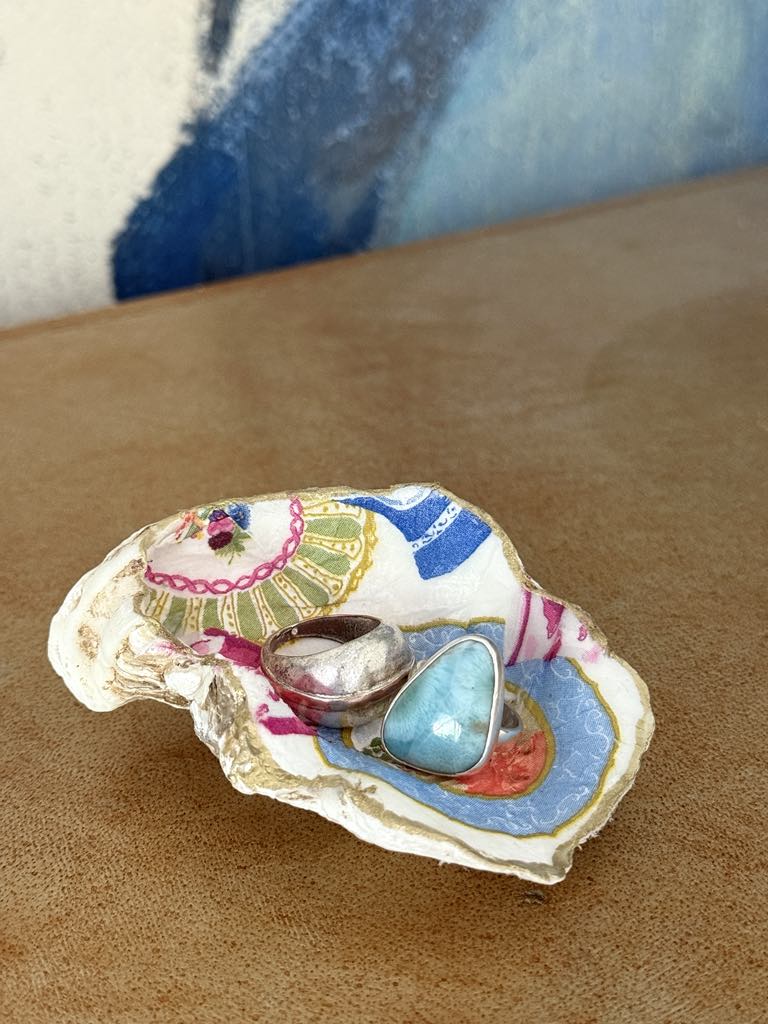
- Trinket dishes: Perfect for catching jewelry, coins, or other small treasures on your bedside table or dresser.
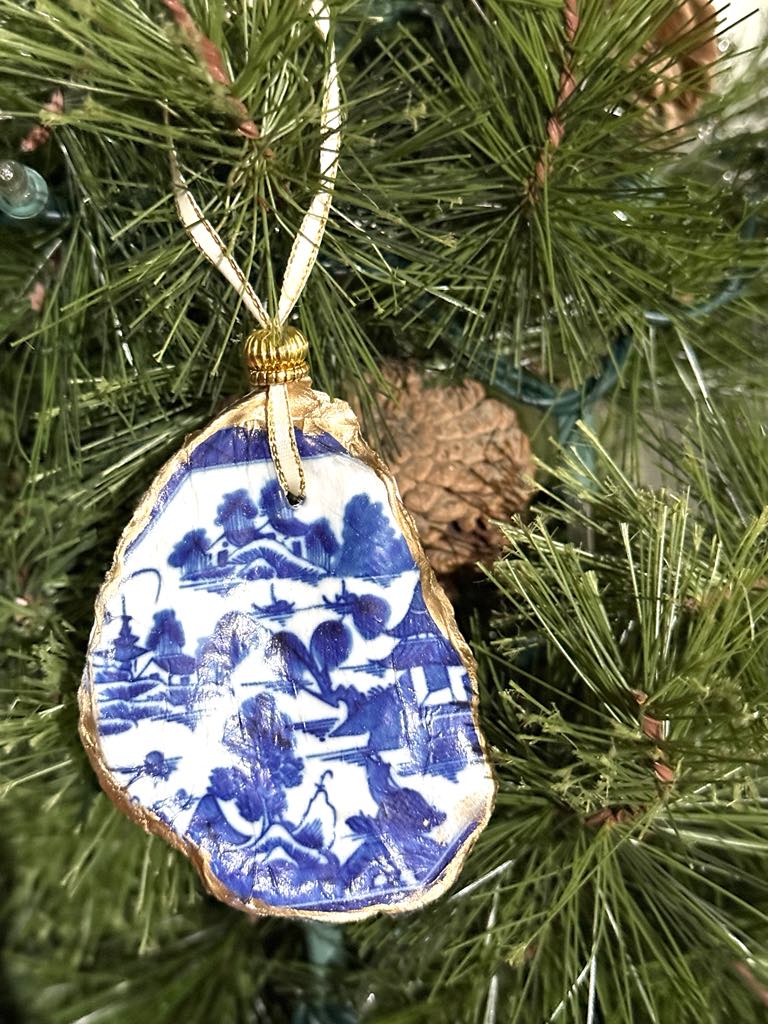
- Holiday ornaments: Add ribbon or hooks and hang them on a holiday tree or wreath for coastal-themed cheer.
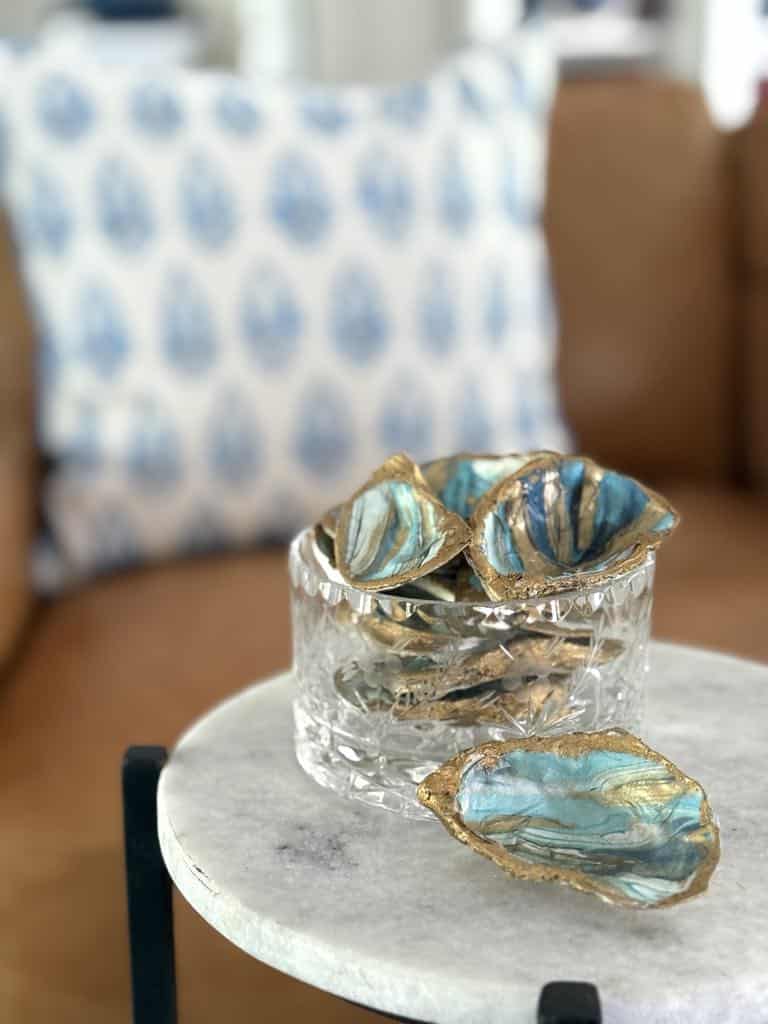
- Decorative bowl fillers: Gather a group of decoupage shells in a glass bowl as a colorful, beachy display.
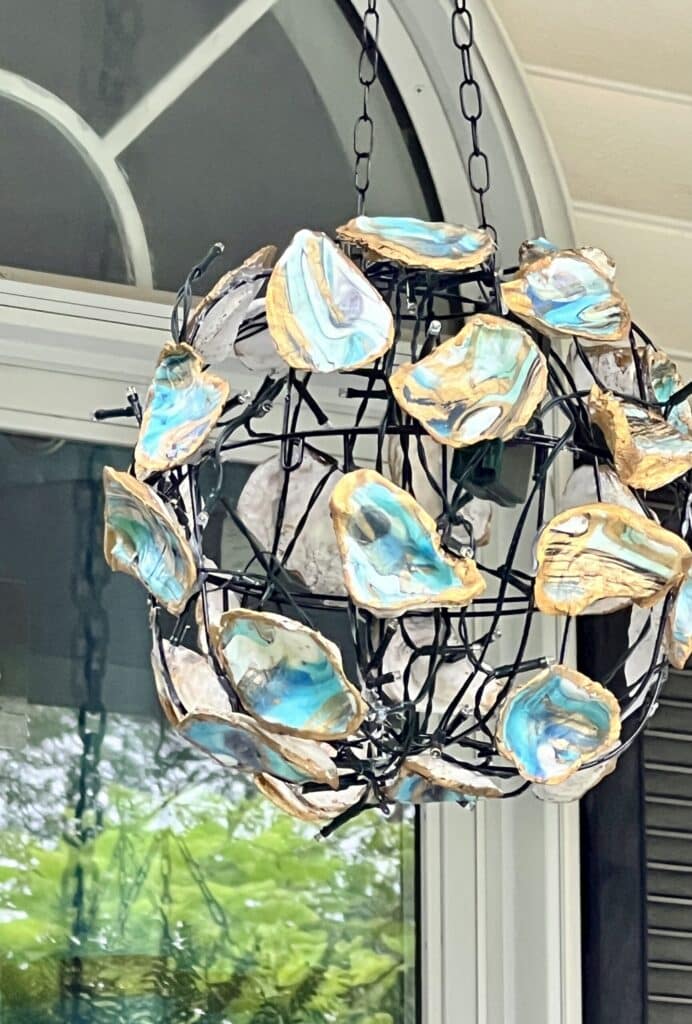
- Shell Chandelier: This project (you can see it HERE) takes a little more time to create, but is well worth the effort. Hang it indoors or in a protected outdoor area for a coastal conversation starter.
Each of these ideas is a great way to showcase your decoupage seashells while adding a personal, handmade touch to your space!
My Favorite Paper Napkins
When you get bitten by the decoupage bug, you get a little obsessed with paper napkins and all the incredible patterns available.
Here are some of my favorites!
From Shell to Showstopper
There’s something so satisfying about transforming simple oyster shells into something truly eye-catching.
Whether you turn yours into flower-inspired wall art or scatter them throughout your home as decorative pieces, decoupage shells are a fun and creative way to bring a little bit of the beach inland.
If you give this craft project a try, I’d love to see what you create!
Snap a photo and share it with me…your version might just inspire someone else to dive into their own decoupage adventure.
Let’s keep the creativity flowing, one shell at a time!
Cheers!

A Little About Me
Hi! I’m missy. So happy to meet you!
“Decorate with Joy! Live with Happiness”
I truly believe that your home should be a reflection of your personality, a space where you feel free to express yourself and create a sanctuary that feels uniquely yours.
I love creating mood boards, hunting down unique home décor treasures, tackling easy DIY projects, and gathering with family and friends. Homes are meant to be enjoyed, filled with laughter, and shared with the people you love!
– cheers –
Don’t Forget to Pin It!
Pin the image below to your boards on Pinterest (just click the Pin button in the top left corner). You can also follow along with me on Pinterest!


Such a great idea. Love the pattern. I’ll share a link on Sundays DRA
You are so sweet, Rachel. Thank you so much!
Oh wow! I would never have thought of this, what a fab idea. I love the end result Missy. You are so creative. 🙂 #MMBC.
Thanks, Jayne! I think I am a proud to live in the midwest but secretly yearn for the coast!
A very beautiful technique and using oyster shells is so unique!
Thank you, Pat. I hope you give it a try and let me know how it goes!
Love how this turned out Missy. The patterns and colors are so you and totally have your signature style- love that! I’ve been wanting to decoupage oysters for awhile and you’ve inspired me. Taking it a step further and creating wall art is amazing. I love how the artwork pops on the gray wall, BUT I love that it covers the controls in the family room. Either way it’s fabulous. Have a great day friend. XO- MaryJo
Thank you MaryJo! I hope you give it a try. Its actually a pretty quick project to do and fun to put your own personal stamp on it. My little flower may have to switch up with placement at home…I just can’t decided! lol. Have a great week, MaryJo!
What a brilliant idea and outcome. So perfect for Summer. Featuring when my link party opens!
Many thanks, sweet friend!
Girl, these look amazing! And I can hardly believe how the wall art turned out – seriously stunning. Thank you for sharing this on Farmhouse Friday. I’ll be featuring it tomorrow. Hope you link up again soon. pinned!
Thank you a great big bunch, Cindy! I always love your link party and appreciate the shout out!
LOVE these, Missy!! SO fun and full of summer colors!
Thanks Rachel! I think I may do some with holiday prints and create some Christmas ornaments!
I love decoupage and the oyster shells are one of the prettiest projects I’ve ever seen. Pinned to save!
Thank you so much, Carol!