Irresistible Salted Peanut Bars Recipe for Sweet-Salty Lovers
There’s something special about a recipe that’s been passed down through generations, and these salted peanut bars are one of those treasures.
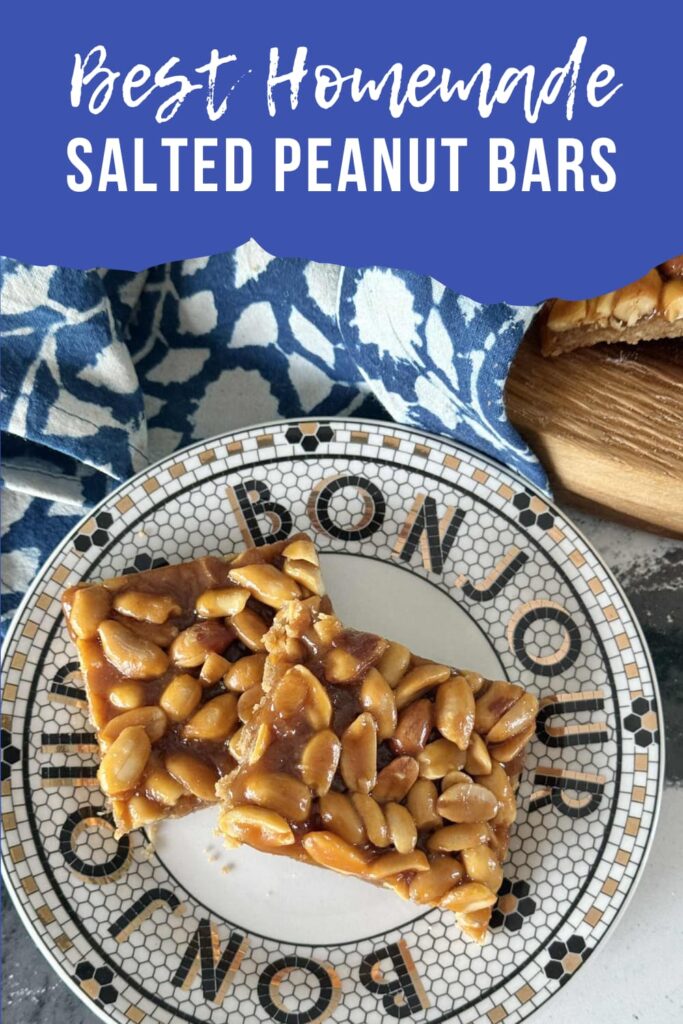
With their buttery crust, chewy butterscotch layer, and crunchy salted peanuts, these bars are the perfect blend of sweet and salty comfort.
This blog contains affiliate links. This means a small commission is earned if you make a purchase by using this link. The price you pay will be the same whether you use the affiliate link or go directly to the vendor’s website using a non-affiliate link. As an Amazon Influencer, I earn from qualifying purchases.
Salted Peanut Bars Recipe for Sweet-Salty Lovers
Some recipes are more than just delicious—they’re part of your family’s story.
This salted peanut bar recipe came from my husband’s maternal grandmother, a warmhearted woman who loved gardening almost as much as she loved baking.
Every spring, she’d remind me, “Be sure to plant Red Hot Sally Salvia—it never disappoints.” She was right, of course. But what really blooms in my kitchen year after year are these amazing bars she made every Christmas.
What started as a holiday favorite has become one of our favorite dessert recipes all year long.
With their buttery crust, chewy butterscotch topping, and crunchy salted peanuts, these dessert bars strike the perfect balance between sweet and salty.
If you love salty treats that deliver different textures in every bite, this one’s for you.
A Sweet and Salty Tradition
When I first married into the family, these bars were the first thing I reached for on the Christmas cookie tray. Among all the candies and cookies, these stood out with their crumbly crust and rich, golden topping.
One bite and I understood why Grandma made them every year!
Now, they’ve become my go-to whenever I need a treat that feels comforting but takes minimal effort. This easy recipe comes together in just two layers—simple, straightforward, and always delicious.
Making the Crust
Start by preheating your oven and lining a baking pan with cooking spray for easy removal later.
The crust is a simple mix of crust ingredients you likely already have on hand: brown sugar, flour, 1/salt, and butter (softened).
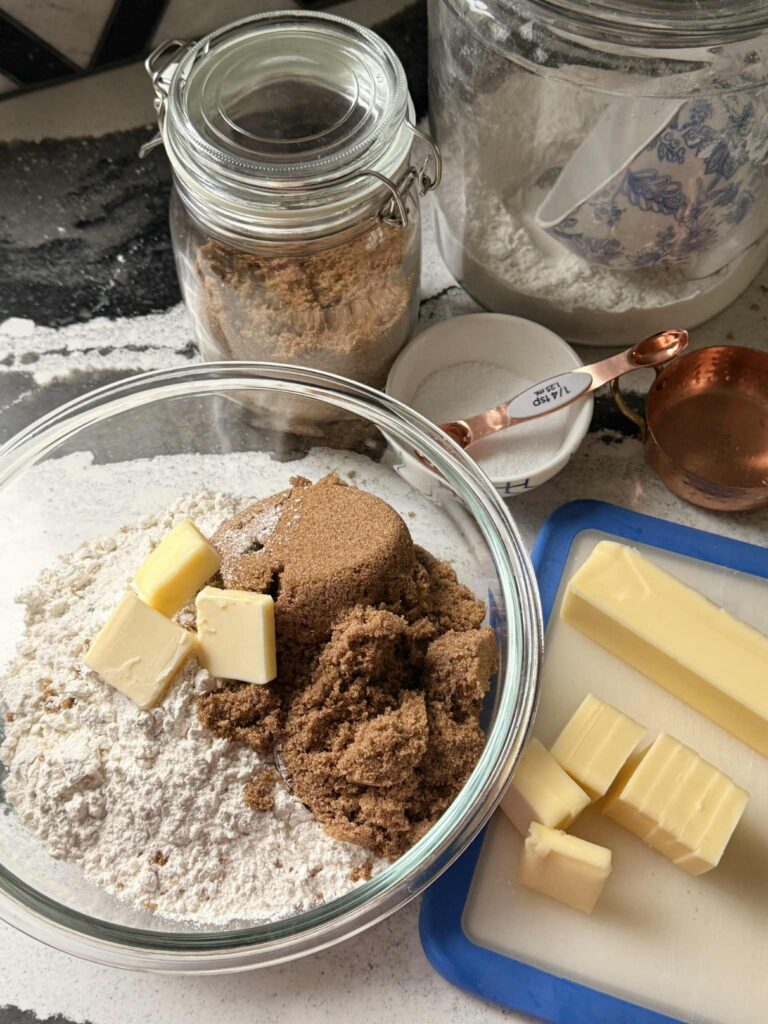
In a medium bowl, combine 3 cups flour, 1 1/2 cup brown sugar, 1 cup butter, and 1/4 tsp. salt. Use a wooden spoon or pastry cutter to blend everything together until the mixture resembles coarse crumbs.
Press this mixture firmly into the bottom of the pan, making sure to reach the edges of the pan so the crust bakes evenly.
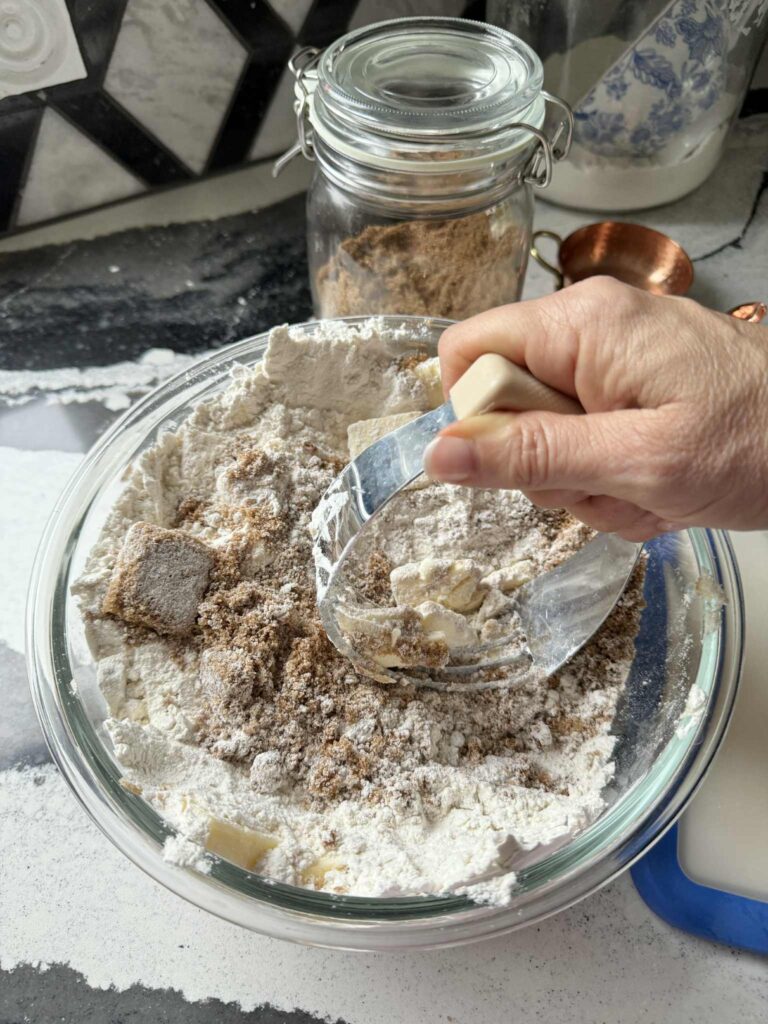
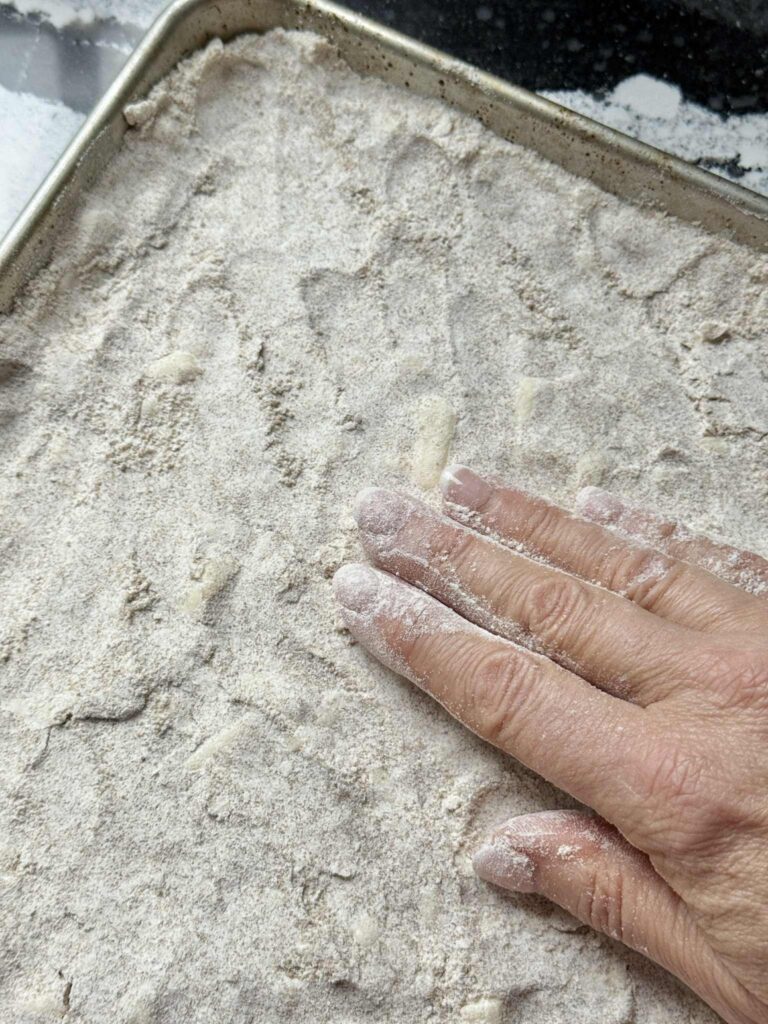
Bake at 375 degrees for 10 minutes or until lightly golden and set. The result is a buttery base with a lightly crunchy texture—the perfect foundation for that irresistible topping.
Making the Peanut Topping
While the crust bakes, prepare the topping.
In a medium saucepan over low heat, melt 12 oz. butterscotch chips with 3 tbsp. butter, 3 tbsp. water, and 1/2 cup light corn syrup.
Stir constantly until the mixture becomes smooth and shiny, with a lovely golden caramel hue.
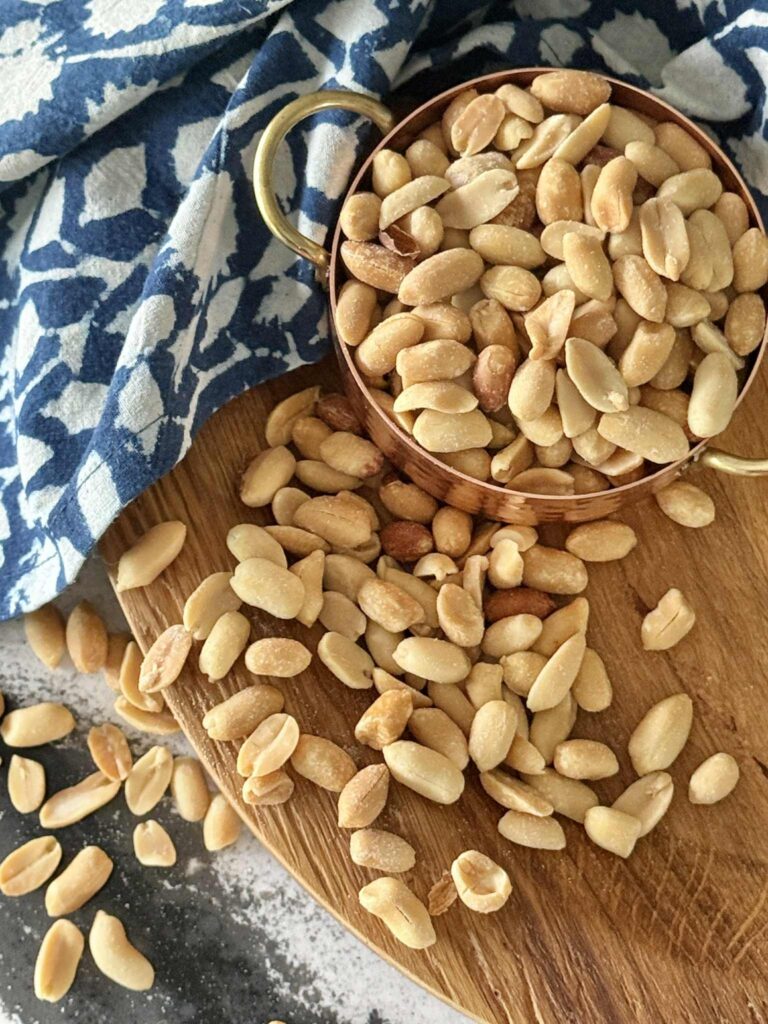
Remove from the heat and stir in 3 cup peanuts. Make sure they’re salty peanuts for that perfect contrast.
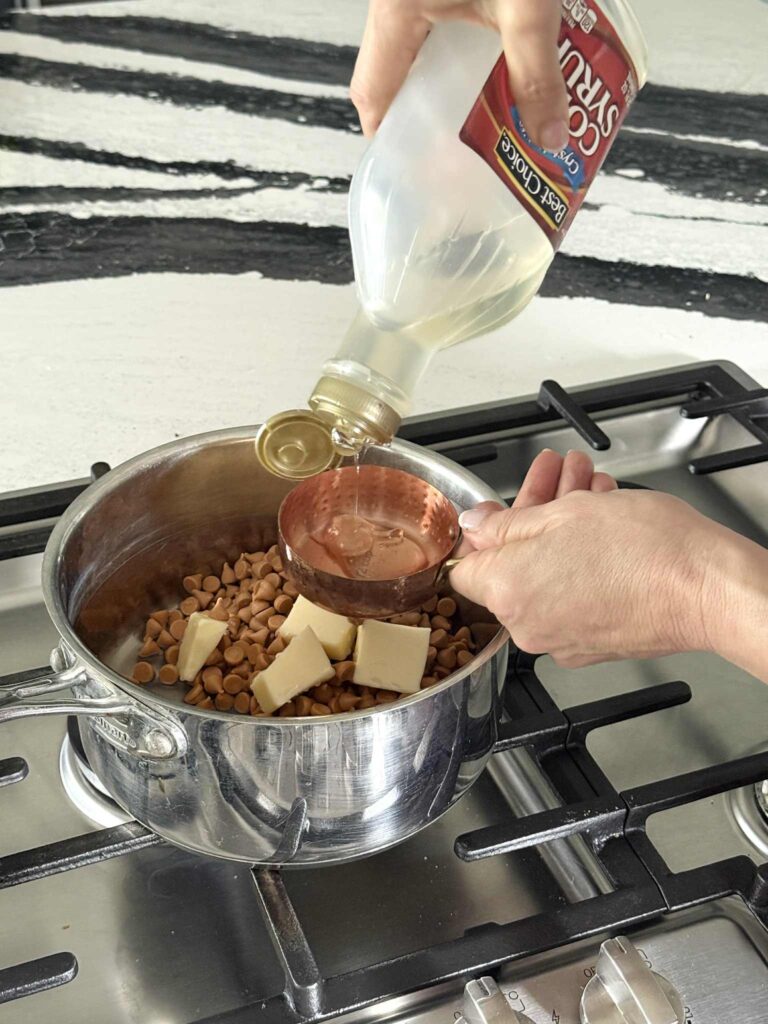
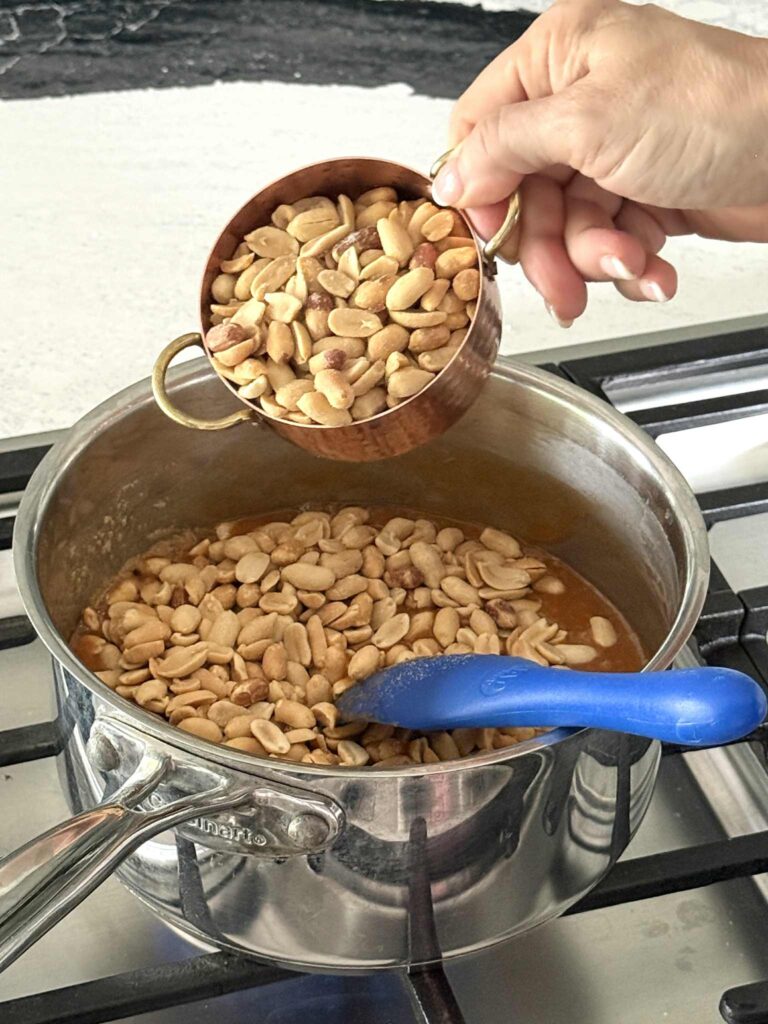
Mix until the peanut mixture is evenly coated and ready to spread.
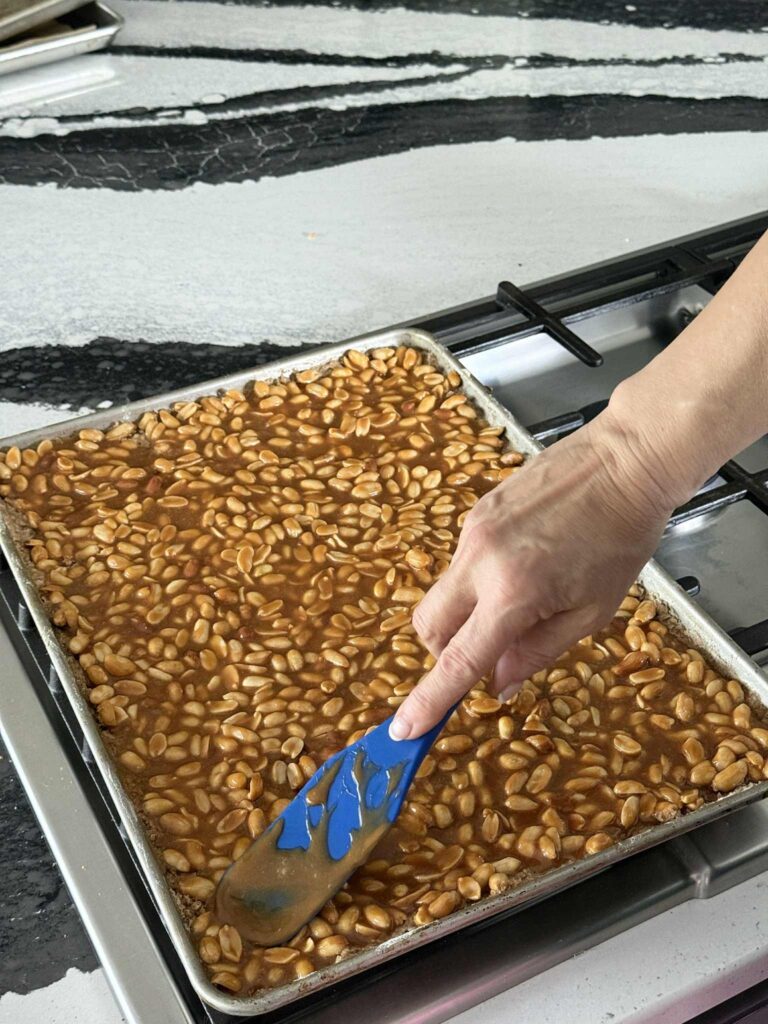
Carefully pour the topping over the warm crust and spread it gently with the back of a spoon or spatula. Try to reach all the edges of the pan for even coverage.
Return to the 375-degree oven and bake bars for 8 minutes or just until the topping bubbles slightly around the edges.
Optional Add-Ins:
While the classic salted peanut bars are delicious on their own, you can get creative with a few extra ingredients.
Chocolate chips blend beautifully into the peanut mixture for extra sweetness, candy corn adds a fun fall twist, and Rice Krispies can give an extra crunchy texture.
Simply stir your add-ins into the peanut topping before spreading it over the crust.
Cooling and Cutting
Allow the bars to cool completely in the pan before cutting. When the bars have cooled slightly, loosen the bar edges from the sides of the pan.
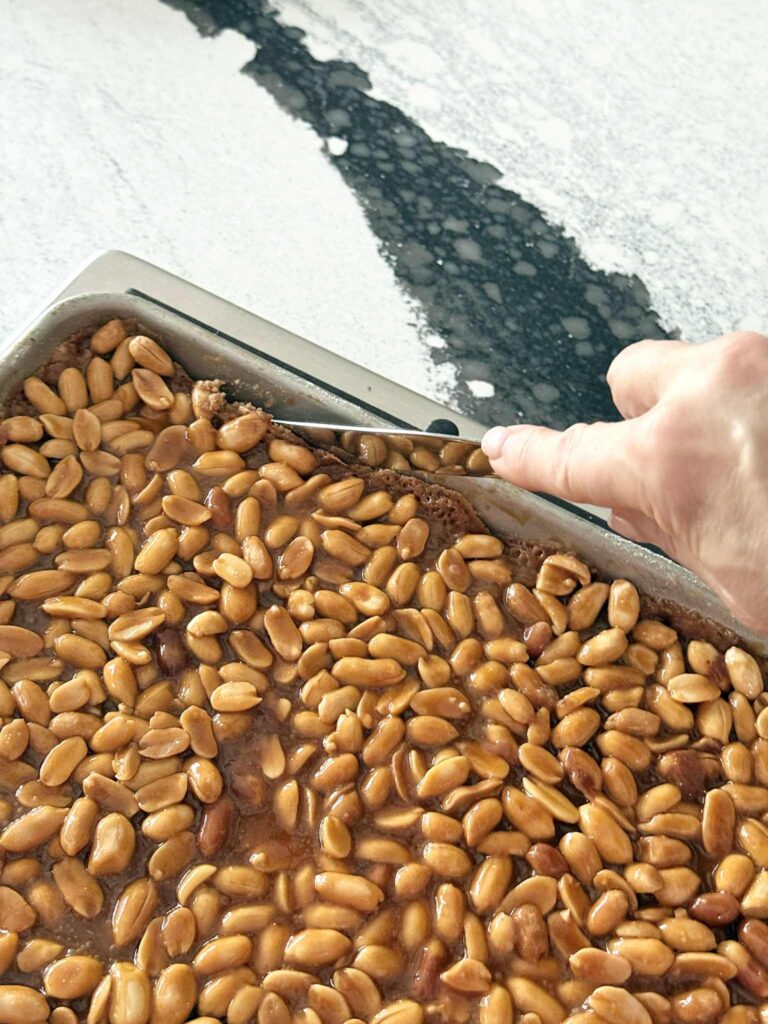
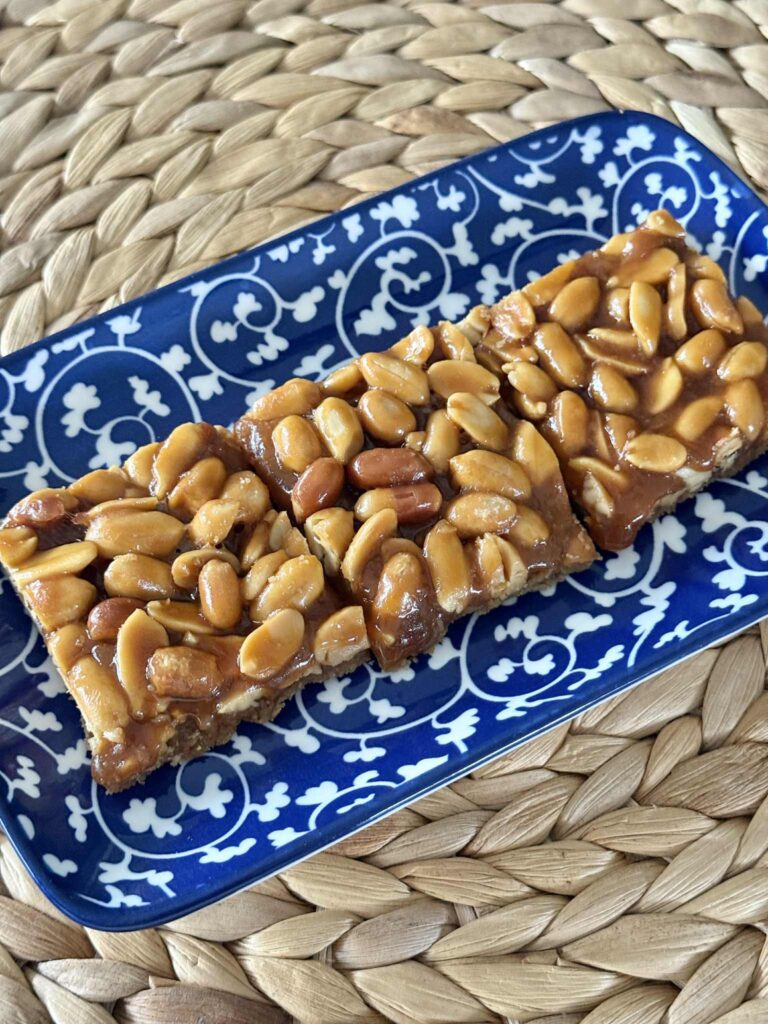
Once fully cooled, use a sharp knife to cut into even squares or rectangles. The combination of the chewy topping and tender crust makes each slice a little piece of nostalgia and comfort.
Every bite offers different textures—the crumbly base, the chewy butterscotch, and the satisfying crunch of salted peanuts. It’s a harmony of flavors that’s just right every time.
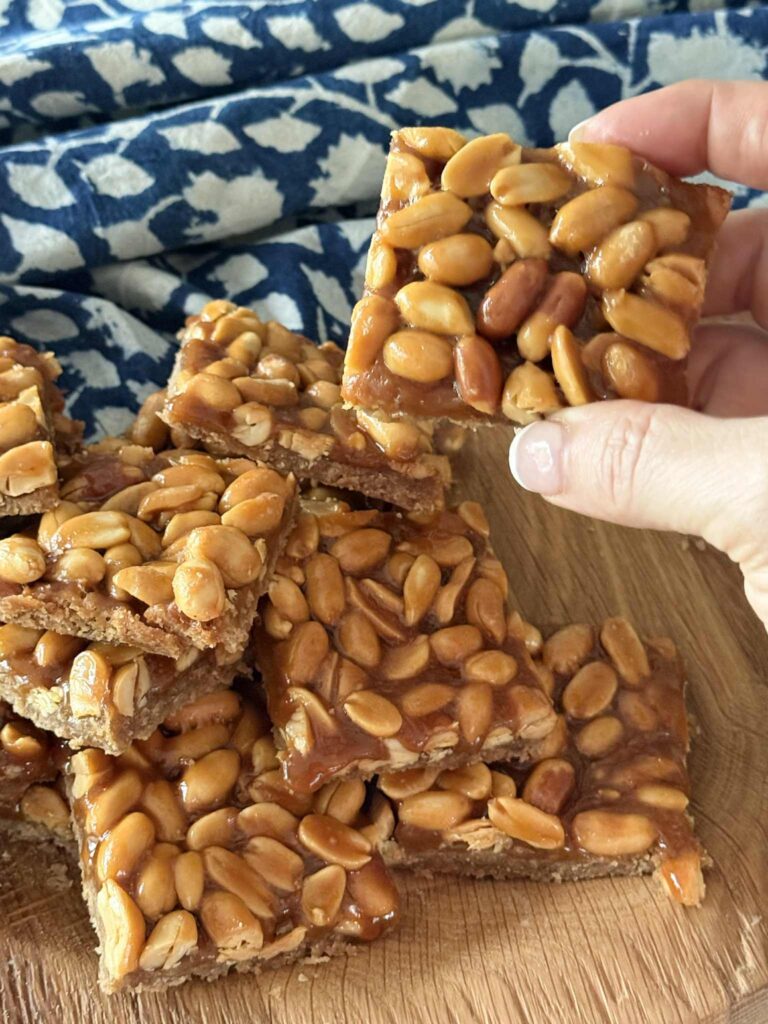
How to Store Salted Peanut Bars
To keep these bars fresh and delicious, store them in an airtight container once they’ve cooled completely. Separate layers with parchment paper to prevent sticking.
- Room temperature: Cover with plastic wrap or wax paper, and they’ll stay fresh for up to 5 days.
- Refrigerated: Store up to a week for a firmer texture.
- Frozen: These bars freeze beautifully! Wrap tightly and freeze for up to 2 months. Thaw at room temperature before serving.
If you’re planning to share them (or gift them), these travel well and hold their shape perfectly—ideal for cookie exchanges, potlucks, or a cozy movie night snack.
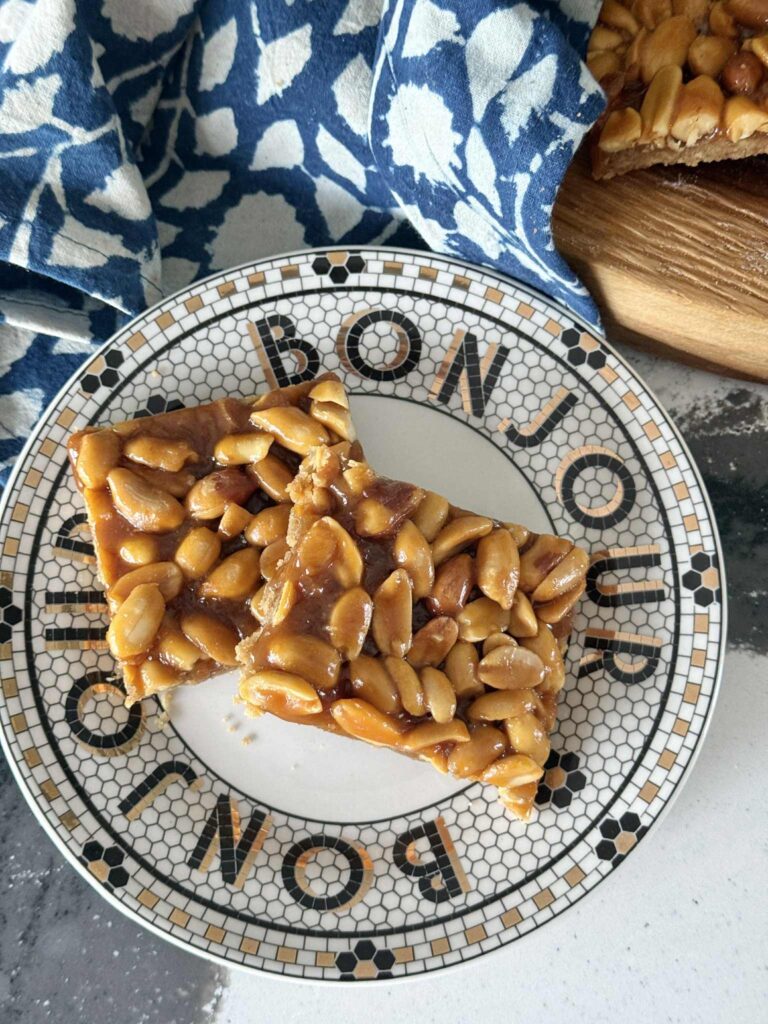
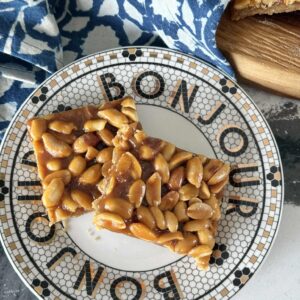
Salted Peanut Bars
Equipment
- 1 Mixing bowl
- 1 jelly roll pan or baking pan
- 1 small pan
- 1 pastry cutter
- 1 spatula
Ingredients
Crust Ingredients
- 3 cups all-purpose flour
- 1 cup butter
- 1 1/2 cup brown sugar, slightly packed
- 1/4 tsp salt
Peanut Layer
- 3 cups salted peanuts
- 12 oz butterscotch chips
- 3 tbsp butter, cut into small chunks
- 3 tbsp water
- 1/2 cup white corn syrup
Instructions
- Preheat the oven to 375 degrees.
- Mix the crust ingredients together with a pastry cutter or wooden spoon and press into a jelly roll pan to create a crust layer.
- Bake for 10 minutes @ 375 degrees.
- While the crust bakes, melt the butterscotch chips, butter, water, and white corn syrup on the stove in a small pan.
- Once the butter and butterscotch chips have melted, fold in the salted peanuts.
- Spread the peanut mixture over the crust as soon as it comes out of the oven.
- Bake for 8 minutes in the 375 degree oven.
- Let the pan cool slightly and loosen the bars from the side edges of the pan. Allow to cool fully before cutting into bars.
A Family Favorite Forever
Every time I bake these salted peanut bars, I think of Grandma in her garden, smiling among her Red Hot Sally blooms, and the cozy smell of brown sugar and butterscotch chips filling her kitchen.
They may have started as a Christmas classic, but in our house, they’ve become one of those favorite dessert recipes we return to again and again.
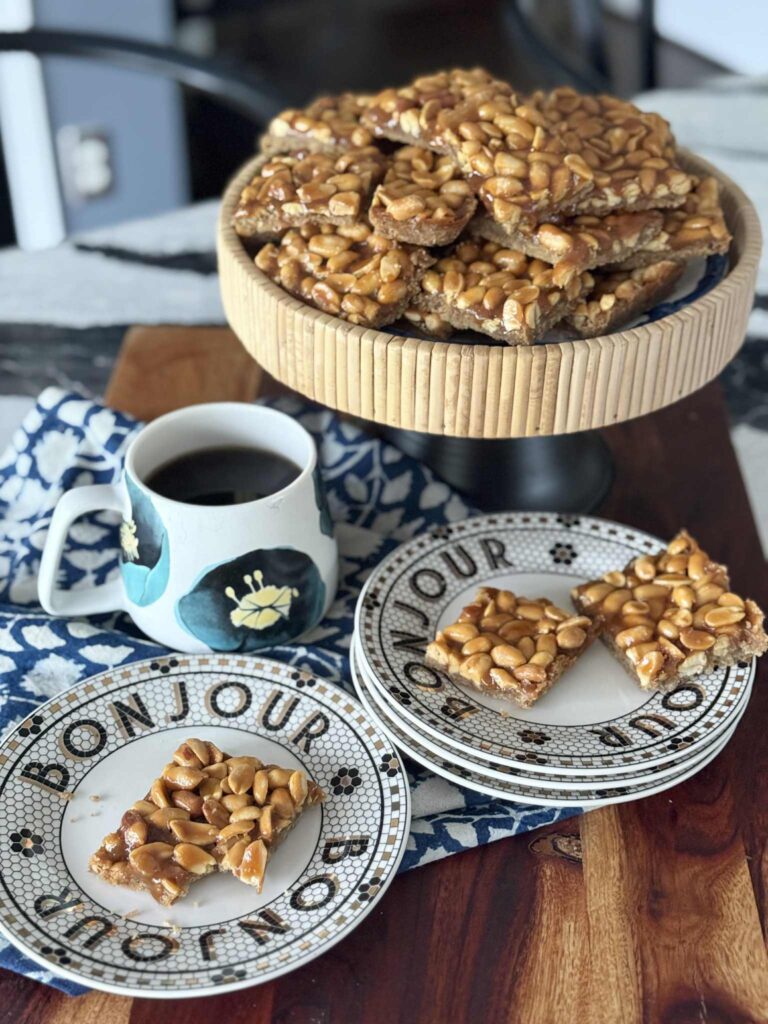
Simple ingredients, timeless flavor, and a whole lot of heart—these salted peanut bars prove that the best treats are often the ones passed down with love.
Cheers!

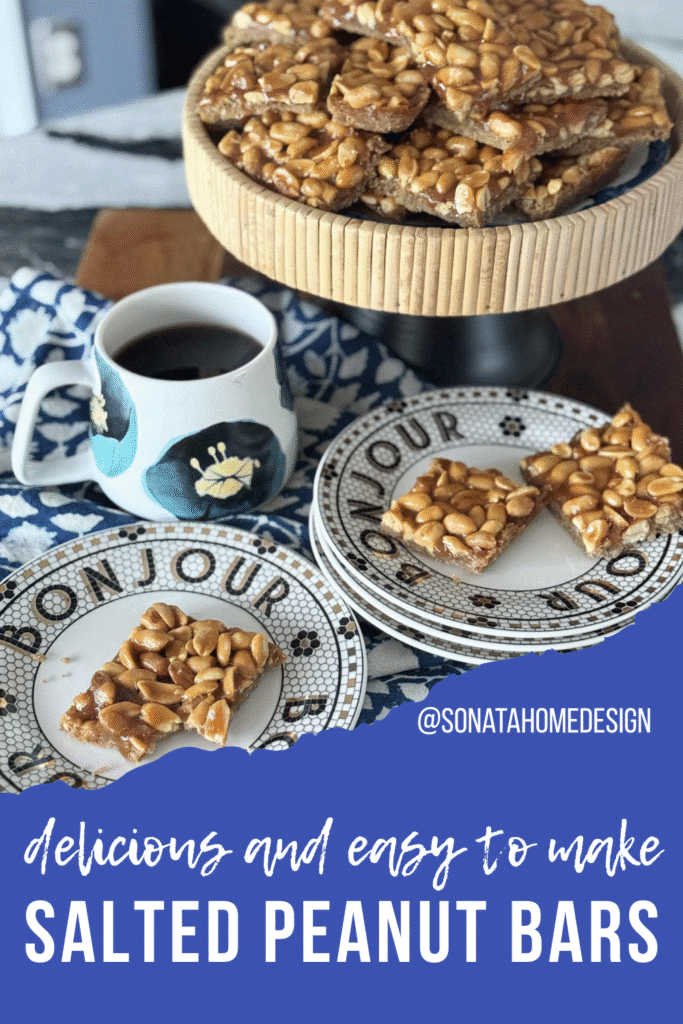
Don’t Forget to Pin It!
Pin the image below to your boards on Pinterest (just click the Pin button in the top left corner). You can also follow along with me on Pinterest!
hi! I’m missy. so nice to meet you!
“Decorate with Joy! Live with Happiness!”
I truly believe that your home should be a reflection of your personality, a space where you feel free to express yourself and create a sanctuary that feels uniquely yours.
I love creating mood boards, hunting down unique home décor treasures, tackling easy DIY projects, and gathering with family and friends for a delicious meal.
Homes are meant to be enjoyed, filled with laughter, and shared with the people you love!





These look so yummy! I love any kind of nuts!
Hi,
How many peanuts are needed for the peanut layer? I don’t see that listed on the recipe card. Thank you!
Amazing, I may use pecans iso peanuts.
Visiting via Fiesta Friday.
My entries this week #33+34
Please join SSPS & HIH https://esmesalon.com/tag/seniorsalonpitstop/
Great idea!
So yummy! My grandma used to make these each Wednesday. Thanks for sharing with us at the Homestead Blog Hop.
This is such a great recipe. Thanks for linking it up on the #HomeMattersParty. I hope you will come back again this week to check out your feature!
Looking so good, I will try this with maybe a different base iso the baked one. I am collecting various sweet and salty bars for our Christmas baking day
Thank you for linking to HIH 610. See you at SSPS https://esmesalon.com/seniorsalonpitstop/ Mon through Saturday