DIY Picnic Basket Makeover: Posh Picnic on a Budget
A plain thrift store picnic basket might not turn heads…until you add a little creativity and charm! With just a few simple updates, this DIY picnic basket becomes a one-of-a-kind accessory that’s both functional and fabulously fun.
This blog contains affiliate links. This means a small commission is earned if you make a purchase by using this link. The price you pay will be the same whether you use the affiliate link or go directly to the vendor’s website using a non-affiliate link. As an Amazon Influencer, I earn from qualifying purchases.
A Little London Luxury That Sparked a DIY Idea
Travel is like a treasure hunt for your eyes—and sometimes your wallet! You never know when a quick stroll through a fancy shop or quirky market will spark your next big DIY idea.
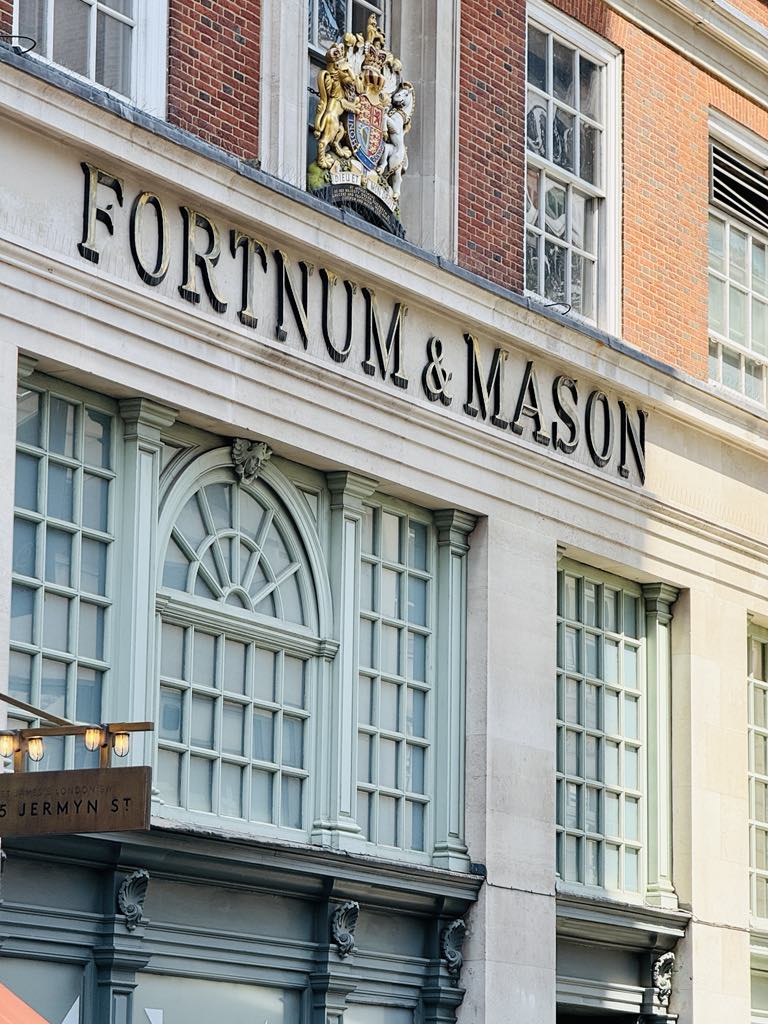
Come with me in your imagination to the aisles of the iconic London store, Fortnum and Mason.
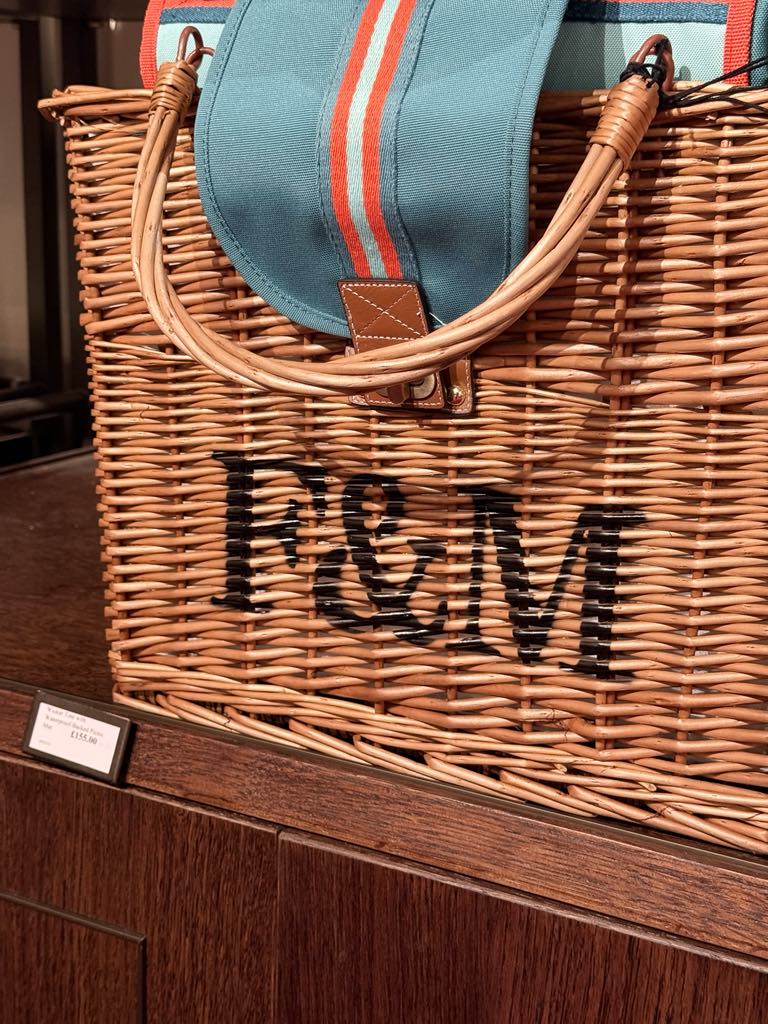
As I wandered through their picture-perfect tea shoppe, I found myself face-to-face with the most gorgeous picnic hampers.
Monogrammed with the Fortnum and Mason initials…
Sporting a striped fabric strap and mat…
Layered in elegance and starting at …(gasp!) a casual $150!
Tempting? Oh yes. Budget-friendly? Maybe not.
That’s when my brain did a little cartwheel and I remembered a lonely picnic basket I had snagged at a thrift store a couple of years back.
Hiding in plain sight on a bottom shelf in my craft room, it had been quietly moonlighting as yarn storage.
I had bought it years ago for…wait for it…$5!
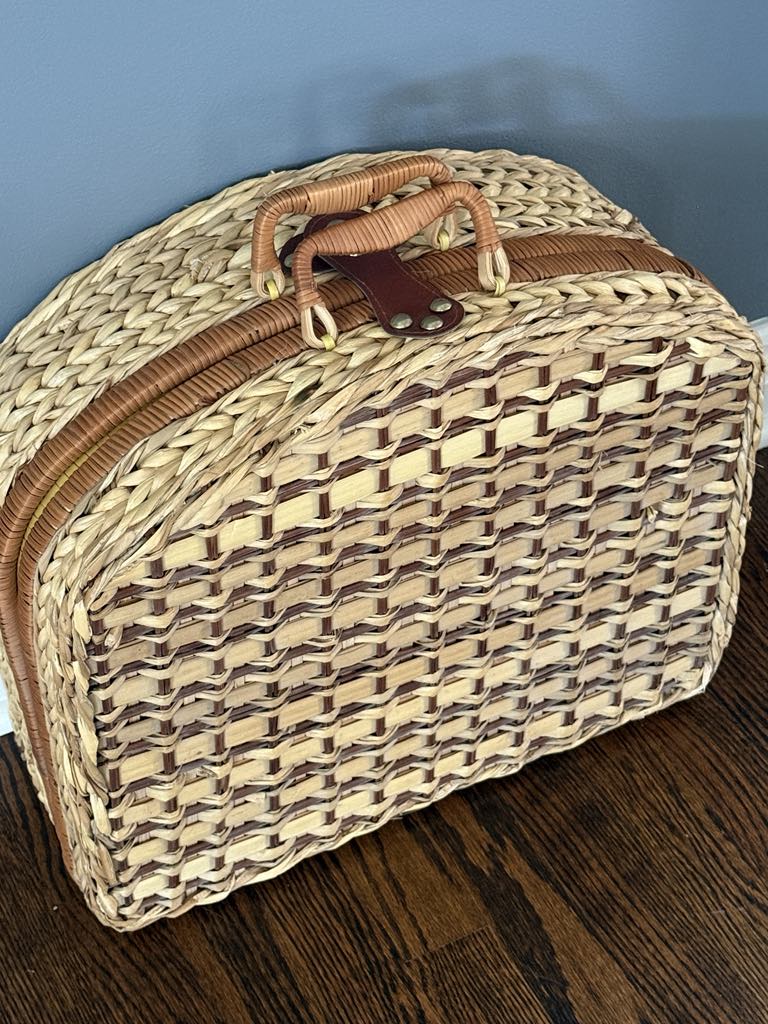
And just like that, inspiration struck—I didn’t need to buy the fancy hamper… I was going to DIY my own!
Supplies You’ll Need
- Wicker Picnic Basket – any picnic basket will work as long as it has plenty of room on the side or top of the basket. Look for this at your local thrift store.
- Black craft paint
- Stencil stippel brush
- Painter’s tape
- Stencils – you will need your initials as well as “&”. You can buy premade or I will show you how to cheaply make your own.
- 2 round open rings with hinged trigger clips
- Purse guitar style strap
If making your own stencils, you will need:
- Initial stickers
- File folder
- Sharpy marker
- Scissors
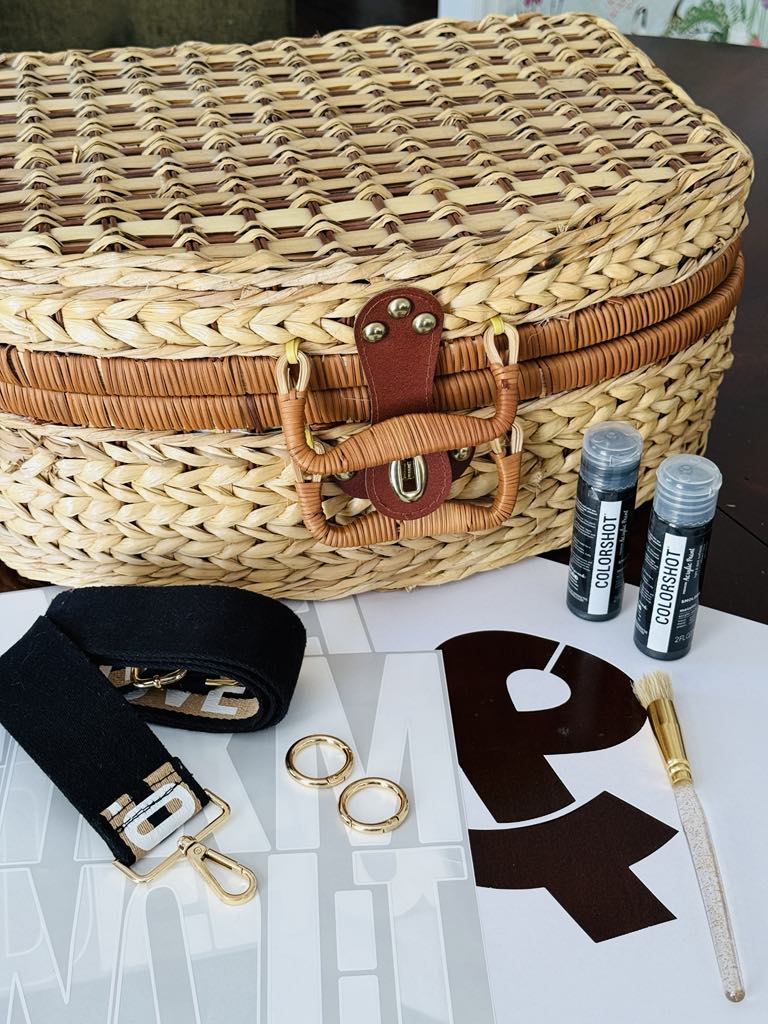
Step-by-Step Guide to Monogramming a Wicker Basket
If you already have a stencil with your initials and an ampersand…lucky you!
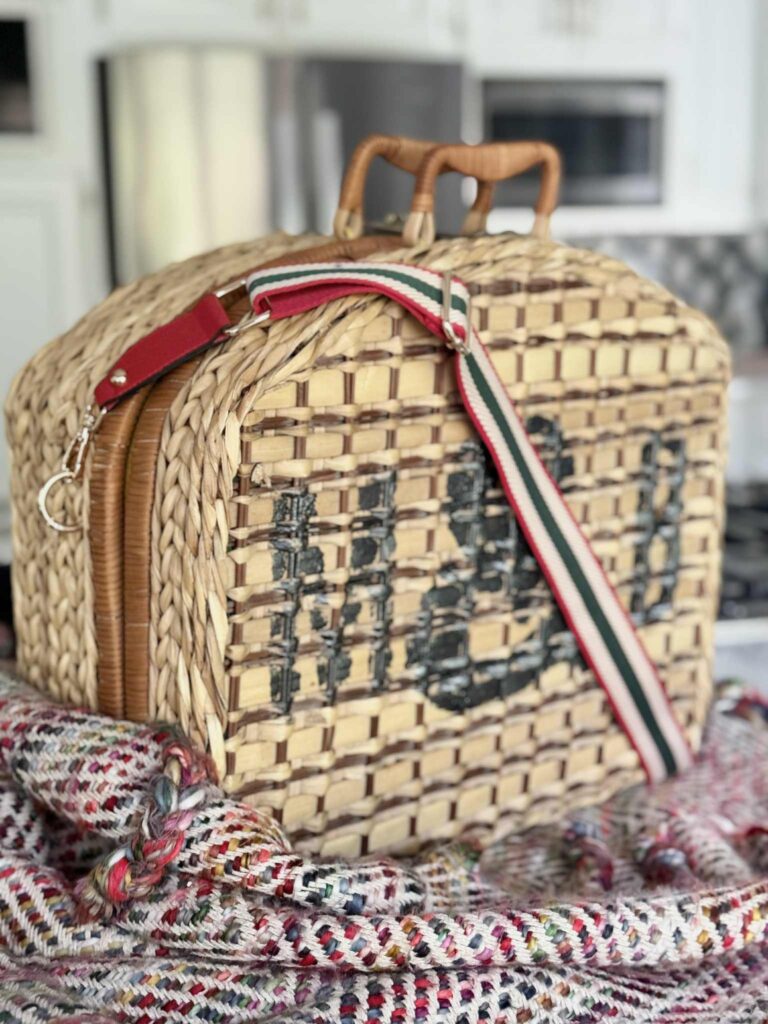
I had an ampersand on hand but needed to make stencils for the initials. Inspired by the Fortnum & Mason hamper, I used my first initial, “M,” on one side of the ampersand and my husband’s first initial, “B,” on the other.
To make your own budget-friendly stencil, grab a file folder and a letter sticker. Stick the letter on one side of the folder, then trace around it with a pen or marker.
Next, pierce the center of the letter with a craft knife or scissors and carefully cut it out.
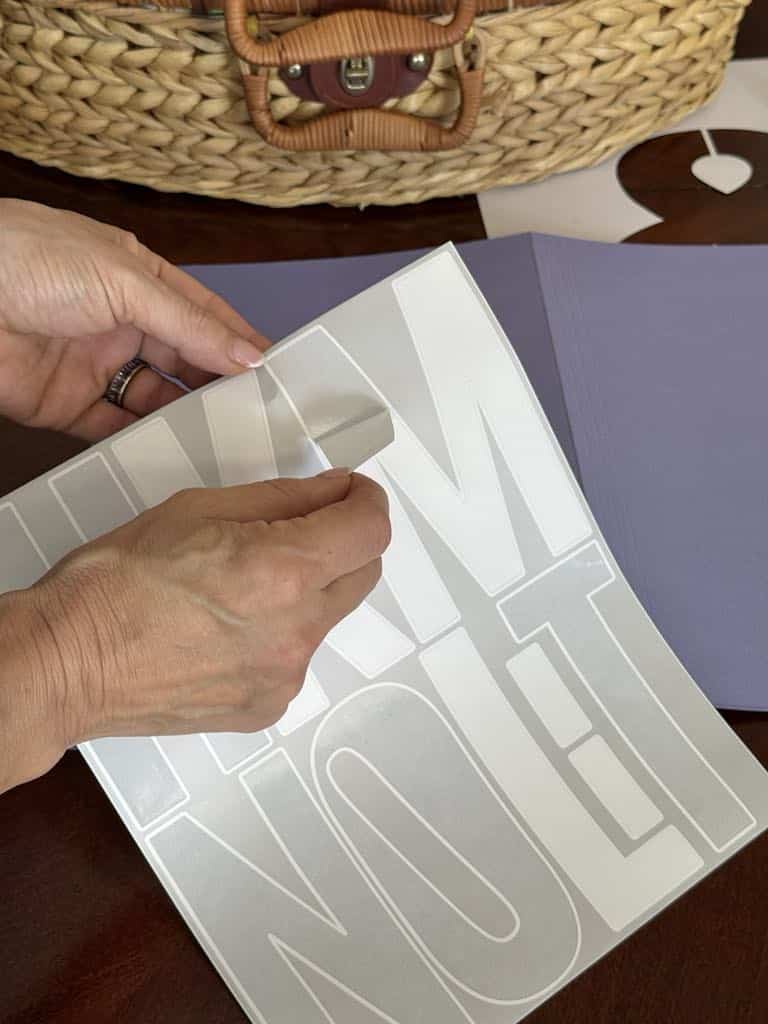
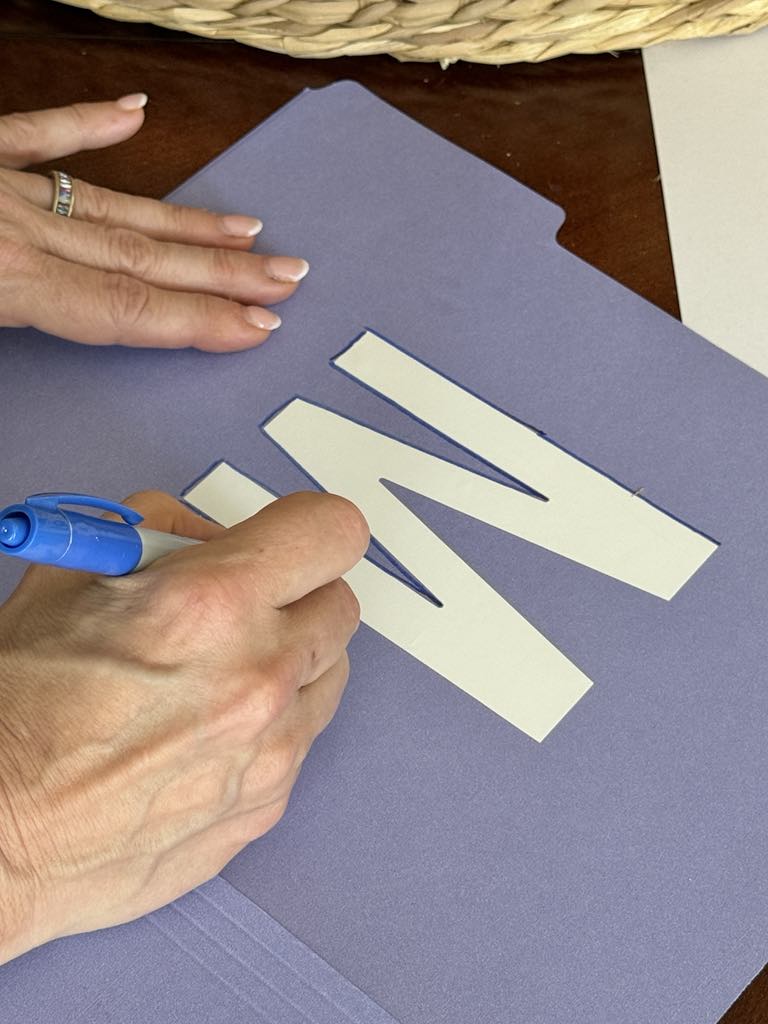
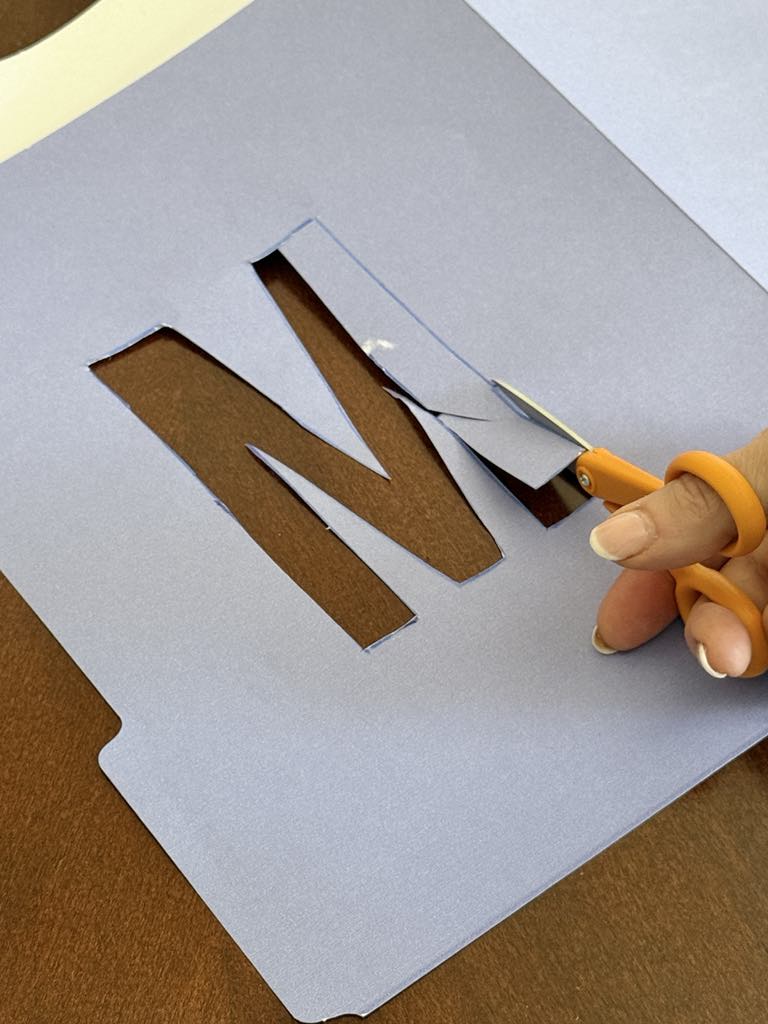
To start stenciling the basket, center the ampersand first and secure it with painter’s tape to the basket frame.
If there are any small pieces of the stencil that tend to lift, roll up a tiny piece of tape and stick it underneath to keep them in place.
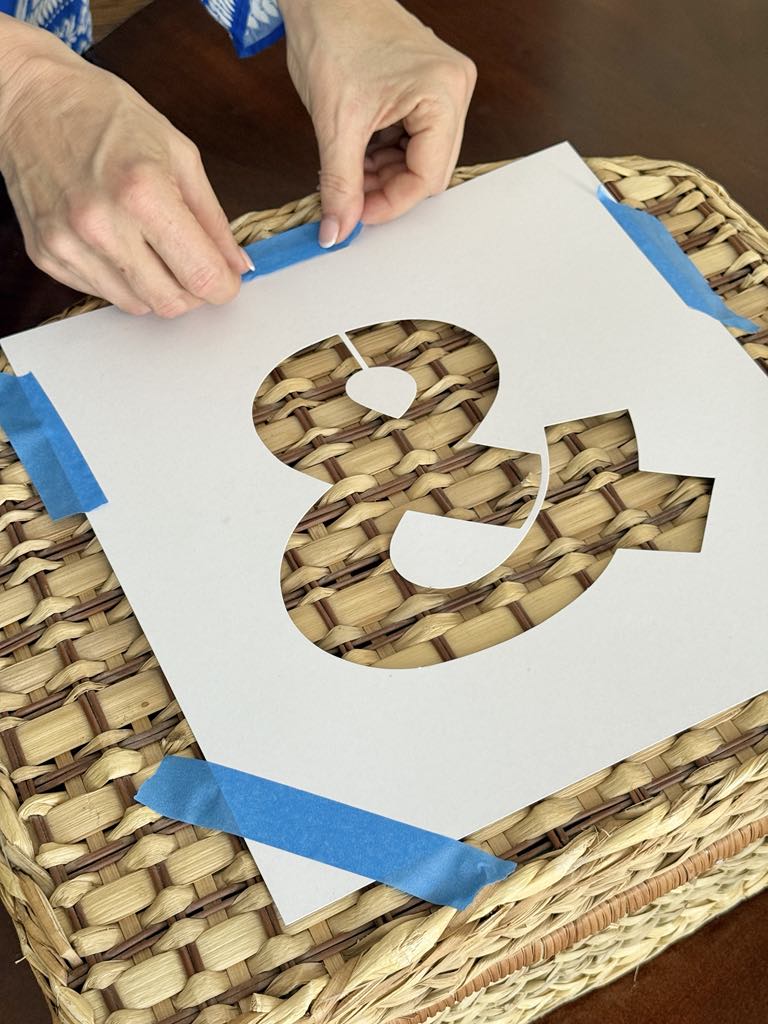
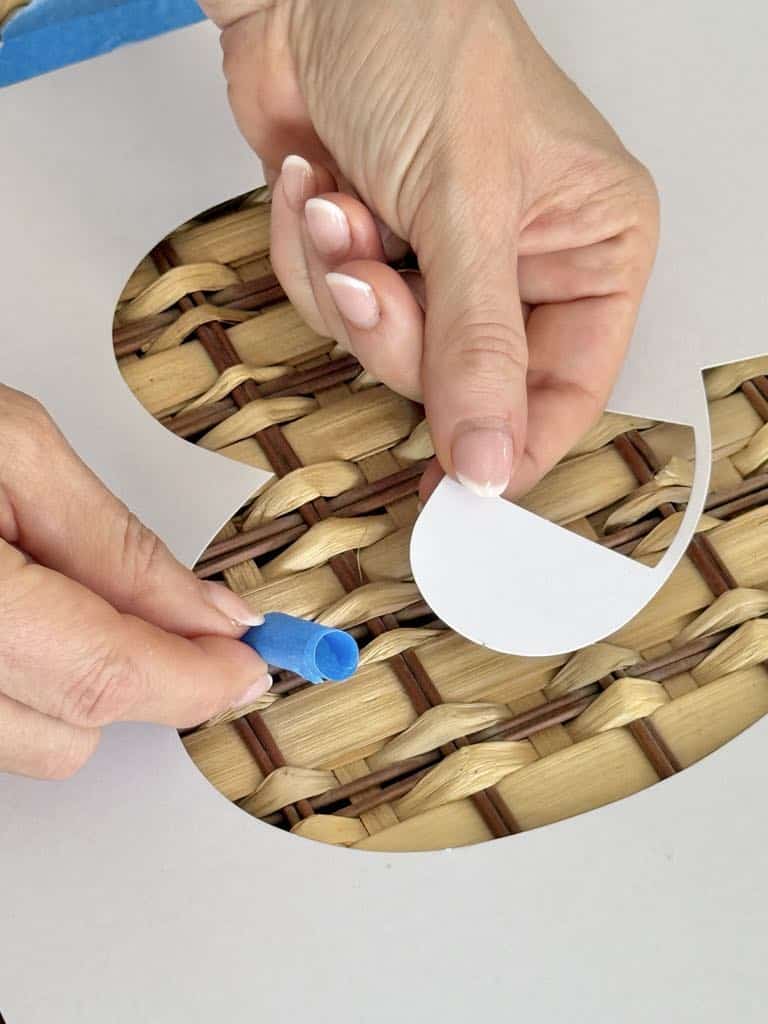
Dip a stipple brush into black paint and gently pounce up and down over the stencil opening. Peel it away to reveal your newly painted ampersand.
Once that dries, repeat the process with your initial stencils…one on each side of the ampersand. Stipple the paint the same way, then remove the stencils and let everything dry completely.
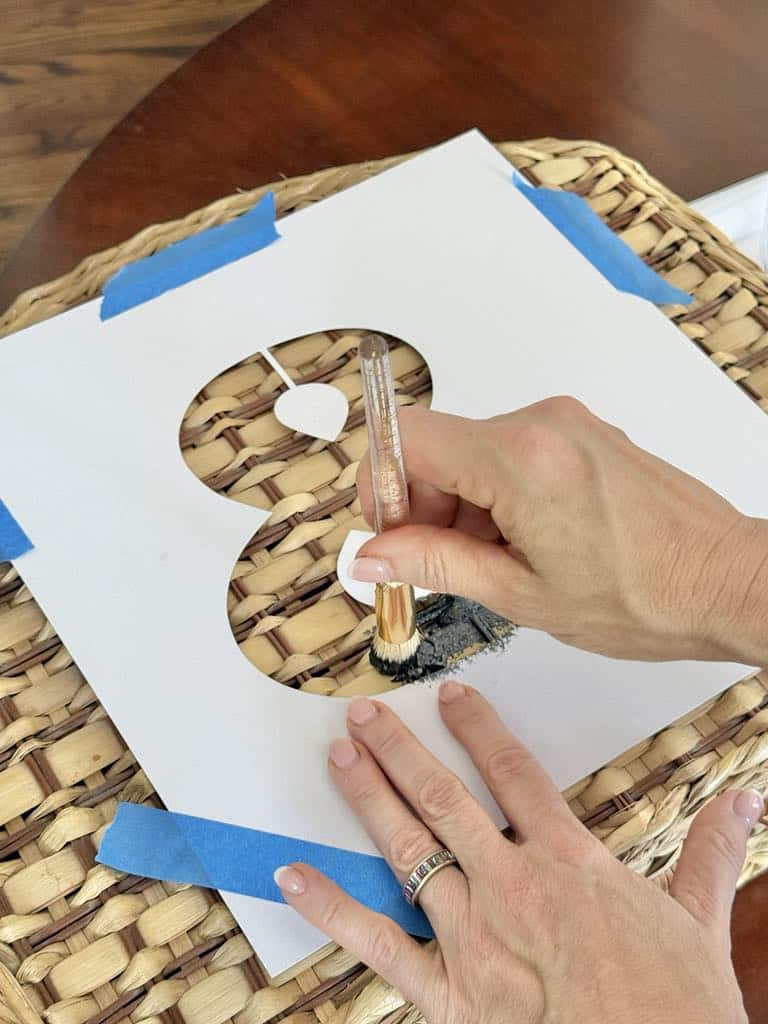
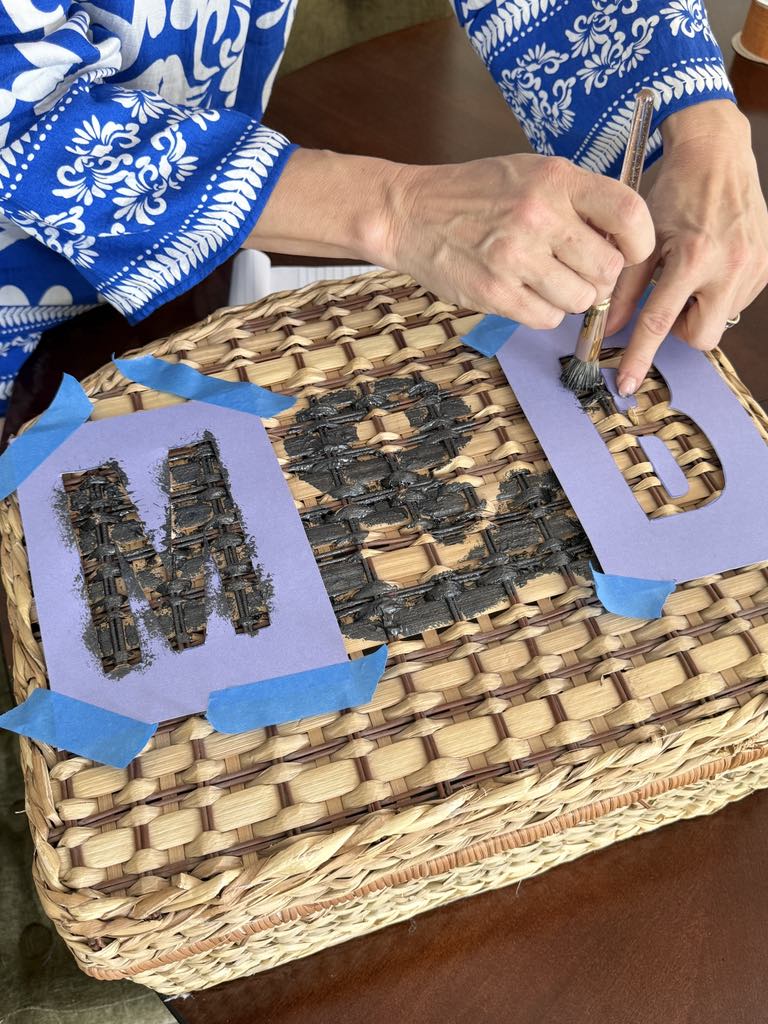
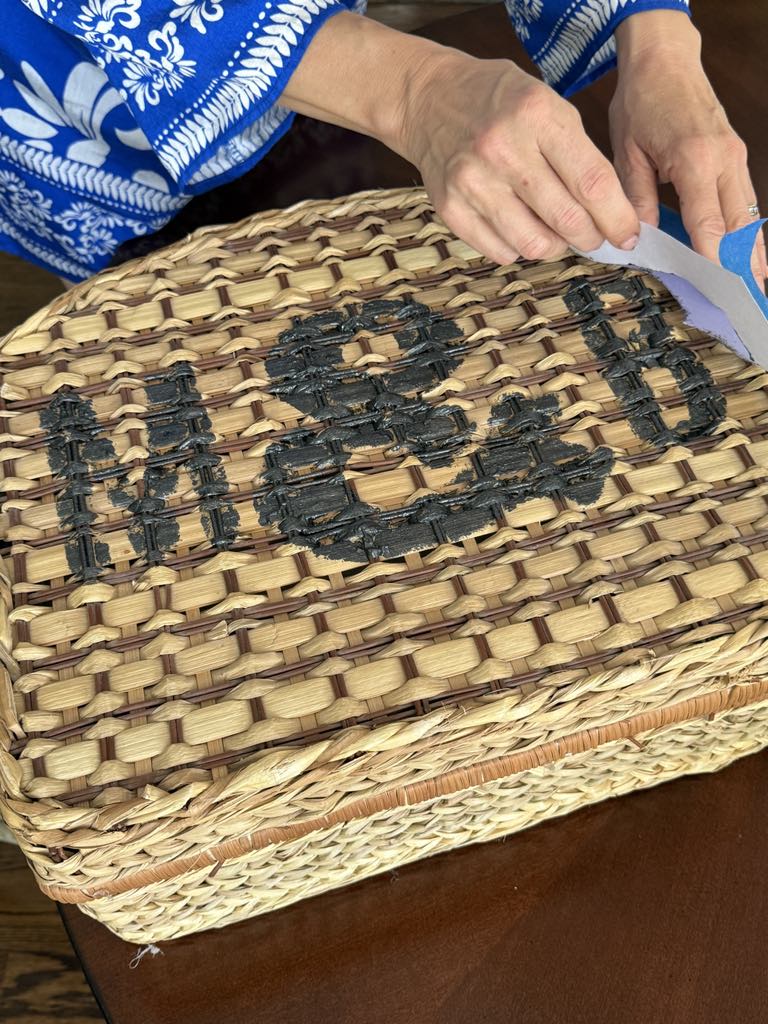
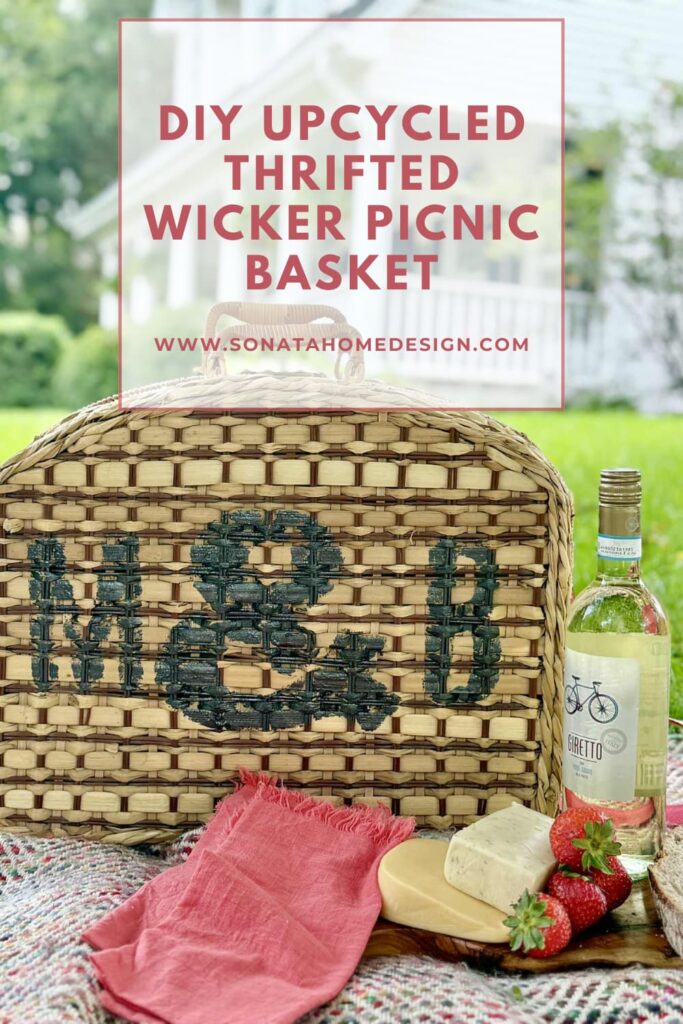
And just like that, your charming, personalized picnic basket is well on its way!
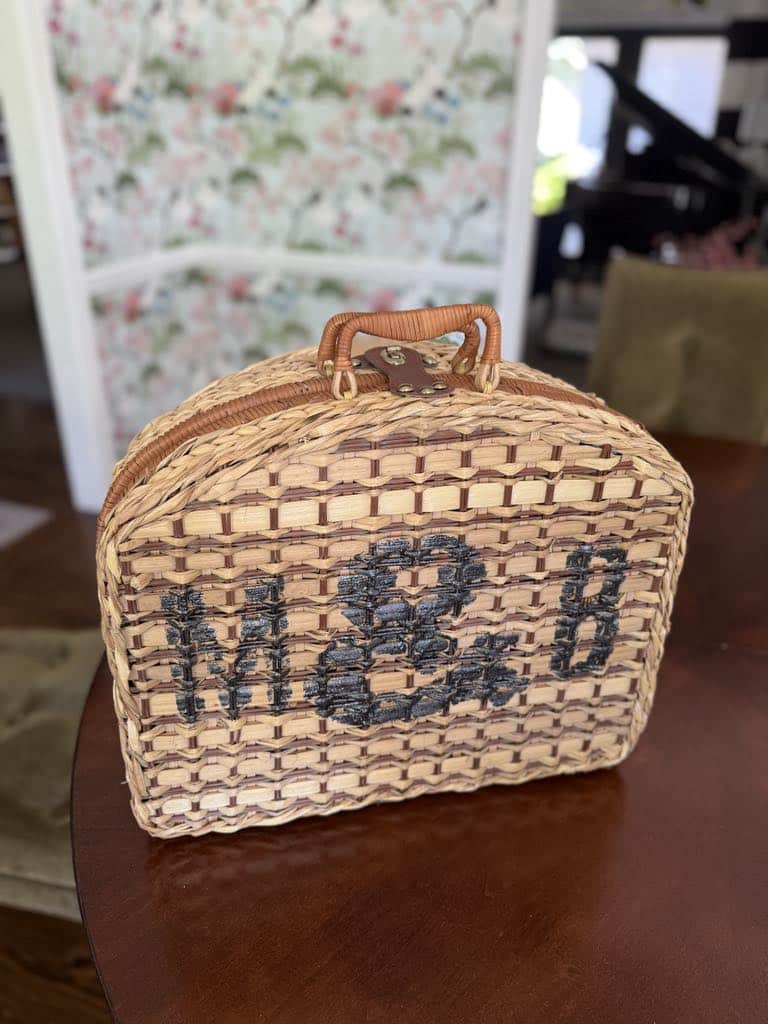
Add a Stylish Carrying Strap in Minutes
Want to give your DIY picnic basket even more function (and flair)? Adding a carrying strap is a quick, easy, and inexpensive hack that makes toting your basket a breeze—and it looks pretty cute, too!
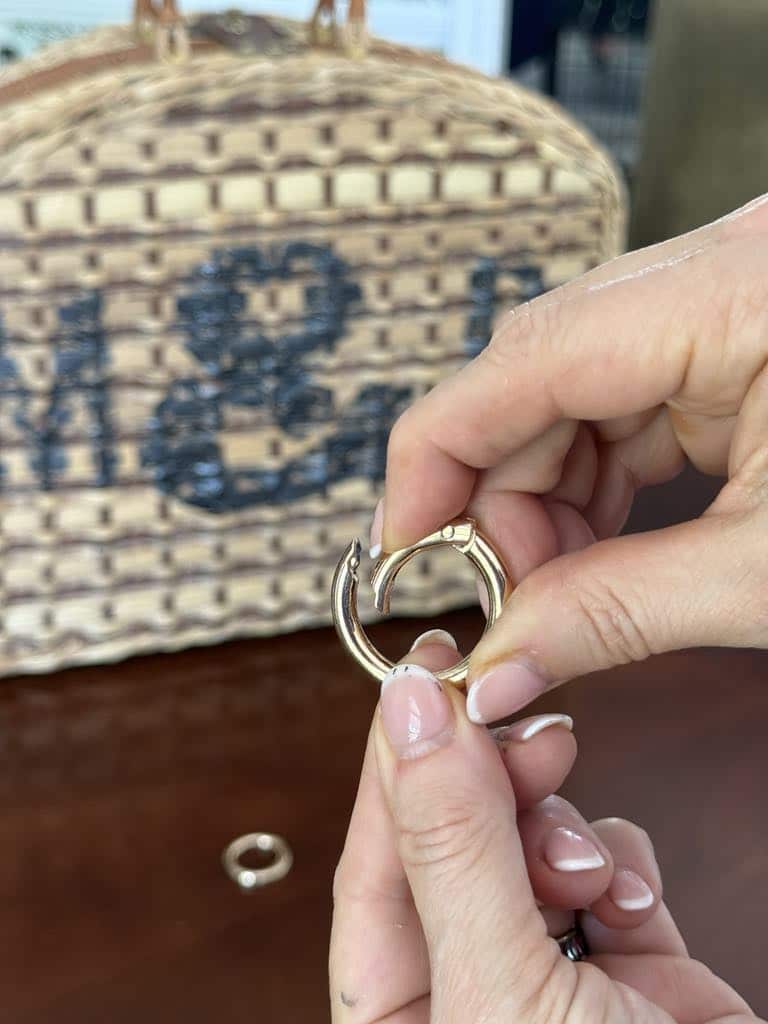
All you need are two round snap O-ring keyring buckles. These are the kind you often see on keychains, with a little trigger hinge that snaps open and shut.
To attach one, just press down on the hinge and slide the open end through the wicker weave on one side of your basket. Loop it back around so the ring hooks through the weave, then release the hinge to close it.
Repeat the same process on the other side of the basket, making sure the rings are placed evenly so your strap will hang straight.
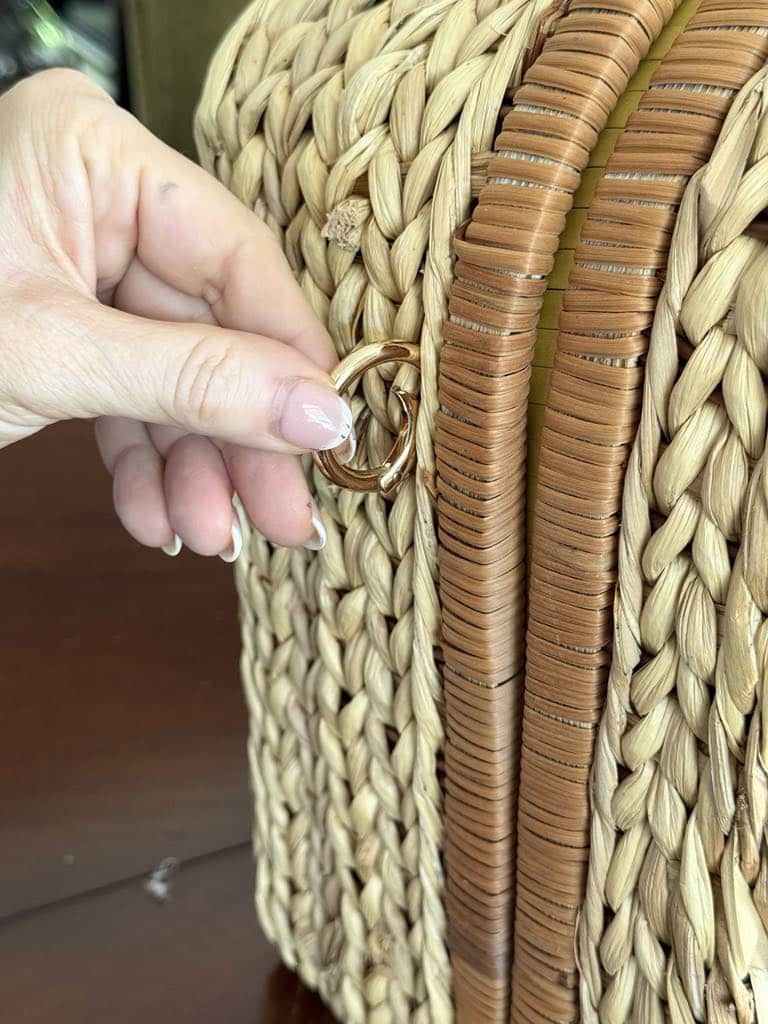
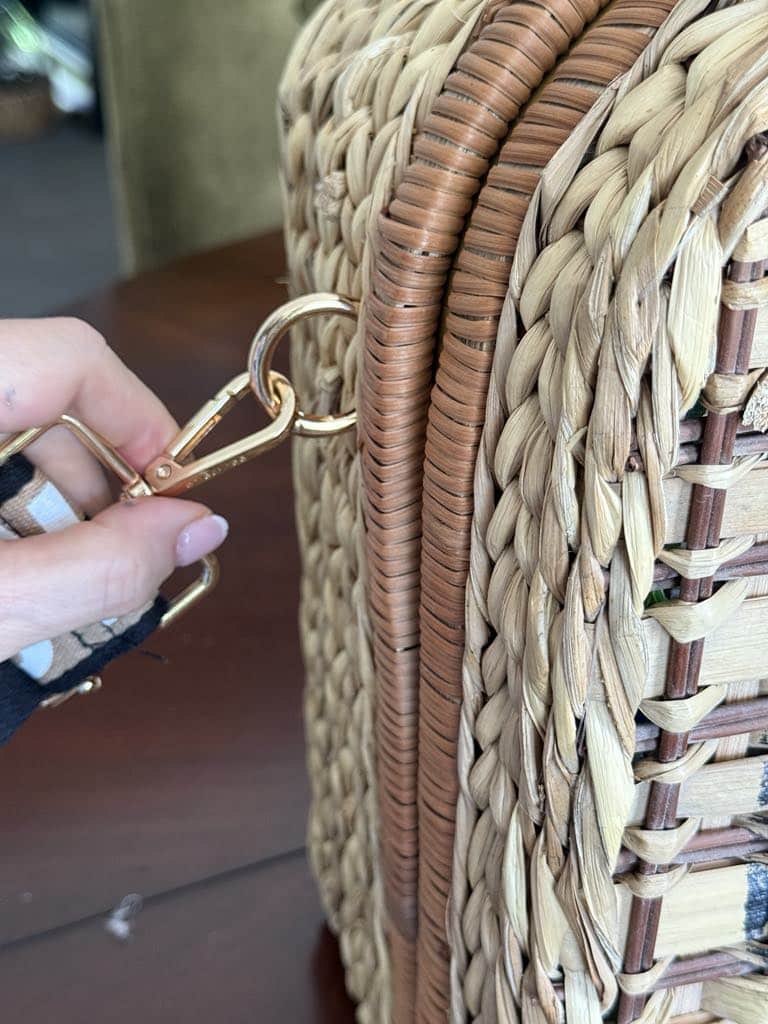
For the strap itself, I used an adjustable handbag strap designed like a guitar strap—it’s both sturdy and stylish, and the clips on each end easily attach to the O-rings.
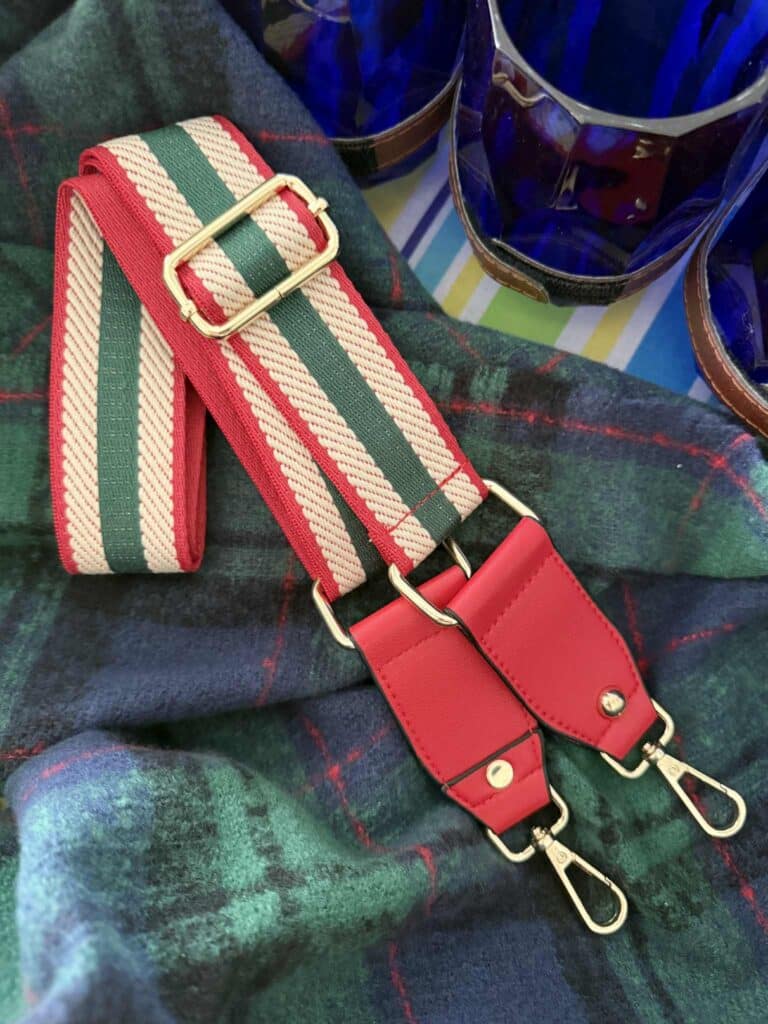
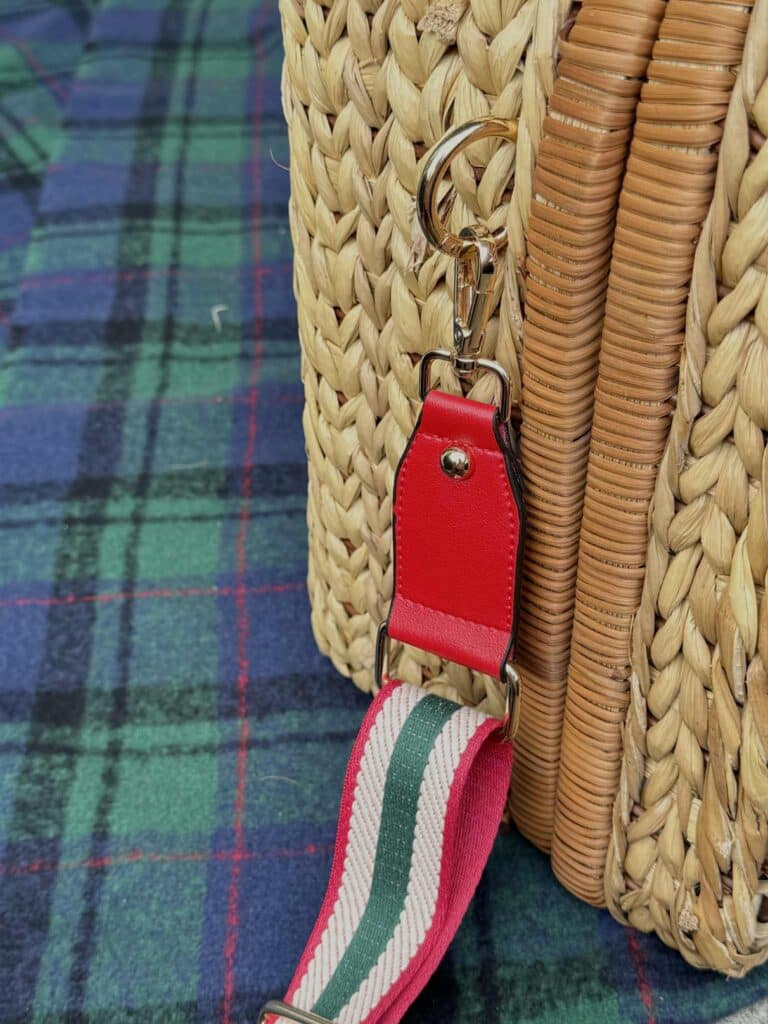
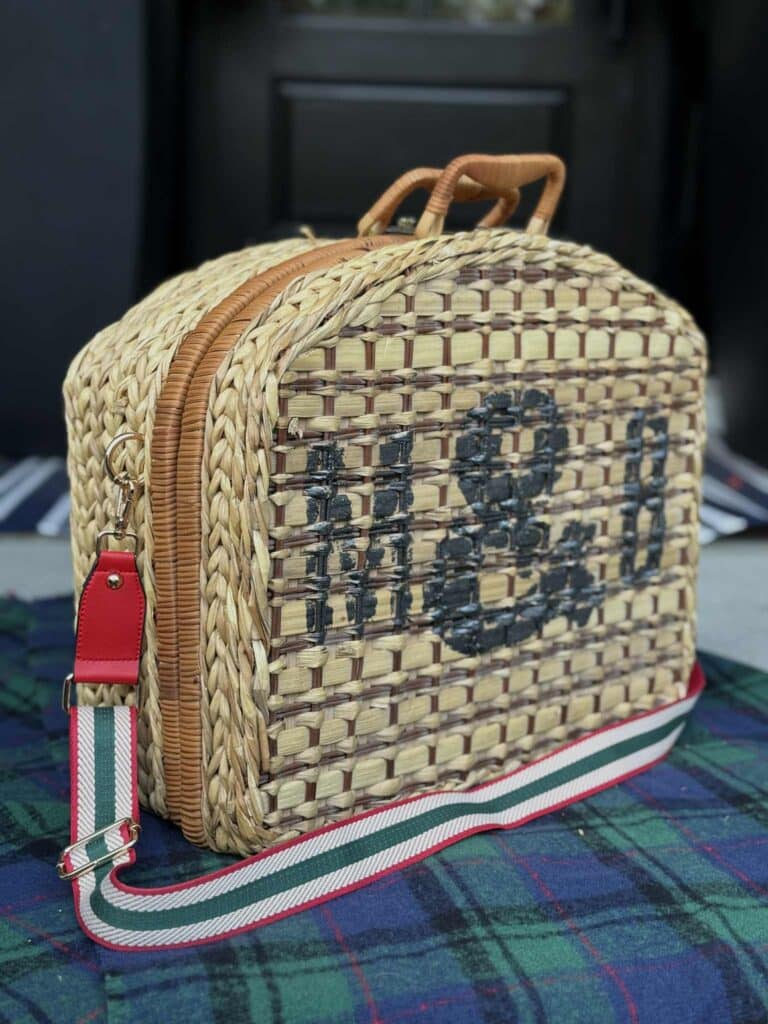
Now my picnic basket is not only charming, but also ready to go wherever the picnic takes me!
Tips for Styling a Beautiful (and Functional!) DIY Picnic Basket
Styling the inside of the basket is where the real fun begins! Here’s how I pulled together a look that’s both pretty and practical—and works for any season:
- Start with a cozy textile as your color palette inspiration.
I start with a multi colored blanket for sitting on the ground. I also used a green and blue scarf I already had. It brought out the green in the lining layers of my thrifted basket and added warmth to the whole setup. Bonus: a scarf is super versatile—it can double as a makeshift tablecloth or a soft spot to sit! - Layer in color with thoughtful dishware and textiles.
I went with cobalt blue melamine plates for a bold pop and coral cloth napkins to highlight the subtle red tones in the scarf. It’s a small difference that really ties the palette together.
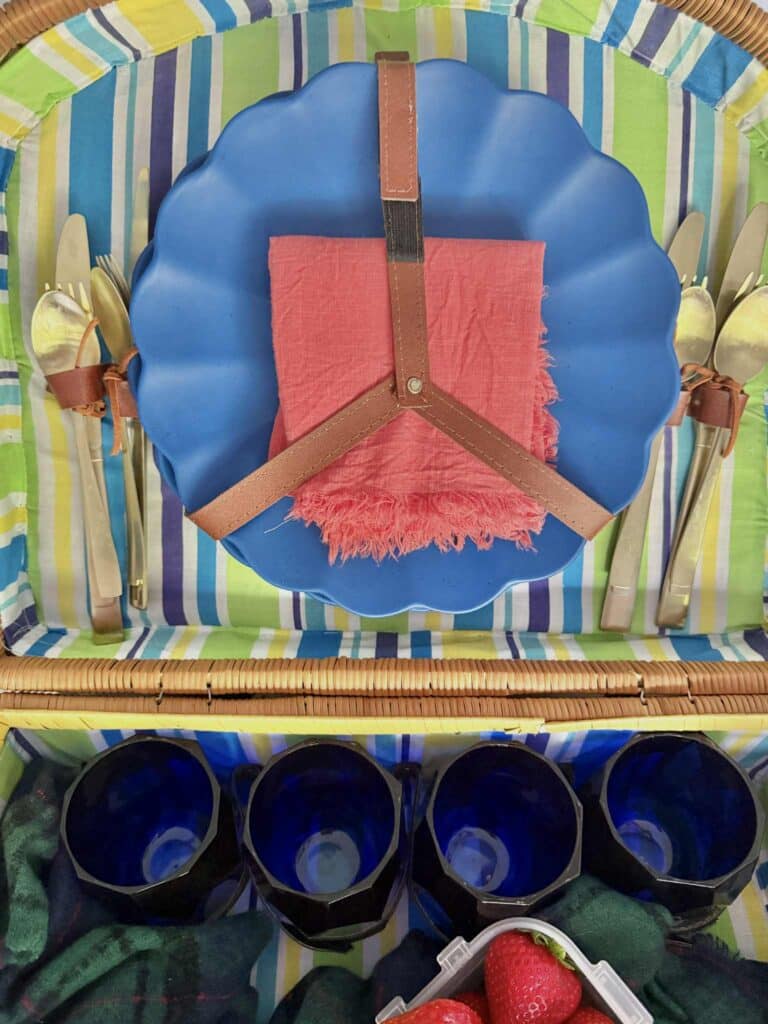
- Add functional pieces that feel a little fancy.
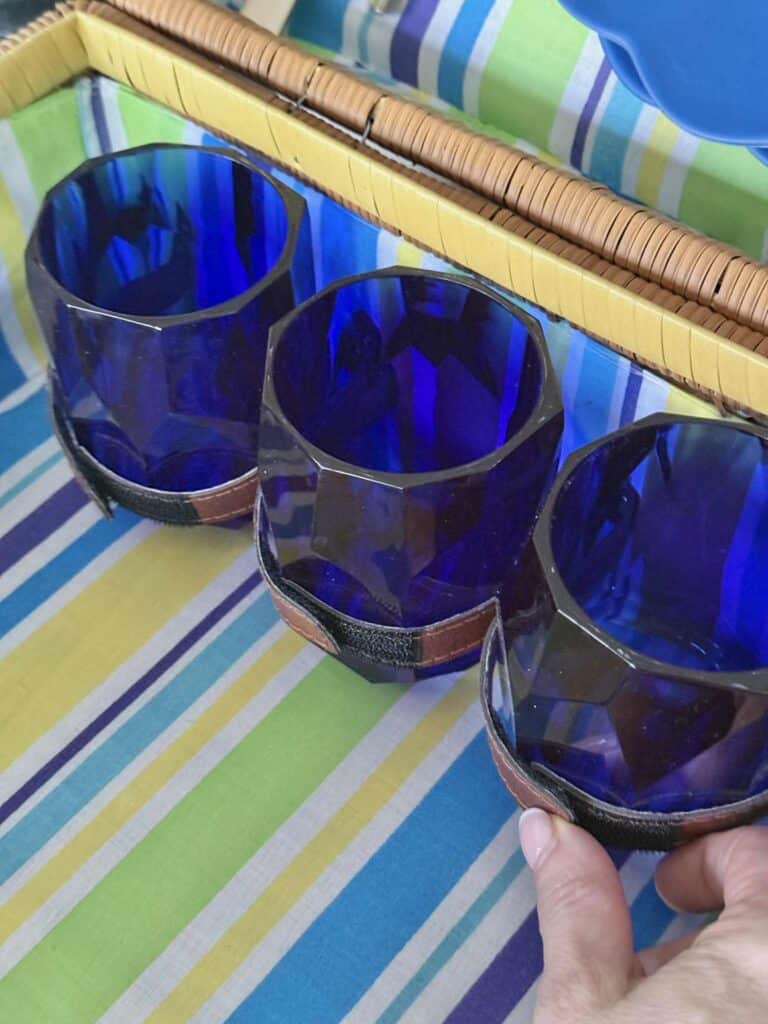
My cobalt blue outdoor glasses work for water or wine—so there’s no need to pack extras. And I always go for real silverware over plastic. It skips the rough edges and gives the whole thing a touch of elegance without adding much weight. - Take advantage of built-in storage features.
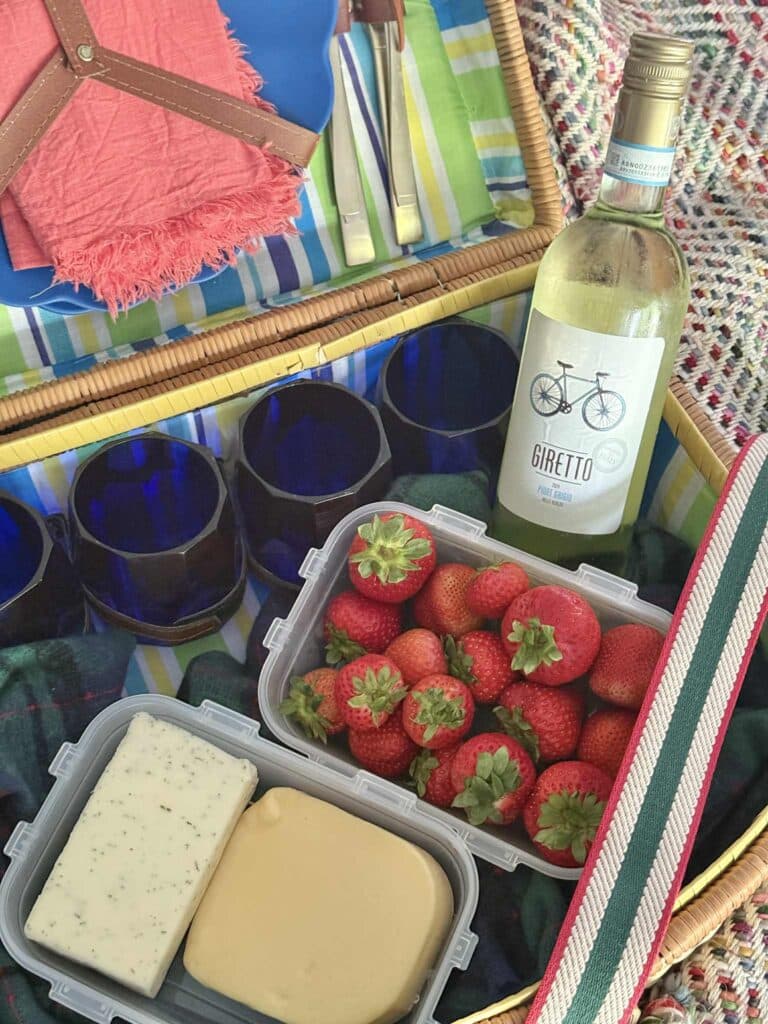
My little basket still had all its Velcro fasteners intact (thrift store win!), so I used them to secure the essentials. There was still plenty of room left inside for goodies like artisan bread and a bottle of wine. - Use what you have and show off your yummy food!
Let the food itself become part of the visual charm. A bottle of wine with a charming label and fresh fruit and cheese can make your picnic feel beautifully styled with hardly any effort.
When You Can’t Buy It—Make It Your Own
That Fortnum & Mason hamper I spotted in London was truly stunning.
So classic, so elegant, and so very out of my price range.
But standing there, swooning over every detail, I realized something: I didn’t have to buy the dream…I could create it!
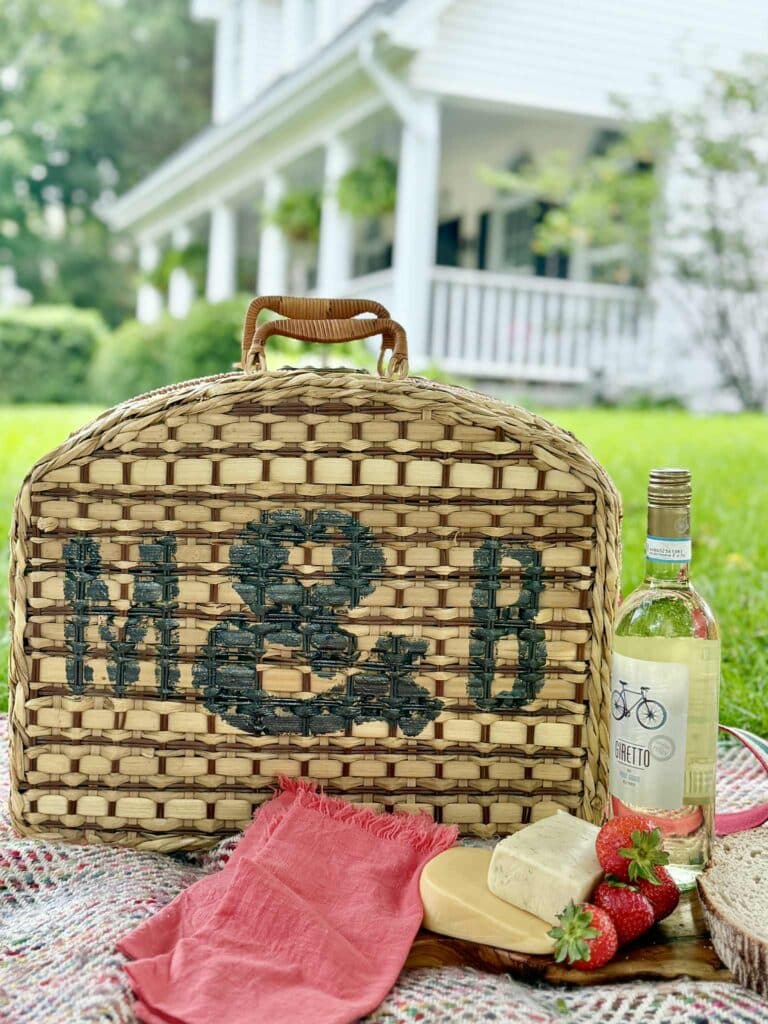
Back home, with a thrifted basket, a little paint, and some thoughtful styling, I made my own version, one that feels just as special because it’s uniquely mine.
If you ever find yourself falling in love with something out of reach, take it as inspiration. With a little creativity, you just might surprise yourself with what you can bring to life!
Cheers!

A Little About Me
Hi! I’m missy. So happy to meet you!
“Decorate with Joy! Live with Happiness”
I truly believe that your home should be a reflection of your personality, a space where you feel free to express yourself and create a sanctuary that feels uniquely yours.
I love creating mood boards, hunting down unique home décor treasures, tackling easy DIY projects, and gathering with family and friends. Homes are meant to be enjoyed, filled with laughter, and shared with the people you love!
– cheers –
Don’t Forget to Pin It!
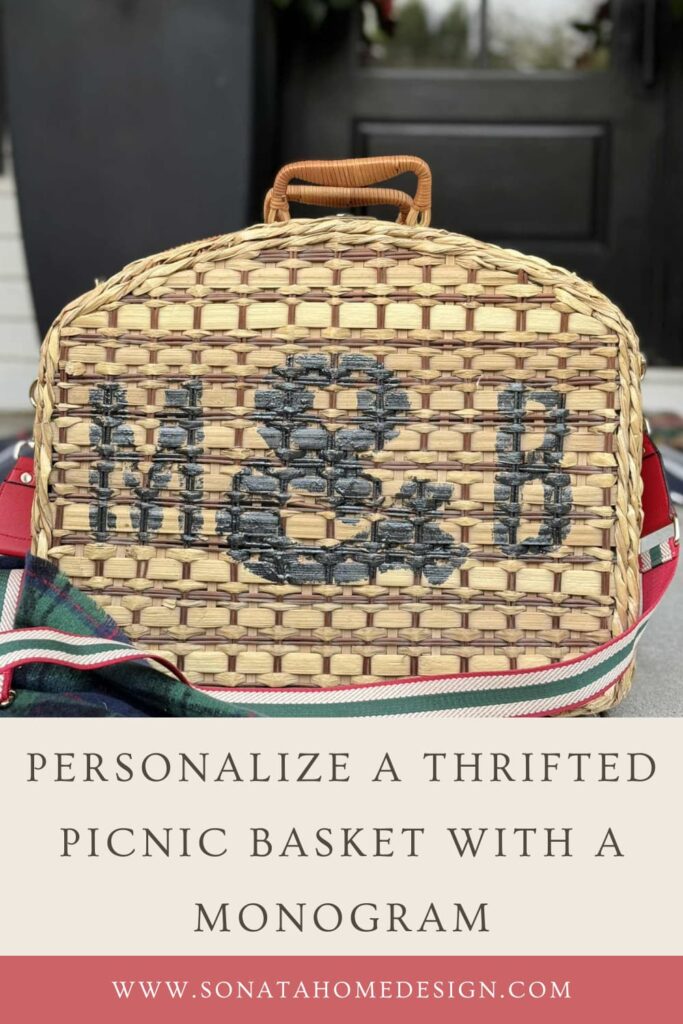
Pin the image below to your boards on Pinterest (just click the Pin button in the top left corner). You can also follow along with me on Pinterest!
More Thrift Store Find Upcycle Projects
Love a good before-and-after? Check out some of my favorite thrift store upcycle projects where a little creativity turned secondhand finds into one-of-a-kind home treasures!





This makeover is absolutely genius! I love how you turned a simple thrift find into something so stylish and functional. The monogramming detail and the strap upgrade are such smart touches. Totally inspired to dig out my old basket and give it a fresh new look—thank you for sharing!
Hi Alexa! I’m so glad that you like it! It was a super fun project and amazingly easy to do. If you do dig out your basket, I would love to see what you do with it!
FABULOUSLY chic upcycle Missy! Thanks for sharing, we will be featuring you this week! Creatively, Beth
You are so nice, Beth! Thank you so much!
This is brilliant, who needs Fortnum & Mason when you can DIY! Did you go to the food hall in Harrods too? That’s just as high end and out of budget! My son did get a lovely gift hamper from his workplace once with Fortnum & Mason biscuits (cookies) which we were happy to help him with but that’s my only experience of their wares! Your’s looks great.
We did go to Harrods and loved the opulance of everything. I did buy a tin of Harrods tea and some jam. But my allocated budget stopped there. We had a ball just wondering and taking it all in!