Easy and Elegant DIY Pipe Cleaner Christmas Tree
There’s a bit of magic in creating your own tabletop Christmas tree…whether it grows tall, stays petite, or settles somewhere wonderfully in between. These pipe cleaner trees bring a sweet, elegant charm to your holiday décor and can be dressed up in any style your imagination dreams up!

This blog contains affiliate links. This means a small commission is earned if you make a purchase by using this link. The price you pay will be the same whether you use the affiliate link or go directly to the vendor’s website using a non-affiliate link. As an Amazon Influencer, I earn from qualifying purchases.
When I think of pipe cleaners, I think of craft projects at my 5th-grade church camp.
Or wrapping my pencils with the in the 3rd grade. (I was decorating things even then!)
The best memory…the sweet Christmas ornaments my daughters made for me when they were little.
Well, I have a different pipe cleaner “twist” to share with you.
A DIY pipe cleaner Christmas tree that is easy and elegant…
charming and retro…
whimsical and full of personality!
These mini Christmas trees are perfect for tabletops, shelves, or even tucked into a Christmas village. Best of all, they’re so much fun to make!
Making a Pipe Cleaner Christmas Tree Base
Every good pipe cleaner Christmas tree starts with a paper cone.
Now, you can skip this step and use styrofoam cones. But the paper cones are so easy to make and save you a few dollars.
First, twist a piece of craft paper into a cone. You might need to play with how you twist the paper…you want the top edges to overlap so you don’t have a hole toward the tip. I found it helps to initially secure the twisted paper with a piece of tape on the inside.
Then, reinforce the seam with a thin line of hot glue. Once the glue dries, trim the bottom with some scissors, and you are good to go.
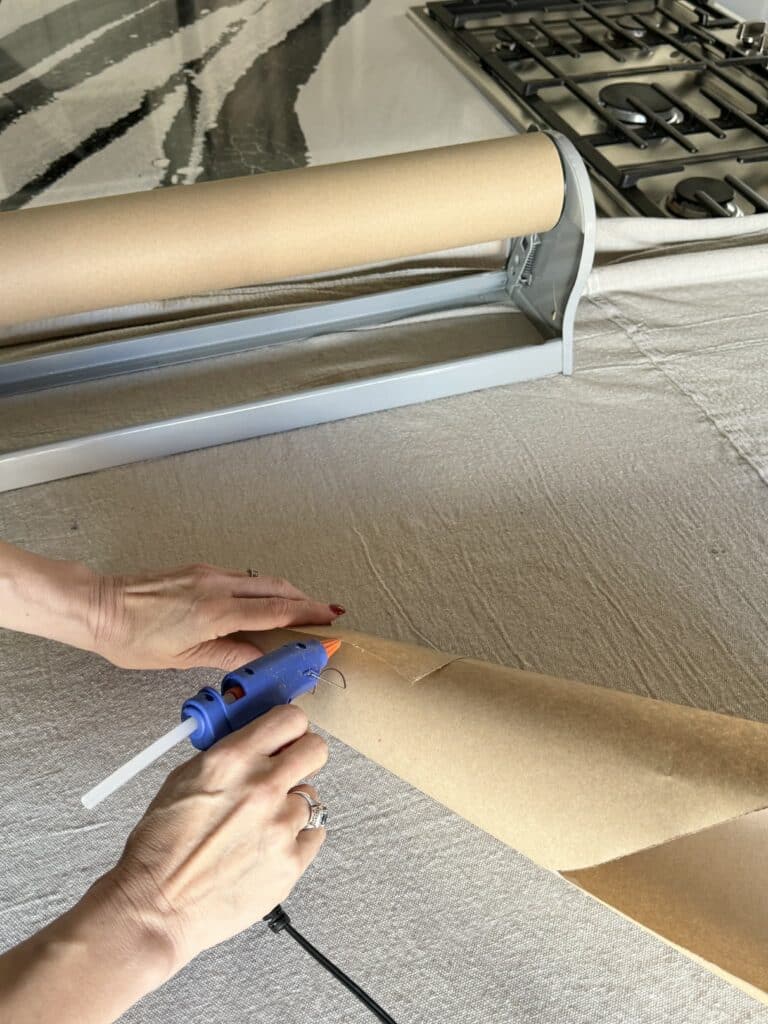
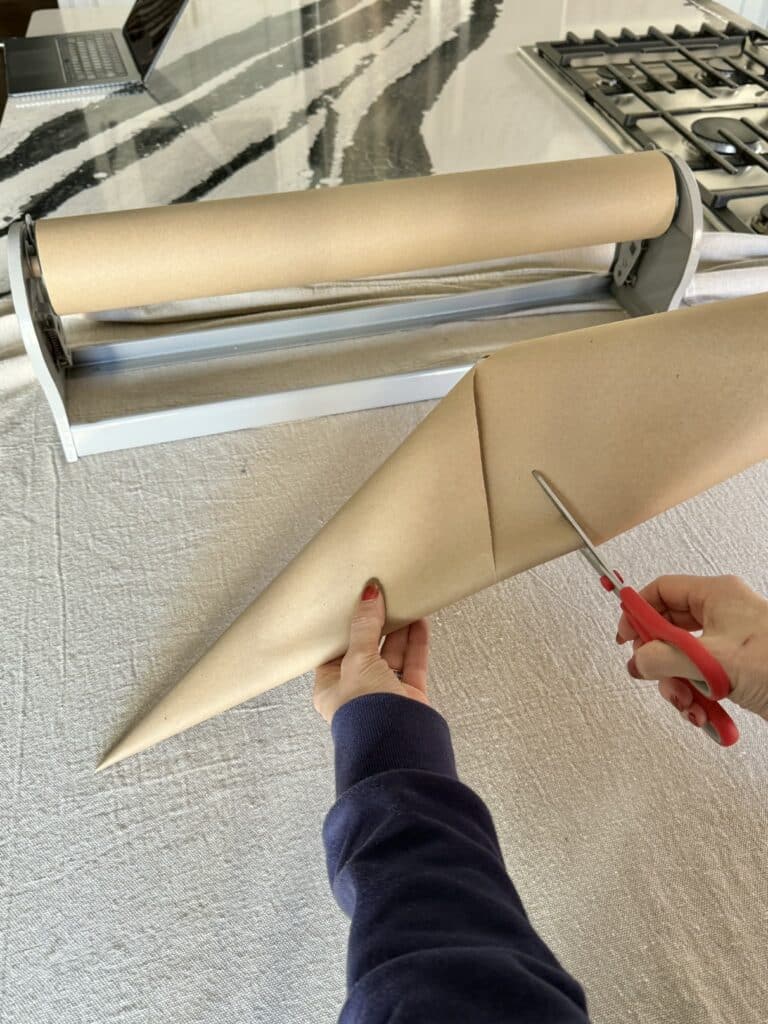
I love making a few cones in different sizes. It’s a fun way to have a trio of DIY mini Christmas trees for extra holiday charm.

Cutting and Shaping the Pipe Cleaners
Next up: the pipe cleaners!
To give your tree that full, textured look, cut each pipe cleaner into four smaller pieces.
Fold in half, cut, fold again, and cut once more.
Then, fold each small piece into a tiny loop.
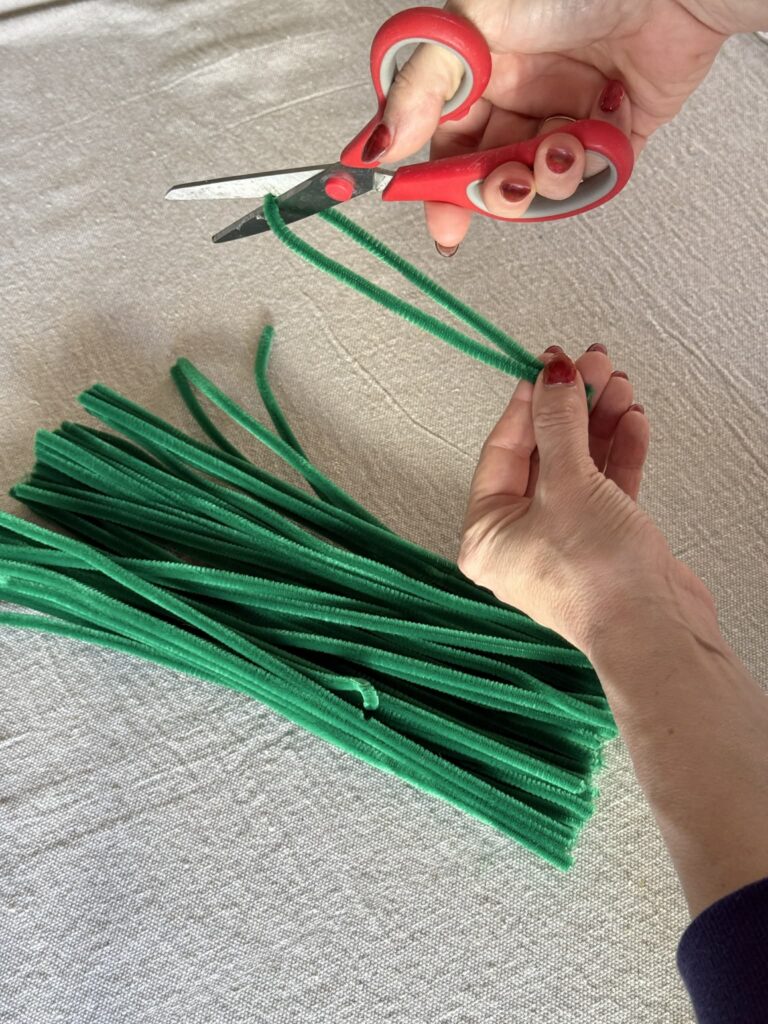
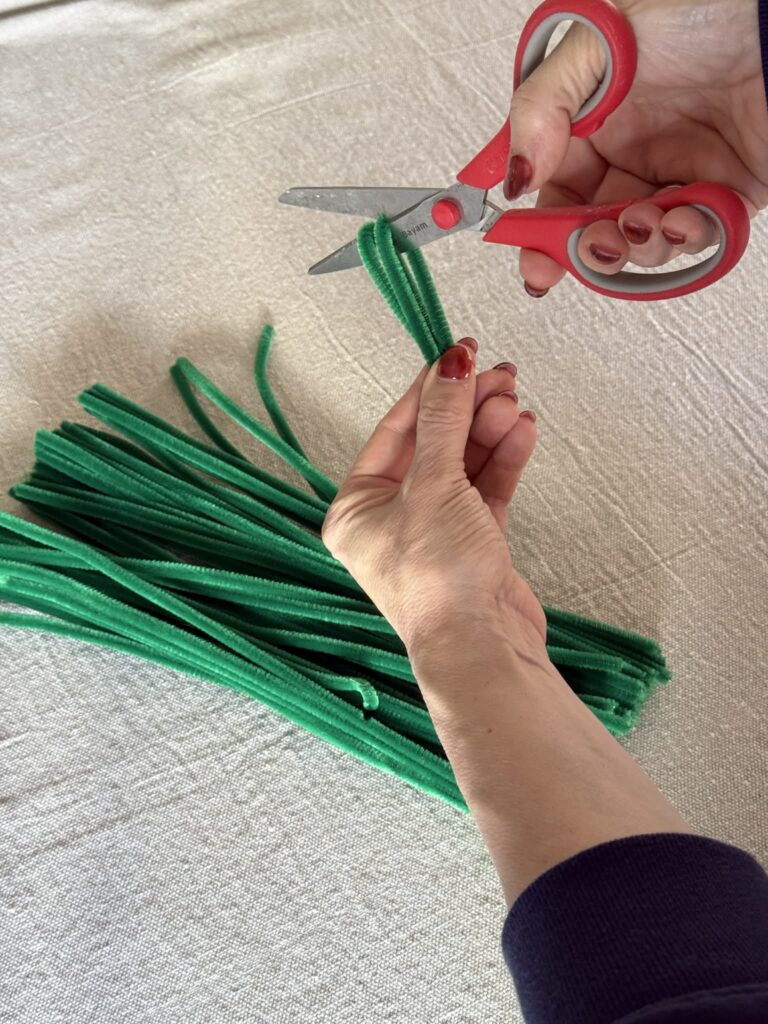
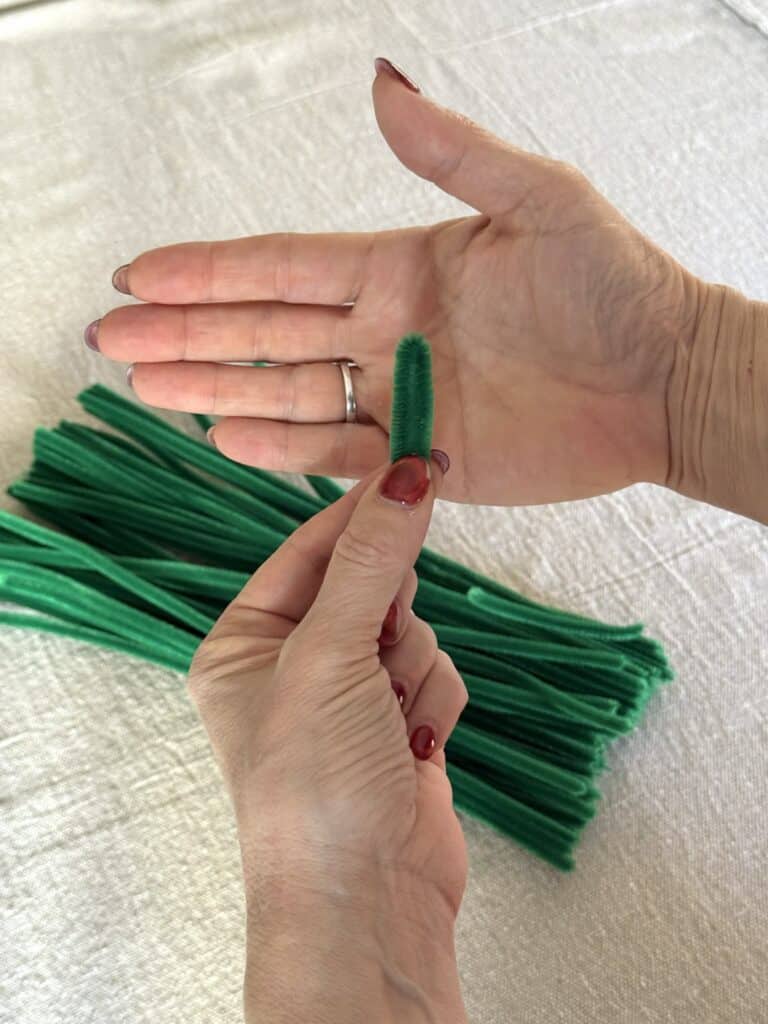
This part is oddly satisfying, though it takes a little patience. Settle in with a cup of cocoa and enjoy bending, cutting, and looping.
The number of loops you’ll need depends on the size of your cone, but trust me…more loops equal a fluffier, fuller tree.
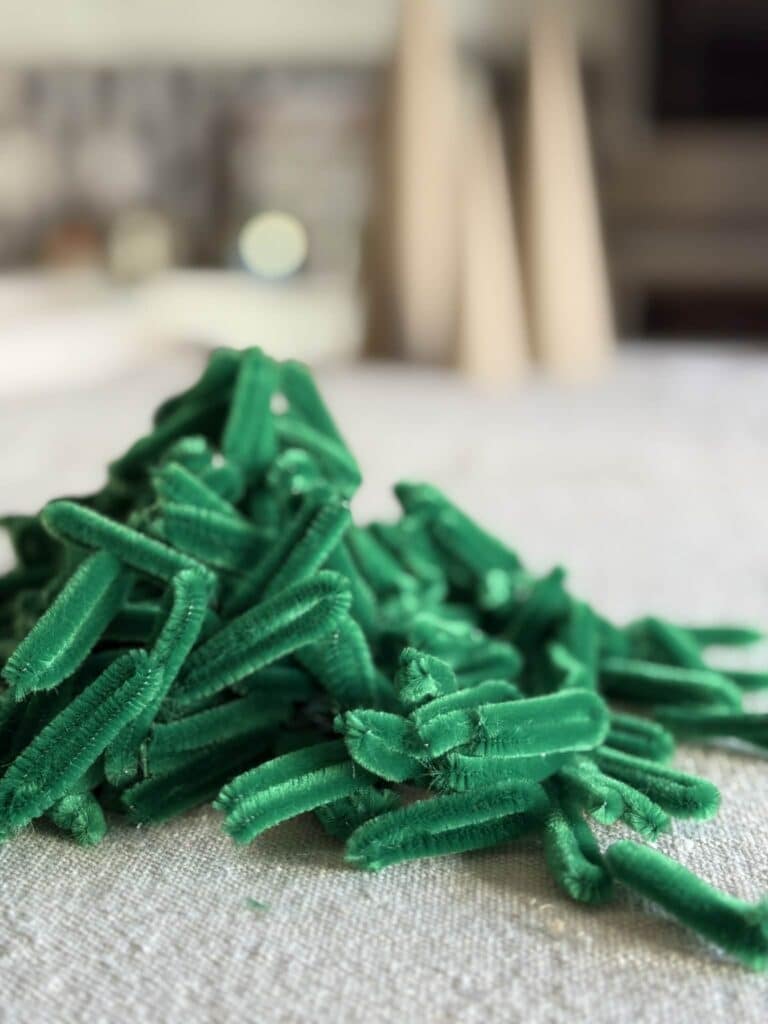
Attaching the Loops
Here’s where your pipe cleaner Christmas tree starts to take shape.
Run a horizontal thin line of hot glue (about 3″) along the bottom of your paper cone, about 1/2″ from the bottom.
Then press the pipe cleaner loops on the glue line with the cut ends facing up.
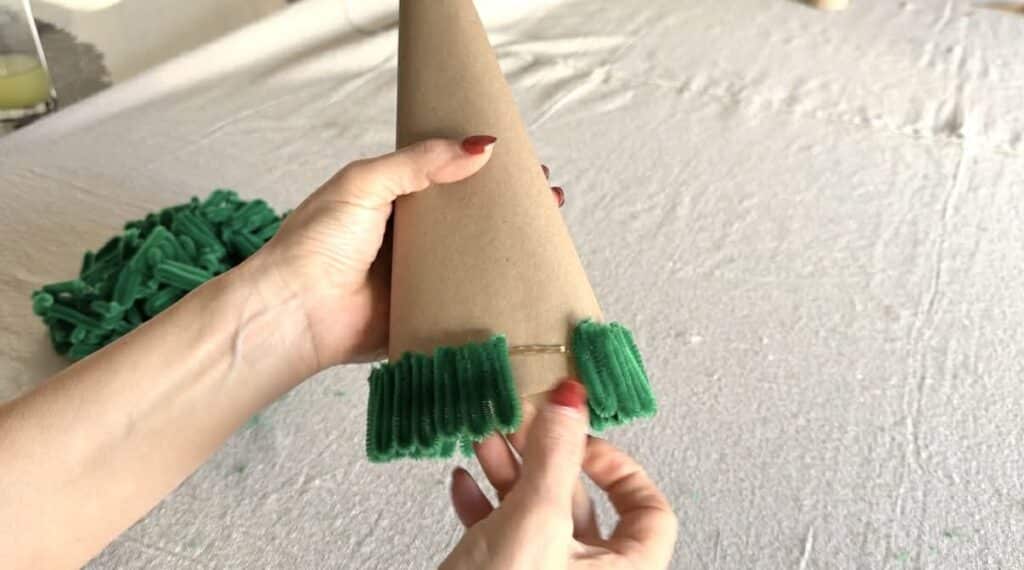
About half of each loop should hang slightly over the edge. Repeat along the bottom perimeter of the cone until the base is fully covered.
Next, add a second row of loops above the first. Overlap them slightly and position them so they nestle between the loops below. Continue layering rows of loops until the entire cone is covered. Your tree is really coming to life!
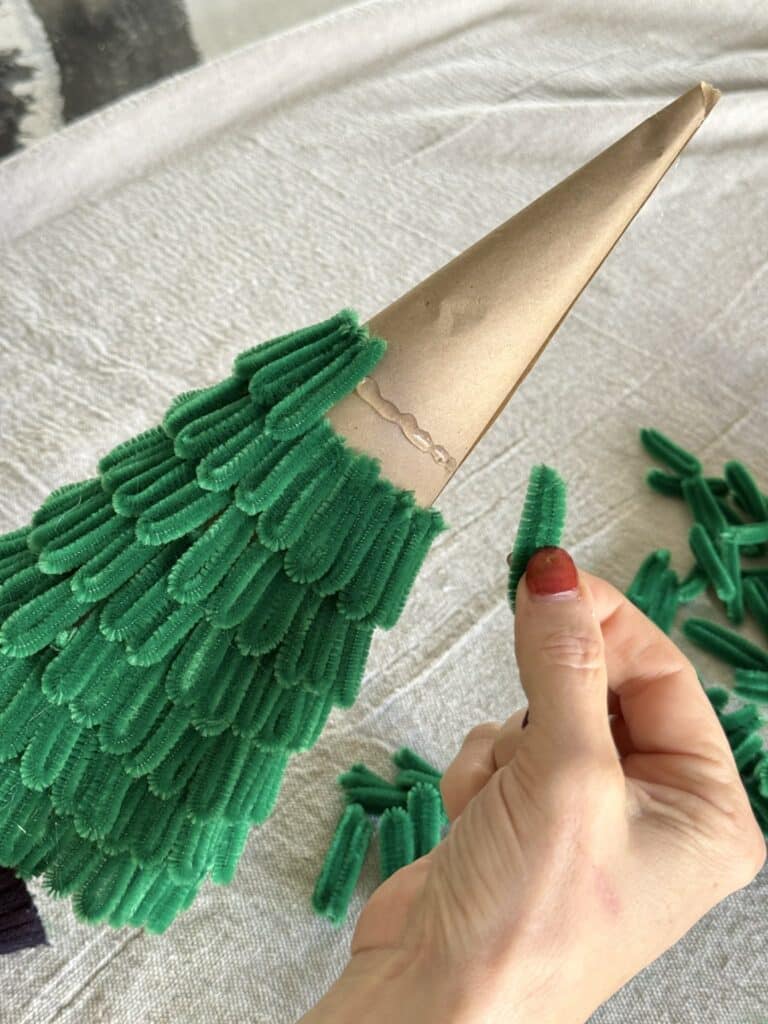
Shaping Your Tree
At this point, you might be wondering how this tree could possibly stand upright on a table.
Ah, the magic of pipe cleaners!
Remember the very first row of loops that hang over the bottom of the cone? With your fingers, gently bend the bottom loops outward.
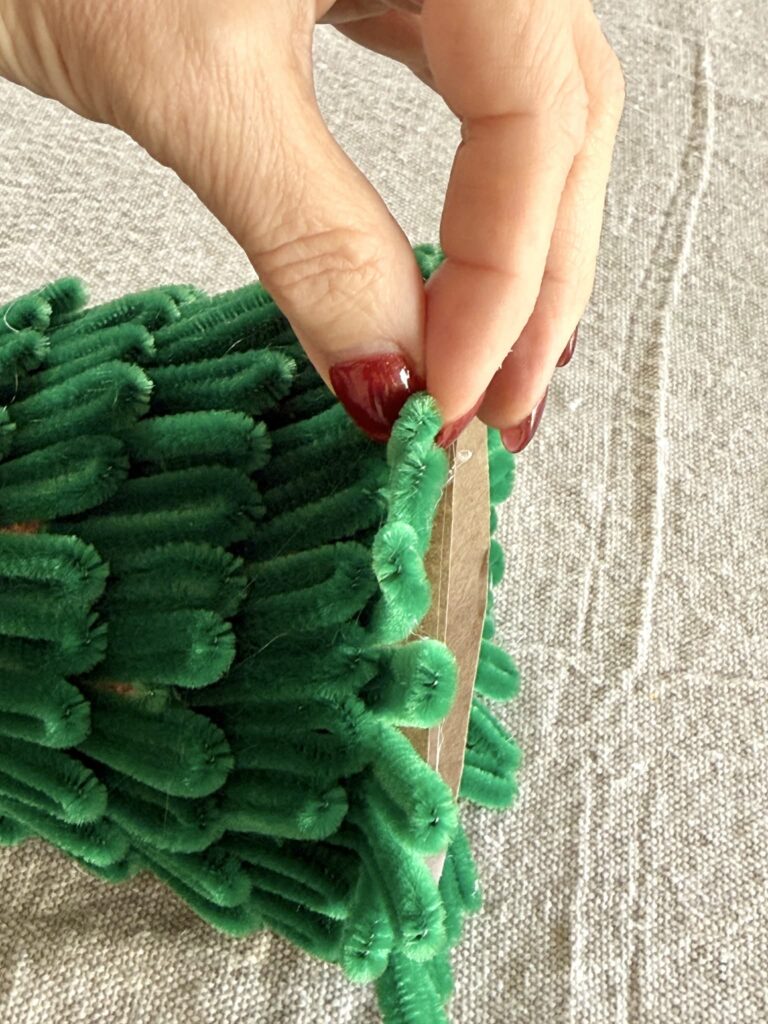
Once the bottom layer of loops is bent, you can easily set your tree on a table.
At this point, you now have an elegant and luxe “velvet” tree that will be stunning when added to your holiday decorations.
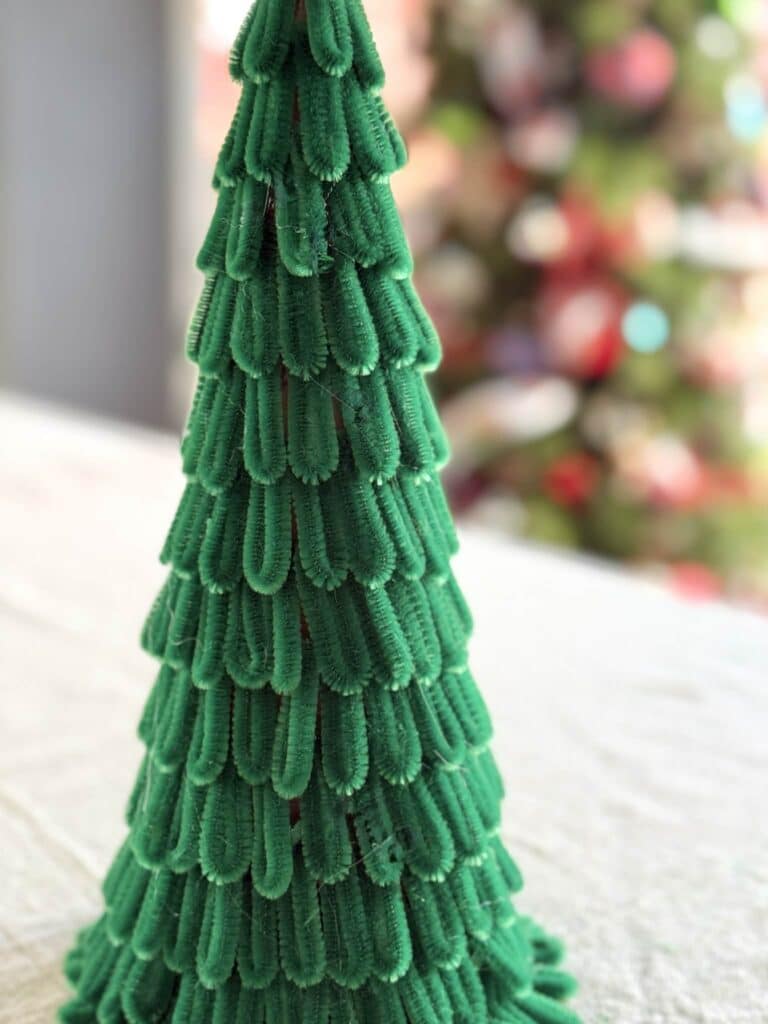
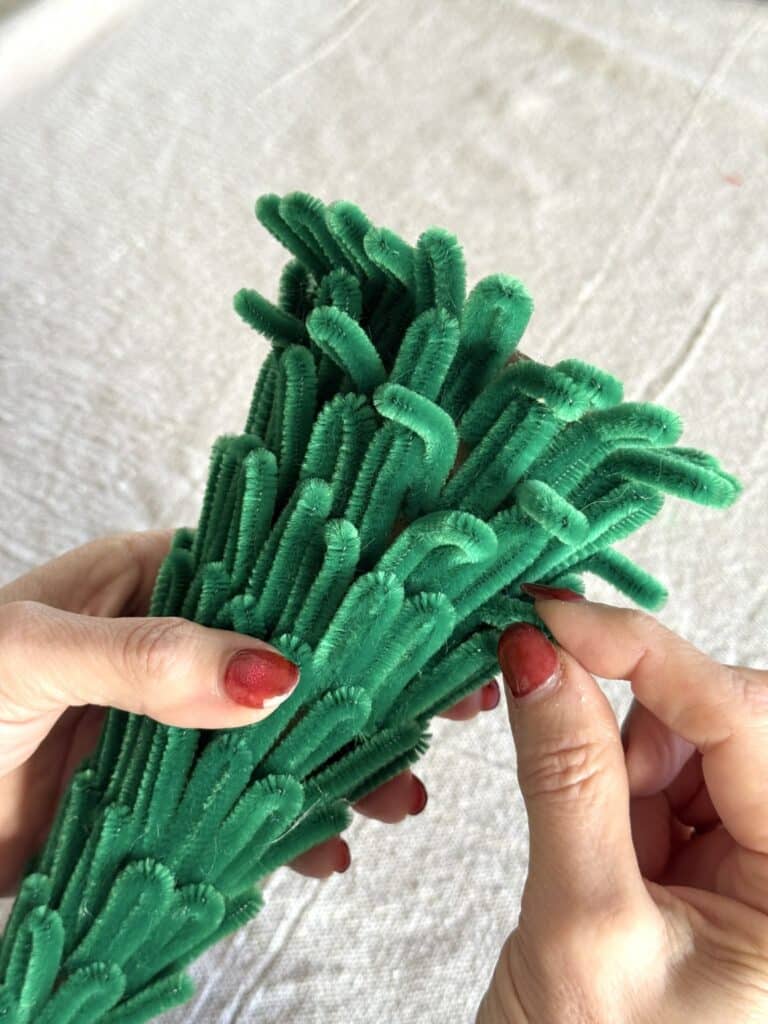
Then, for a more realistic and whimsical look, bend some random loops outward to mimic branches.
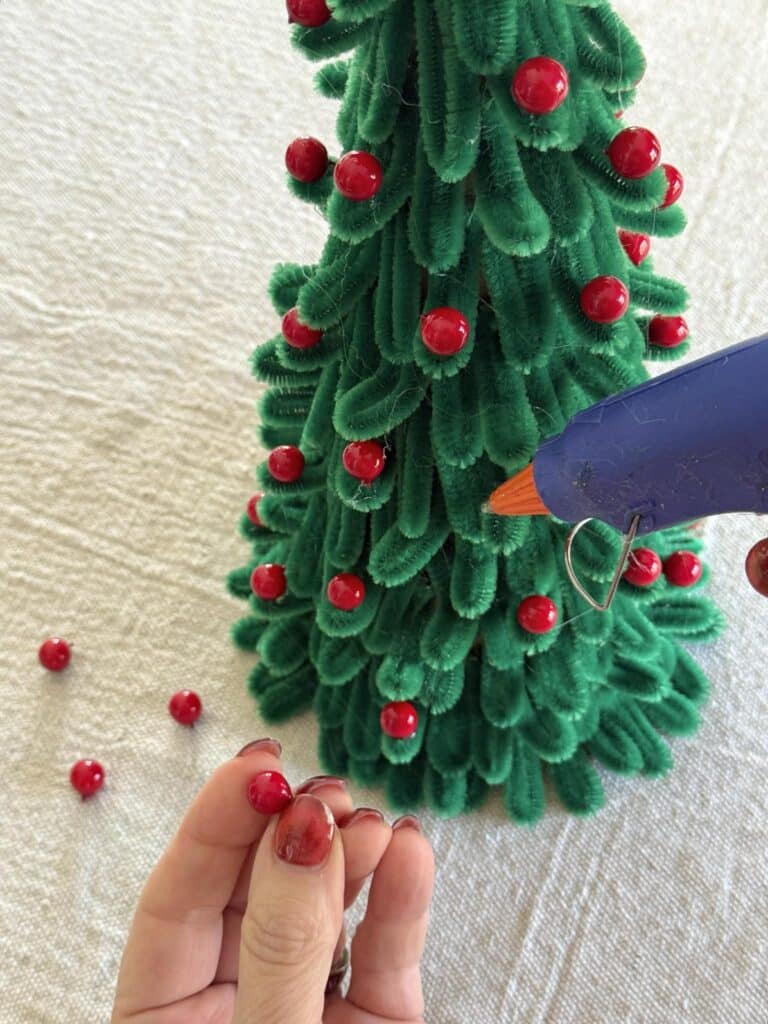
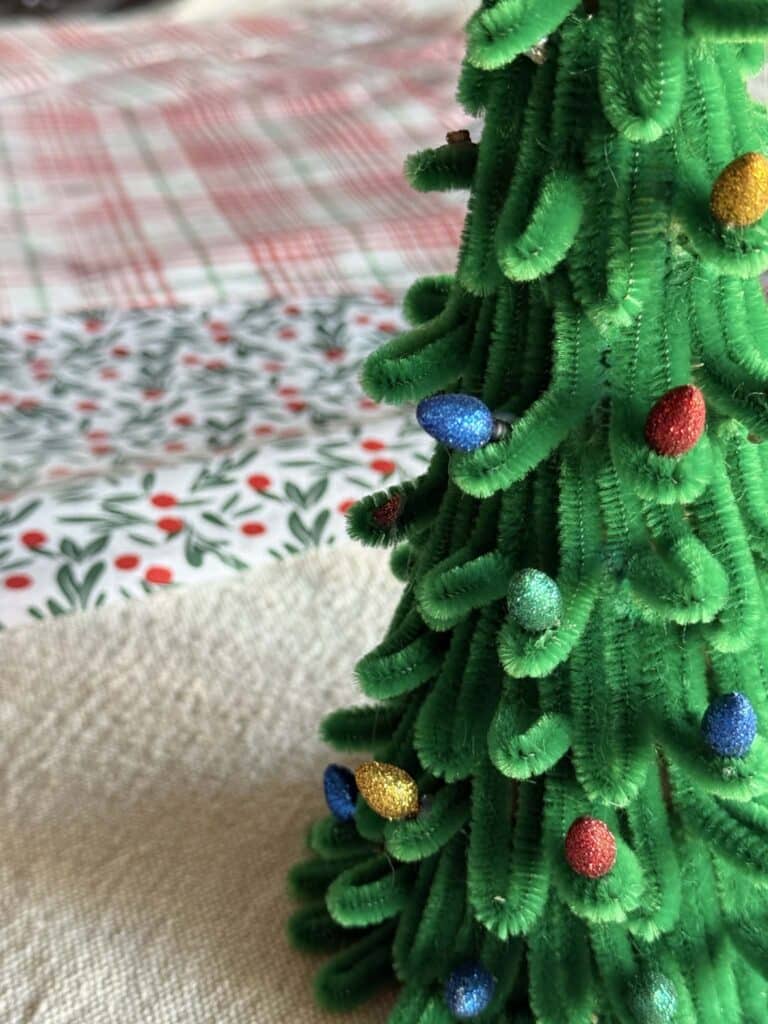
Time for the fun part: decorating! Tiny red berries are perfect for adding a pop of color. Cut off any stems, put a dab of hot glue on a loop, and attach the berry.
Go subtle or sprinkle on the ornaments…every tree ends up with its own charming personality.
Fun Variations for Your Pipe Cleaner Christmas Tree
Why stop at one tree? Try making a second green pipe cleaner tree and mix in other tree ornaments like mini retro lights or tiny candy canes.
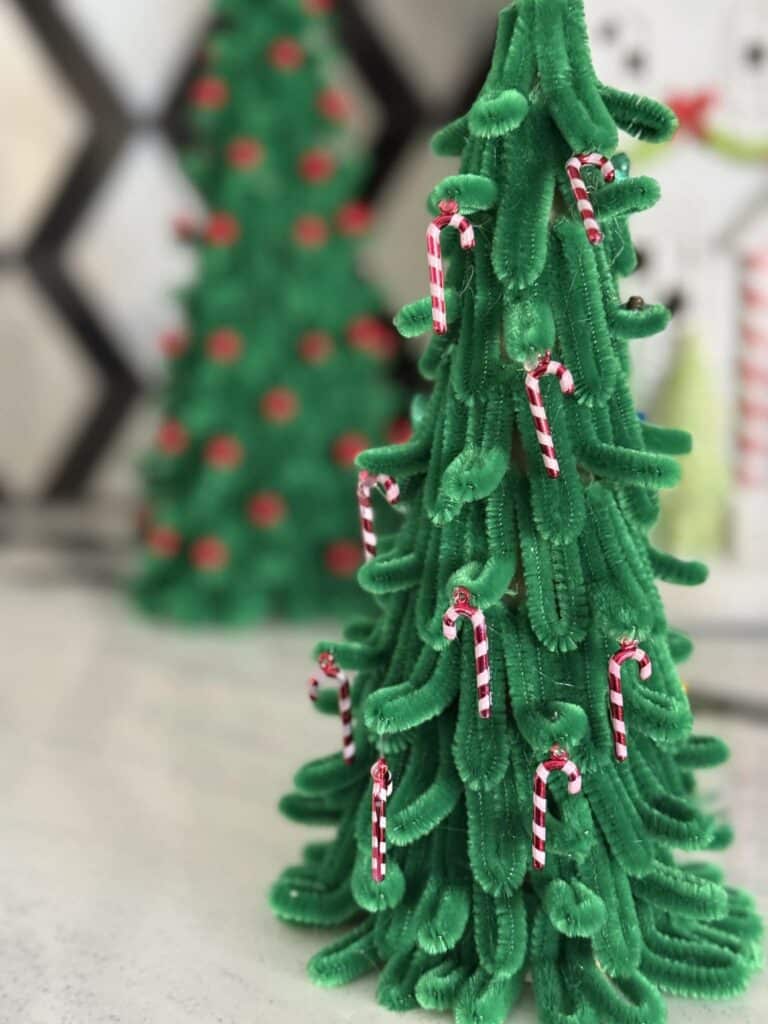
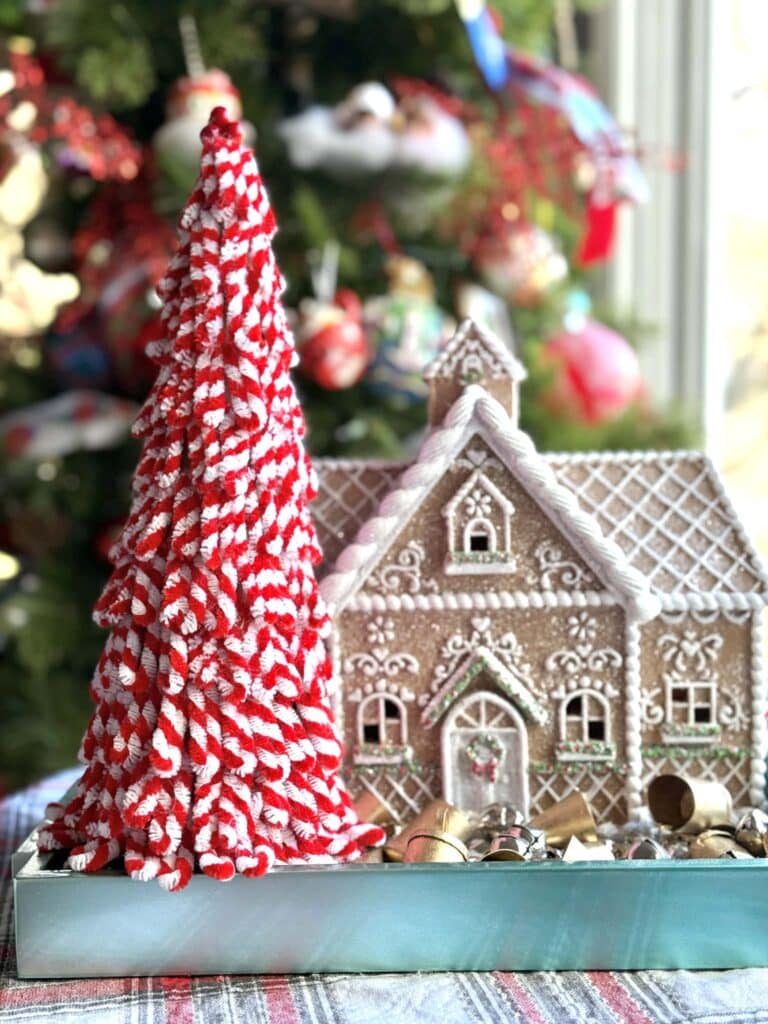
For a candy cane striped tree, use red-and-white pipe cleaners and keep most loops straight to showcase the stripes. Top with a few berries, and you’ve got a festive, whimsical creation.
Styling Your Pipe Cleaner Christmas Trees
Once your little trees are done, you can pop them just about anywhere.
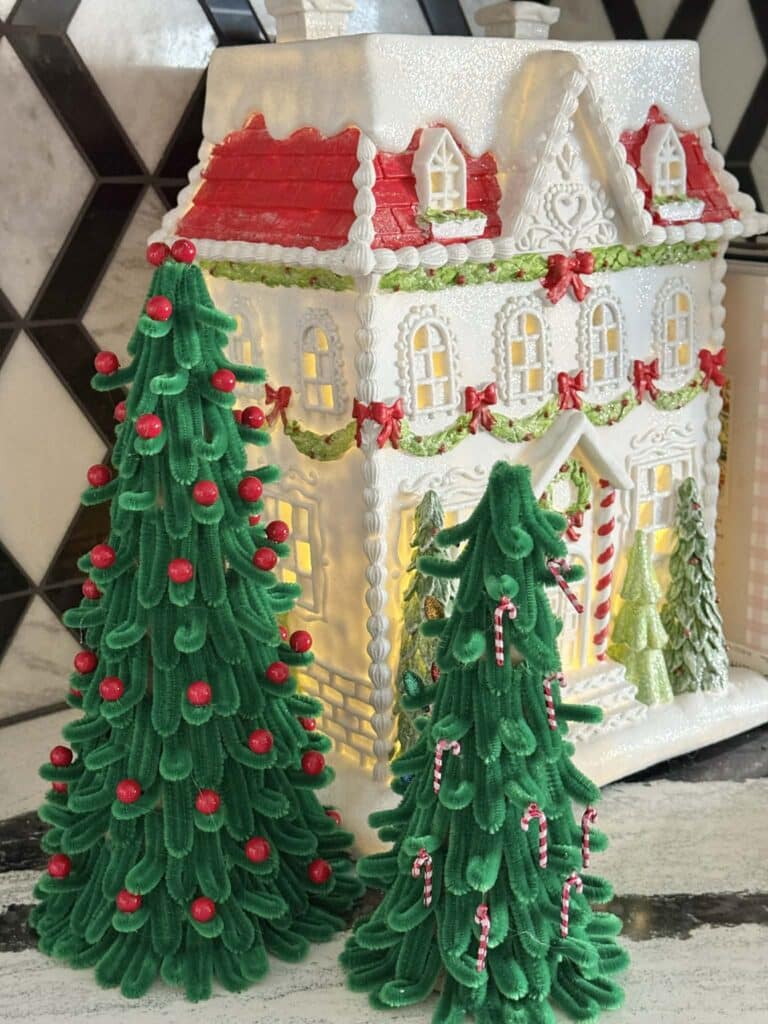
On a mantel, mixed in with your ornaments, or even in the middle of a Christmas village scene.
They’re light, cute, and super easy to make, which is half the fun.

Whether you’ve been twisting pipe cleaners since childhood or you’re brand-new to the magic, these tiny trees are such a happy little project.
Make one or make a whole forest. Either way, they bring instant holiday cheer wherever they land!
Cheers!

A Little About Me
Hi! I’m missy. So happy to meet you!
“Decorate with Joy! Live with Happiness”
I truly believe that your home should be a reflection of your personality, a space where you feel free to express yourself and create a sanctuary that feels uniquely yours.
I love creating mood boards, hunting down unique home décor treasures, tackling easy DIY projects, and gathering with family and friends. Homes are meant to be enjoyed, filled with laughter, and shared with the people you love!
– cheers –
Don’t Forget to Pin It!
Pin the image below to your boards on Pinterest (just click the Pin button in the top left corner). You can also follow along with me on Pinterest!







Very cute! Visiting from #MMBC
Thanks for stopping by, Melynda!
What a cute and creative idea! The trees look adorable. -Marie
Hi, Marie! Thank you so much. They were really fun to make!
This is such a great Christmas craft idea!! So easy to make too! #MMBC
Thank you so much, Natasha!
Why have I never thought of this before?! What a super fun Christmas craft. I love your little white Christmassy house too, Missy! That is so cute. 🙂 #MMBC
Thank you, Jayne! I hope you had a wonderful Thanksgiving. Off we go into the Christmas season!
So sweet! Thanks for joining in on Home Matters Linky Party! I will be featuring your post this week! #HomeMattersParty xx
I absolutely love this Missy, you’re so clever! I hope to give it a try! 😊
I’m visiting from Laurie’s linky today.
You’re most welcome to join me in a cuppa at Tea With Jennifer.
Jennifer
Pipe cleaner trees are very cute. I think I will try with. my granddaugters too!
Thanks Missy!
Cathy Hiemer
Gasp… these pipe cleaner Christmas trees look like velvet! What an incredible look!
Love this idea! Super cute! Thanks for sharing!