

How to Hang Peel and Stick Wallpaper: Your New Best Friend
Do you love wallpaper but are fearful of the hanging process? Are you interested in trying peel and stick wallpaper? Here is an easy guide with some realistic tips for how to hang peel and stick wallpaper.
Before I go any further, I want to say “Thank you!”
From the bottom of my heart.
With 6 months under my blogging belt, I am overwhelmed with your support, encouragement, and friendship.
I can feel your encouragement! So, thank you, thank you, THANK YOU!
Can I ask a favor? I would love to invite you to follow me on Facebook, Instagram, or Pinterest. I am learning so much about how to use these platforms other than just sharing photos of my cat and dog. (Although, you still get some of those pics!) My goal is to share continued inspiration through my social media. Let me know what you want to see, learn, and try!
My learning curve is STEEP!
But, with friends like you, so much FUN!
Fun like wallpaper?
How is that for a segue?
The word wallpaper strikes terror in some people’s hearts.
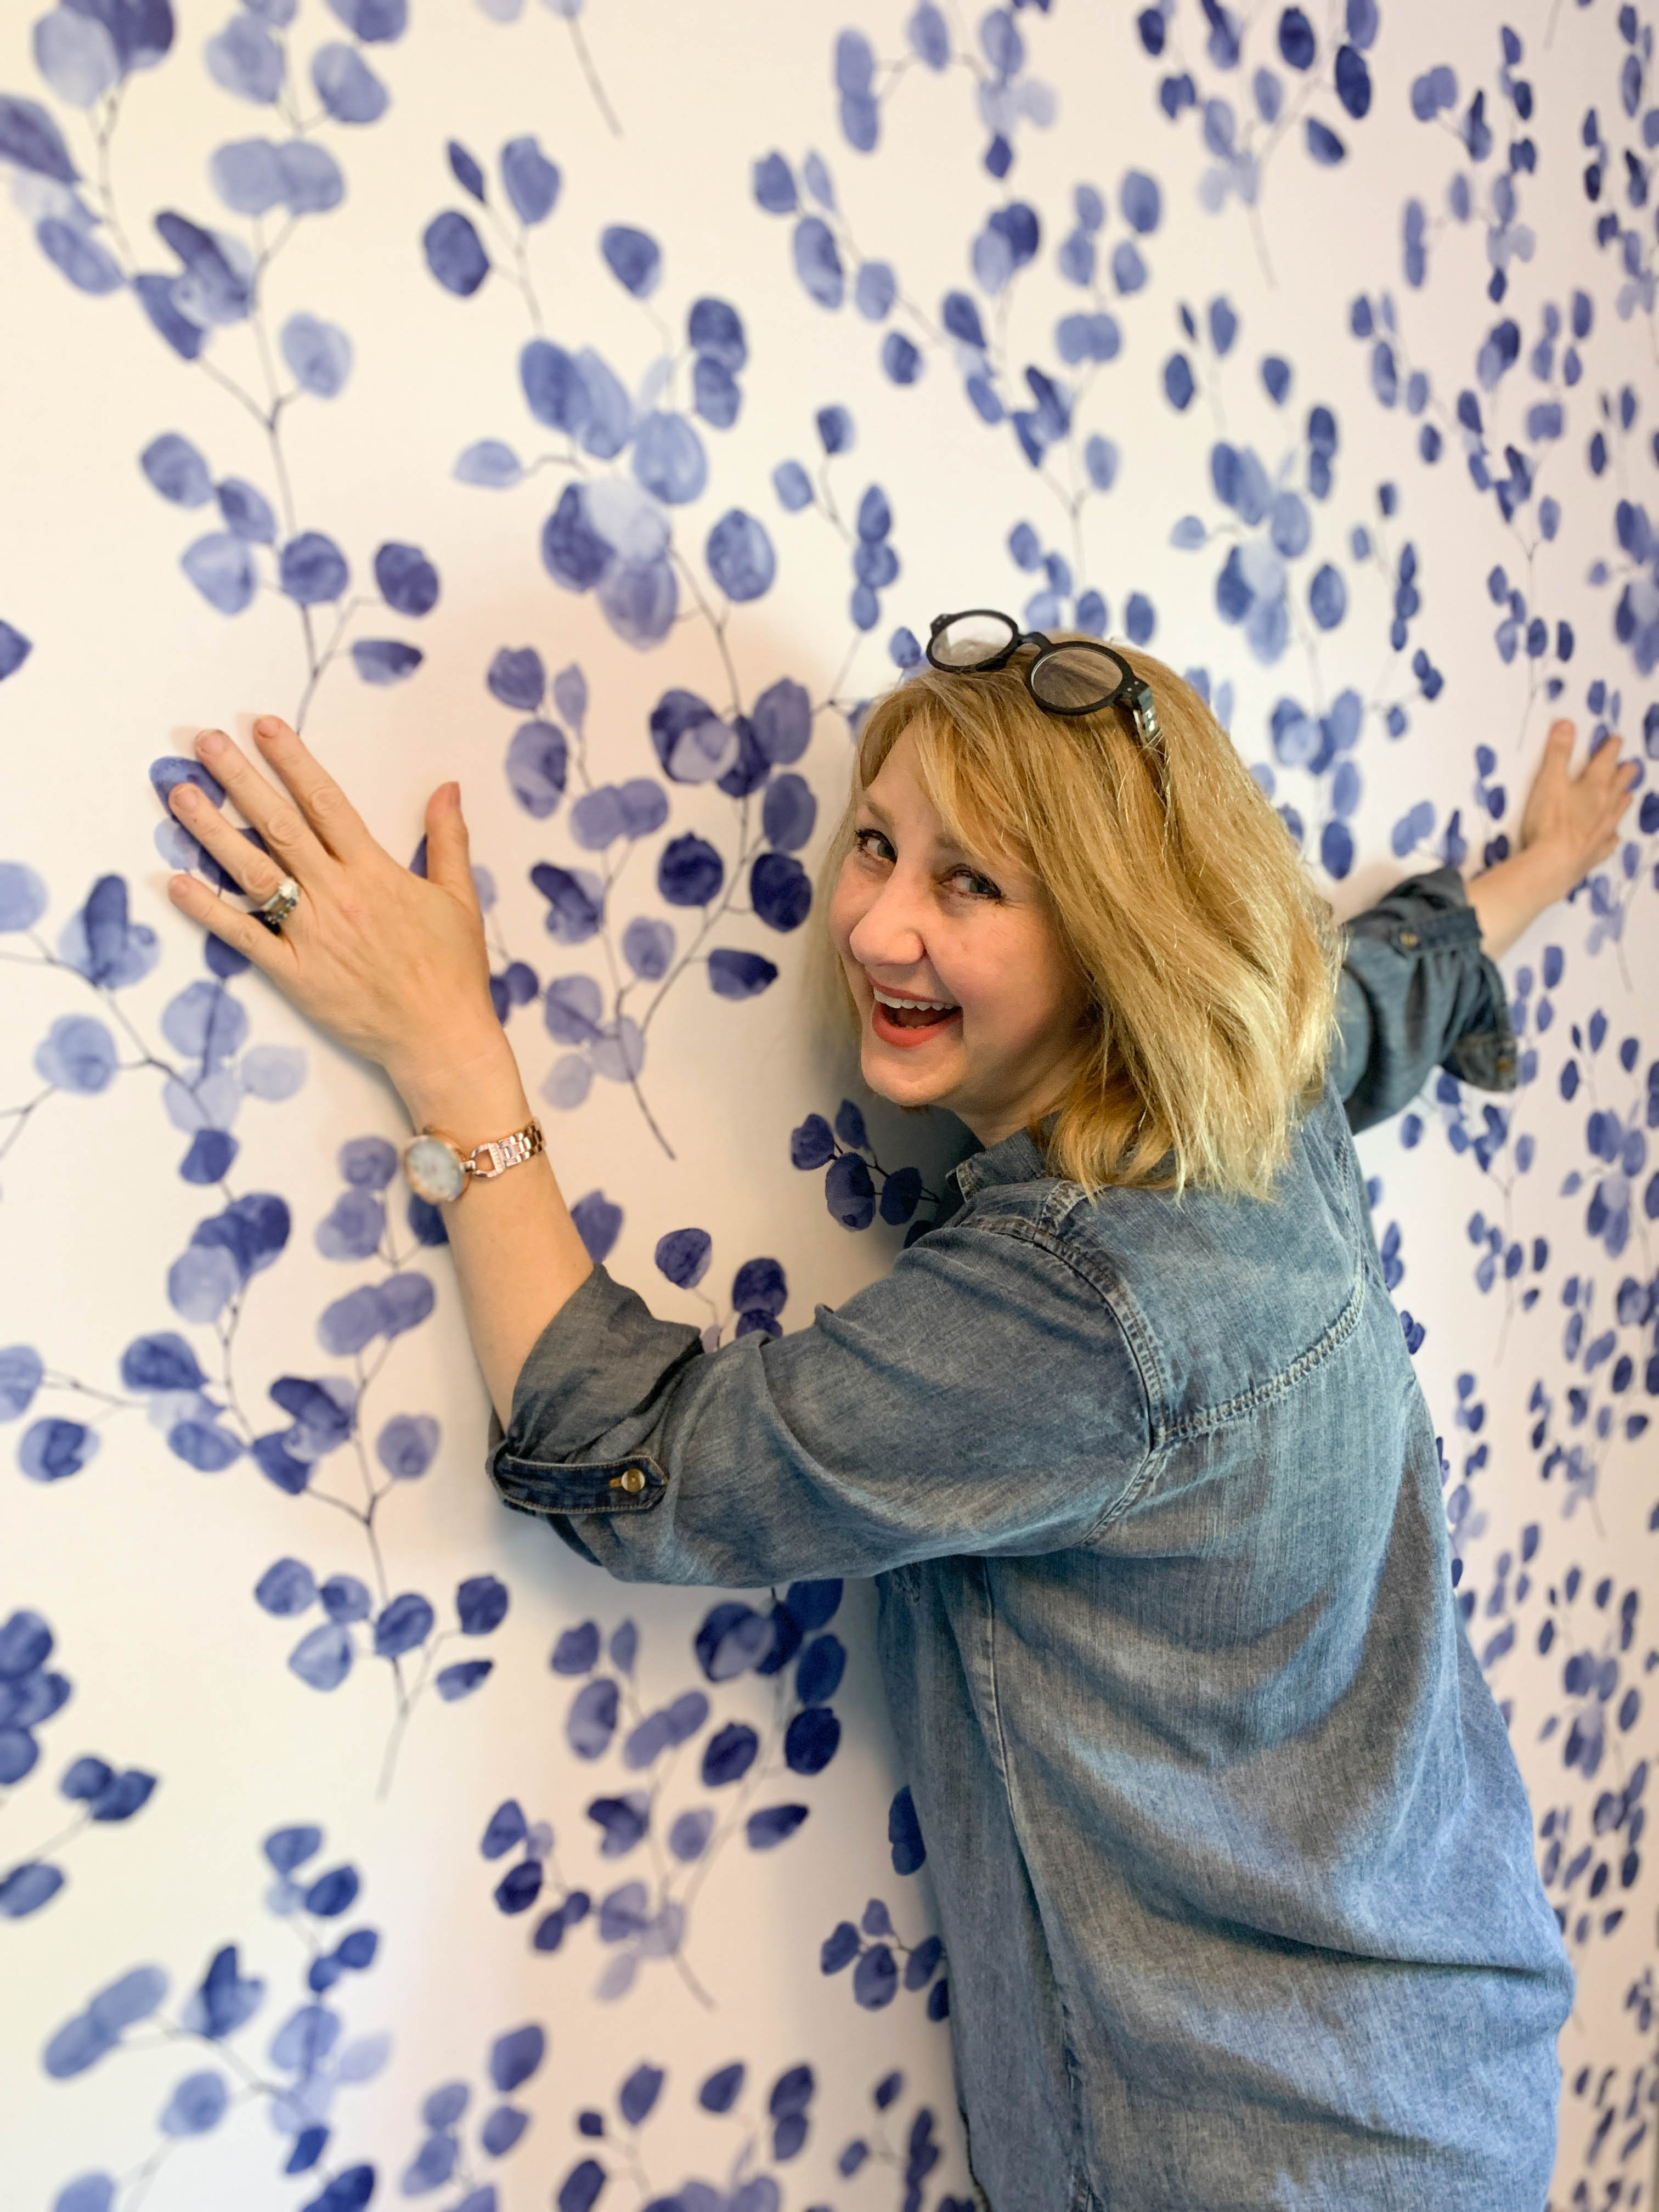
Wallpaper gives me JOY!
And, now that I have discovered the world of peel and stick wallpaper, I am OVERJOYED!
Peel and stick Wallpaper is such a great alternative to traditional wallpaper. No messy paste or brush. It is a temporary fix so it is perfect for rentals and those who don’t like the work of traditional wallpaper.
Any kind of wallpaper is a wonderful way to add a pop of dramatic color to a room.
I’ve even used wallpaper for fun projects like wallpapering drawers and covering books.
More importantly, if you make a mistake with peel and stick…NO BIGGIE! You get a DO-OVER!
Let’s get started!
My Project
Before we even start, I can’t wait to show you the end result!
Oh, but I’m getting ahead of myself.
Peel and stick wallpaper projects do not need to be complicated.
Unless you are wallpapering every inch of a multi-level mansion.
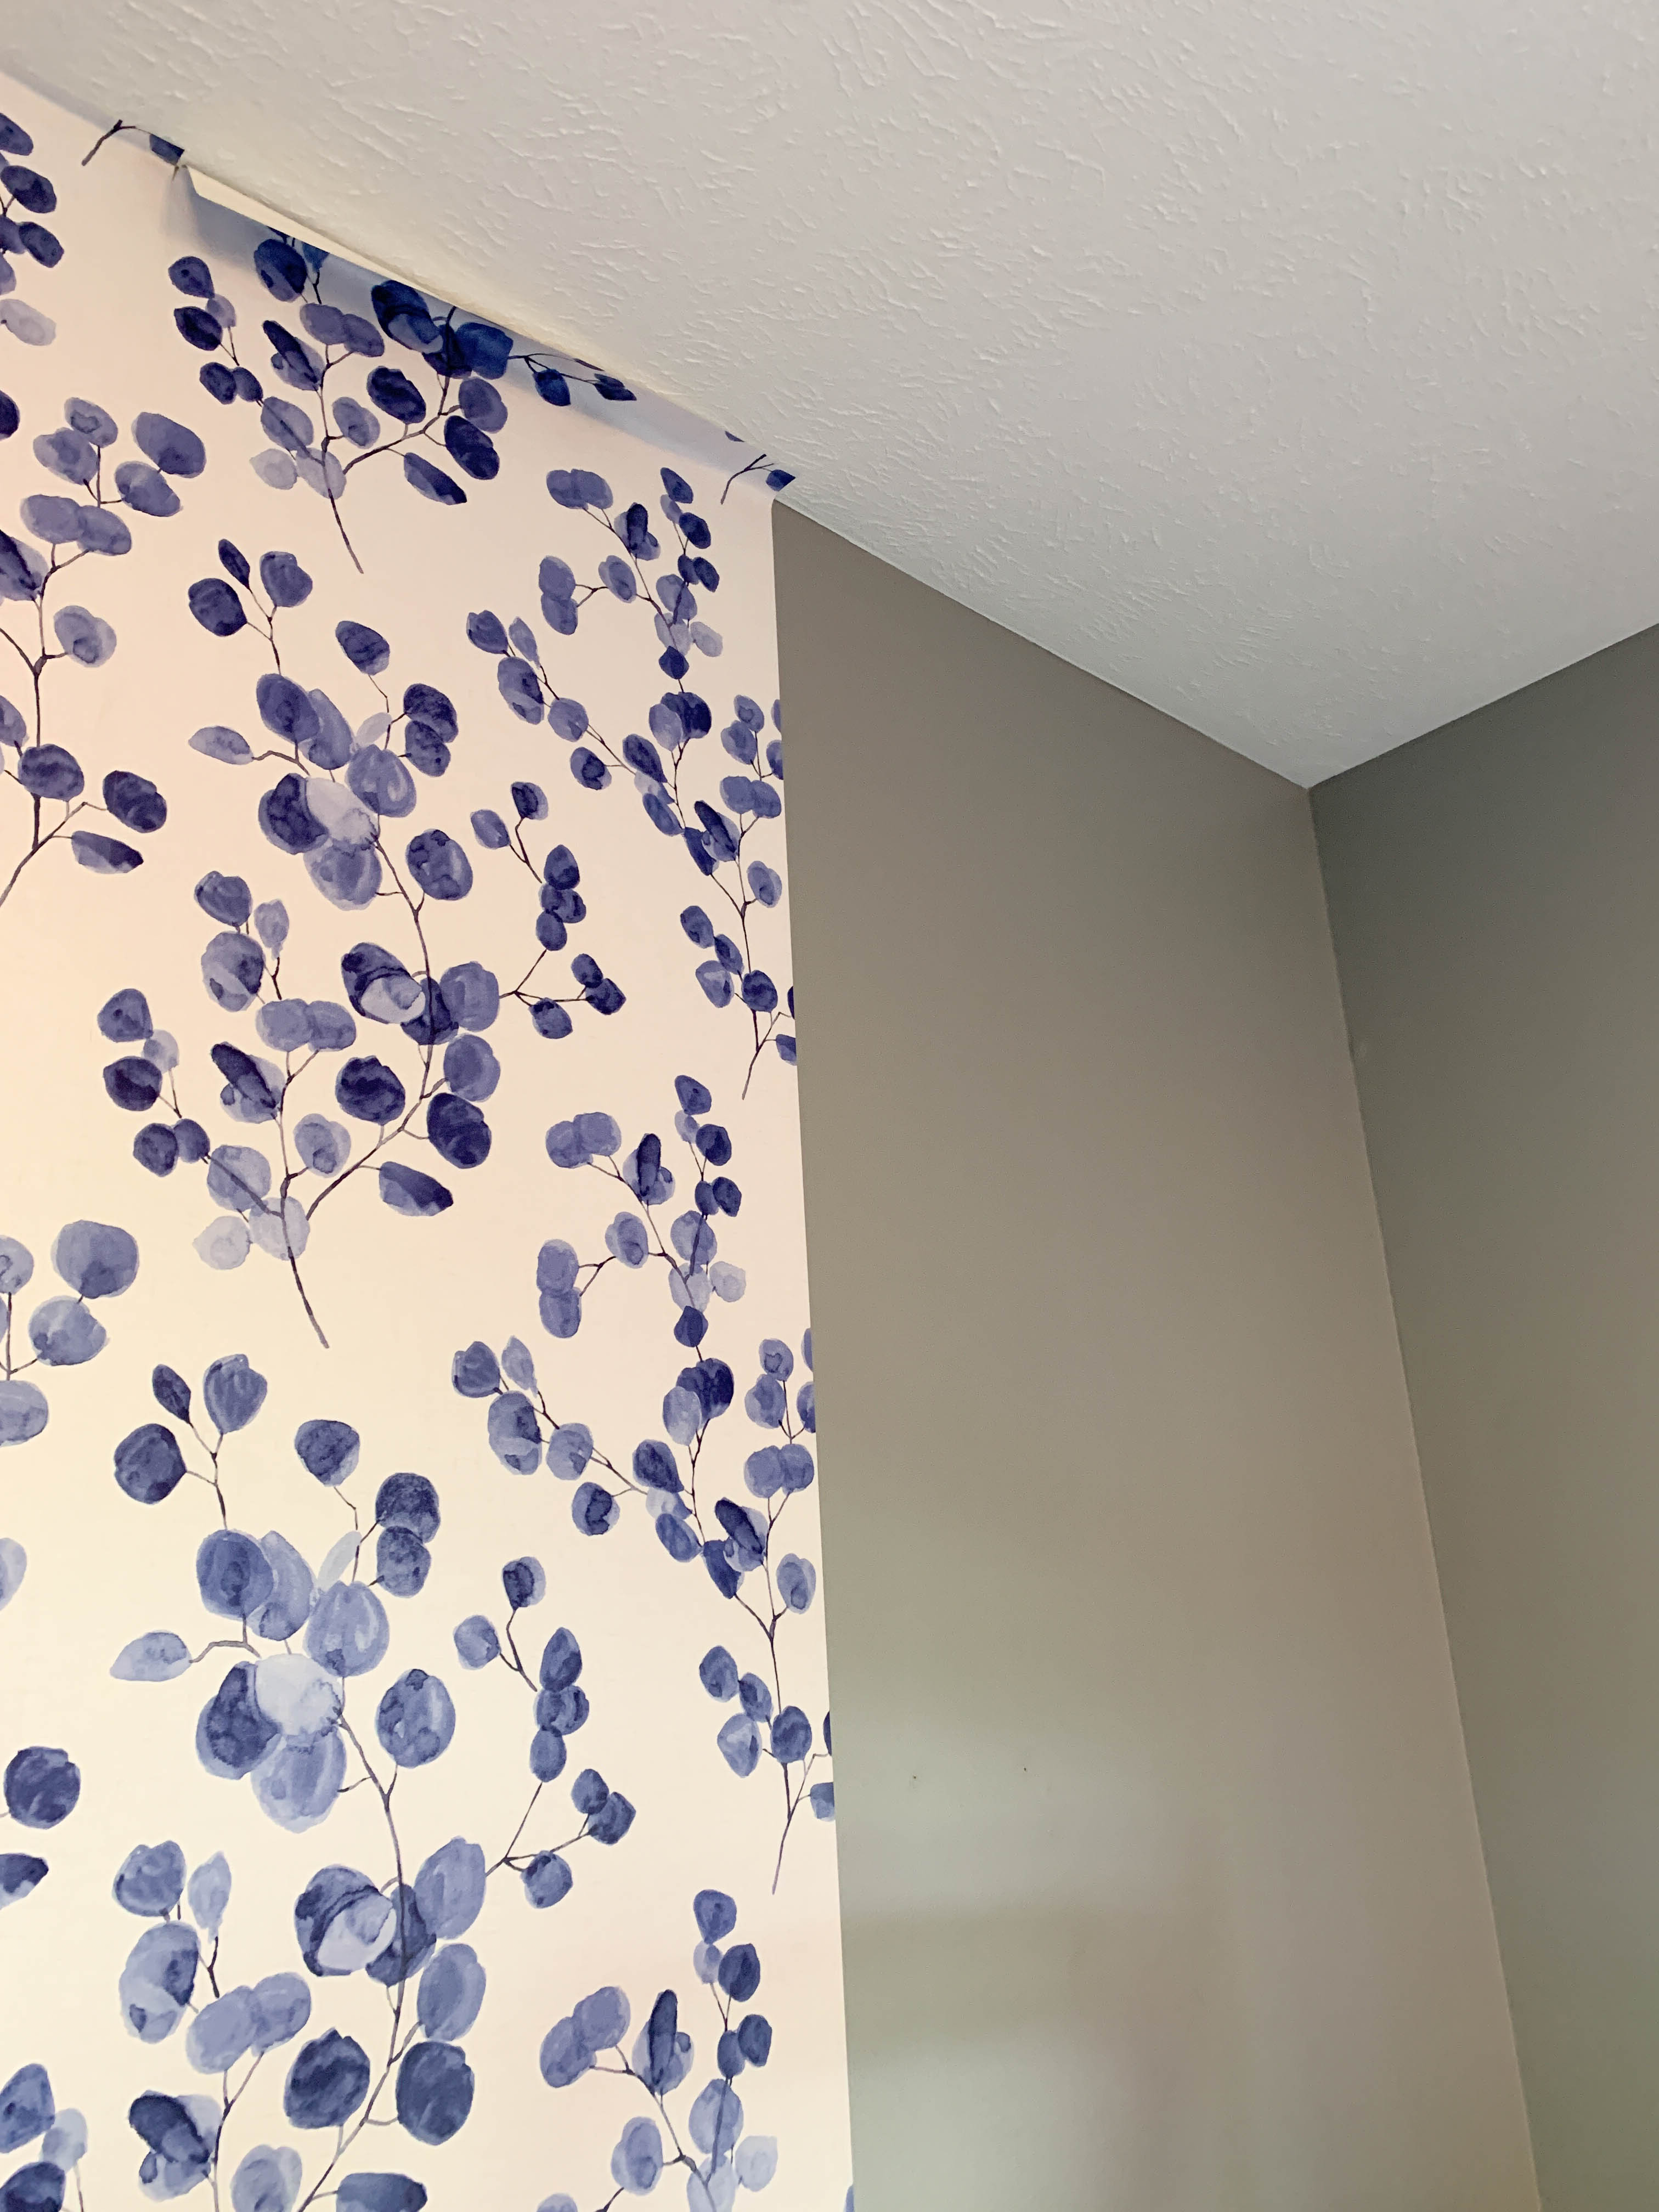
I’m keeping it super simple and papering ONE wall in our mudroom. This room is our busiest entrance to the house, our cat’s haven from our sheep-a-doodle, and also the laundry room. Additionally, this nook is going to be home to a laundry folding table. It is dark, boring, and needs some brightening drama!
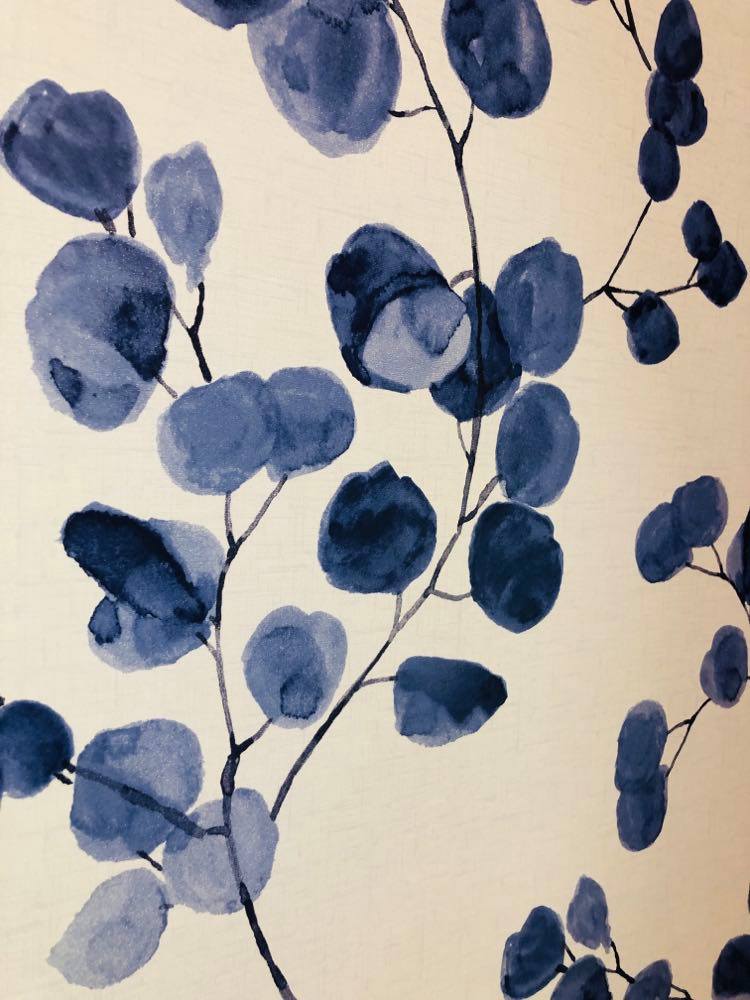
Here is my brightening peel and stick wallpaper of choice! It coordinates beautifully with grey/blue walls that will surround it. If I have to be folding laundry, I want to look at this while I fold!
First, there are some supplies needed.
Supply List
- Water or mild cleaner
- Clean cloth
- Straightedge
- Measuring Tape
- Pencil
- Utility Knife
- Smoothing tool (although I used my hand most of the time.)
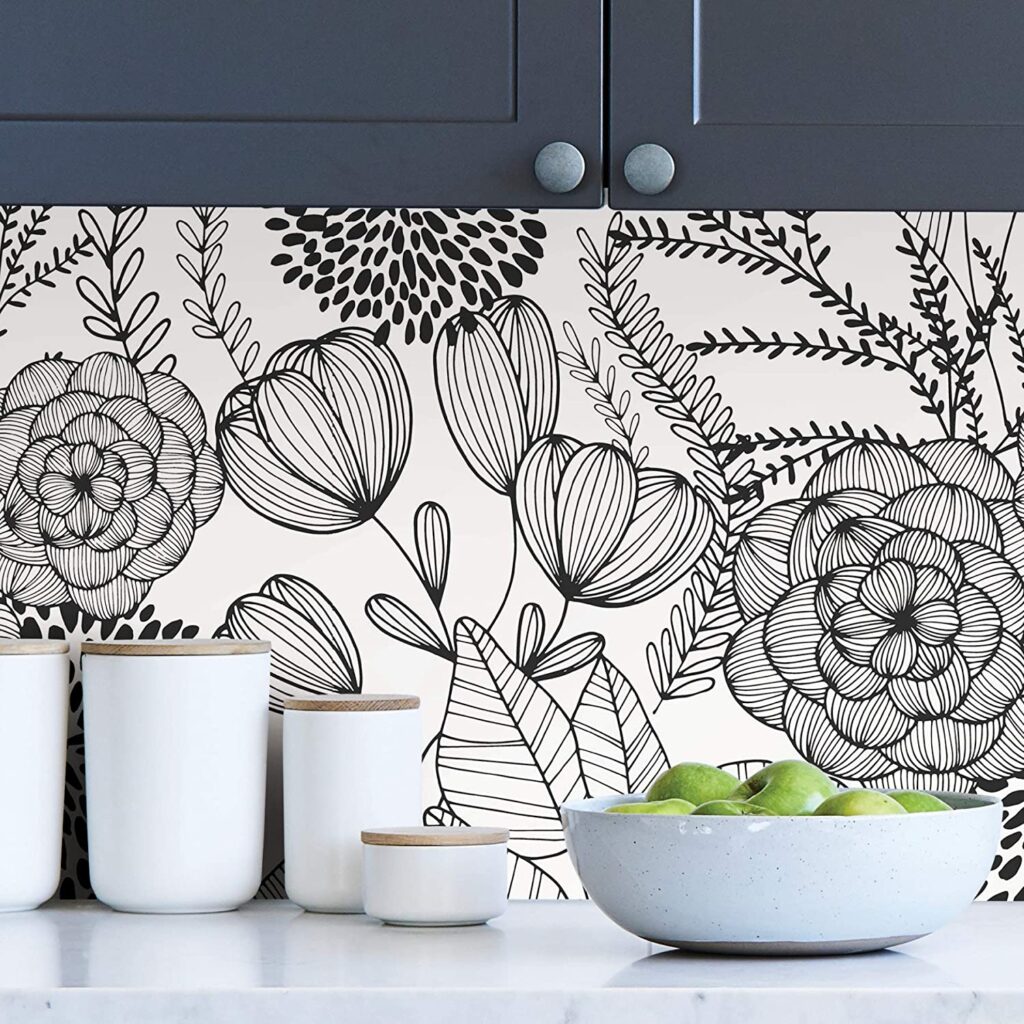
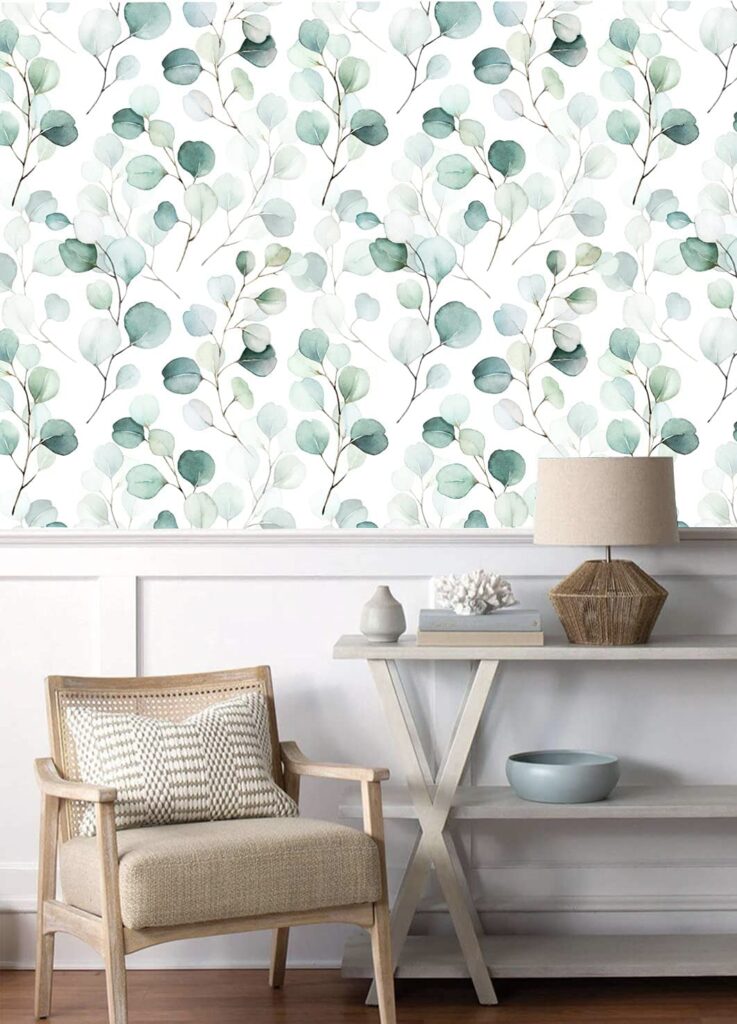
- Peel and Stick Wallpaper…Can’t forget this part! Here are some peel and stick papers that I LOVE!
Here is a Tip
When choosing your wallpaper pattern, consider this. If you want a more formal look, go for a large, dramatic pattern. If you want fun, cheerful look, select a smaller pattern. Don’t be afraid of color! Just coordinate it with the color scheme of your room.
In the case of our mudroom, the goal is to lighten and brighten so I chose a paper with a white background that has a faint blue crosshatch pattern. The meandering leaves remind me of the outdoors and, with all luck, will distract me from the laundry chore at hand.
Now to the nitty gritty…
How to Hang Peel and Stick Wallpaper
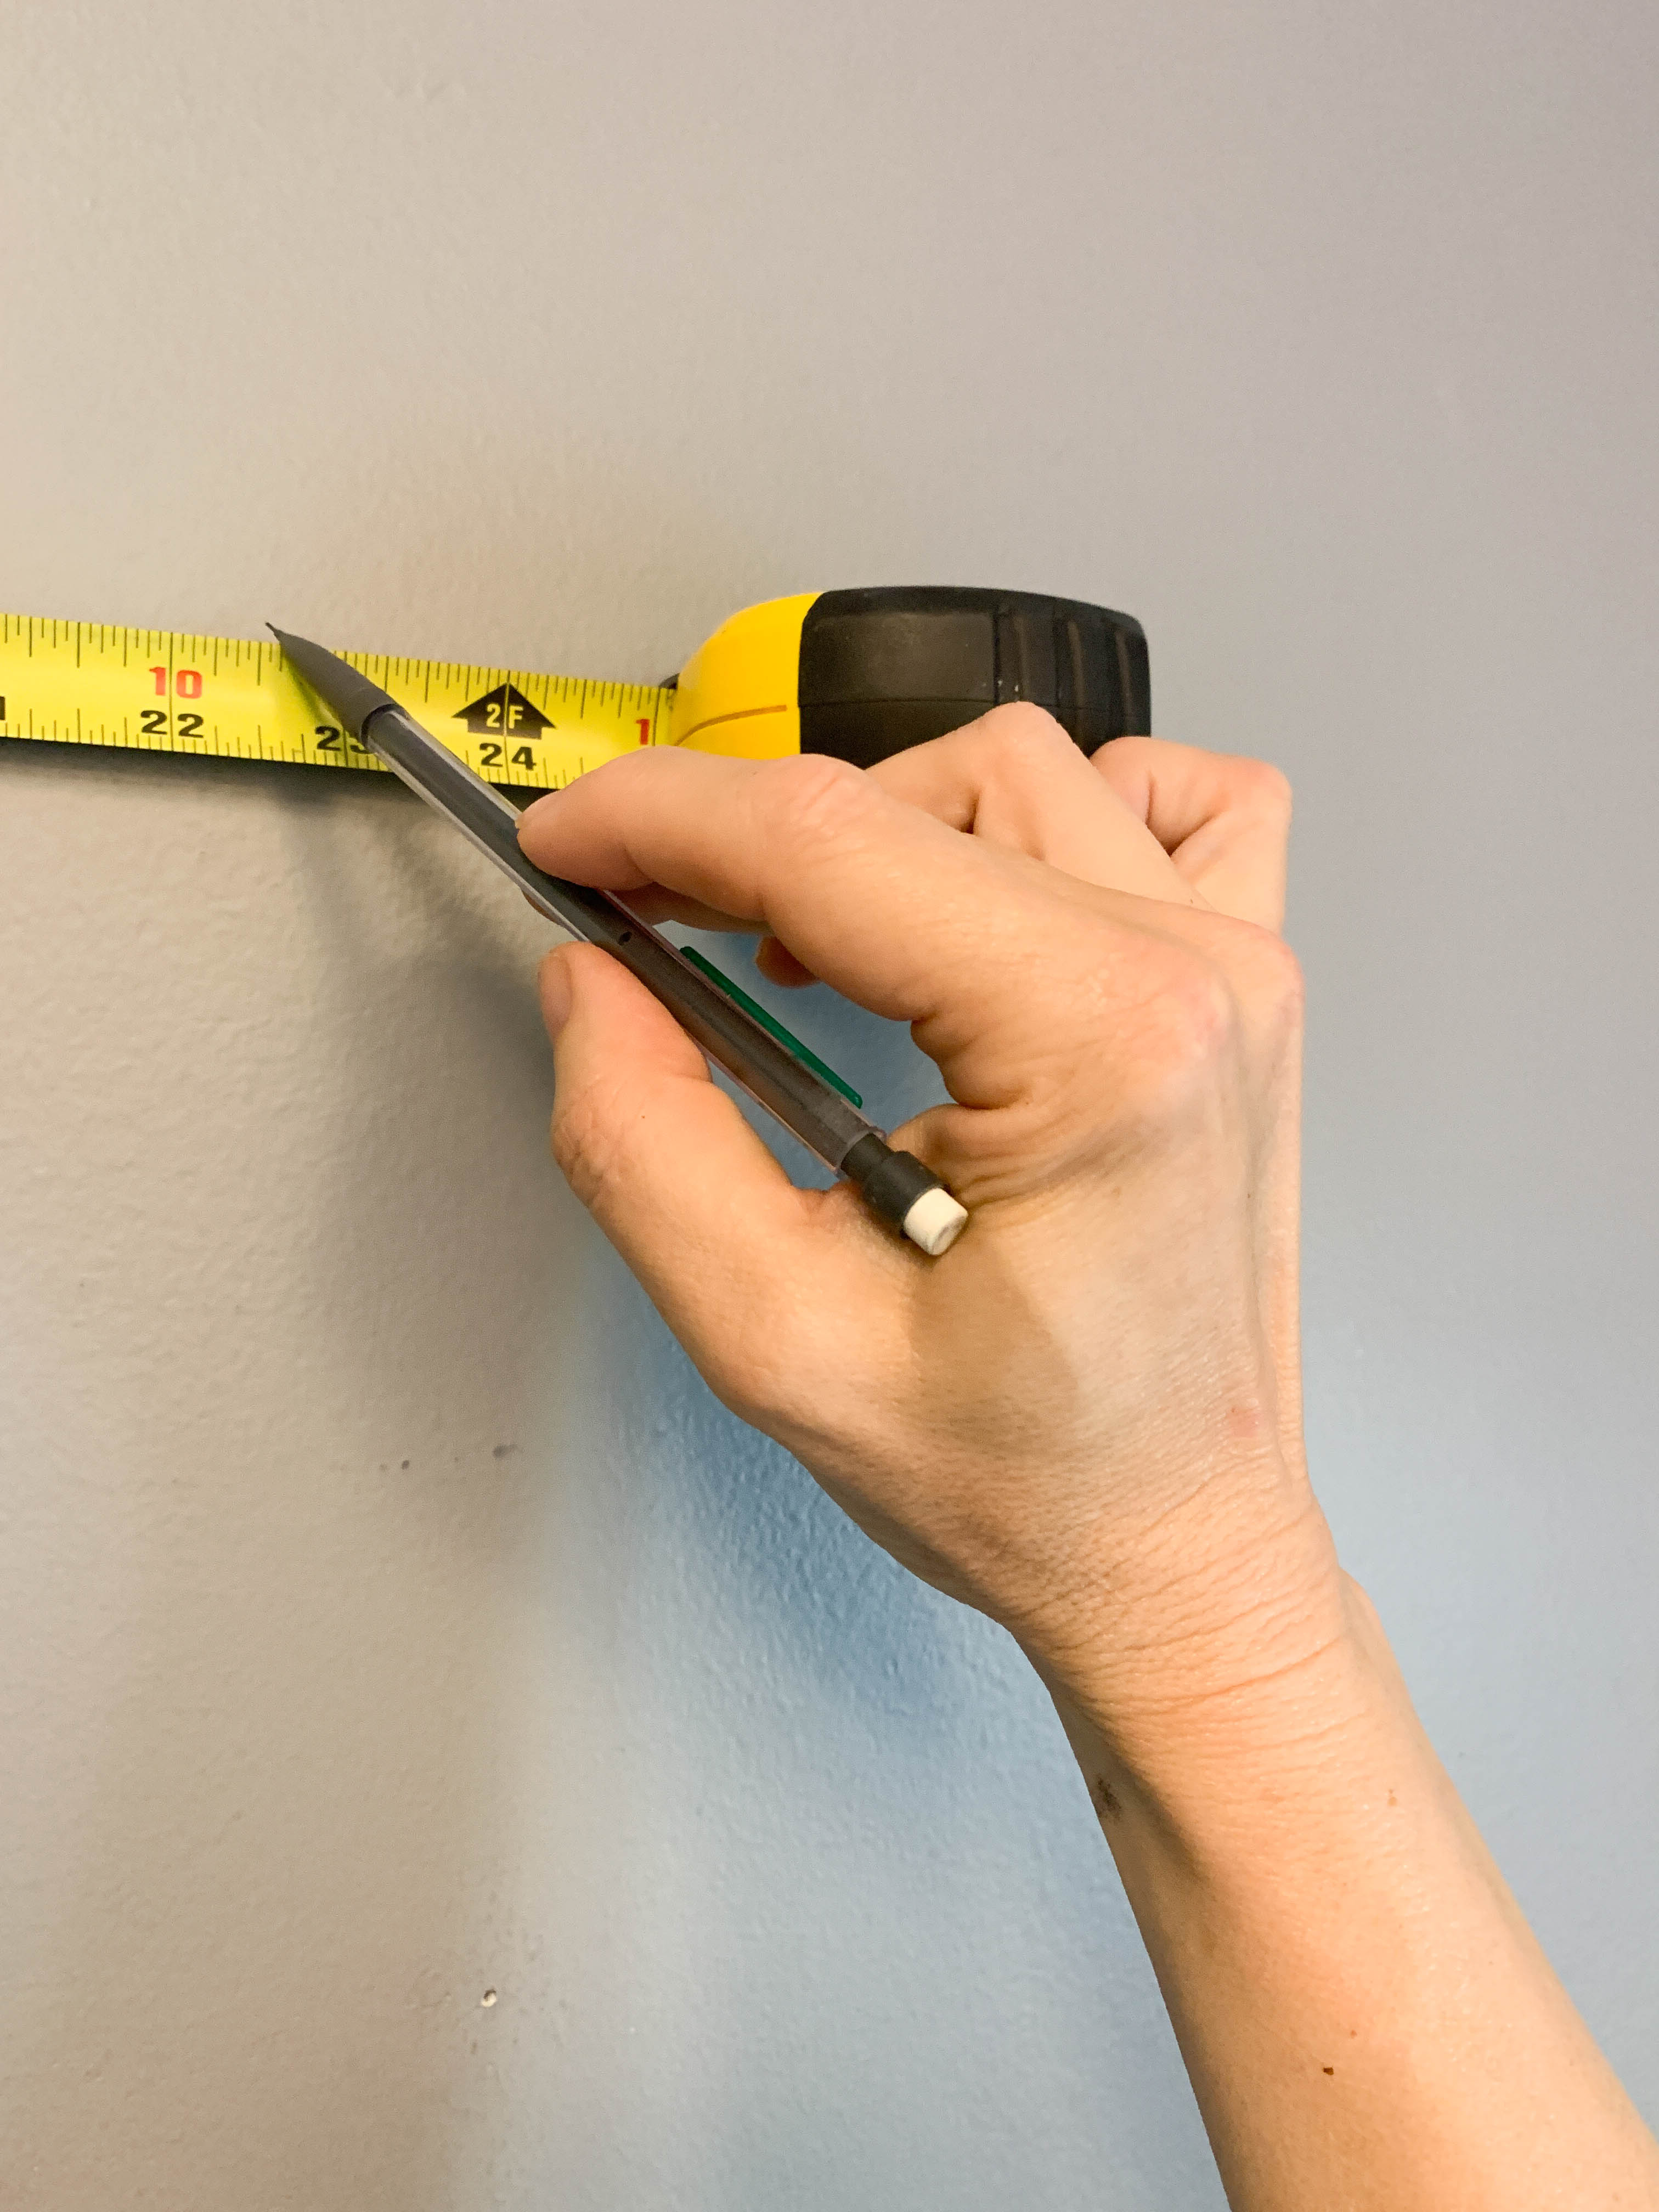
- Measure your walls carefully to make sure you have enough paper. In your calculations, allow for the pattern’s repeat. The larger the repeat, the more paper you will. (The paper I am using has a 23″ repeat.) Buy slightly more paper than you think you will need to allow for corners, doors, and windows.
2. Next, you will need to prep your walls. Turn off the power and remove any wall switch plates. Wipe down your walls with a damp cloth or mild cleaner and let dry. Furthermore, peel and stick works best with smooth surfaces with an eggshell, satin, or semi-gloss finish.
3. Your first piece is an important guide for the rest of the project. Measure the width of your paper and transfer that measurement to your starting point. (A corner is usually the best place to start.) Using a level and a straightedge, draw a line from ceiling to floor (or the space you are covering.) Remember, this is a guide. If your walls are not level, you will need to make some adjustments as you go along.

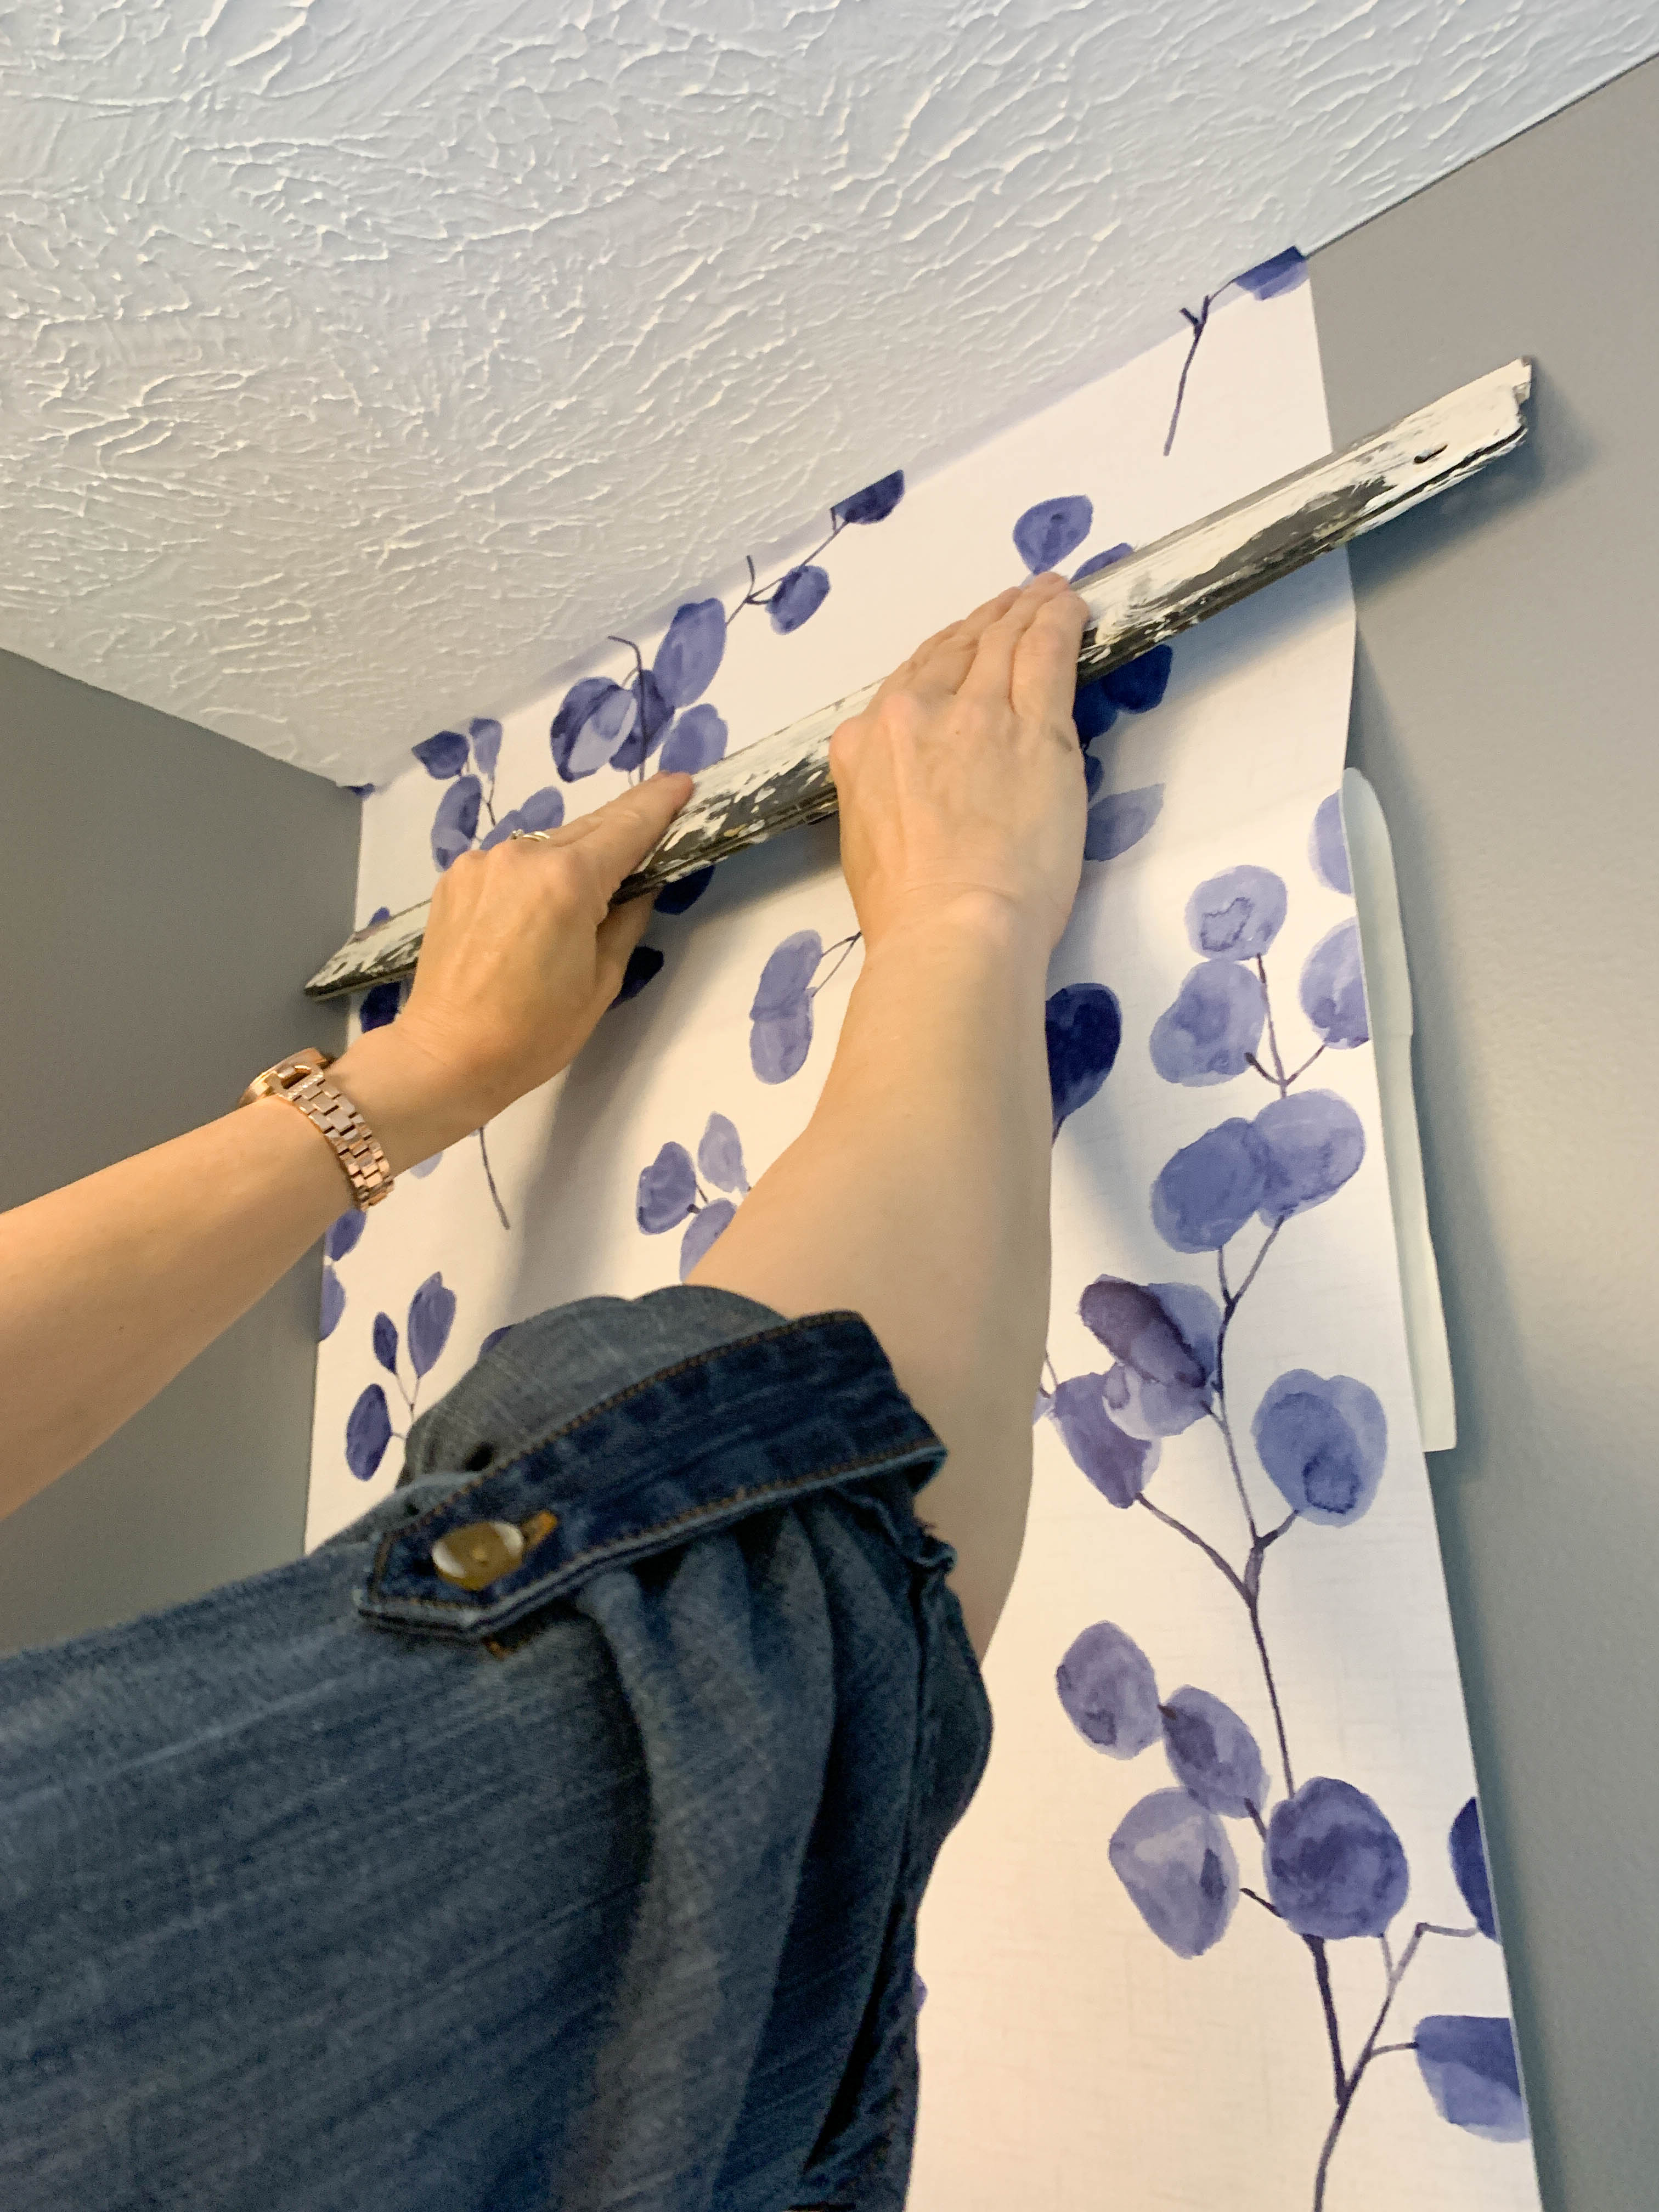
4. To apply the paper, peel down about 12 inches and, starting at the ceiling, line your paper up with your guideline. Moving from top to bottom, smooth the paper on to the wall.

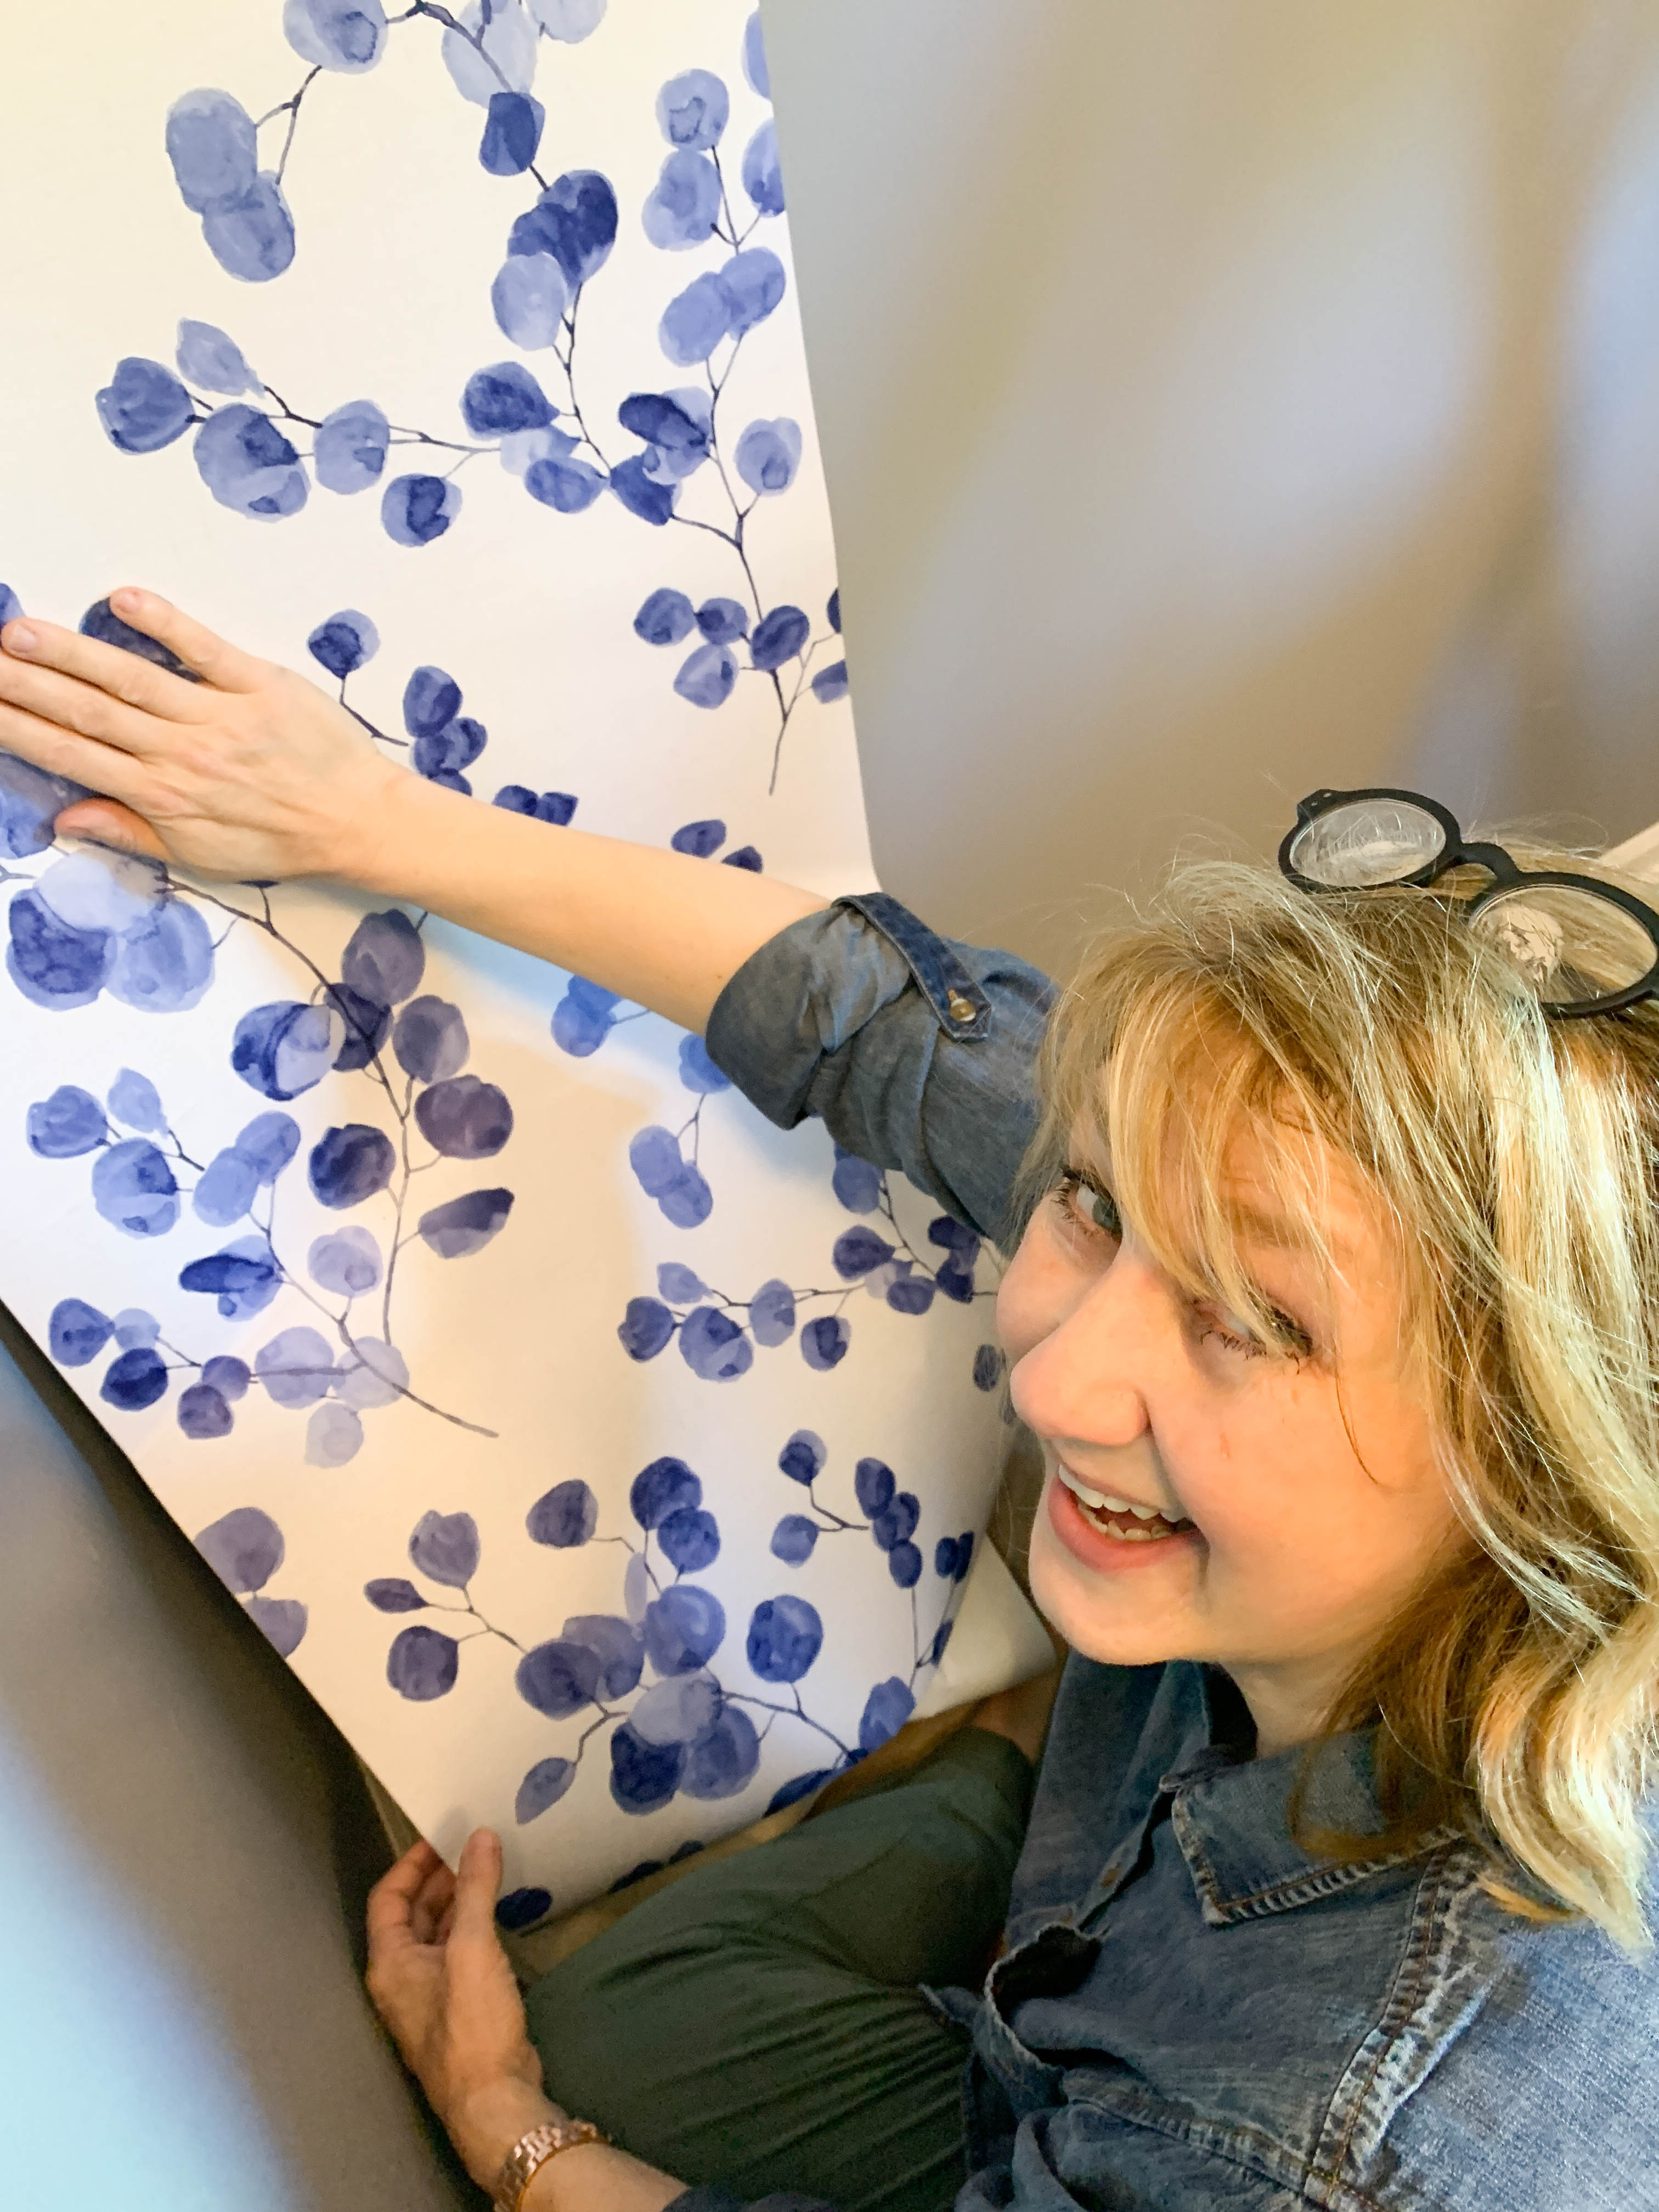
5. Equally important, I find that starting from the side and pressing down and out gives me the smoothest finish and the least amount of bubbles to wrestle. If you get a bubble, simply lift up the paper and try again! A straightedge can be very helpful to smooth out bubbles. However, I always go back with my hand to double-check.
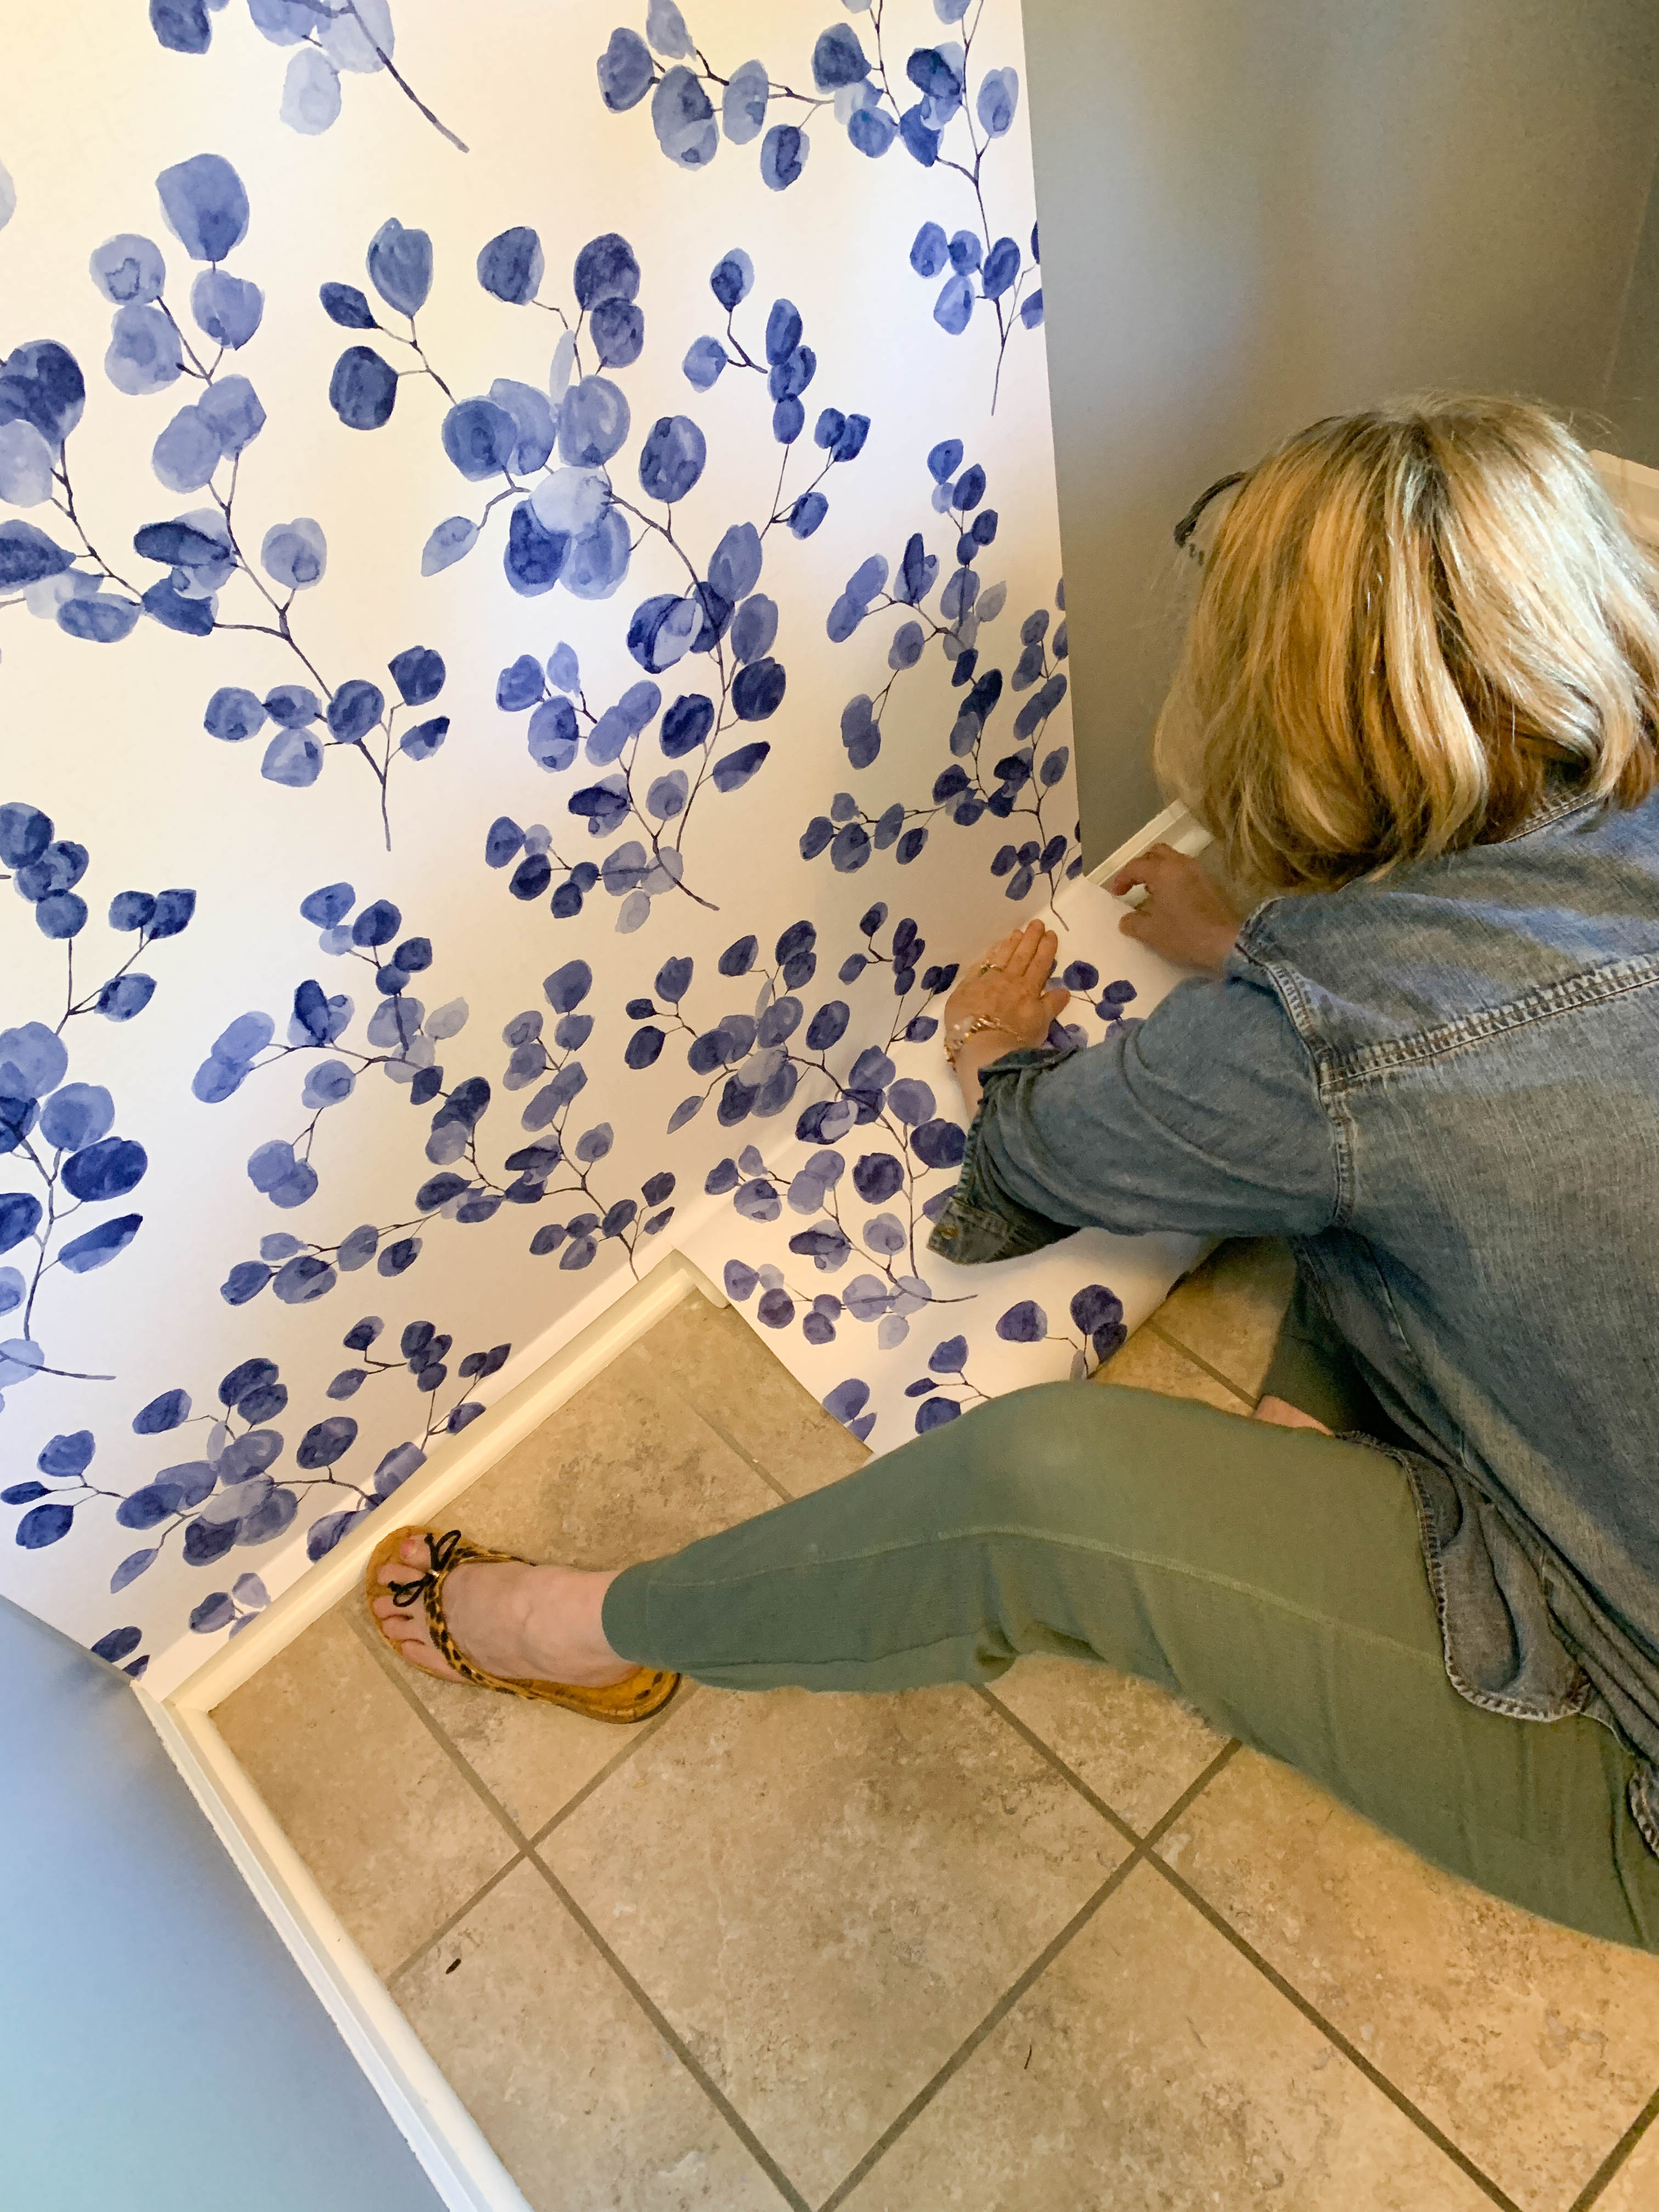
6. Next, use a utility knife or blade to trim and remove the excess paper at the ceiling and baseboard.
7. As you add subsequent pieces, be sure to line up the paper to match the repeated pattern for a seamless look. Just keep matching the pattern and repeat!
8. If you are working around an outlet, door, or window, let the paper overhang the edges and then trim once the entire piece is smoothed down. Trim the excess. Don’t worry about trimming perfectly around an outlet…your outlet cover will literally cover any edges.
Always check for air bubbles as you work but also as a final check at the end.
There you go! You now know how to hang peel and stick wallpaper. Pat yourself on the back!
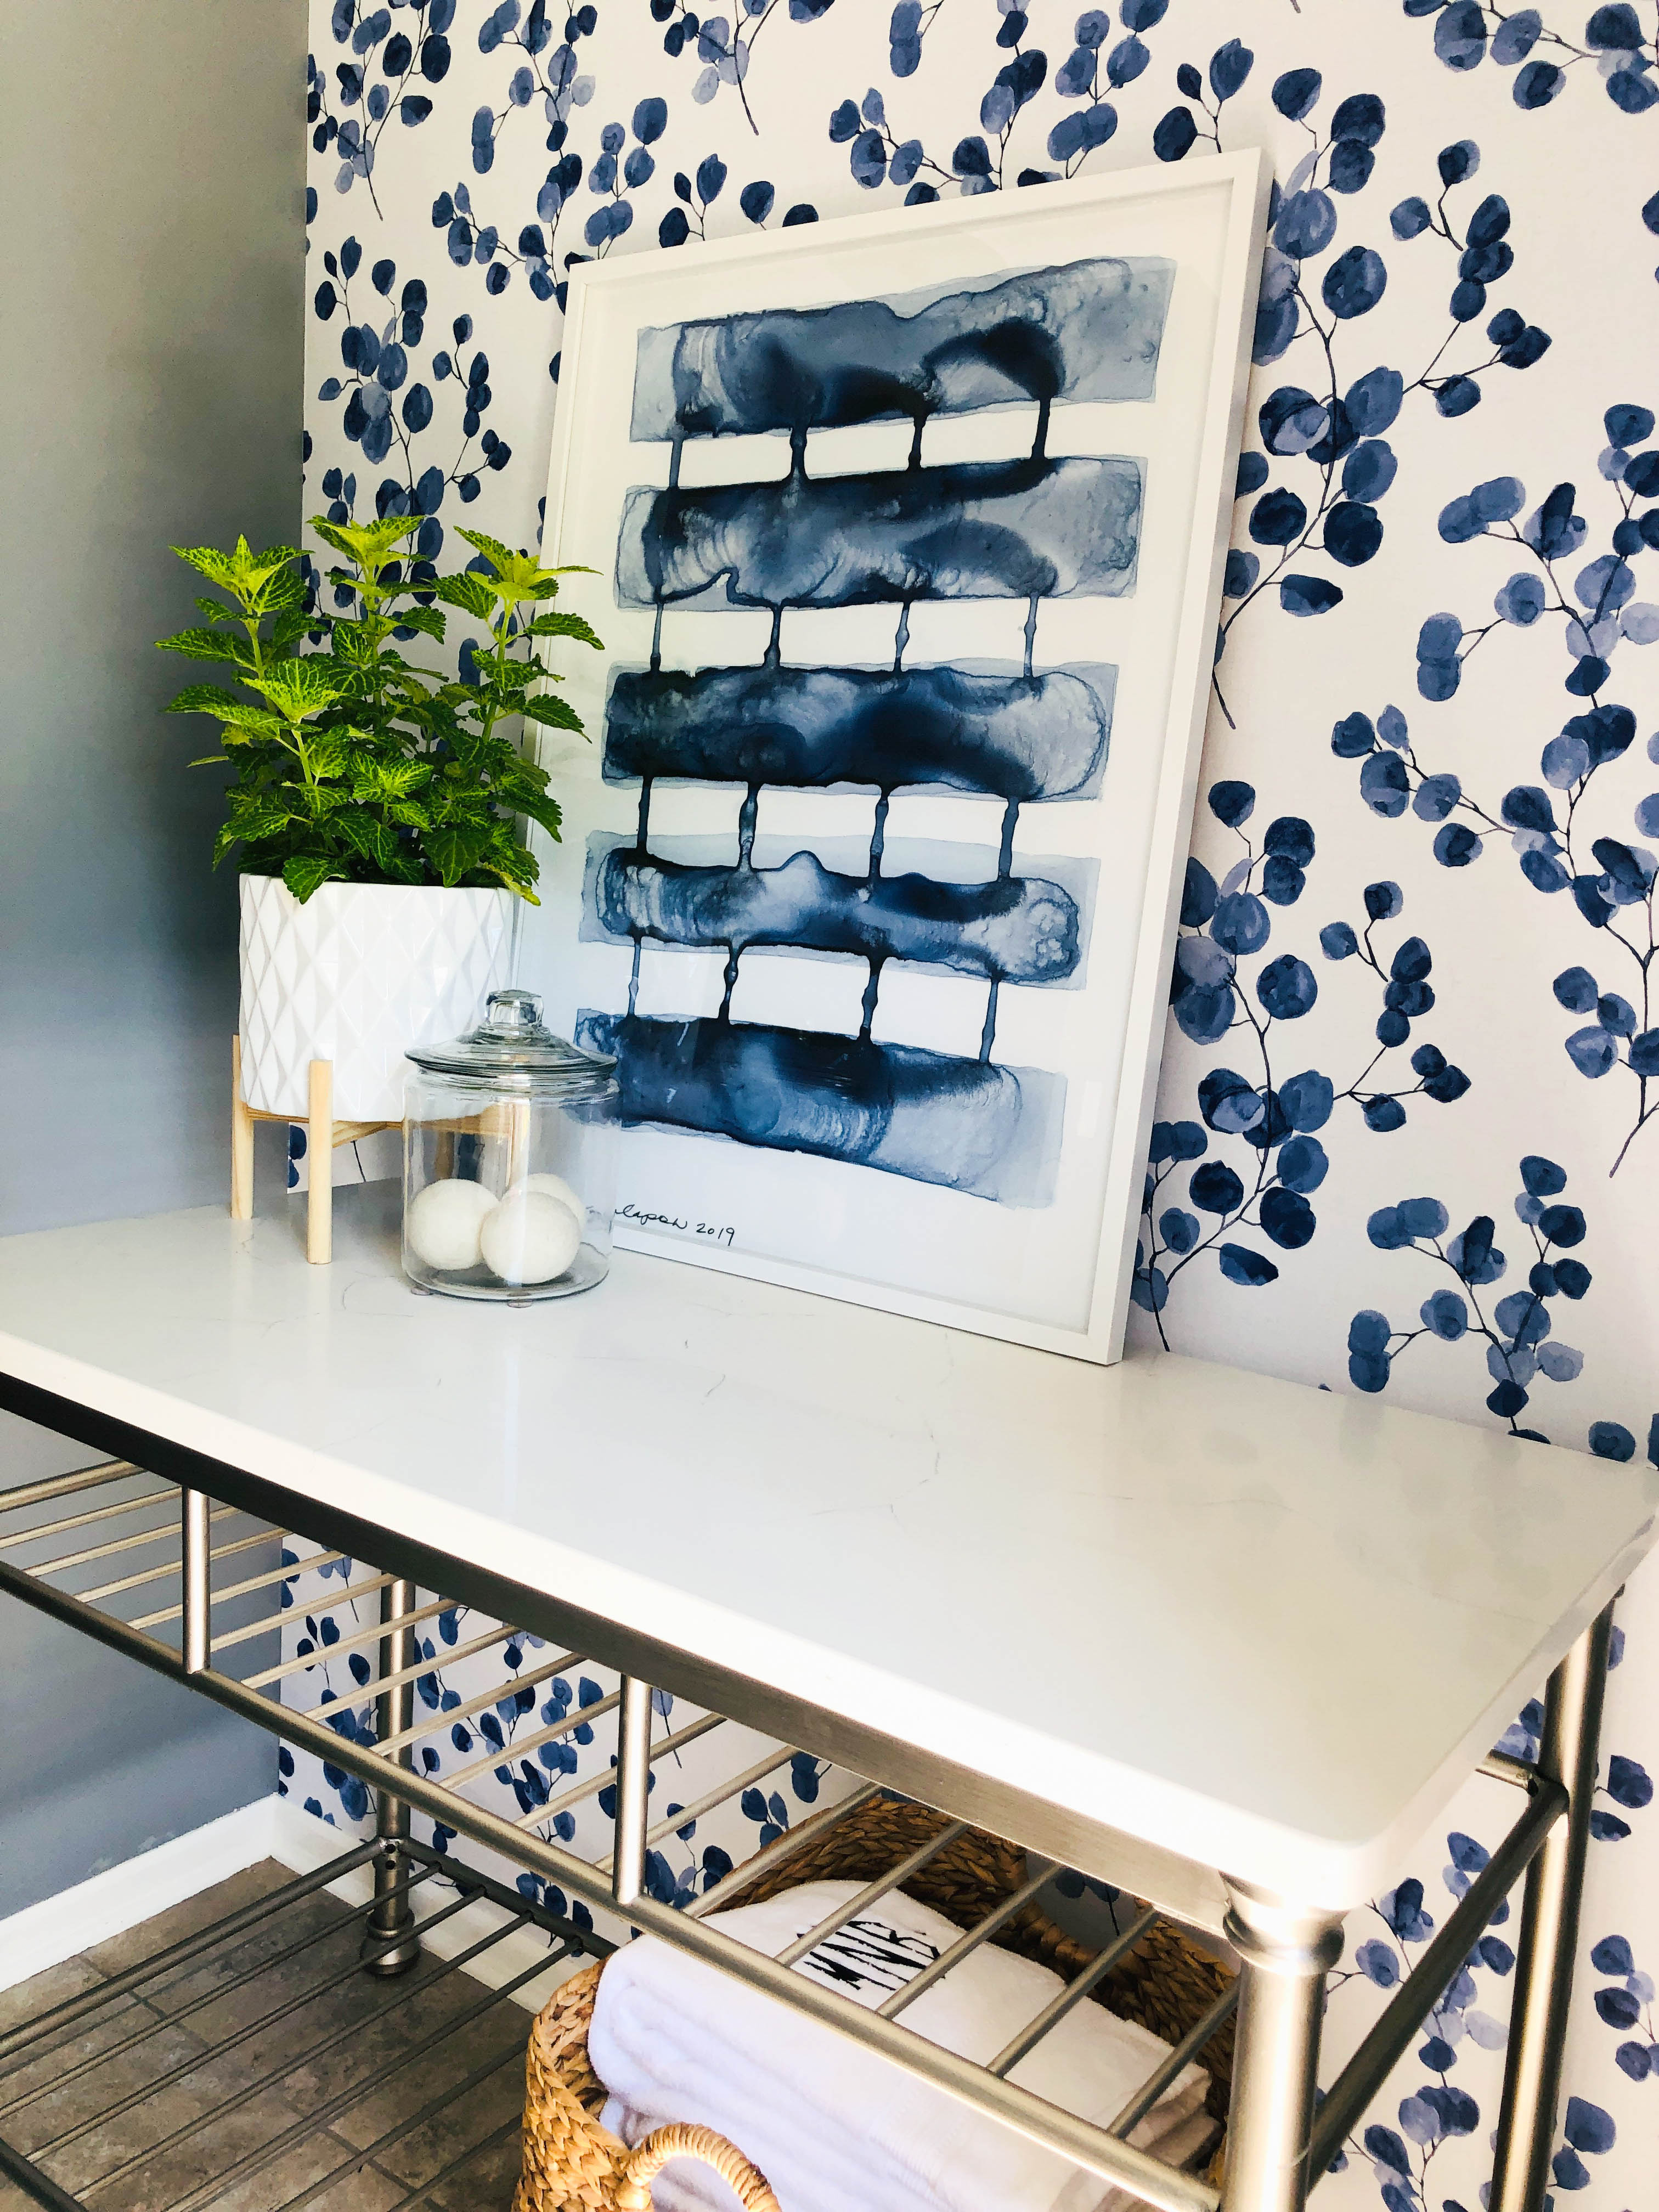
Voila!
I LOVE IT! (How can you tell?)
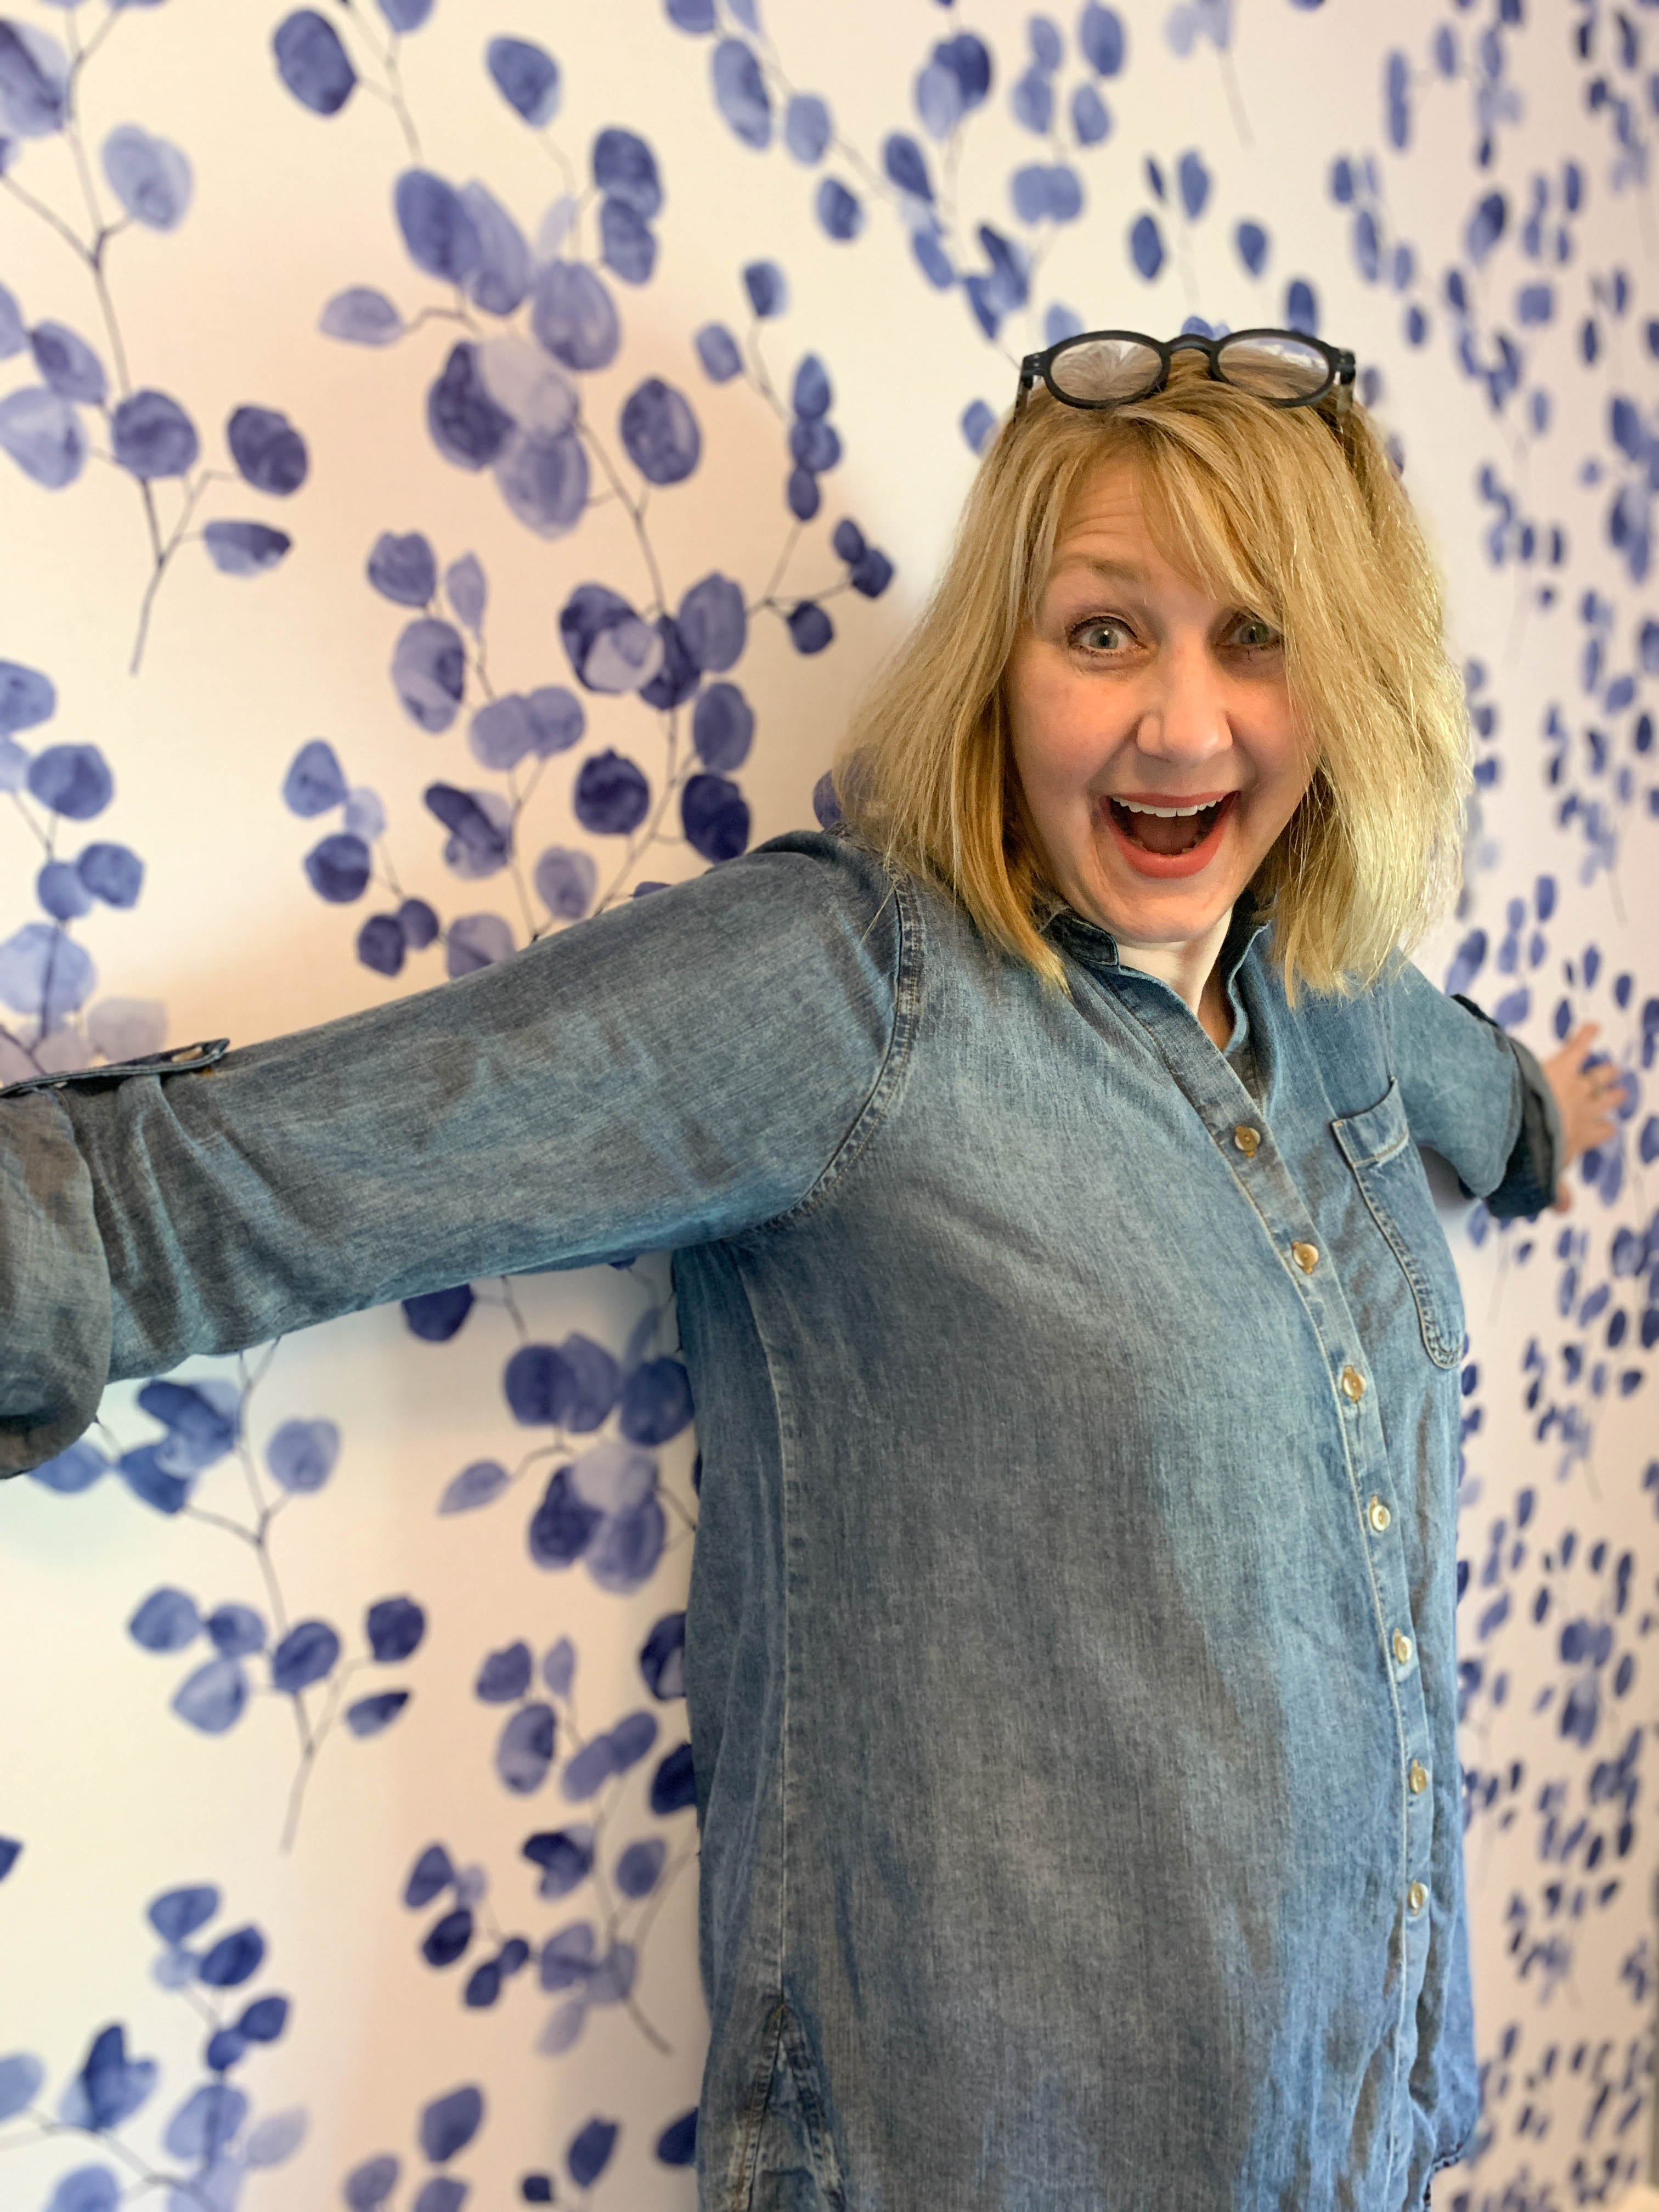
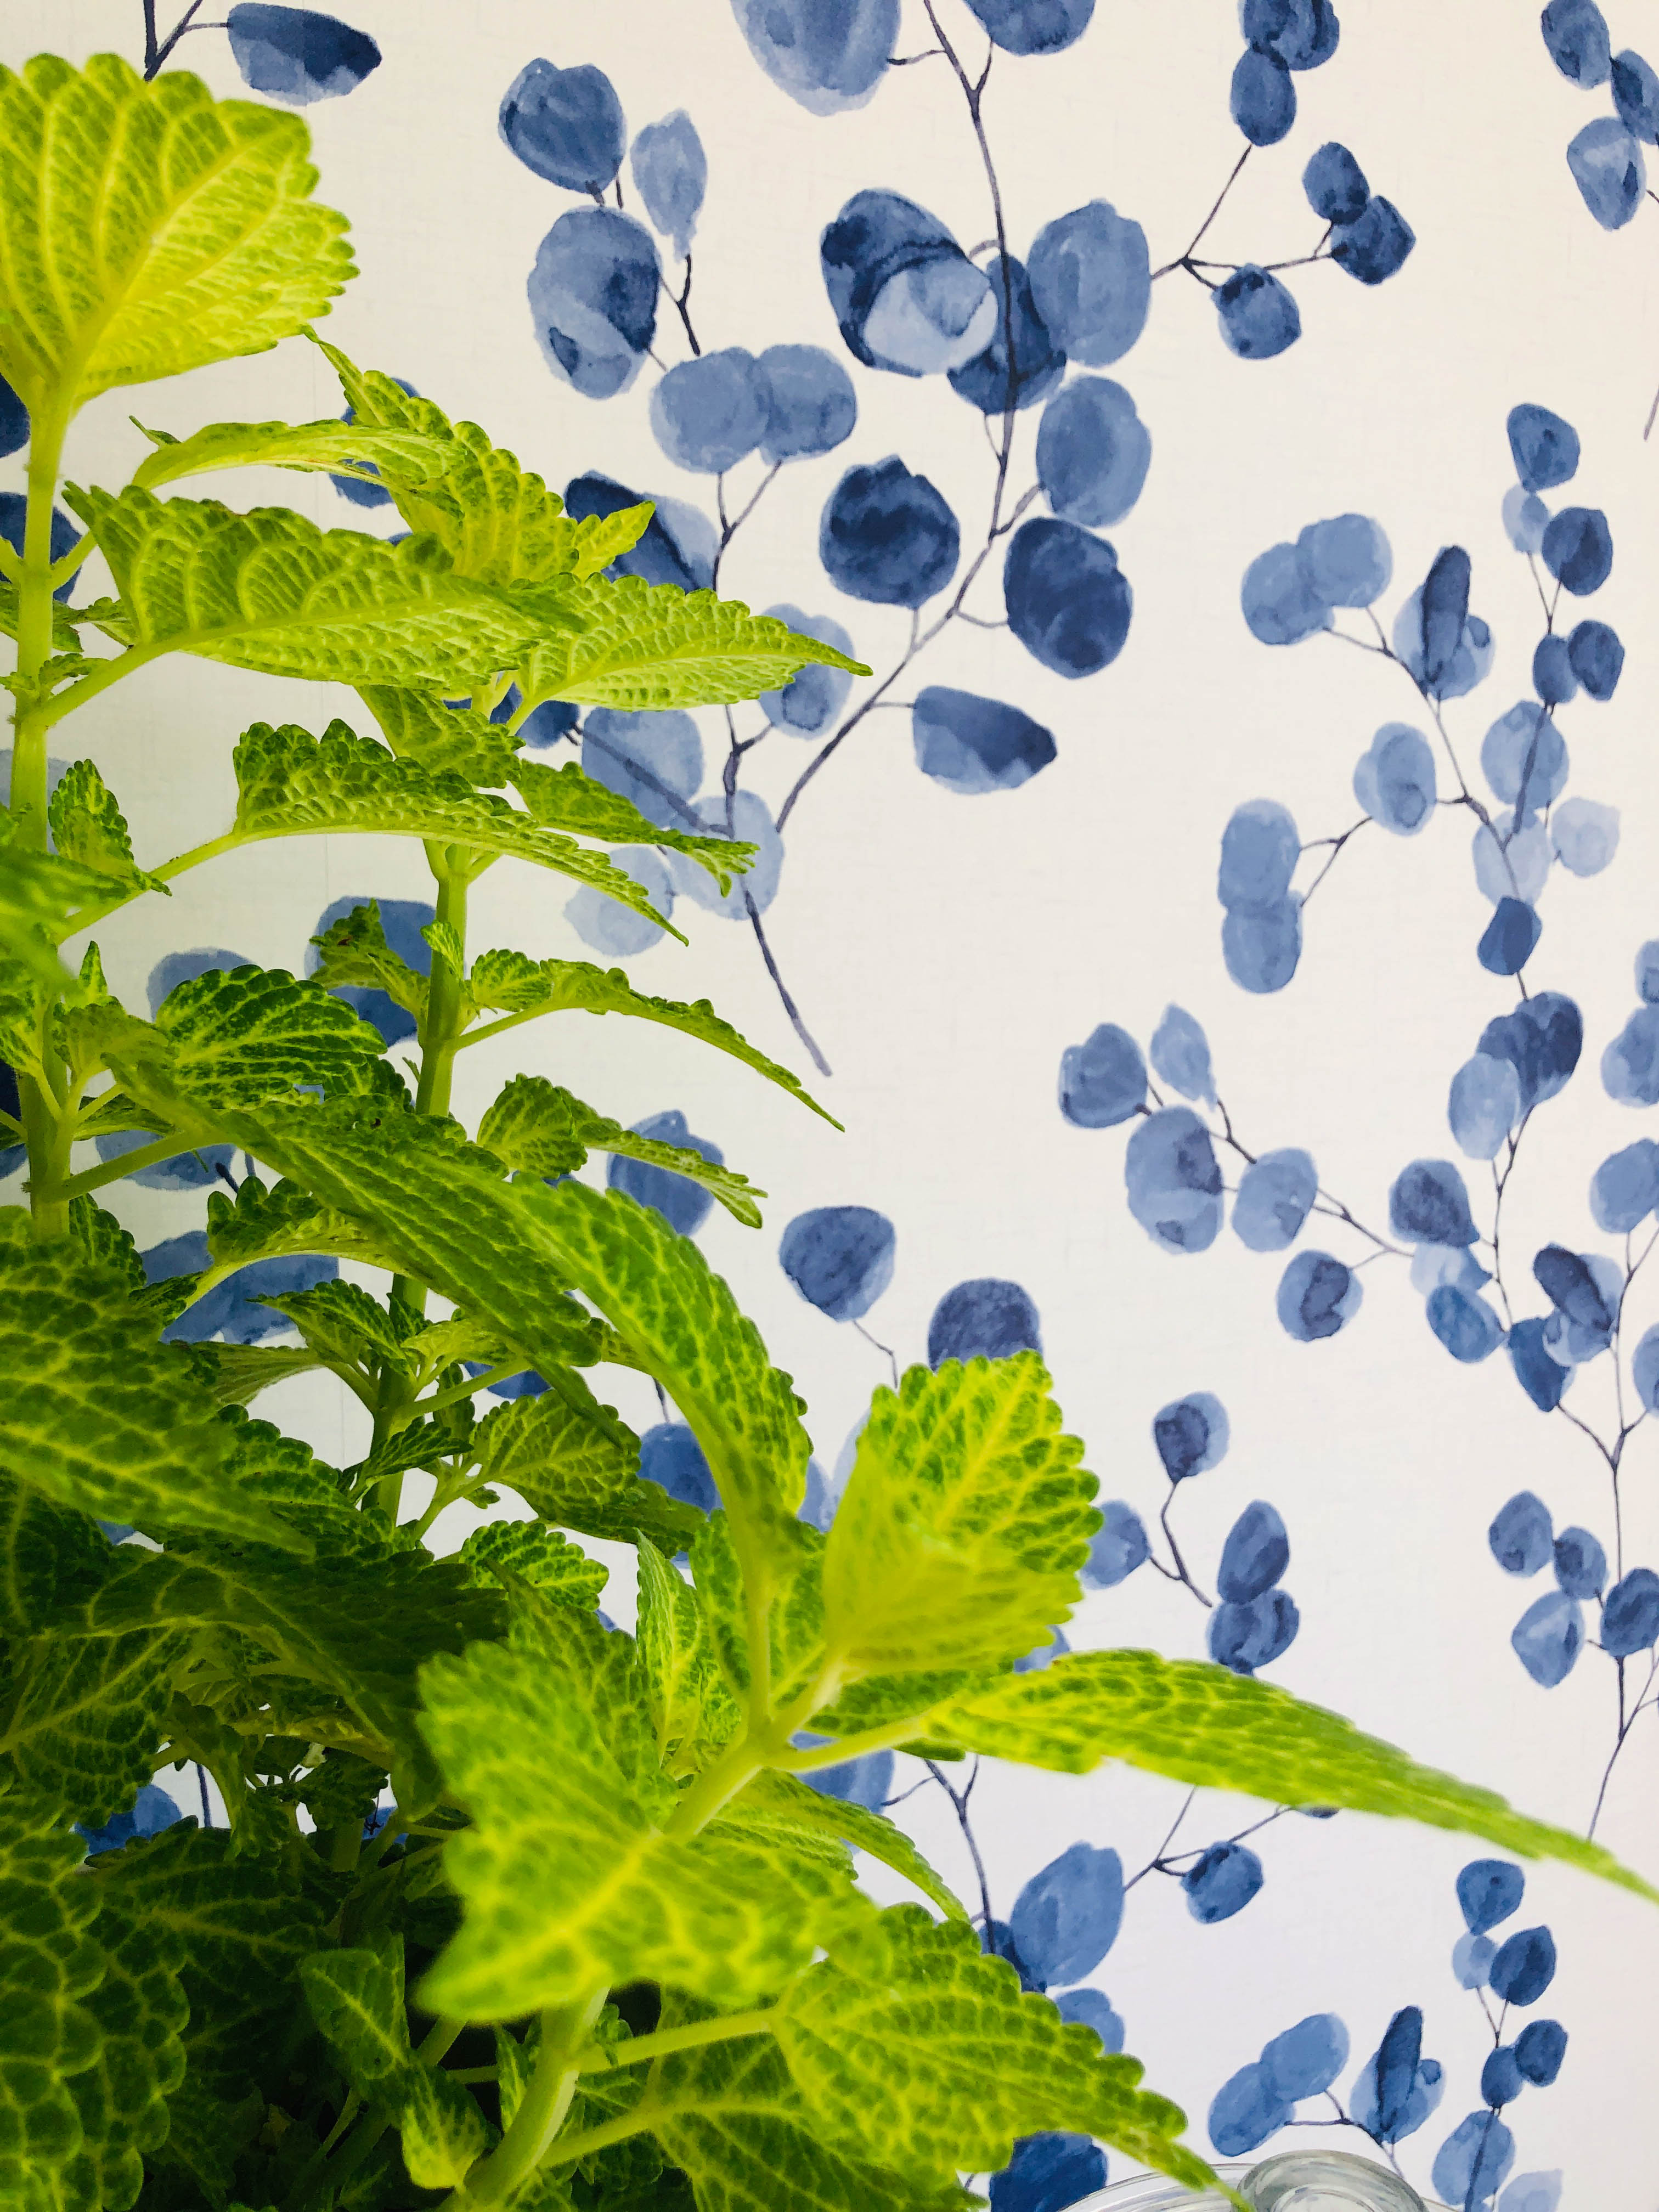
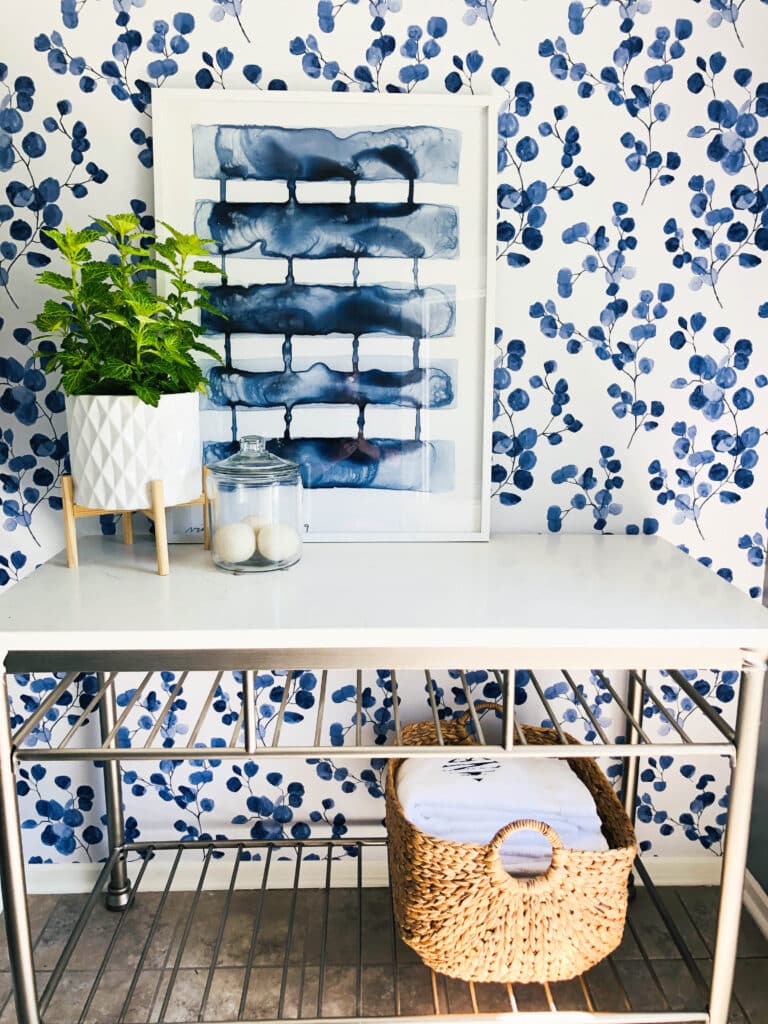
Oh, I couldn’t be happier! I’m using white accessories so the blue on the wallpaper POPS!
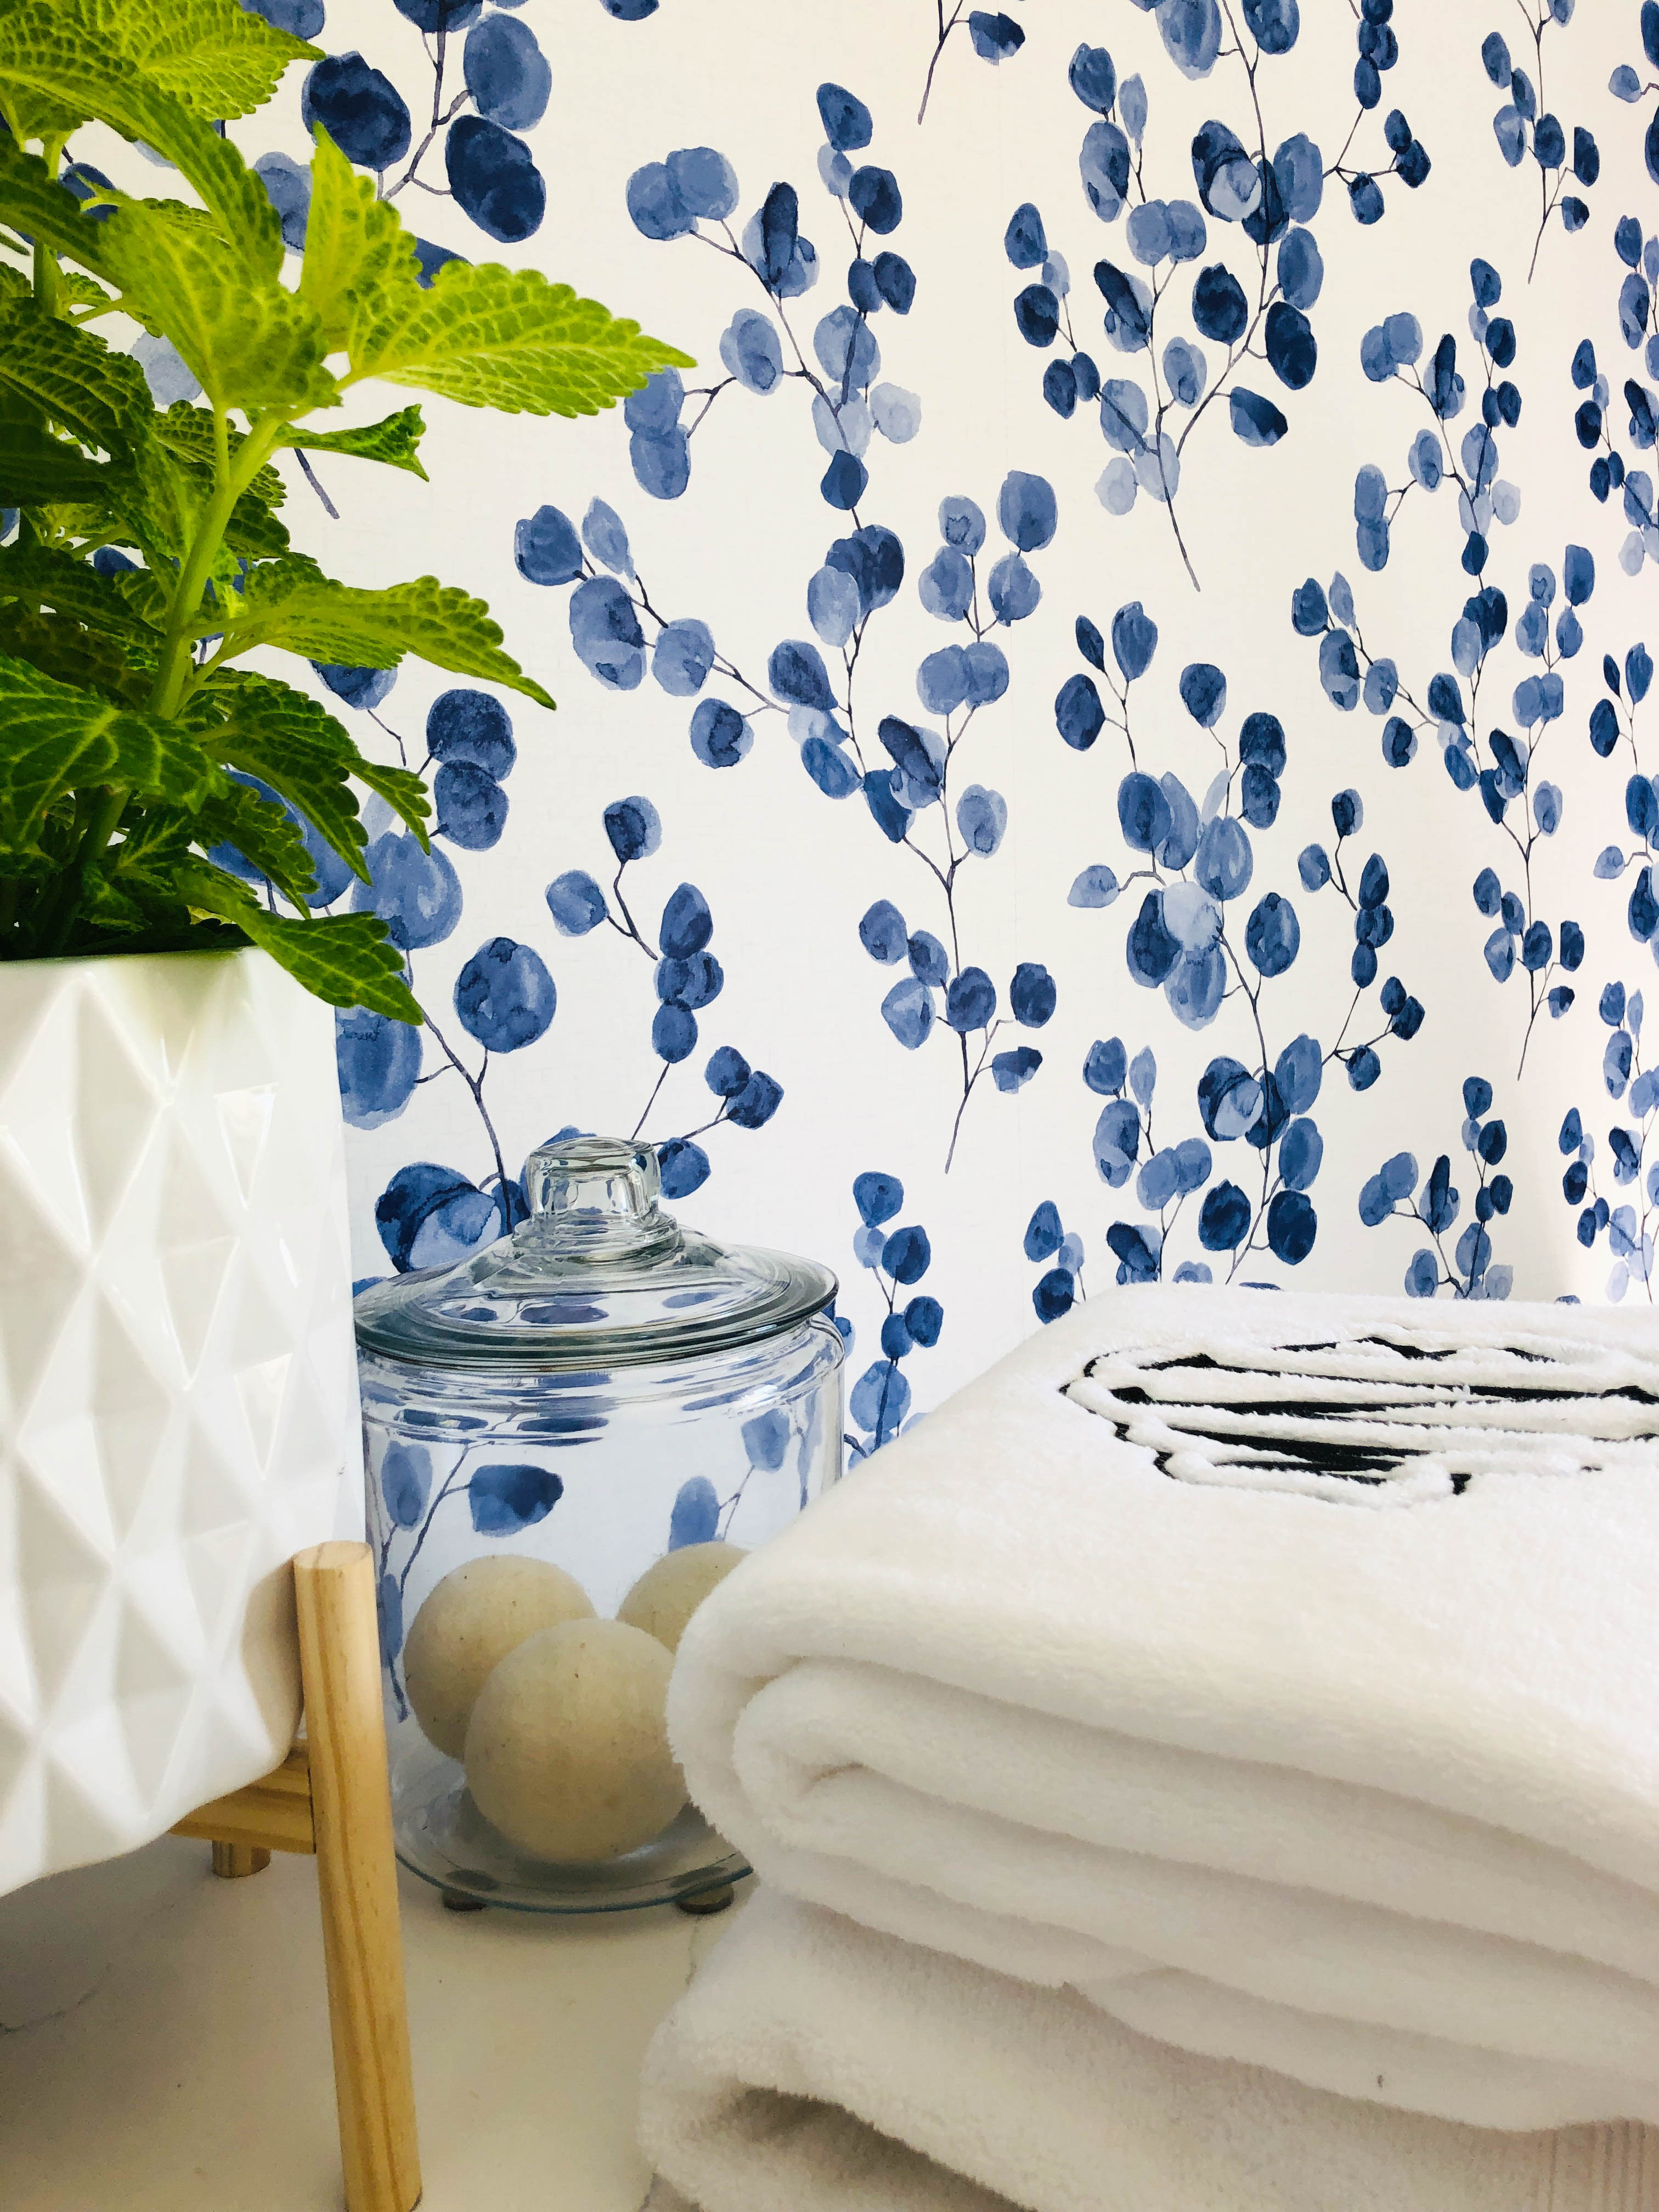
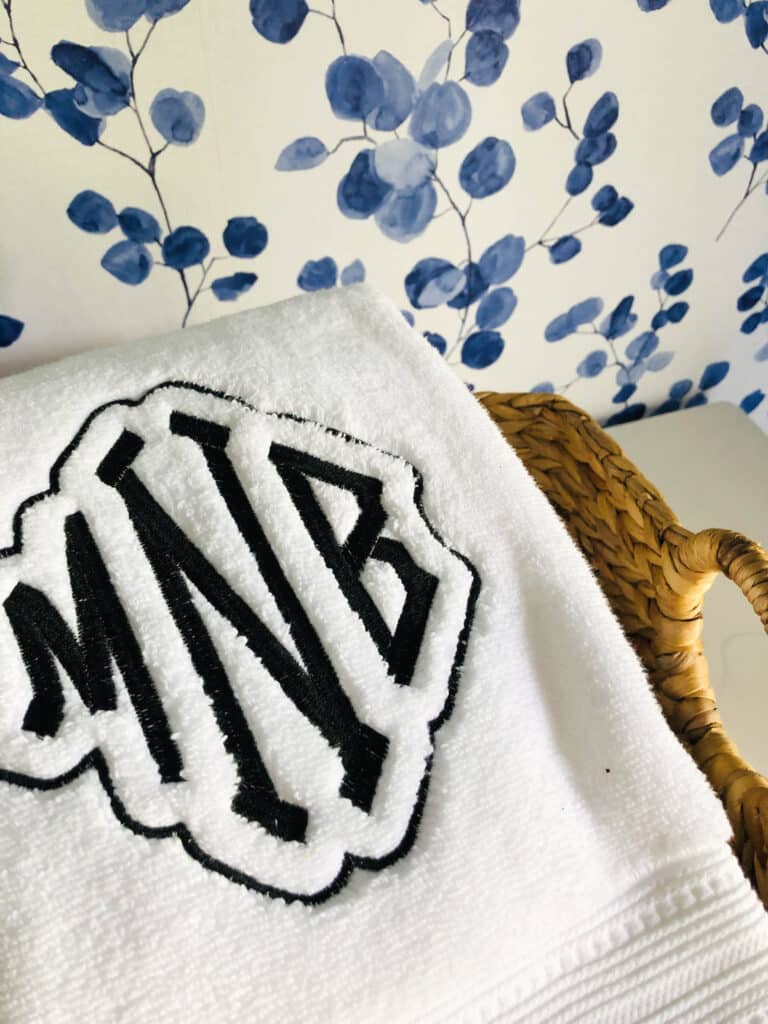
Now, it is a pleasure to fold our new monogrammed towels with this as our backdrop! (You know how I love monogramming everything!)
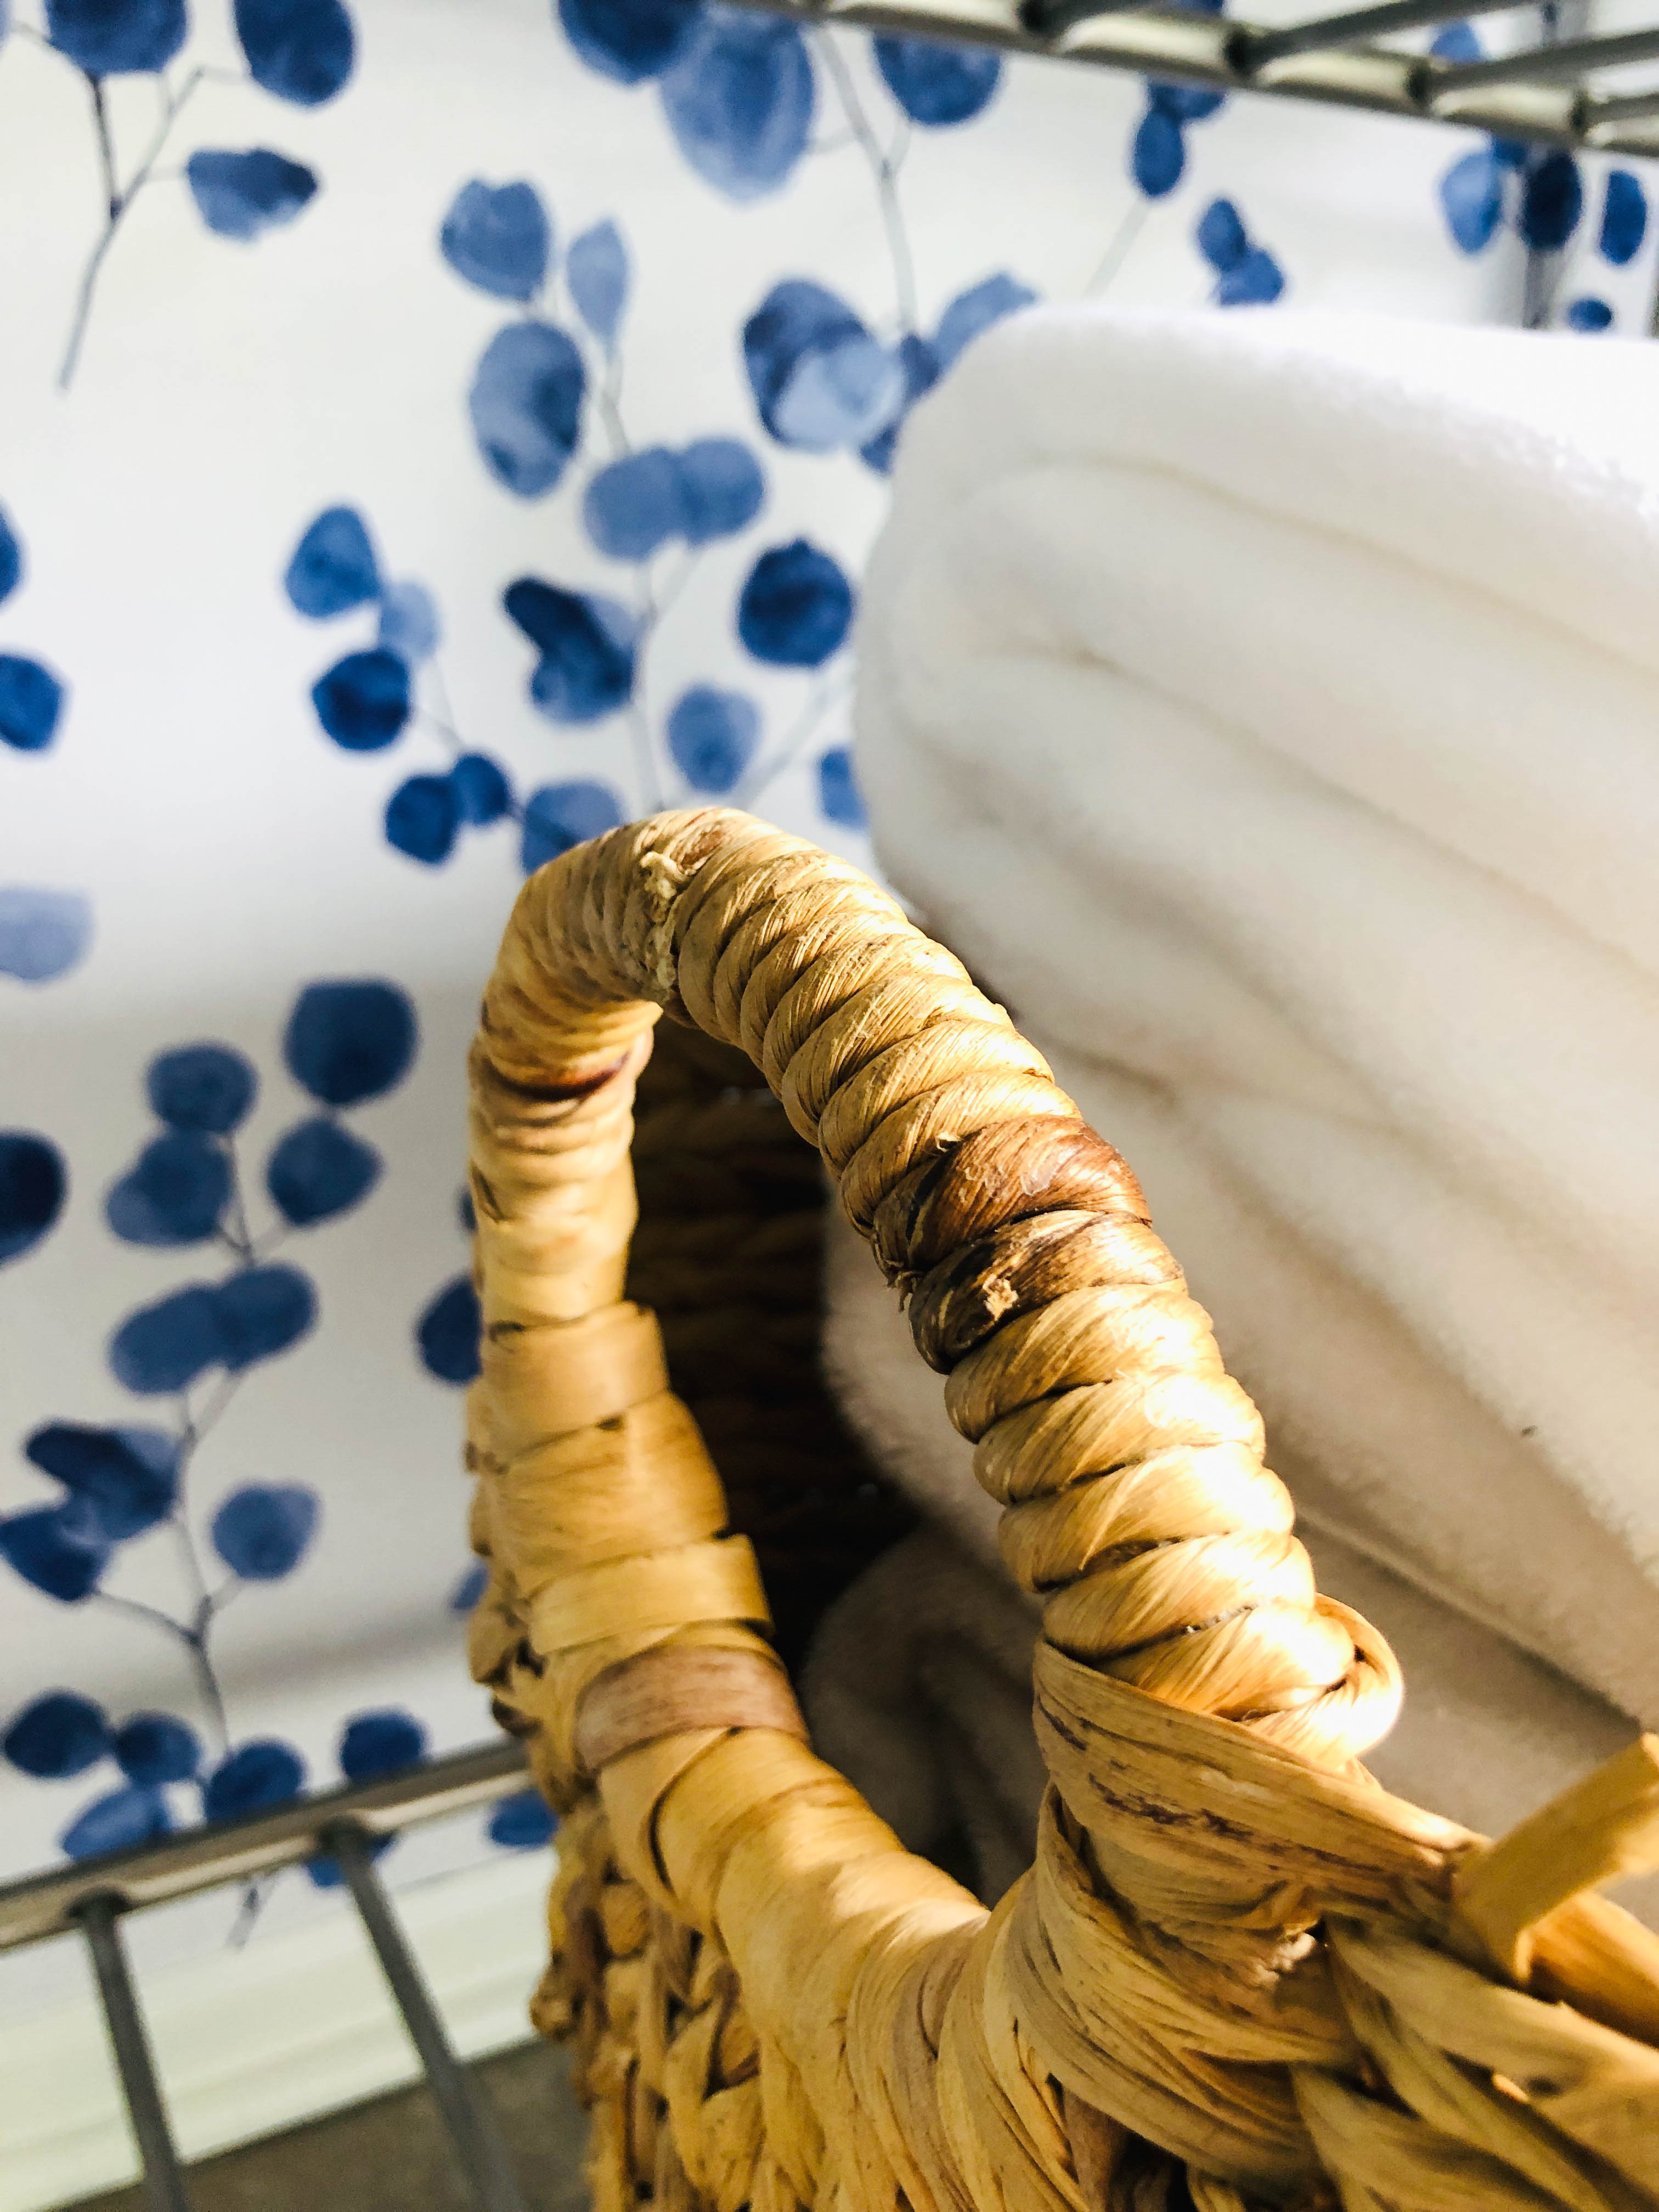
I’m adding a natural element through this water hyacinth woven basket to give the space a touch of warmth and texture.
In this case, some wall art adds more interest to the space. I am propping this piece because I might change it out for something different as my mood changes!
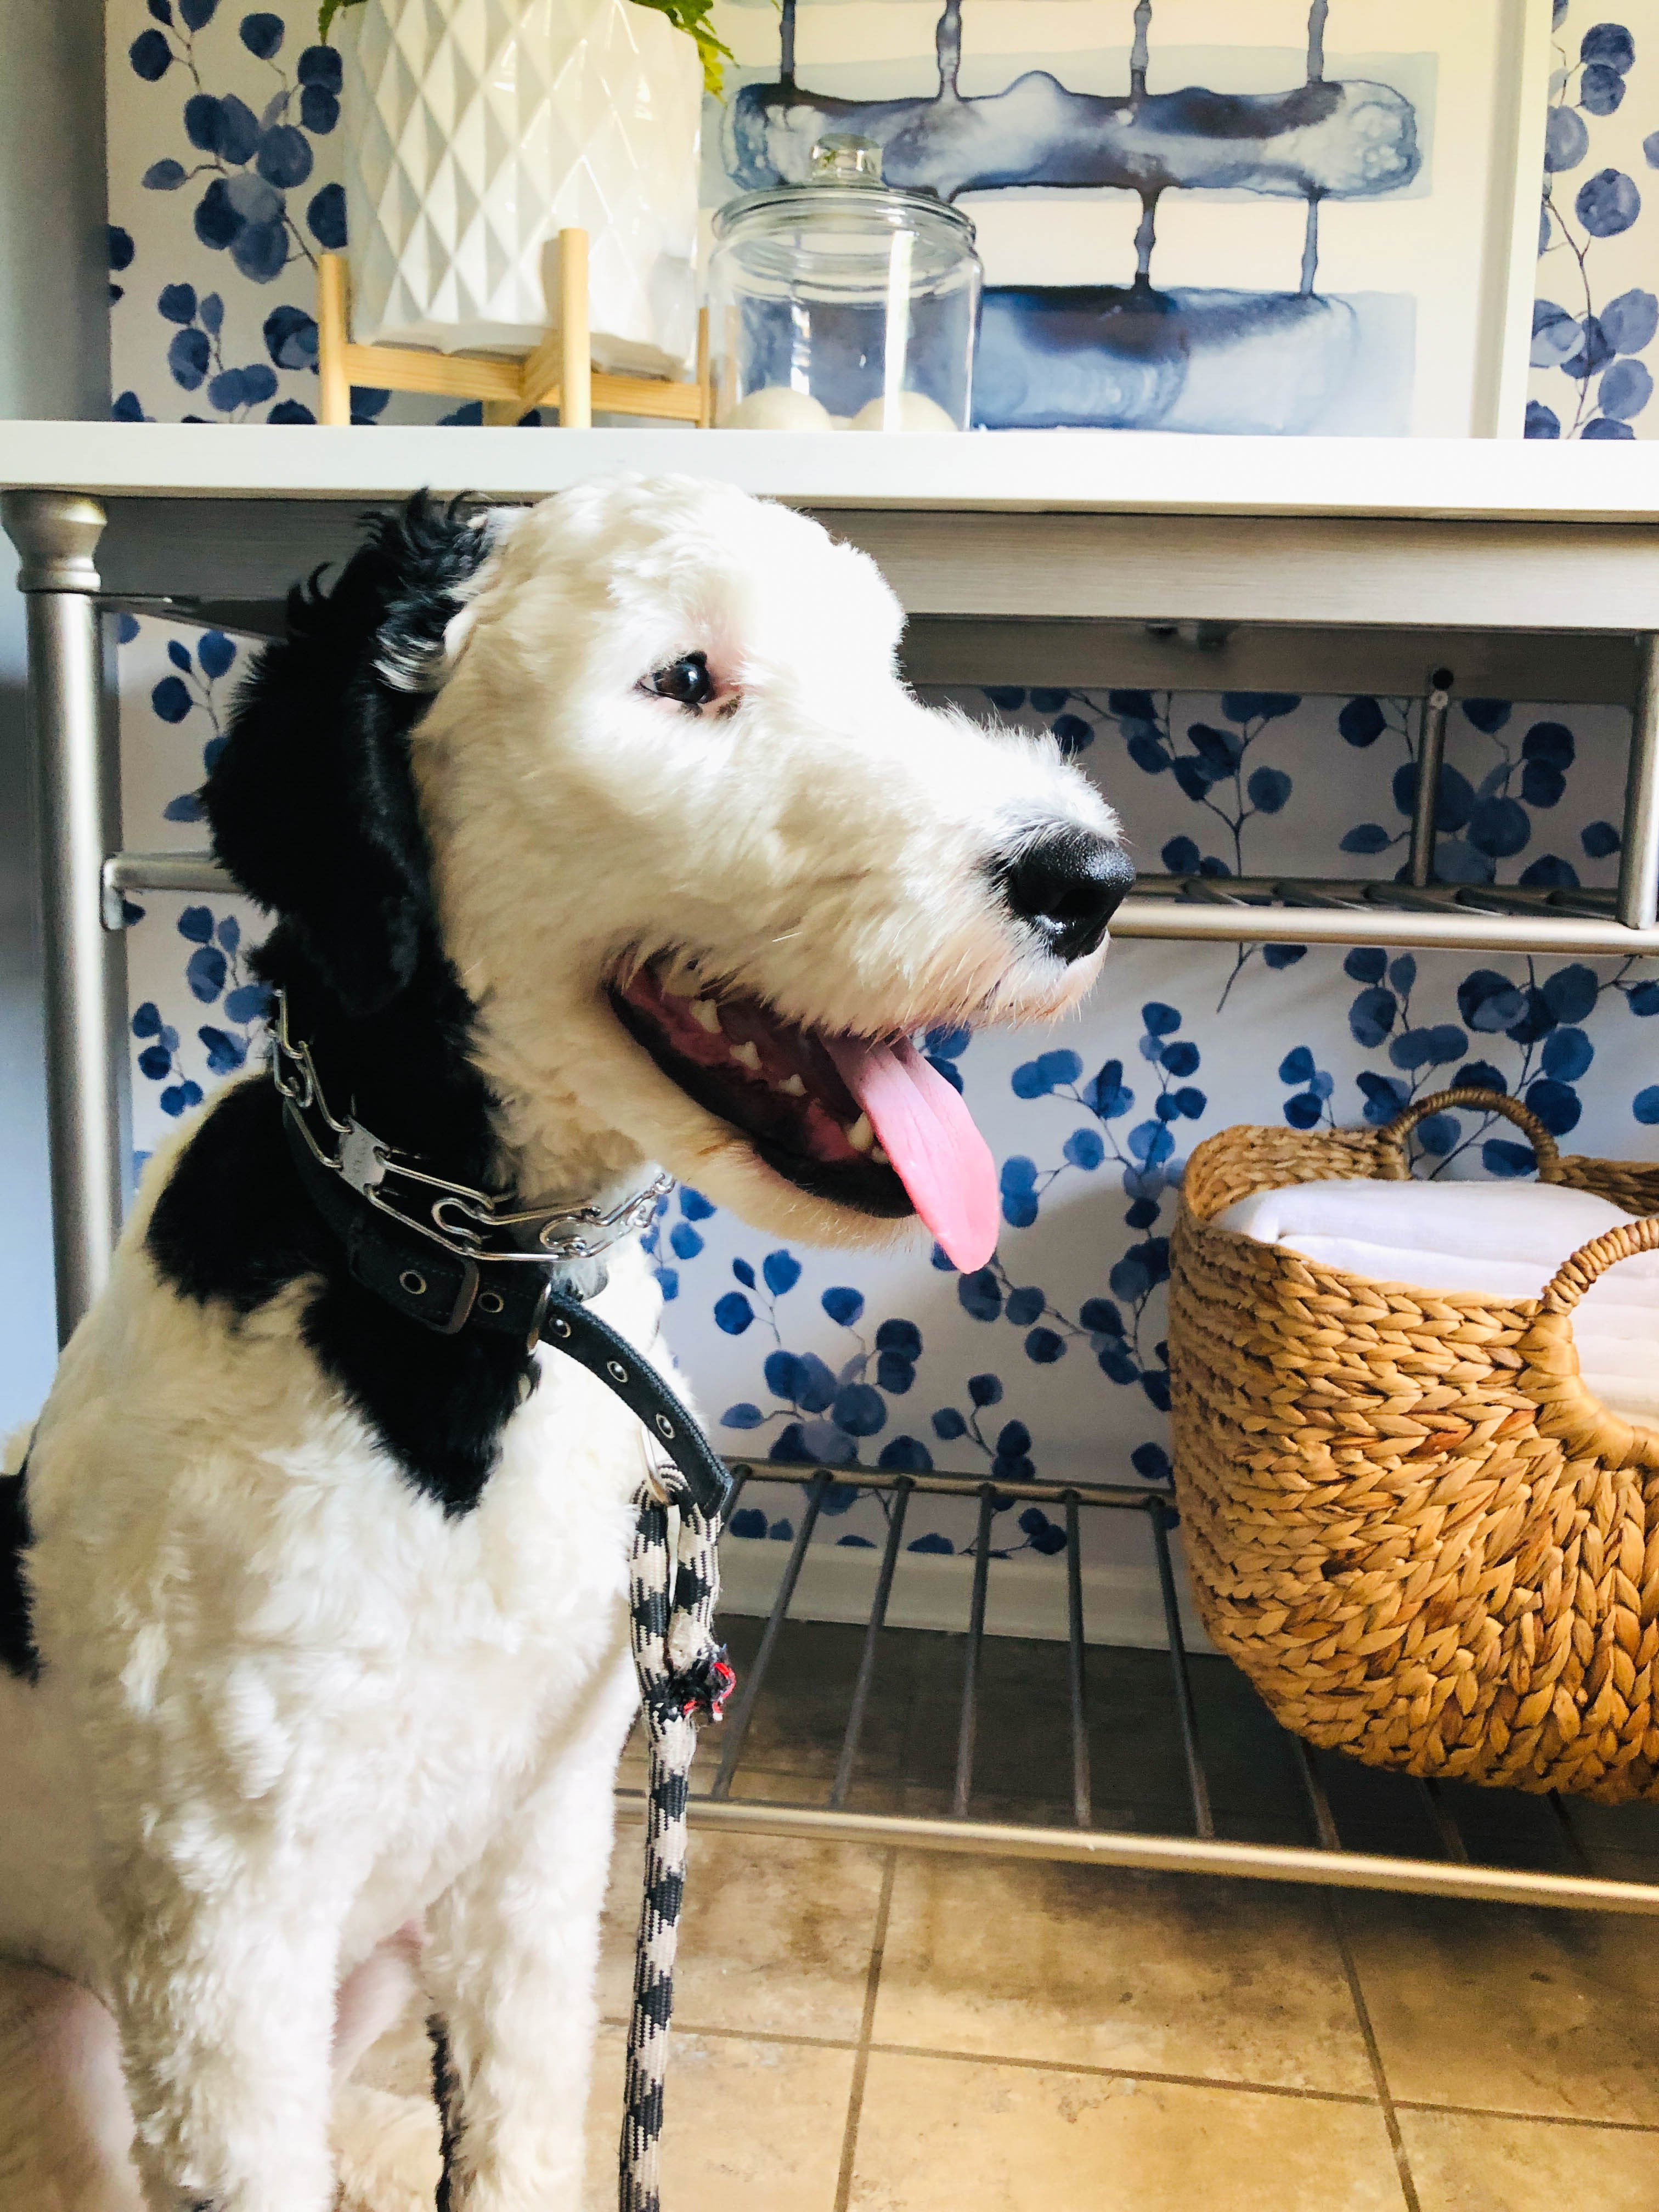
Even Bentley approves!
Peel and stick wallpaper does not need to be scary. It is incredibly forgiving and gives a space such a lift!
In our case, a Laundry Room Lift!
You can do this! If you have any questions, please send them my way. I love to hear from you and want to help in any way. Also, please send me your photos. After all, we should be celebrating all of our AWESOME new peel and stick walls and projects!
Cheers!

Disclaimer: This post contains affiliate links.
I love the black and white pattern! I am definitely going to do this! I used to wallpaper the “paste it” way and the already pasted type where you put it in a tray with water and pulled upward. This looks so much less cumbersome! Your space looks great!
Hi Maureen, Isn’t that black and white pattern awesome! Now that I have used peel and stick, I don’t know if I want to go back to the old way again. So easy! Thank you so much for reading!
I love this pattern. I am going to have to try this at my house.
Hi Shelli! I bought this paper a few months ago and finally got it up. I wish I had started sooner because do love it. Thank you so much for reading and sharing!
Your new wallpaper looks amazing in your laundry room.
Hi Paila! Thank you so much. It has really brightened things up in there and folding laundry feels less like a chore. Have a great day and thank you for sharing!
I have been wanting to do some wallpaper in a couple of rooms! I am in love with your blue and white wallpaper! Great tutorial! It looks so beautiful!
Karin
Hi Karin, Thank you so much for reading! I have a love affair with wallpaper and have it in several rooms. However, this is the first time I have tried peel and stick. Not sure I will go back to traditional hanging after this! Have a great day and thanks again!
That paper is gorgeous! And it looks so easy to hang! Thanks for sharing it! Pinned!
Hi Cindy! Thank you so much for your nice words! I really loved this project so you have made my day! Thanks so much for reading and sharing it! I hope you have a great day! ~Missy
What a great look! Modern, but very soft like watercolor. Amazing how far wallpaper has come on look and installing ease.
Hi Melba! Thank you so much. You are right..wallpaper has come a long way! Thanks so much for reading and commenting!
I love the wallpaper and that print and your lovely doggie – oh alright, I just love it all!
Oh, Bentley will be so happy! Thank you, Jayne, for reading and commenting. Always fun to chat with other wallpaper lovers! Have a great day!
I love this wallpaper! The finished room is gorgeous. You’ve inspired me…now which room to begin??!
Thanks, Leslie! Actually, now that this nook in the room looks great, I need to organize the closet right next to it! One of the goals for the week! Thanks so much for reading, Leslie. Have a great day!
You are so darn cute with that wallpaper. And that pattern is the best! Absolutely love it. I am heading straight over.
Hi Diane! You made me chuckle about the photo…I really do love that paper! Thanks so much for reading and sharing!
Beautiful! I love peel and stick wallpaper. I literally just finished a pantry makeover and used it for the first time. Love your pattern, very bold!
The print you chose is really pretty!
Hi Marie,
Thank you so much! The paper really brightened the room and we love it! Thank you for reading!
This wallpaper is cute! Such a fun print and how adorable is your pup!
xoxo
Lovely
http://www.mynameislovely.com
Thank you so much! We love the wallpaper and we love our pup! Thank you for taking the time to read!
Love the wallpaper, it’s bold but not too bold.
Great tutorial. I’m trying to tal my husband into doind this in bathrooms.
Maybe your tutorial will help convince him.
Hi Cindy, Thank you so much. I found the paper to be really easy to work with. I’ve use regular wallpaper in the past and it took twice as long. Thanks so much for reading and commenting!
This turned out beautifully! I love the print!!!
Hi Libbie, Thank you! I think I fall in love with the paper a little more every day…and I already loved it on day 1! Thanks for reading!
I didn’t even know that stick and peel wallpaper was a real thing! Your wallpaper looks amazing. You did a lovely job. Love the colour too.
Hi Carol,
Thank you so much! Thank goodness peel and stick is a real thing! It is so much easier than traditional wallpaper. I think I am hooked! Thank you for reading and for commenting!
So glad wallpaper is making a come back! This peel and stick looks like a significant improvement! But regardless of what type, make sure your mat blade is sharp!
Such good advice, Linda! Those cuts are so important! Thanks for reading!
This wallpaper is GORGEOUS!!!! I love how you styled it with the blue art! Just beautiful!
Thank you so much, Danielle! Folding laundry is so much more fun now! Thanks for reading and commenting!
Folding laundry is so mu
nice post
Thank you so much!
Nice post and i loved it